Introduction
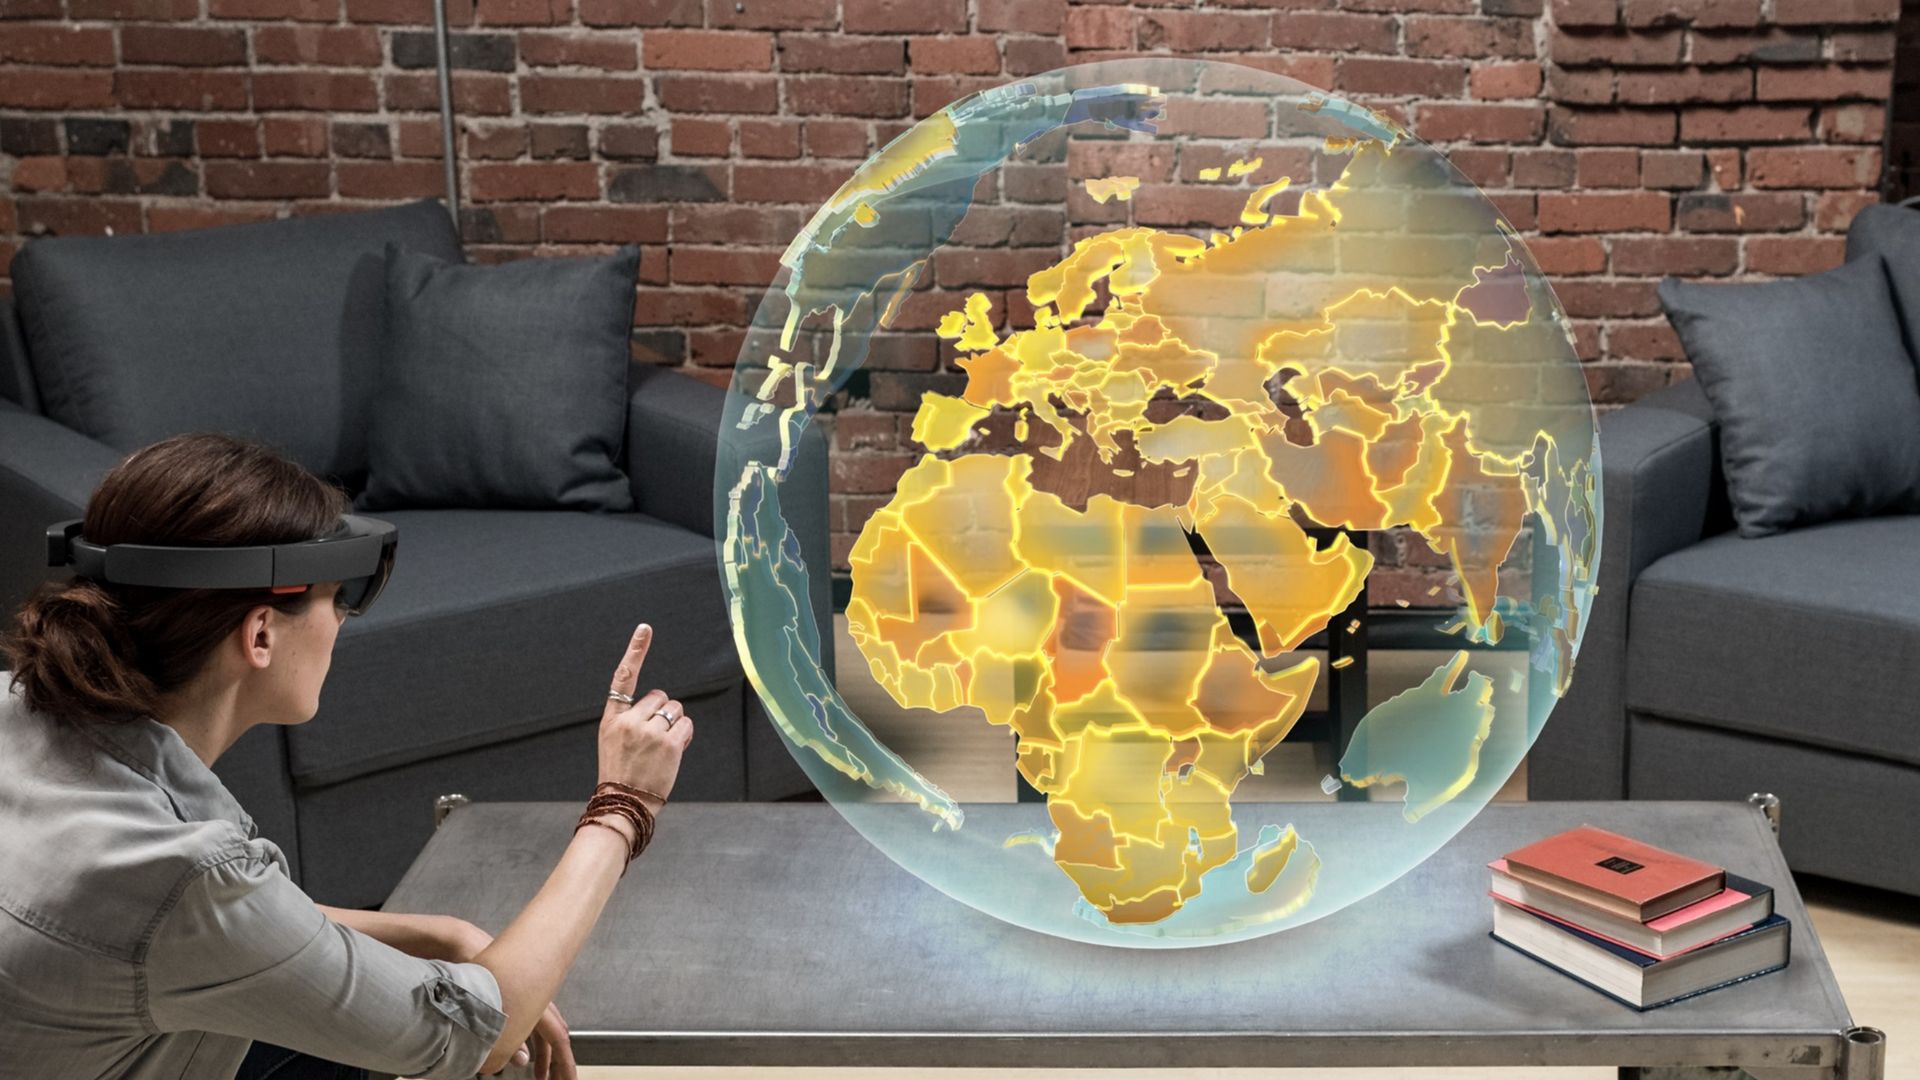
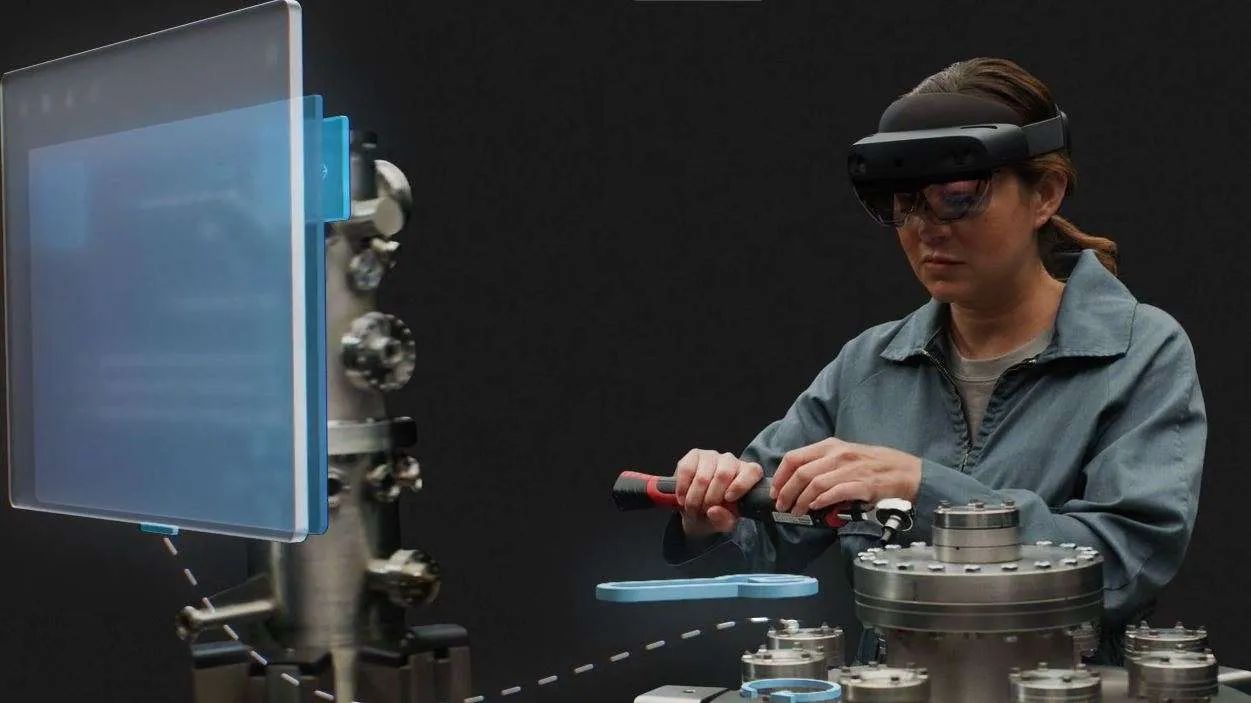
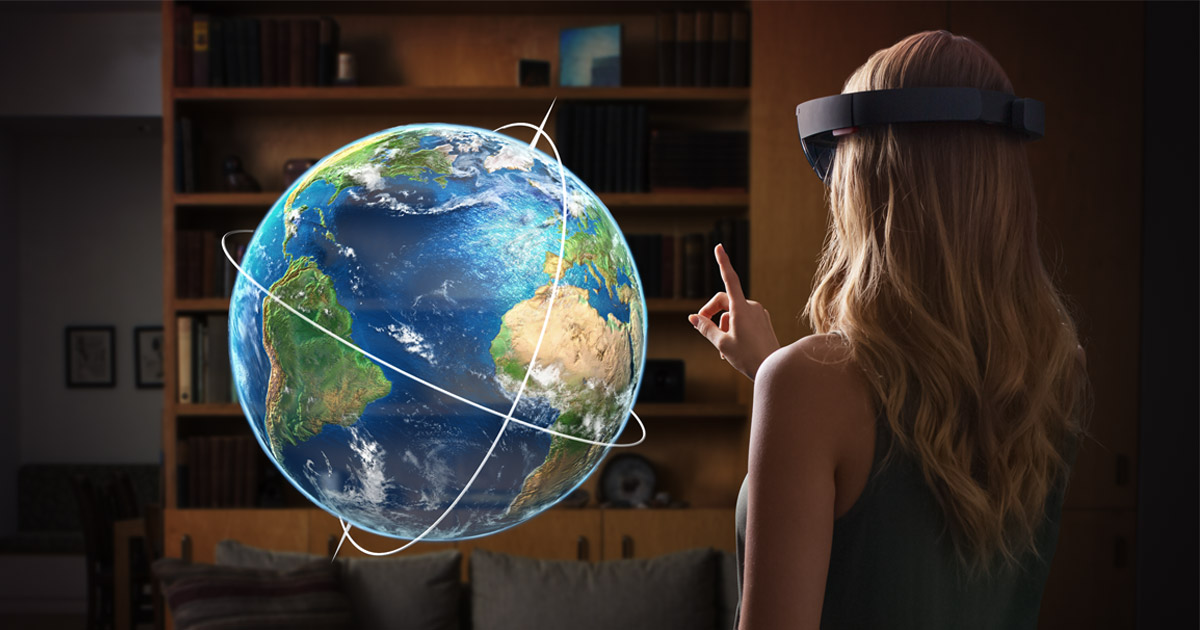
Mapping objects from Unity onto real-world surfaces using HoloLens opens up a world of possibilities for augmented reality experiences. With this technology, you can place virtual objects on tables, floors, or any other physical surface and interact with them in a completely immersive way. In this tutorial, we will guide you through the process of mapping a 3D object from Unity onto a table using HoloLens.
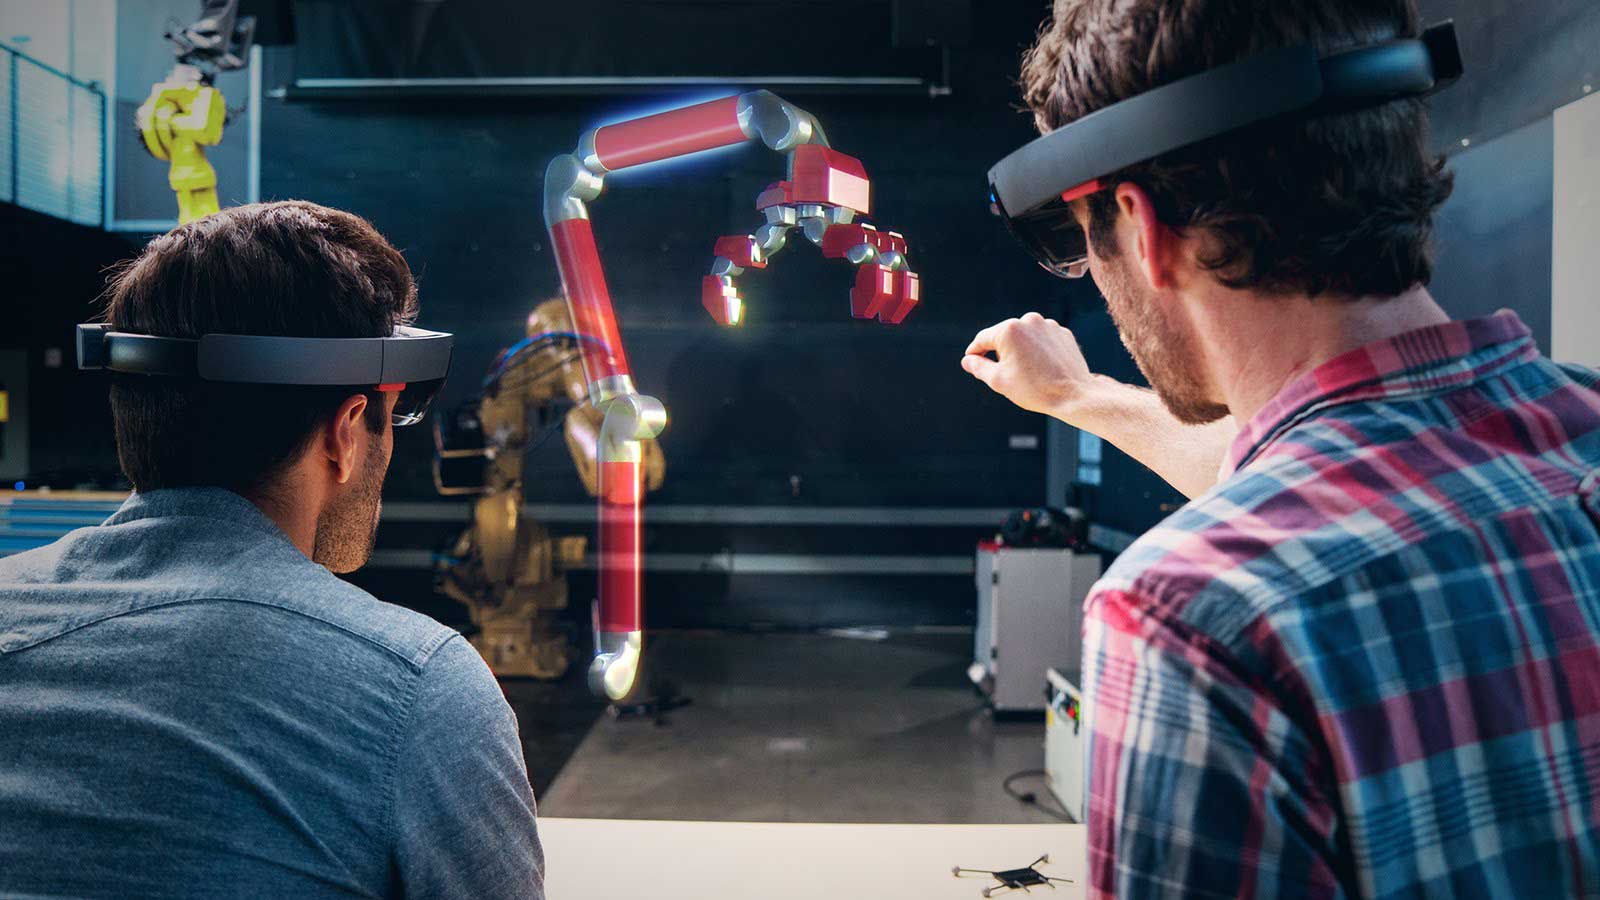
The HoloLens Development Environment allows developers to create engaging mixed reality applications that blend the real and virtual worlds seamlessly. By using Unity, a popular game development engine, we can import 3D models and create interactions with these virtual objects. With the power of HoloLens, we can then overlay these objects onto the physical environment, enhancing the user’s perception of reality.
In order to successfully map an object onto a table, we will need to set up the HoloLens Development Environment, create a Unity project, import the 3D object, set up the table model, and finally, write a script to map the object onto the table. Once the project is built and deployed on the HoloLens device, you will be able to see the virtual object appear and interact with it as if it were actually on the table.
Through this tutorial, you will gain valuable insights into the process of mapping objects using HoloLens and Unity. This skill will enable you to create captivating mixed reality experiences that bridge the gap between the virtual and physical worlds. Without further ado, let’s jump into the step-by-step process of mapping an object from Unity onto a table using HoloLens.
Step 1: Set up HoloLens Development Environment
Before we can start mapping objects from Unity onto a table using HoloLens, we need to ensure that we have the HoloLens Development Environment set up properly. Here’s a step-by-step guide to help you get started:
- Install the necessary software: Begin by downloading and installing the Unity game development engine, along with the HoloLens emulator or the HoloLens device portal. These tools are essential for creating mixed reality applications.
- Set up a Microsoft Developer account: In order to deploy applications onto the HoloLens device, you will need a Microsoft Developer account. This will enable you to access developer resources and publish your applications to the Microsoft Store.
- Enable Developer Mode: On your HoloLens device, go to the Settings menu and navigate to the Update & Security section. From there, select the For developers option and enable Developer Mode. This will allow you to sideload applications onto the device.
- Connect your HoloLens device to your computer: Use a USB cable to connect your HoloLens device to your computer. Ensure that the device is recognized and that you have the necessary drivers installed.
- Configure Visual Studio: Install Visual Studio, the integrated development environment (IDE) used for HoloLens development. Configure Visual Studio to enable development for the HoloLens platform by installing the necessary tools and extensions.
- Create a new project: Open the Unity game development engine and create a new project. Select the appropriate settings for HoloLens development, including the target platform and version.
By following these steps, you will have a fully set up HoloLens Development Environment ready for mapping objects from Unity onto a table. With the necessary software and tools in place, you can proceed to the next steps of this tutorial and start building your augmented reality experience.
Step 2: Create a Unity Project
Once you have set up the HoloLens Development Environment, the next step is to create a Unity project that will serve as the foundation for mapping objects onto a table. Follow these steps to create a new Unity project:
- Open Unity: Launch the Unity game development engine on your computer. If it’s your first time using Unity, you may need to sign in or create a Unity ID to access the software.
- Create a new project: Click on the “New” button to create a new project. Give your project a descriptive name and choose a location to save it on your computer.
- Select project settings: In the project settings window, choose the appropriate settings for your HoloLens project. Ensure that the target platform is set to Universal Windows Platform (UWP) and select the suitable version.
- Import necessary assets: Import any necessary assets, such as 3D models or textures, into your Unity project. You can do this by clicking on the “Import” button and selecting the files you want to include.
- Set up the scene: In the Unity editor, create a new scene or use an existing one. This is where you will design the environment and place objects that will be mapped onto the table. You can use the Unity hierarchy and inspector windows to manipulate objects, adjust their properties, and position them within the scene.
- Add scripts: If you need custom functionality, you can add scripts to your objects or the scene itself. Scripts will enable you to control the behavior of the objects and implement the mapping onto the table.
By following these steps, you will have a new Unity project set up and ready for further development. Make sure to save your project frequently to avoid losing any progress. In the next step, we will import the 3D object that will be mapped onto the table using HoloLens.
Step 3: Import the 3D Object
This step focuses on importing the 3D object that you want to map onto a table using HoloLens. Follow these steps to import the object into your Unity project:
- Select the Import menu option: In the Unity editor, navigate to the “Assets” menu and select “Import New Asset” or “Import Package,” depending on the file format of your 3D object.
- Locate the 3D object file: In the file explorer window, browse to the location where you have saved the 3D object file on your computer. Select the file and click “Import” to add it to your Unity project.
- Adjust import settings: After importing the 3D object, Unity will open the import settings window. Here, you can specify various options such as scale, rotation, animation settings, and material properties. Customize these settings according to the specific requirements and properties of your 3D object.
- Preview the imported object: Once you have adjusted the import settings, Unity will import and display the 3D object in the project window. You can click on the object to preview it and ensure that it has been imported correctly.
- Drag the object into the scene: To place the 3D object in your scene, simply drag it from the project window to the desired location in the Unity editor. You can use the transform tools to position, rotate, and scale the object as needed.
- Set up object materials: If necessary, you can assign materials and textures to different parts of the 3D object. This will enable you to add realism and customize the visual appearance of the object.
By following these steps, you will successfully import the 3D object into your Unity project. The imported object will serve as the virtual representation of the object that will be mapped onto a table using HoloLens. In the next step, we will set up the table model that will act as the surface for the mapping.
Step 4: Set up the Table Model
In this step, we will set up the table model that will act as the surface for mapping the 3D object. Follow these steps to configure the table model:
- Create or import the table model: In the Unity editor, you can create a simple table model using primitive shapes such as cubes or planes. Alternatively, you can import a pre-made table model from external sources, such as 3D asset marketplaces or modeling software.
- Position the table in the scene: Place the table model in the desired location within your Unity scene. Ensure that it aligns properly with the intended surface where you want to map the 3D object. Use the Unity transform tools to adjust the table’s position, rotation, and scale as needed.
- Adjust the table’s colliders: To enable the mapping of the 3D object onto the table, you need to add colliders to the table model. Colliders are components in Unity that allow objects to interact with each other. Attach appropriate colliders to the table model to define its boundaries and make it a detectable surface.
- Configure the table’s texture or material: If desired, you can apply a texture or material to the table model to enhance its appearance. This can be a realistic wood texture or any other suitable material to make the virtual table blend seamlessly with its real-world surroundings.
- Ensure proper lighting: Adjust the lighting in your scene to ensure that the table model is illuminated correctly and matches the lighting conditions in the real world. This will contribute to a more realistic and cohesive augmented reality experience.
By following these steps, you will have the table model set up and ready to serve as the surface onto which the 3D object will be mapped using HoloLens. The next step involves writing a script to facilitate the mapping process.
Step 5: Write the Script to Map the Object onto the Table
In this step, we will write a script that will facilitate the mapping of the 3D object onto the table. This script will enable the object to align and interact with the table surface in the mixed reality environment. Follow these steps to write the script:
- Create a new script: In the Unity editor, navigate to the project window and right-click in the desired folder. Select “Create” and then “C# Script” to generate a new script file.
- Open the script in the code editor: Double-click on the newly created script file to open it in the code editor. Unity has a built-in code editor, or you can choose to use an external code editor of your preference.
- Implement the necessary functions: Within the script, you will need to implement various functions to handle the mapping process. These functions might include detecting the table surface, aligning the 3D object with the table’s position and rotation, and controlling the object’s interactions and behaviors.
- Access the necessary components: In your script, you will need to access the necessary components of the table model and the 3D object. This can be done using Unity’s GetComponent function to retrieve references to the required colliders, transform, or other relevant components.
- Implement the mapping logic: Write the code logic to map the 3D object onto the table surface. This might involve checking for collisions between the object and the table’s colliders, aligning their positions and rotations, and adjusting any visual or physical properties to create a realistic mapping effect.
- Test and iterate: Once the script is written, save the file and return to the Unity editor. Attach the script to the appropriate game object, such as the 3D object or an empty game object acting as a container. Test the mapping functionality and make any necessary adjustments to the script to achieve the desired results.
By following these steps and implementing the necessary script logic, you will have the capability to map the 3D object onto the table surface using HoloLens. The next and final step will guide you through building and deploying the project onto the HoloLens device.
Step 6: Build and Deploy the Project on HoloLens
In the final step of mapping an object from Unity onto a table using HoloLens, you will build and deploy the project onto the HoloLens device. Follow these steps to complete the process:
- Configure the build settings: In the Unity editor, navigate to the “File” menu and select “Build Settings.” Choose the Universal Windows Platform (UWP) as the target platform and select the appropriate settings for your HoloLens device.
- Build the project: Click on the “Build” button to generate the project files necessary for deployment. Choose a suitable location to save the build files on your computer.
- Connect the HoloLens device: Using a USB cable, connect the HoloLens device to your computer. Ensure that the device is turned on and properly recognized by your computer.
- Deploy the project: Open the build files folder and locate the generated Visual Studio solution file (.sln). Double-click on the file to open it in Visual Studio.
- Set the build configuration: In Visual Studio, select the appropriate build configuration (Debug or Release) and the target device (HoloLens).
- Build and deploy the project: Click on the “Build” button in Visual Studio to start the build process. Once the build is complete, the project will be deployed onto the connected HoloLens device.
- Test the application on HoloLens: Disconnect the HoloLens device from your computer and wear it. Navigate to the applications menu on the device and find your deployed application. Launch the application and place the HoloLens device on a stable surface, such as the table. You should now see the 3D object mapped onto the table in the mixed reality environment.
By following these steps, you have successfully built and deployed your Unity project onto the HoloLens device. This allows you to experience the mapping of the 3D object onto the table surface in a real-world setting. Feel free to iterate, test, and refine your application to further enhance the interactivity and user experience.
Conclusion
Mapping a 3D object from Unity onto a table using HoloLens opens up exciting possibilities for creating immersive augmented reality experiences. Throughout this tutorial, we have covered the step-by-step process of accomplishing this task.
We began by setting up the HoloLens Development Environment, ensuring that we had all the necessary software and tools installed. Next, we created a Unity project and imported the 3D object that we wanted to map onto the table. We then set up the table model, creating the virtual surface onto which the object would be mapped.
One of the key steps involved writing a script that facilitated the mapping process. This script allowed us to align and interact the 3D object with the table’s surface, creating a seamless integration of the virtual and real worlds. Finally, we built and deployed the project onto the HoloLens device, allowing us to experience the mapping in a real-world environment.
By following these steps and understanding the underlying concepts, you have gained the knowledge and skills needed to map objects from Unity onto real-world surfaces using HoloLens. This opens the door to creating captivating augmented reality applications that blend virtual objects with the physical world.
As you continue to explore and experiment with HoloLens and Unity, expand your creativity and discover innovative ways to leverage this technology. With the ability to map objects onto tables, floors, and other surfaces, you can push the boundaries of mixed reality experiences and create truly immersive interactions for users.
Now it’s your turn to take this knowledge and bring your own unique ideas to life. Have fun exploring the possibilities of mapping objects from Unity onto tables using HoloLens!


