Introduction
Welcome to the exciting world of HoloLens emulation! If you’ve ever wondered what it’s like to experience the incredible mixed reality capabilities of HoloLens, but don’t have access to the physical device, you’re in luck. With the HoloLens emulator, you can get a taste of the HoloLens experience right on your Windows PC.
The HoloLens emulator is a powerful tool that allows developers and enthusiasts to simulate the HoloLens environment, enabling them to create and test applications without needing the actual hardware. Whether you’re a developer looking to build HoloLens apps or simply curious about the possibilities of mixed reality, emulating HoloLens opens up a world of opportunities.
In this article, we will guide you through the process of emulating HoloLens on your computer. We will cover system requirements, the installation process, configuration steps, and how to interact with the emulator. By the end of this article, you’ll have a solid understanding of how to make the most of the HoloLens emulator.
Before we dive into the technical details, let’s take a moment to understand what exactly HoloLens is and why emulating it is so appealing.
What is HoloLens?
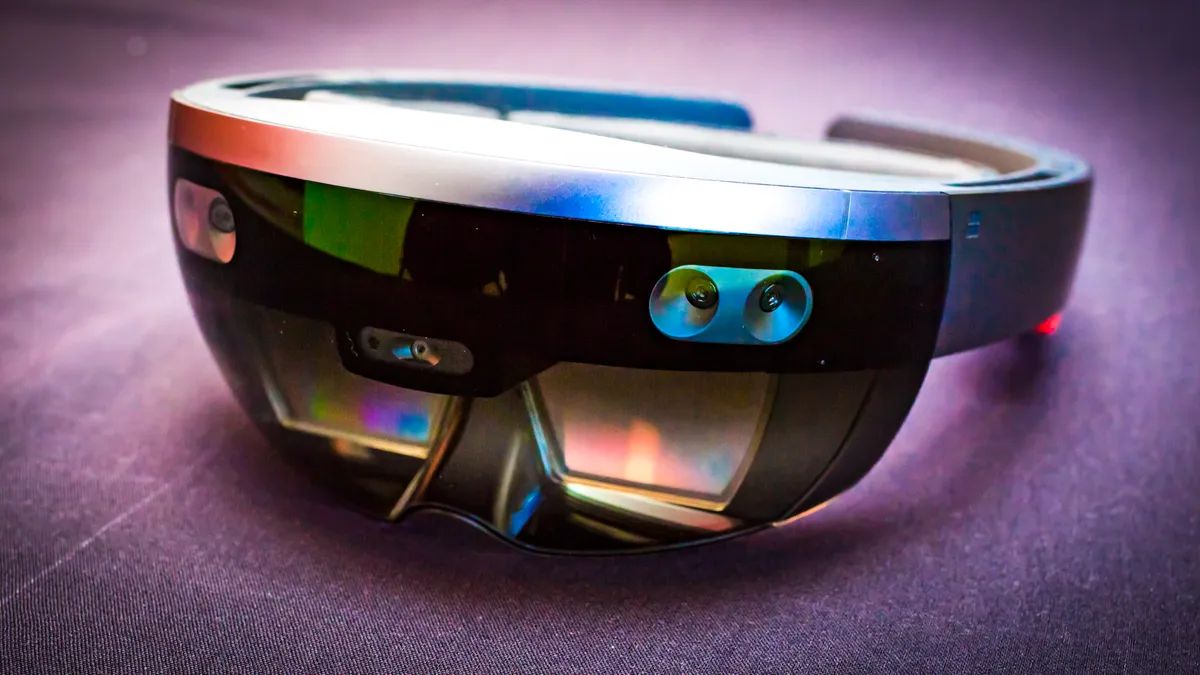
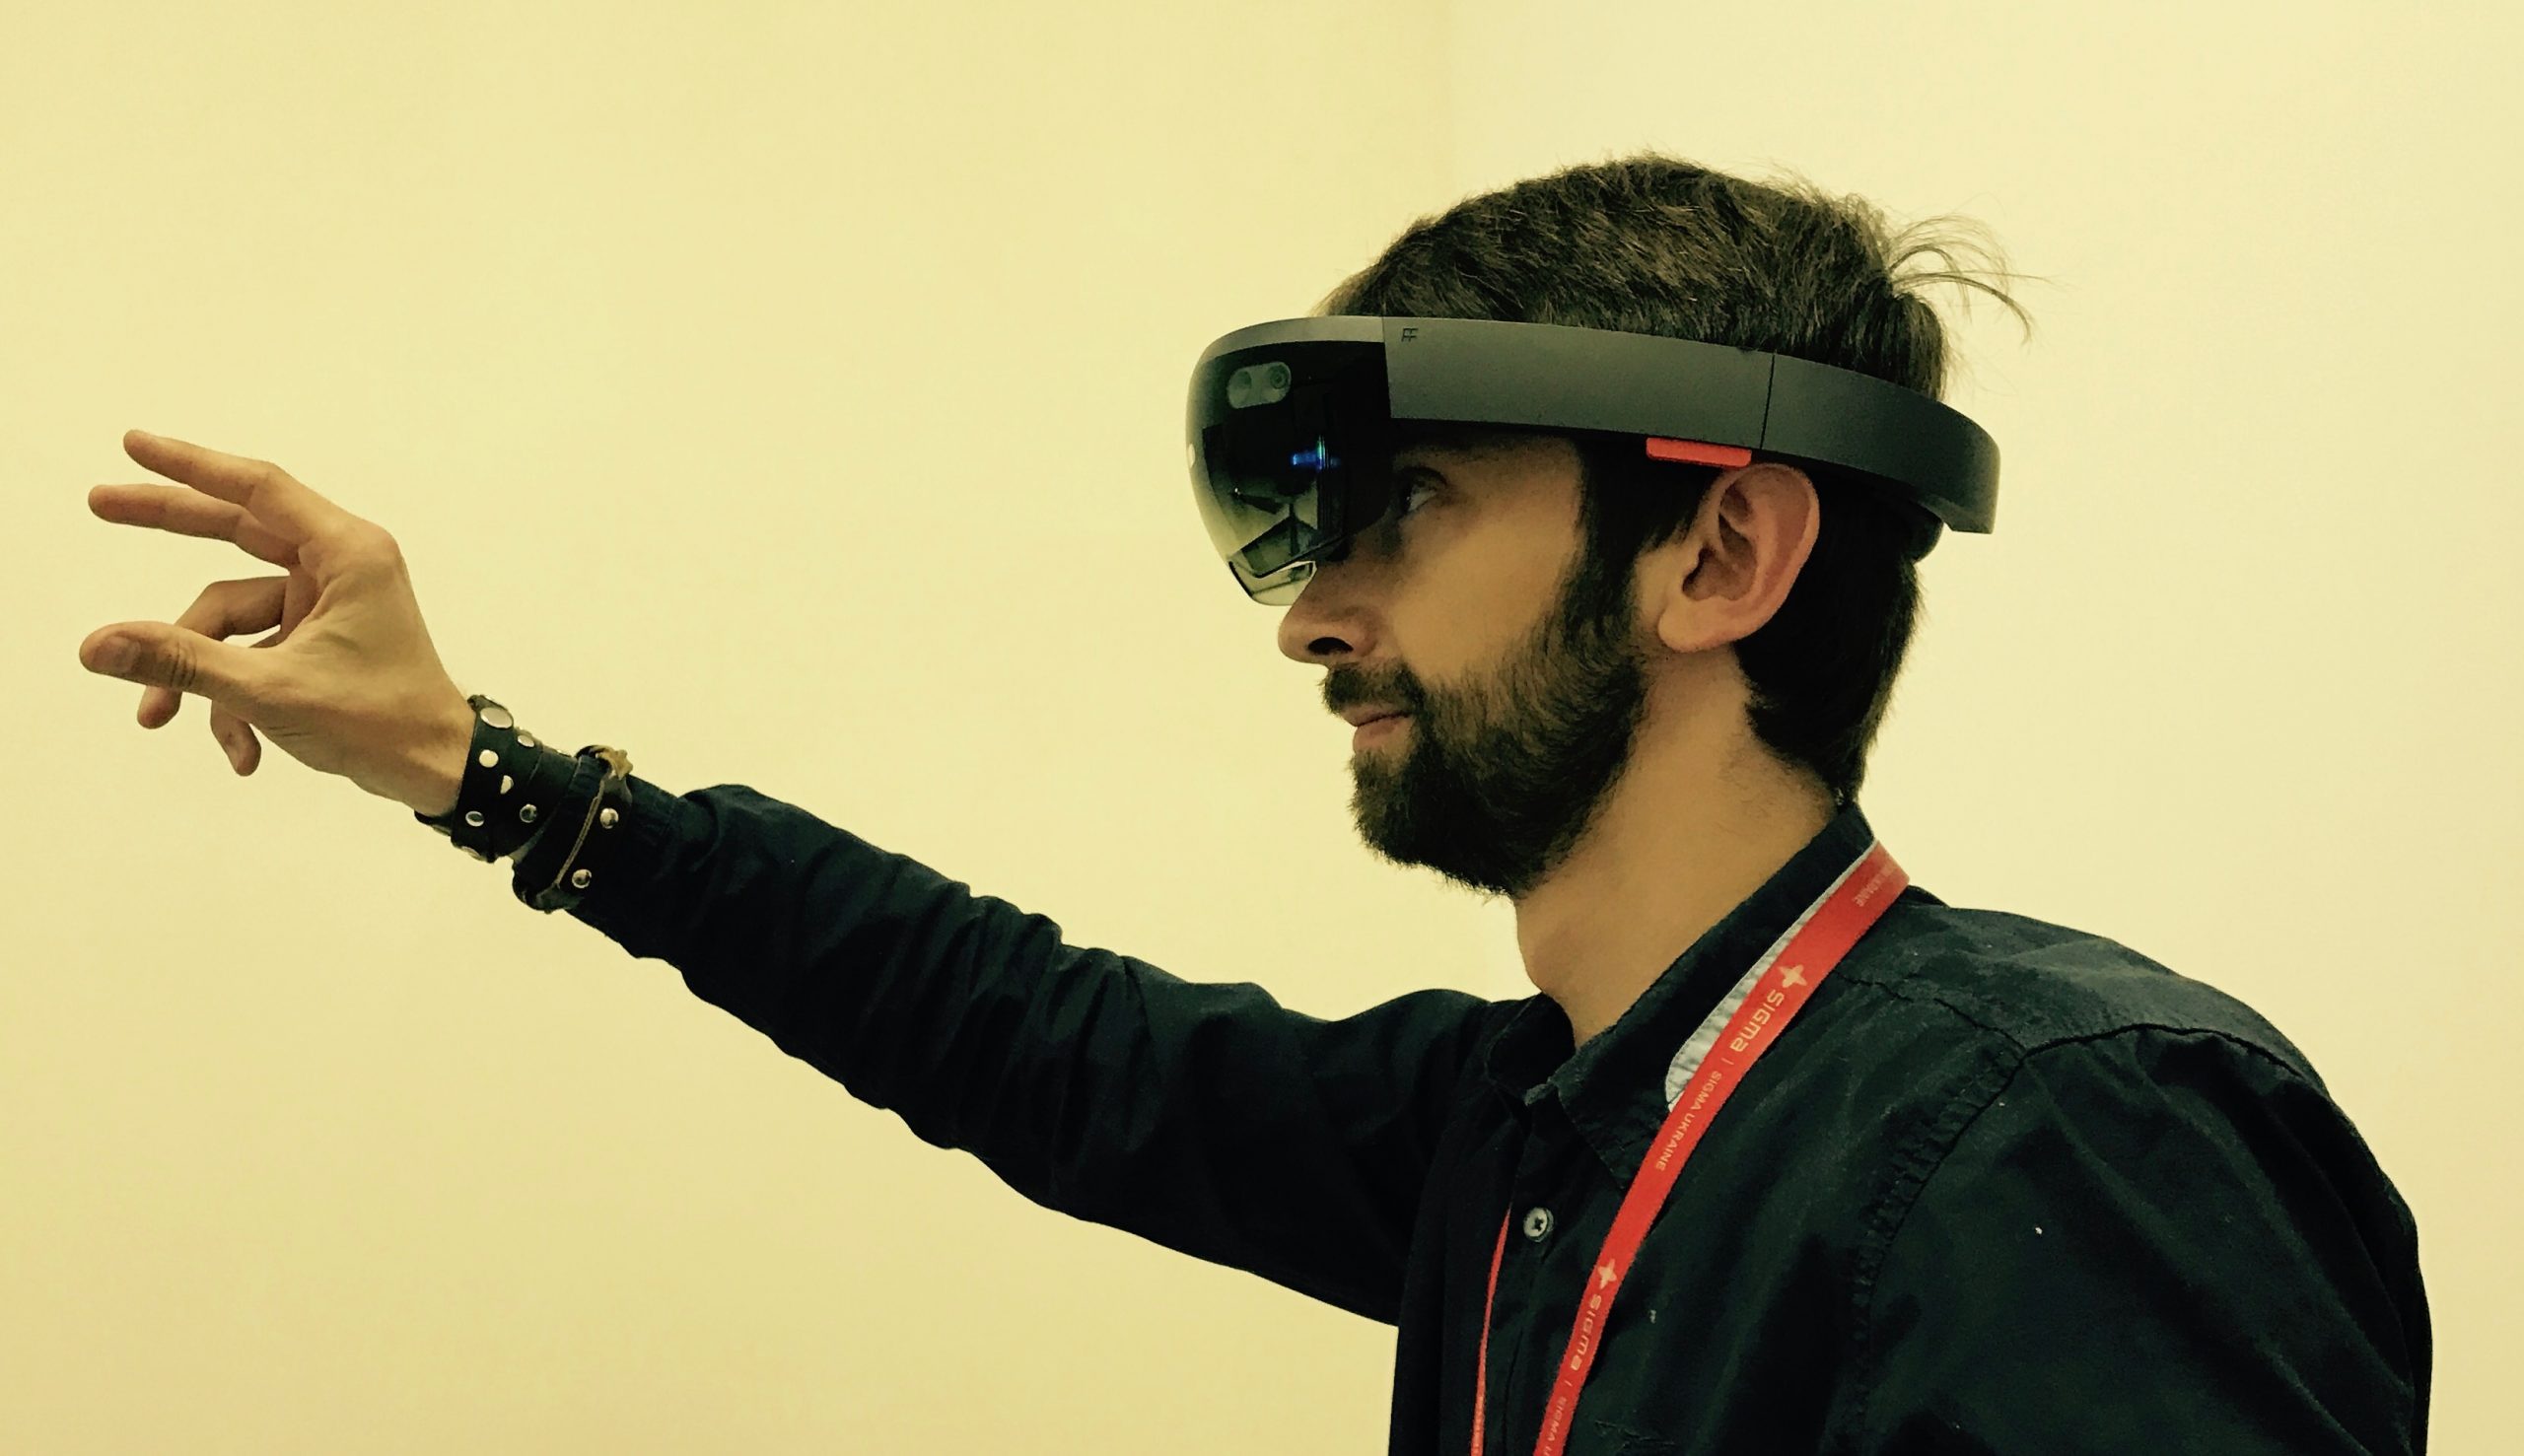
HoloLens, developed by Microsoft, is a groundbreaking mixed reality device that blends the physical and virtual worlds together. It is a lightweight, untethered headset that allows you to see and interact with virtual objects in your real-world environment. With HoloLens, you can place holograms in your space, manipulate them with gestures, and even interact with them using voice commands.
The HoloLens device uses an array of sensors, cameras, and speakers to create a highly immersive and interactive experience. It features a see-through display that overlays holographic images onto your view, providing an unparalleled level of realism and spatial understanding. This combination of cutting-edge technology allows users to engage with digital content in ways that were previously unimaginable.
One of the key features of HoloLens is its spatial mapping capability. The device uses advanced sensors to scan and understand the physical world, allowing it to accurately place virtual objects in your surroundings. This creates a seamless integration between the virtual and real world, enabling users to interact with holograms as if they were physical objects.
Whether for gaming, design, communication, or education, HoloLens offers a wide range of applications. From exploring virtual landscapes to visualizing complex data, the possibilities are endless. Developers have also embraced HoloLens, creating innovative apps and experiences that push the boundaries of mixed reality technology.
By emulating HoloLens, you get a glimpse into this immersive world without the need for the physical device. This is especially valuable for developers who want to build and test applications, as it allows them to iterate quickly without the cost and logistical constraints of using the actual hardware. But even for non-developers, emulating HoloLens provides an opportunity to better understand the capabilities and potential of mixed reality.
Why Emulate HoloLens?
There are several compelling reasons why emulating HoloLens can be beneficial:
- Cost-effective: The HoloLens device itself comes with a significant price tag. Emulating HoloLens allows you to explore the mixed reality environment without the hefty investment, making it an affordable option for developers, enthusiasts, and those simply curious about the technology.
- Accessibility: Not everyone has access to a physical HoloLens device. Emulation opens up the world of mixed reality to a wider audience, enabling individuals who may not have the means to acquire the hardware to still experience and experiment with HoloLens applications.
- Developers: For developers, emulating HoloLens is a crucial part of the development process. It allows them to create, test, and debug their applications without relying on physical hardware. This saves time and resources, making development more efficient and accessible to a larger pool of developers.
- Education and Learning: Emulating HoloLens can be a valuable educational tool. It provides an opportunity for students, researchers, and educators to understand and explore the potential of mixed reality technology. By emulating HoloLens, they can experiment, learn, and build applications in a simulated environment.
- Exploration and Experimentation: Emulating HoloLens lets you dive into the world of mixed reality and explore its possibilities. You can experiment with different applications, environments, and interactions, allowing you to get hands-on experience and engage with holographic content.
While emulating HoloLens may not provide the exact same experience as using the physical device, it still offers a valuable window into the world of mixed reality. It allows you to become familiar with the concepts, understand the technical aspects, and get a taste of what it’s like to interact with holographic content.
Now that we’ve covered the benefits of emulating HoloLens, let’s move on to the system requirements needed to set up the emulator.
System Requirements
Before you can start emulating HoloLens, it’s essential to ensure that your computer meets the necessary system requirements. Here are the minimum requirements for running the HoloLens emulator:
- Operating System: Windows 10 October 2018 Update (version 1809) or later is required.
- Processor: A 64-bit processor with at least four cores is recommended.
- Memory: A minimum of 8 GB of RAM is required, while 16 GB or higher is recommended for optimal performance.
- Graphics: Your computer should have a DirectX 11 or later compatible graphics card.
- Storage: You’ll need at least 60 GB of free storage space on your computer to install and run the emulator.
- Virtualization Support: Virtualization support must be enabled in your computer’s BIOS settings.
It’s important to note that these are the minimum requirements, and your experience with the emulator may vary depending on the specifications of your computer. In general, the more powerful your hardware, the smoother your emulation experience will be.
Additionally, it’s recommended to have a reliable internet connection, as you may need to download additional software components during the installation process. An internet speed of at least 10 Mbps is recommended for a seamless experience.
Now that you’re aware of the system requirements, let’s proceed to the next section, where we’ll guide you through the process of installing the HoloLens emulator.
Installing the HoloLens Emulator
Installing the HoloLens emulator is a straightforward process. Follow the steps below to get started:
- First, ensure that your computer meets the minimum system requirements mentioned earlier in this article.
- Open the Windows Start menu and search for “Visual Studio Installer”. Launch the program when it appears in the search results.
- In the Visual Studio Installer, click on “Modify” next to your installed version of Visual Studio.
- In the “Workloads” tab, select the “Universal Windows Platform development” workload. If it’s already installed, you can skip to the next step.
- After selecting the workload, click on the “Individual components” tab. Scroll down and make sure that the “Windows 10 SDK (10.xxx) for UWP: [x]” component is checked and click on the “Install” button.
- This will install the necessary tools and SDKs for emulating HoloLens on your computer. The installation may take some time, depending on your internet connection and computer speed.
- Once the installation is complete, open the Windows Start menu again and search for “HoloLens Emulator”. Click on the “HoloLens Emulator” app to launch it.
- The HoloLens emulator will launch, and you’ll be presented with various options and configurations. You can choose the emulator profile based on the desired device capability and operating system version.
- Follow the on-screen prompts, and the emulator will start initializing. This may take a few minutes, so be patient.
Once the emulator is launched and fully initialized, you’re ready to start emulating HoloLens and exploring the mixed reality environment right on your computer.
Now that you have installed the HoloLens emulator, the next section will guide you through the configuration process to ensure optimal performance.
Configuring the Emulator
Before you can start emulating HoloLens, it’s important to configure the emulator to ensure optimal performance and compatibility. Here are the steps to configure the emulator:
- Open the HoloLens emulator on your computer by launching the “HoloLens Emulator” app from the Start menu.
- Once the emulator is launched, you’ll be presented with a list of available emulator profiles. Select the profile that best matches your desired device capability and operating system version.
- Next, choose the sensor simulation settings for the emulator. These settings determine how the emulator simulates the sensors and input for HoloLens. You can configure the position and orientation of the virtual device, as well as simulate features like movement and gaze input.
- For development purposes, it’s recommended to enable the developer mode in the emulator. This will allow you to deploy and test your own HoloLens applications on the emulator. To enable developer mode, go to the “Settings” menu within the emulator and navigate to the “Update & Security” section. From there, select the “For developers” tab and choose the “Developer mode” option.
- Ensure that the emulator has access to your microphone and webcam if you plan to use voice commands or record videos within the simulated environment. You can configure these settings in the “Privacy” section of the emulator’s settings.
- Once you have completed the configuration steps, save your changes and exit the settings menu.
Congratulations! You have successfully configured the HoloLens emulator. Now, you’re ready to dive into the simulated mixed reality environment and start exploring the capabilities of HoloLens.
In the next section, we will guide you through the process of launching the emulator and setting up the emulated HoloLens within the simulated environment.
Launching the Emulator
With the HoloLens emulator configured, it’s time to launch the emulator and start experiencing the simulated mixed reality environment. Follow these steps to launch the emulator:
- Locate the “HoloLens Emulator” app on your computer and launch it from the Start menu.
- After launching the emulator, you will see a list of available emulator profiles. Select the profile that matches your desired device capability and operating system version.
- Click on the “Launch Emulator” button to start the emulator. The emulator will begin initializing and loading the emulated HoloLens environment.
- Once the emulator has finished loading, you will be presented with the simulated mixed reality environment, similar to what you would experience with a physical HoloLens device.
- Using your mouse and keyboard, interact with the virtual environment by clicking, dragging, and typing. You can also use the keyboard shortcuts provided by the emulator to simulate gestures and actions.
- Explore the different features and functionalities of the HoloLens emulator, such as placing holograms in your environment, manipulating them, and experimenting with various applications.
- Take some time to familiarize yourself with the emulator’s interface and navigation controls. This will help you navigate the emulated environment smoothly and make the most out of your experience.
- Remember to refer to the HoloLens emulator’s documentation and resources for further guidance and tips on using the emulator effectively.
Now that you have successfully launched the HoloLens emulator, you can start setting up the emulated HoloLens within the simulated environment to further enhance your experience.
In the next section, we will guide you through the process of setting up the emulated HoloLens and explore how to interact with the emulator.
Setting Up the Emulated HoloLens
Now that you have launched the emulator, it’s time to set up the emulated HoloLens within the simulated environment. Follow these steps to set up the emulated HoloLens:
- Once the emulator is launched and the simulated mixed reality environment is loaded, you will see the virtual representation of the HoloLens device.
- Use your mouse and keyboard to interact with the virtual device. You can move the device by clicking and dragging, rotate it by holding the Ctrl key while dragging, and resize it by holding the Shift key while dragging.
- Position the emulated HoloLens device in your virtual environment by dragging it to the desired location. This will determine the placement of holograms and how you interact with them.
- Take some time to explore the different settings and options available for the emulated HoloLens. You can access these settings by right-clicking on the virtual device and selecting the “Settings” option.
- Within the settings, you can adjust various parameters such as the field of view, spatial mapping settings, input configuration, and more. These settings allow you to customize the emulated HoloLens experience to suit your needs.
- Experiment with different settings and configurations to find the optimal setup for your testing or development purposes. This will enable you to simulate a wide range of scenarios and better understand the behavior of your applications in the HoloLens environment.
- Remember to save your settings once you’re satisfied with the configuration. This will ensure that the emulated HoloLens retains your preferred setup for future sessions.
By setting up the emulated HoloLens within the simulated environment, you can fully immerse yourself in the mixed reality experience and understand how virtual objects interact with your surroundings. Take this opportunity to explore the capabilities of the emulated HoloLens and prepare for developing or testing your own applications.
In the next section, we will delve into the various ways you can interact with the emulator and experience the virtual world of HoloLens.
Interacting with the Emulator
Interacting with the HoloLens emulator is an essential part of immersing yourself in the virtual mixed reality environment. Even though you’re using a computer, you can still experience many of the same interactions as you would with a physical HoloLens device. Here are some ways to interact with the emulator:
- Gaze Input: Just like with the physical HoloLens, you can use your mouse cursor to simulate gaze input. When you hover the cursor over a hologram or a menu option, it will behave as if you are looking at it with your eyes.
- Gestures: The emulator allows you to simulate various gestures using keyboard shortcuts. For example, you can use the “B” key to perform an “Air Tap” gesture, or the arrow keys to navigate through menus or holographic objects. Familiarize yourself with the available keyboard shortcuts to ensure smooth interaction.
- Voice Commands: If your computer has a microphone, you can enable voice commands in the emulator settings. This enables you to use voice commands to navigate menus, interact with holograms, and perform actions, just like you would with a physical HoloLens.
- Simulated Hand Tracking: The emulator provides a simulated hand that you can use to interact with holograms. You can control the hand’s position and gestures using mouse clicks and drags. This allows you to manipulate holograms, grab objects, and perform other hand-related interactions.
- Keyboard and Mouse Input: In addition to simulated gestures, you can also use your keyboard and mouse to interact with the emulator. This includes typing, clicking, dragging, and scrolling, which can be useful in navigating menus, filling forms, and interacting with applications.
- Simulated Spatial Mapping: The emulator’s spatial mapping feature allows you to analyze and understand the virtual environment’s structure. You can simulate scanning your surroundings and interact with holograms based on the spatial mapping data.
Experiment with different interactions to get a feel for how users would engage with holograms and navigate the HoloLens environment. This hands-on experience will help you develop a better understanding of how your own applications can utilize these interactions effectively.
Now that you know how to interact with the emulator, the next section will cover how to run apps within the emulated HoloLens environment.
Running Apps on the Emulator
One of the key advantages of emulating HoloLens is the ability to run and test applications within the simulated mixed reality environment. Whether you’re a developer or simply want to try out existing HoloLens apps, the emulator allows you to experience the functionality of these apps without needing the physical device. Here’s how you can run apps on the emulator:
- Developing Apps: As a developer, you can use the emulator to build and test your own HoloLens applications. When you create a project in a development environment like Unity or Visual Studio, you can configure the project to target the HoloLens platform. Once your app is built, you can deploy and run it on the emulator for testing and debugging purposes.
- Downloading Apps: If you’re not a developer but still want to try existing HoloLens apps, you can download them from the Microsoft Store. Open the Microsoft Store app within the emulator, browse the available apps, and install the ones you’re interested in. These apps will be downloaded and run within the emulated HoloLens environment.
- Testing App Functionality: Running apps on the emulator allows you to test their functionality and behavior in a simulated HoloLens environment. You can interact with the apps using gestures, voice commands, and simulated hand tracking. This enables you to validate the user experience, ensure proper functionality, and identify any issues or bugs before deploying the app to a physical HoloLens device.
- Simulating Different Scenarios: The emulator provides a versatile environment for app testing. You can simulate different scenarios, such as changing lighting conditions, environmental obstacles, or user positions. By adjusting these parameters, you can evaluate how your app performs under various conditions and ensure an optimal experience for users.
- Debugging and Profiling: The emulator includes powerful tools for debugging and profiling your HoloLens apps. You can set breakpoints, inspect variables, and analyze performance metrics to identify and resolve any issues or bottlenecks in your code. This helps ensure that your app runs smoothly and efficiently on the actual HoloLens device.
By running apps on the emulator, you can gain valuable insights into the functionality, usability, and performance of HoloLens apps. It allows you to refine and perfect your own applications or explore the capabilities of existing ones within the virtual mixed reality environment.
In the next section, we will provide some troubleshooting tips to help you overcome common challenges while using the HoloLens emulator.
Troubleshooting Tips
While using the HoloLens emulator, you might encounter certain challenges or issues that can hinder your experience. Here are some troubleshooting tips to help you overcome common problems:
- Virtualization Support: Ensure that your computer’s BIOS settings have virtualization support enabled. Without this, you will not be able to run the emulator. Consult your computer’s documentation or manufacturer’s website for instructions on how to enable virtualization support.
- Hardware Limitations: Keep in mind that the performance of the emulator depends on your computer’s specifications. If you’re experiencing slow performance, consider upgrading your hardware or closing unnecessary applications to free up system resources.
- Network Connectivity: The emulator requires an internet connection to download additional software components and updates. If you’re having trouble connecting to the internet within the emulator, check your network settings, ensure you have a stable connection, and disable any firewall or security software that might be blocking the emulator’s access to the internet.
- Emulator Updates: Microsoft periodically releases updates for the HoloLens emulator, which may include bug fixes, performance improvements, and new features. Make sure you have the latest version of the emulator installed. You can check for updates within the emulator settings or visit the Microsoft website for the latest version.
- Application Compatibility: Some HoloLens apps might not work perfectly within the emulator due to compatibility issues or missing features. If you encounter any problems running specific apps, check the app’s documentation or contact the developer for guidance and support.
- Emulator Settings: If you’re experiencing issues or unexpected behavior within the emulator, ensure that your emulator settings are configured correctly. Review the documentation and make any necessary adjustments to the spatial mapping, input, or device settings based on your requirements.
- Community Support: If you have exhausted all troubleshooting options and are still facing difficulties, reach out to the HoloLens community for assistance. Participate in forums, developer communities, and online discussions to seek advice from experienced users and developers who may have encountered similar issues.
Remember, troubleshooting is part of the development and emulation process. Don’t hesitate to experiment, seek help, and explore different solutions to resolve any challenges you encounter. With patience and persistence, you’ll be able to overcome most issues and fully enjoy the benefits of emulating HoloLens.
Now that you’re equipped with troubleshooting knowledge, let’s summarize the key points covered in this article.
Conclusion
Emulating HoloLens on your computer opens up a world of possibilities for developers, enthusiasts, and anyone curious about mixed reality. With the HoloLens emulator, you can delve into the immersive mixed reality environment without the need for the physical device. Throughout this article, we’ve explored various aspects of emulating HoloLens, including installation, configuration, interaction, and app deployment.
We began by introducing HoloLens and highlighting its incredible mixed reality capabilities. We then discussed the benefits of emulating HoloLens, such as cost-effectiveness, accessibility, and opportunities for developers and education. Next, we outlined the system requirements necessary to set up the emulator successfully.
We walked you through the installation process, configuring the emulator to ensure optimal performance. We then explored launching the emulator and setting up the emulated HoloLens within the simulated environment. We also discussed the various ways to interact with the emulator, including gaze input, gestures, voice commands, and simulated hand tracking.
Furthermore, we explained how to run apps on the emulator, whether developing your own applications or downloading and testing existing ones. We highlighted the significance of troubleshooting and provided some tips to overcome common challenges that may arise during the emulation process.
By emulating HoloLens, you can explore, create, and test mixed reality experiences without the need for the physical device. Whether you’re a developer honing your skills, an educator seeking to incorporate mixed reality into the classroom, or simply a curious individual wanting to immerse yourself in the world of mixed reality, the HoloLens emulator provides an accessible and immersive platform.
Emulating HoloLens is an exciting journey that allows you to unlock the potential of mixed reality and discover new ways to interact with digital content in your real-world environment. So, seize the opportunity, embrace the possibilities, and start exploring the fascinating world of mixed reality through the HoloLens emulator.