Introduction
Welcome to the exciting world of HoloLens development! The Microsoft HoloLens is a cutting-edge mixed reality device that allows users to interact with holograms in the real world. As a developer, you have the opportunity to create immersive and innovative experiences using this revolutionary technology.
In this article, we will guide you through the process of programming the HoloLens, from setting up your development environment to deploying your app. Whether you are a beginner or an experienced developer looking to expand your skills, this guide will provide you with the knowledge and tools you need to get started.
Before we dive into the technical details, it’s important to understand the requirements for HoloLens development. To develop applications for the HoloLens, you will need a Windows 10 PC with the latest updates, Visual Studio 2017 or later, and the Unity 3D game engine.
In addition, you should have a basic understanding of programming concepts such as C# and familiarity with Unity’s interface. If you are new to Unity, we recommend taking some time to familiarize yourself with its features and capabilities before proceeding.
With the requirements in place, let’s move on to setting up your development environment. This involves installing the necessary software and tools to begin building HoloLens applications. Don’t worry if you encounter any difficulties along the way, as we will provide step-by-step instructions to help you overcome any obstacles.
Once your development environment is set up, we will guide you through the process of creating a new project in Unity. We will explore the various tools and features available in Unity that are specifically designed for HoloLens development. Understanding these tools will lay a solid foundation for building your app.
A crucial aspect of HoloLens development is designing an intuitive and immersive user interface. We will delve into Unity’s UI tools to create interactive holographic elements and incorporate animations to enhance the user experience.
Furthermore, we will explore advanced concepts such as spatial mapping and spatial understanding. These feature-rich capabilities allow your app to understand the real world environment, enabling you to create experiences that seamlessly blend virtual objects with the physical world.
Once your app is built, the next step is to deploy it to the HoloLens device. We will guide you through the process of deploying your app wirelessly, so you can test and fine-tune your creation directly on the HoloLens device itself.
Testing and debugging are essential for ensuring the quality and performance of your app. We will cover the tools and techniques for testing and debugging HoloLens applications, so you can identify and resolve any issues that may arise during development.
By the end of this guide, you will have a solid foundation in programming the HoloLens and will be ready to embark on your journey in creating immersive mixed reality experiences. So, let’s get started and unlock the endless possibilities that the HoloLens has to offer!
Requirements
Before you embark on your HoloLens development journey, it is important to ensure that you have all the necessary requirements in place. This section will outline the hardware and software prerequisites needed to develop applications for the HoloLens.
First and foremost, you will need a Windows 10 PC with the latest updates. The HoloLens development tools are designed specifically for Windows 10, so make sure your PC meets the system requirements. Additionally, having a powerful PC will greatly enhance your development experience, allowing for faster builds and smoother testing.
The next requirement is Visual Studio 2017 or later. Visual Studio is a powerful integrated development environment (IDE) that provides a wide range of tools for building applications. It supports various programming languages, including C#, which is widely used in HoloLens development. Make sure to install the required components for developing Universal Windows Platform (UWP) apps.
Unity 3D is another essential tool for HoloLens development. Unity is a popular game engine that provides a visual editor and a comprehensive set of tools to create 2D and 3D experiences. You will need to download and install Unity 3D, preferably the latest stable version, to develop applications for the HoloLens. Familiarity with Unity’s interface and basic understanding of scripting in C# will be advantageous.
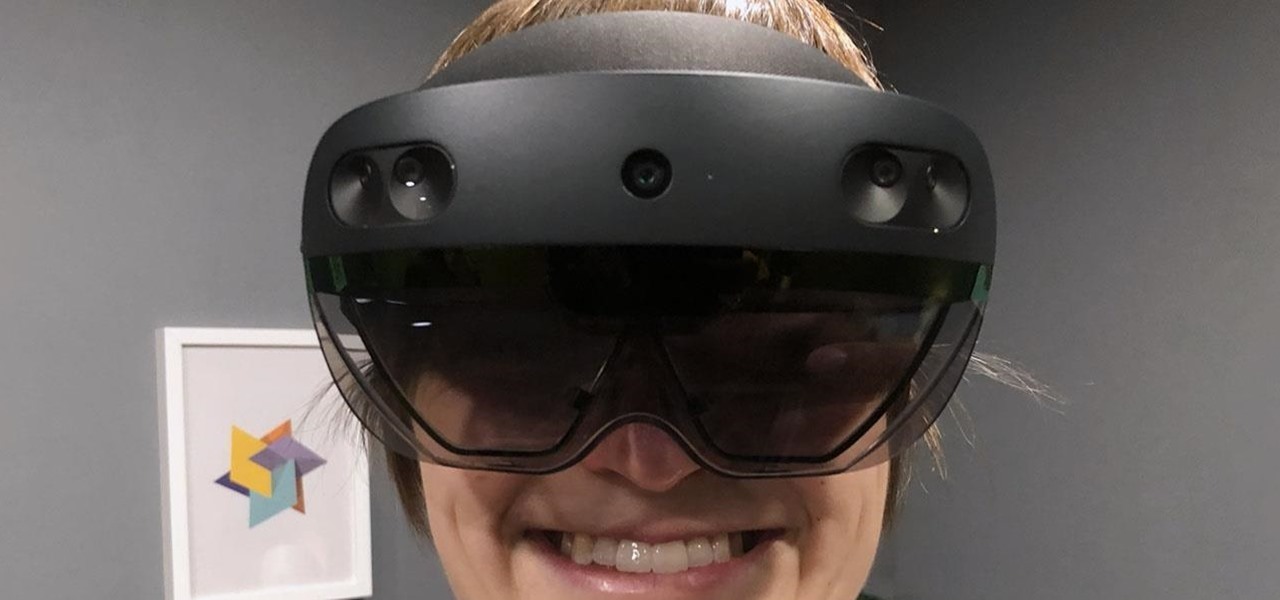
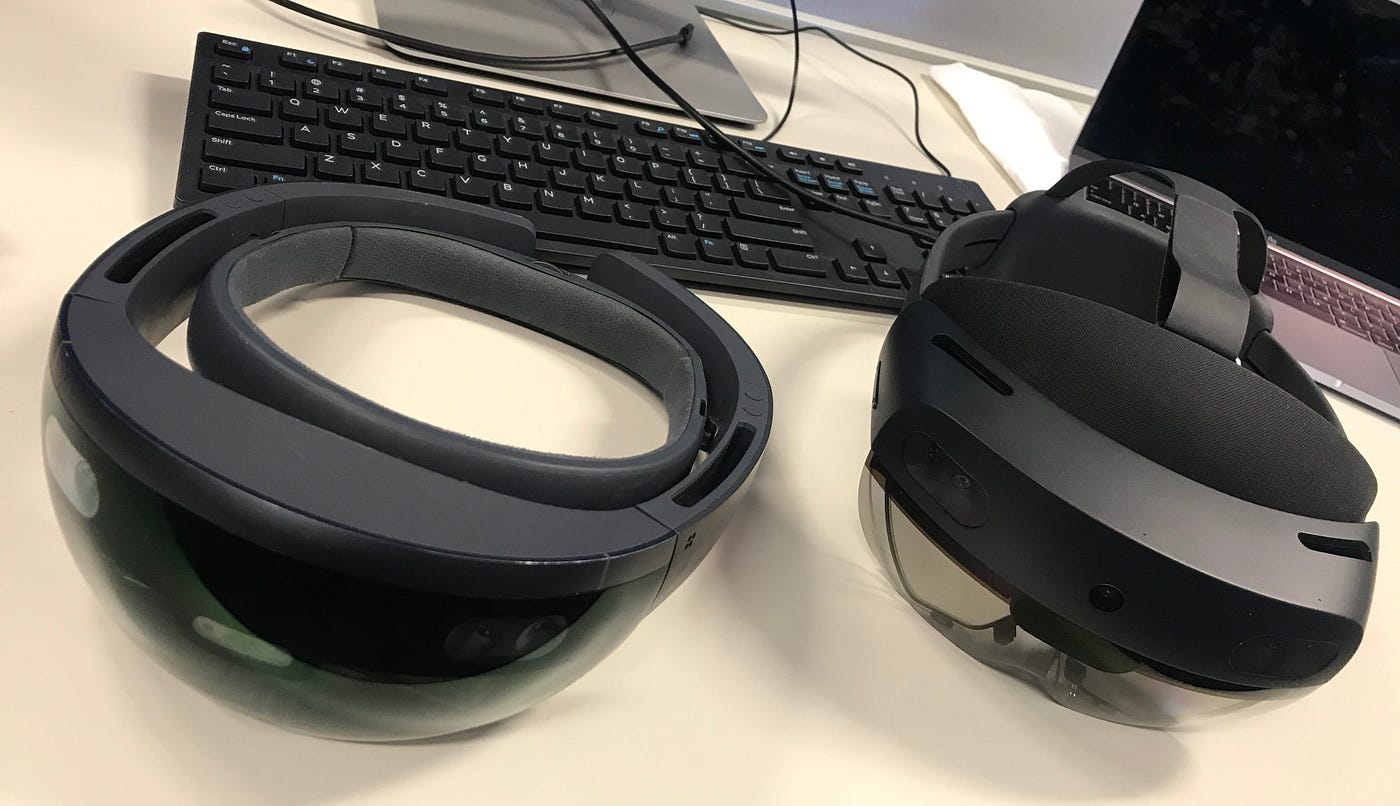
In addition to the software requirements, you will need a HoloLens device for testing and deploying your applications. The HoloLens is a self-contained wearable device that enables you to see and interact with holograms in the real world. Having access to a HoloLens device will allow you to validate your app’s functionality and user experience, ensuring that it performs as expected on the hardware.
If you don’t have access to a physical HoloLens device, don’t worry. Microsoft provides an emulator that simulates the HoloLens environment on your Windows 10 PC. The emulator allows you to develop, test, and debug your applications without needing the actual hardware. However, keep in mind that certain features, such as spatial mapping and gaze tracking, may not be fully replicated in the emulator.
As with any development process, having a good understanding of the HoloLens platform and its capabilities is crucial. Familiarize yourself with the HoloLens documentation and resources available on the official Microsoft website. This will provide valuable insights into best practices, design considerations, and development guidelines.
By ensuring that you have the necessary hardware and software requirements, you will be well-equipped to dive into HoloLens development. The next step is to set up your development environment, which we will explore in the following section.
Setting Up the Development Environment
Setting up your development environment is the first step towards programming the HoloLens. In this section, we will guide you through the process of installing the necessary software and tools to get started with HoloLens development.
The primary software requirement for HoloLens development is a Windows 10 PC with the latest updates. Make sure your PC meets the system requirements specified by Microsoft. If you don’t have Windows 10 installed, you will need to upgrade your operating system.
The next crucial component is Visual Studio. Head over to the official Visual Studio website and download the latest version, preferably Visual Studio 2017 or later. During the installation, make sure to select the necessary components for developing Universal Windows Platform (UWP) apps. These components are required for creating applications that can run on the HoloLens device.
Once Visual Studio is installed, you will need to download and install the Unity 3D game engine. Unity provides a comprehensive set of tools for creating interactive 2D and 3D experiences. Go to the Unity website and download the latest stable version of Unity 3D. Select the desired components during installation, including the “Windows Store .NET Scripting Backend” and the “Windows Store IL2CPP Scripting Backend” options, which are required for developing apps for the HoloLens.
After installing Unity, launch the Unity Hub, which serves as a central hub for managing your Unity projects. From there, you can create a new project or open an existing one. Make sure to select the appropriate version of Unity that supports HoloLens development.
To enable HoloLens-specific features in Unity, you will need to install the “Windows Mixed Reality” package. Open the Unity editor and navigate to the Package Manager, which can be accessed through the Window > Package Manager menu. From there, search for “Windows Mixed Reality” and install the package. This will provide you with the necessary tools and components for HoloLens development.
Finally, it’s time to connect your HoloLens device to your development PC. To do this, you will need to enable developer mode on your HoloLens. Follow the instructions provided by Microsoft to enable developer mode on your device. Once developer mode is enabled, you can connect your HoloLens to your PC via USB or wirelessly. Visual Studio will detect the connected device, allowing you to deploy and test your applications directly on the HoloLens.
With your development environment set up, you are ready to start building HoloLens applications. In the next section, we will explore the various tools and features available in Unity that are specifically designed for HoloLens development.
Creating a New Project
Now that your development environment is set up, it’s time to create a new project in Unity for your HoloLens application. In this section, we will walk you through the steps to create a new project and configure it for HoloLens development.
Launch the Unity Editor and click on “New” to start a new project. Give your project a meaningful name and select a directory where you want to save it. It’s a good practice to keep all your HoloLens projects organized in one location for easy access.
Next, select the 3D template for your project. Although you can create 2D experiences for the HoloLens as well, most applications leverage the immersive 3D capabilities of the device. Choosing a 3D template will provide you with a set of pre-configured assets and settings optimized for 3D development.
Once your project is created, you will be presented with the Unity Editor interface. This interface allows you to view and manipulate your project assets, scene hierarchy, and inspector properties. Familiarize yourself with the Unity Editor if you’re new to Unity, as it will be your primary tool for creating HoloLens applications.
Now it’s time to configure your project for HoloLens development. Navigate to the “Player Settings” by selecting “Edit” -> “Project Settings” -> “Player”. In the Player Settings window, you will find a range of options and configurations specific to your application.
Under the “Windows Store” tab, select the “Universal Windows Platform” as the target platform for your application. This will enable the necessary settings and options for building a UWP app that can run on the HoloLens.
Scroll down to the “Capabilities” section and enable the HoloLens-specific capabilities depending on the features your application requires. These capabilities grant your application the necessary permissions and access to certain device functionalities such as spatial mapping, microphone, and multiple HoloLens cameras.
Now let’s configure the settings for the HoloLens device. Navigate to the “XR Settings” tab and enable the “Virtual Reality Supported” option. Add the “Windows Mixed Reality” virtual reality SDK, and make sure it is at the top of the list in the hierarchy. This ensures that your application is optimized for the HoloLens device.
Additionally, you can adjust other settings such as the target platform version, minimum platform version, and scripting runtime version to match the HoloLens requirements. These settings ensure compatibility and optimal performance on the HoloLens device.
With your project created and properly configured, you are ready to start building your HoloLens application. Begin by designing the user interface and incorporating interactive elements using Unity’s UI tools. In the next section, we will delve into the tools and features available in Unity for building the user interface of your HoloLens application.
Understanding the HoloLens Development Tools
As you embark on your HoloLens development journey, it’s essential to familiarize yourself with the various tools and features available to build immersive mixed reality experiences. In this section, we will explore the key HoloLens development tools to help you understand their purpose and how they can be leveraged in your projects.
Unity 3D: Unity is a powerful game engine that provides a visual editor, scripting capabilities, and a vast array of tools for creating interactive 2D and 3D experiences. Unity is the primary development platform for HoloLens applications, offering a user-friendly interface and a wide range of features. It allows you to design your app’s user interface, incorporate animations, and interact with holographic elements.
Visual Studio: Visual Studio is an integrated development environment (IDE) that provides a comprehensive set of tools for coding, debugging, and testing applications. It supports various programming languages, including C#, which is widely used for HoloLens development. Visual Studio is the go-to IDE for building HoloLens applications and allows you to write scripts to control the behavior of holograms and interact with the device’s sensors and inputs.
Windows Device Portal: The Windows Device Portal is a web-based tool that allows you to remotely manage and monitor your HoloLens device. It provides access to device settings, performance metrics, and diagnostic information. You can deploy and install applications wirelessly, inspect log files, and even capture screenshots and videos directly from the device portal.
Windows Mixed Reality Toolkit (MRTK): The Windows Mixed Reality Toolkit is a collection of scripts, components, and prefabs that provide HoloLens-specific functionality and interactions. It is designed to accelerate the development process by offering pre-built components for common HoloLens features such as spatial mapping, input handling, and object manipulation. MRTK simplifies the creation of augmented reality experiences and enables developers to focus on the unique aspects of their applications.
Cortana Voice Commands: The HoloLens supports voice commands through the integration of Cortana, Microsoft’s virtual assistant. Cortana enables users to interact with holograms using natural language voice commands. As a developer, you can incorporate voice commands into your app to enhance the user experience and provide hands-free interactions. Properly implementing voice commands requires understanding the voice command API and specifying the appropriate voice commands in the app manifest.
Spatial Mapping and Spatial Understanding: The HoloLens is equipped with advanced sensors that enable it to understand and map the physical environment. Spatial mapping allows your application to create a mesh representation of the real-world space, enabling virtual objects to interact with the physical environment. Spatial understanding takes this a step further by providing semantic understanding of the environment, allowing your app to recognize surfaces, obstacles, and boundaries. Leveraging spatial mapping and spatial understanding can greatly enhance the realism and immersion of your HoloLens applications.
By familiarizing yourself with these HoloLens development tools, you will gain valuable insights into their capabilities and how they can be harnessed to create captivating mixed reality experiences. In the next section, we will delve into building the user interface of your HoloLens application using Unity’s UI tools.
Building the User Interface with Unity
The user interface plays a crucial role in creating an immersive and intuitive experience for your HoloLens application. In this section, we will explore how you can leverage Unity’s UI tools to build the user interface of your HoloLens application.
Unity provides a range of UI components, such as buttons, sliders, and text fields, that you can utilize to design your app’s user interface. These components can be found in the Unity Editor’s UI menu and can be easily dragged and dropped onto your scene.
To create a responsive and dynamic UI, you can use Unity’s layout components, such as Layout Group and Content Size Fitter. These components allow you to arrange UI elements automatically and adjust their size based on the content. This ensures that your UI adapts to different screen sizes and orientations, providing a consistent experience across various HoloLens devices.
In addition to standard UI components, you can also leverage HoloLens-specific UI elements to create holographic interactions. Unity provides specialized components, including the World Space Canvas, which allows you to place UI elements in 3D space. This enables you to overlay holographic UI elements on top of the physical space, creating a seamless blending of virtual and real-world objects.
Interactivity is a key aspect of the user interface in HoloLens applications. Unity’s UI system allows you to define the behavior of UI elements through event-driven programming. You can attach scripts to UI components to handle events such as button clicks, slider changes, or voice commands. These scripts can contain logic to manipulate holograms, trigger animations, or interact with other game objects.
Visual aesthetics also play a vital role in creating an appealing user interface. Unity provides a wide range of options for styling and customizing UI elements. You can adjust colors, fonts, textures, and animations to match your app’s branding and theme. Design the UI with consideration for visibility and legibility in different lighting conditions within HoloLens environments.
For HoloLens applications, it is essential to design for spatial awareness and depth perception. Consider the physical space in which users will be interacting with holograms and design the UI accordingly. Utilize spatial mapping data to ensure that UI elements align with real-world surfaces and objects. Provide depth cues, such as layering and shadows, to give UI elements a sense of depth and enhance the perception of the holographic environment.
As you design the user interface, remember to keep the overall user experience in mind. Keep the interface simple and intuitive, minimizing the learning curve for users. Use clear and concise labels, provide contextual cues, and ensure that interactions are smooth and responsive.
By leveraging Unity’s UI tools and incorporating HoloLens-specific elements, you can create a visually stunning and interactive user interface for your HoloLens application. With the user interface in place, we will move on to adding interactions and animations to enhance the user experience in the next section.
Adding Interactions and Animations
Interactions and animations are key elements that bring your HoloLens application to life. In this section, we will explore how you can enhance the user experience by adding interactive elements and captivating animations using Unity.
Interactions in HoloLens applications can be achieved through various input methods, such as gaze, gesture, and voice commands. Unity provides built-in components to handle these inputs, allowing you to respond to user actions and enable seamless interaction with holograms.
Gaze is a primary input method in HoloLens applications. You can use Unity’s built-in EventSystem and EventTrigger components to detect when the user’s gaze hovers over or selects a holographic object. By attaching scripts to these components, you can define the behavior of holograms when they are gazed-at or interacted with, such as triggering animations or spawning additional objects.
In addition to gaze, you can incorporate gesture recognition to enable more immersive interactions. Unity provides the ability to track hand gestures, such as air-tap or pinch, using the GestureRecognizer class. By defining gesture-based actions in your scripts, users can manipulate holographic objects, move through menus, or perform other interactive tasks. Remember to provide visual cues or instructional prompts to guide users on how to use gestures effectively.
Cortana voice commands can also be integrated into your HoloLens application for hands-free interactions. Utilize the capability of the SpeechRecognizer class in Unity to listen for specific voice commands and trigger corresponding actions. This allows users to control the application or interact with holograms using natural language commands.
Animations play a vital role in adding visual appeal and conveying information in HoloLens applications. Unity’s animation system allows you to create complex animations that bring holograms to life. You can animate properties such as position, rotation, scale, and materials. By manipulating these properties over time, you can create dynamic and engaging visual effects.
You can animate holographic objects using keyframes, which define the property values at specific points in time. Unity’s animation timeline provides an intuitive interface to create, edit, and preview animations. You can fine-tune animation curves to control the speed and easing of transitions, resulting in smooth and natural movements.
Sequencing multiple animations can create more elaborate effects and transitions. Unity’s animator controller system allows you to define animation states and transitions between states. By utilizing animator controllers, you can create complex animation sequences that respond to user input or specific events.
Remember to consider the spatial nature of HoloLens when designing animations. Take advantage of the device’s capabilities, such as spatial mapping and spatial understanding, to ensure that animations interact seamlessly with the physical environment. For example, you can animate holograms to align with real-world surfaces, follow the user’s gaze, or respond to spatial understanding data.
By incorporating interactive elements and captivating animations, you can create an immersive and engaging user experience in your HoloLens application. In the next section, we will explore the implementation of spatial mapping and spatial understanding to further enhance the realism and interaction possibilities of your app.
Implementing Spatial Mapping and Spatial Understanding
Implementing spatial mapping and spatial understanding in your HoloLens application can greatly enhance the realism and interaction possibilities. In this section, we will explore how you can leverage Unity and HoloLens-specific tools to implement spatial mapping and spatial understanding features.
Spatial Mapping: The HoloLens is equipped with advanced sensors that enable it to map and understand the physical environment. Spatial mapping allows you to generate a mesh representation of the real-world space, creating a virtual replica of the physical environment. Unity provides APIs to access the spatial mapping data, allowing you to interact with surfaces and objects in the physical world.
You can utilize Unity’s spatial mapping components, such as the SpatialMappingRenderer and SpatialMappingCollider, to visualize and interact with the spatial mesh. By attaching these components to holograms, you can enable them to interact realistically with the physical environment. For example, you can have holograms rest on table surfaces or bounce off walls based on the spatial mesh data.
Spatial Understanding: Building on spatial mapping, spatial understanding provides a higher level of semantic understanding of the environment. Spatial understanding allows your application to recognize surfaces, obstacles, and boundaries in the physical world, enabling more intelligent interaction with the virtual objects.
Unity provides the HoloToolkit library, including the SpatialUnderstanding component, to implement spatial understanding in your HoloLens application. The SpatialUnderstanding component allows you to define rules and constraints for your holograms based on the spatial understanding data. For example, you can place virtual objects on tables or align them with walls using spatial understanding information.
By combining spatial mapping and spatial understanding, you can create experiences where virtual objects seamlessly blend with the real world. For instance, you can build an augmented reality game where virtual characters or objects interact with physical surfaces or hide behind obstacles detected by spatial understanding.
Remember to optimize your application’s performance when using spatial mapping and spatial understanding. The spatial mapping data can be computationally expensive, so it’s essential to balance the level of detail and frequency of updates based on your application’s requirements. Additionally, consider user comfort and safety by avoiding occlusion or potential collisions with physical objects in the environment.
By implementing spatial mapping and spatial understanding in your HoloLens application, you can create more immersive and interactive experiences that seamlessly blend virtual and real-world elements. In the next section, we will explore the process of deploying your app to the HoloLens device for testing and fine-tuning.
Deploying Your App to the HoloLens
Once you have developed and tested your HoloLens application, the next step is to deploy it to the HoloLens device for further testing and evaluation. In this section, we will guide you through the process of deploying your app to the HoloLens device.
Developer Mode: Before you can deploy your app to the HoloLens device, you need to enable developer mode on the device. This allows the device to install apps from sources other than the Microsoft Store. To enable developer mode, go to the “Settings” app on the HoloLens, navigate to the “Update & Security” section, and enable “Developer Mode.”
Connecting to the Device: Once developer mode is enabled, you can connect your HoloLens device to your development PC. There are two methods for connecting to the device: via USB or wirelessly.
If you prefer to connect via USB, use a USB cable to connect the HoloLens device to your PC. The device should be automatically recognized by your PC, and drivers will be installed if necessary. You can then proceed with deploying your app.
If you prefer to connect wirelessly, make sure both your PC and HoloLens are connected to the same network. Find the IP address of your HoloLens device in the “Settings” app under “Network” -> “Wi-Fi” -> “Advanced Options.” In Visual Studio, go to the “Debug” menu and select “Remote Machine.” Enter the IP address of your HoloLens and click “Select.” Visual Studio will then connect to the HoloLens wirelessly.
Build and Deploy: With your HoloLens device connected, you can now build and deploy your app. In Unity, go to the “Build Settings” (File -> Build Settings) and select the Universal Windows Platform as the target platform. Click on “Switch Platform” to set Unity to build for the HoloLens.
Next, click on “Build” and select a folder to save the build files. Unity will compile the app and generate the necessary files for deployment.
In Visual Studio, open the solution file that Unity generated in the build folder. Ensure that the target architecture is set to x86 and the target device is set to “Device” or “Remote Machine” if you are deploying wirelessly.
Click on the “Start Debugging” or “Start Without Debugging” button to deploy your app to the HoloLens device. Visual Studio will install the app on the HoloLens, and you will be able to launch and interact with it directly on the device.
It’s important to thoroughly test your app on the HoloLens device to ensure that it performs as expected and provides a seamless user experience. Evaluate the app’s functionality, responsiveness, and usability in a real-world setting to identify and address any issues or improvements that may arise.
With your app successfully deployed to the HoloLens device, you can now fine-tune and iterate on its design and functionality based on user feedback and testing results. In the next section, we will explore the tools and techniques for testing and debugging your HoloLens app.
Testing and Debugging Your App
Testing and debugging are critical steps in the development process of a HoloLens app, ensuring that it functions properly and provides an optimal user experience. In this section, we will explore the tools and techniques you can use to effectively test and debug your HoloLens app.
Unity Debugging: Unity provides a range of built-in debugging tools that can help you identify and fix issues in your HoloLens app. You can use the Unity Editor’s console to view debug log messages, warnings, and errors. By placing debug log statements in your code, you can output messages to the console to track the flow of your application and identify any unexpected behavior.
In addition to the console, Unity allows you to set breakpoints in your scripts, enabling you to pause the execution of your app at specific points and examine the state of variables and objects. This can help you pinpoint and investigate issues in your code.
Visual Studio Debugging: Visual Studio is a powerful IDE that provides comprehensive debugging capabilities for HoloLens development. You can use breakpoints, step through code, inspect variables, and perform live code editing while your app is running on the HoloLens device.
To debug your app in Visual Studio, connect your HoloLens device to your development PC and deploy your app to the device. Start debugging by selecting the appropriate target device in Visual Studio, setting breakpoints in your code, and running your app in debug mode. When a breakpoint is hit, you can examine the current state of your app and trace the flow of execution.
Performance Testing: It’s crucial to gauge the performance of your HoloLens app to ensure that it runs smoothly and optimally. Unity provides performance profiling tools, such as the Unity Profiler, which allows you to analyze the performance and memory usage of your app. It helps identify potential bottlenecks and memory leaks, enabling you to optimize your app’s performance.
Performance testing on the HoloLens device itself is also essential. Test your app in different scenarios and environments to verify its performance under varied conditions. Pay attention to factors such as frame rate, rendering quality, and the impact of complex holograms or interactions on the overall performance.
User Testing: In addition to technical testing, it’s crucial to gather feedback from real users to evaluate the user experience of your HoloLens app. Conduct user testing sessions where participants interact with your app and provide feedback on its usability, intuitiveness, and overall effectiveness.
Observe how users interact with holograms, if they encounter any difficulties or confusion, and identify areas for improvement. Use this user feedback as valuable input to refine and enhance your app’s design and functionality.
Incorporate a feedback mechanism within your app, such as a bug reporting or feedback form, to encourage users to provide their insights and report any issues or suggestions for improvement they may encounter while using the app.
Continually test and iterate on your app, incorporating fixes, enhancements, and new features as dictated by testing results and user feedback. The iterative process allows you to refine and polish your HoloLens app, ensuring a high-quality, user-focused experience.
By utilizing the debugging tools in Unity and Visual Studio, conducting performance testing, and gathering user feedback, you can effectively test and debug your HoloLens app to deliver a seamless and immersive experience to your users. In the final section, we will recap the key points covered in this guide and emphasize the importance of continuing to learn and explore the possibilities of HoloLens development.
Conclusion
Congratulations on completing this guide on programming the HoloLens! Throughout this journey, we have covered the key aspects of HoloLens development, from setting up your development environment to testing and debugging your app. Let’s recap the essential points we’ve explored:
We began by understanding the requirements for HoloLens development, highlighting the importance of a Windows 10 PC, Visual Studio, and the Unity 3D game engine. These tools provide the foundation for building immersive mixed reality experiences.
Setting up the development environment involved installing the necessary software and configuring Unity and Visual Studio for HoloLens development. This step ensured that you were ready to start creating your first HoloLens project.
With a new project in Unity, we explored designing the user interface, leveraging Unity’s UI tools to create intuitive and visually appealing holographic interfaces. Interactions and animations brought the app to life, allowing users to engage with holograms through gaze, gesture, and voice commands.
We then dove into spatial mapping and spatial understanding, enabling the app to recognize and interact with the real-world environment. By incorporating these features, your app can seamlessly blend virtual objects with physical surfaces and obstacles.
To test and debug your app, we explored the debugging capabilities of Unity and Visual Studio, ensuring the app’s functionality and performance met your expectations. Furthermore, we emphasized the importance of user testing to gather valuable feedback and improve the user experience.
Deploying your app to the HoloLens device marked the final step, enabling you to see your creation come to life on the actual hardware. This allowed for further testing, fine-tuning, and refinement to refine the app’s performance and user experience.
As you continue your journey in HoloLens development, remember to keep learning and exploring. The HoloLens platform presents endless possibilities for creating innovative and immersive experiences. Stay updated with the latest updates and advancements in the HoloLens ecosystem, and leverage the vibrant developer community and available resources.
Whether you are building games, educational applications, or enterprise solutions, HoloLens development offers a unique opportunity to shape the future of mixed reality. Continue to experiment, challenge yourself, and push the boundaries of what is possible with HoloLens. The world is waiting for the next revolutionary HoloLens app, and it could be created by you!