Introduction
Welcome to this guide on how to hide the HoloLens cursor. If you’re a HoloLens user, you may have noticed that the cursor can sometimes be distracting or obstructive when interacting with virtual content. Whether you’re a developer, designer, or simply an avid user, learning how to hide the HoloLens cursor can greatly enhance your immersive experience and allow you to focus on the content at hand.
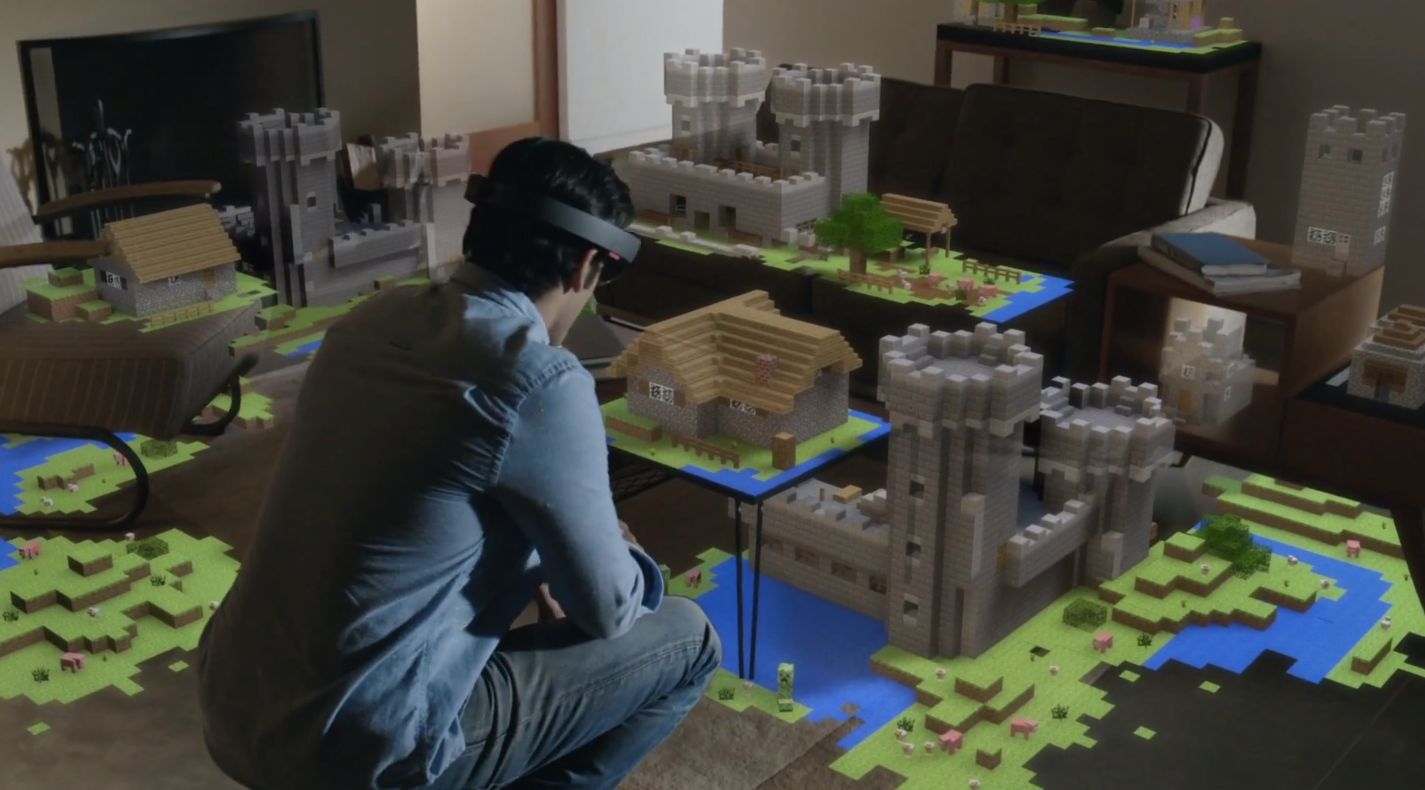
The HoloLens cursor is an important element that aids in interacting with holographic elements and applications. It provides visual feedback and helps to precisely locate the point of interaction. However, in certain scenarios, such as when presenting or recording a demo, you may want to hide the cursor to create a cleaner and more professional appearance.
In this guide, we will explore three different methods you can use to hide the HoloLens cursor. Each method offers its own advantages and can be used in various situations. Whether you prefer adjusting the cursor opacity, using a transparent cursor image, or disabling the cursor altogether with a voice command, we’ve got you covered.
Why hide the HoloLens cursor?
While the HoloLens cursor serves an important purpose in guiding interactions with virtual content, there are several reasons why you might want to hide it in certain situations. Here are a few key reasons:
- Improved immersion: When engaging with holographic content, minimizing visual distractions can enhance the sense of immersion. By hiding the cursor, you can create a more seamless experience, allowing users to focus solely on the virtual elements without the presence of an overlaying cursor.
- Cleaner presentation: When showcasing or presenting your HoloLens experience, removing the cursor can provide a cleaner and more professional appearance. It streamlines the visuals and prevents any potential distraction that the cursor might cause during demonstrations or recordings.
- Customization purposes: By hiding the default HoloLens cursor, you have the opportunity to replace it with a custom cursor design that aligns with your application’s branding or theme. This allows for a more consistent and personalized user experience.
- User interface design: In some cases, the cursor might interfere with the intended user interface design. By hiding it, you can create a more seamless and intuitive interaction model without any potential conflicts or visual clutter.
These reasons highlight the importance of being able to temporarily hide the HoloLens cursor and provide a more tailored experience for users. Whether you are a developer aiming to enhance user immersion or a presenter looking to deliver a polished demonstration, the ability to hide the cursor gives you greater control over the HoloLens experience and allows for a smoother interaction with holographic content.
Method 1: Adjusting cursor opacity
One simple and effective method to hide the HoloLens cursor is by adjusting its opacity. By reducing the opacity of the cursor, you can make it almost transparent, minimizing its visibility without completely removing it from view. Here’s how you can adjust the cursor opacity on your HoloLens:
- Launch the HoloLens settings menu by selecting the Start button on your device or using the air tap gesture to bring up the Start menu.
- Scroll down and select “System”.
- In the System menu, choose the “Cursor & Gestures” option.
- Locate the “Cursor Opacity” slider and drag it towards the left to decrease the opacity. You can experiment with different opacity levels until you find the desired balance between visibility and transparency.
- Exit the settings menu by selecting the close or back button.
Once you have adjusted the cursor opacity, you will notice that it becomes less prominent and blends in with the background, allowing you to focus more on the holographic content. This method is particularly useful when you want to maintain some level of cursor visibility for precise interaction while reducing its overall visual impact.
Keep in mind that adjusting the cursor opacity is a system-wide setting that affects the visibility of the cursor in all applications and experiences on your HoloLens. Depending on your specific needs, you can fine-tune the opacity level to achieve the desired effect.
It’s worth noting that while this method provides a quick and straightforward way to hide the HoloLens cursor, it may not be suitable for every use case. There might still be instances where you would prefer to completely eliminate the cursor from view. In such cases, you can explore the next method, which involves using a transparent cursor image.
Method 2: Using a transparent cursor image
Another effective method to hide the HoloLens cursor is by utilizing a transparent cursor image. By replacing the default cursor image with a transparent image, you can achieve a completely invisible cursor. Here’s how you can implement this method:
- Create a transparent PNG or GIF image with the dimensions of the cursor icon you wish to replace.
- Upload the transparent image to your HoloLens device using a USB cable or any other preferred method.
- Open the application or experience where you want to hide the cursor.
- Use the appropriate scripting or programming language to replace the default cursor image with your transparent image. The exact implementation may vary depending on the development platform you are working with. Consult the documentation or resources specific to your chosen platform for guidance.
- Run the application or experience, and you will notice that the cursor is now invisible, as it has been replaced by the transparent image.
By replacing the cursor image with a transparent one, you can ensure that there are no visual distractions or obstructions when interacting with holographic content. This method is particularly useful when you want to completely remove the cursor from view, providing a seamless and immersive experience for users.
It’s important to note that this method requires some programming or scripting knowledge and may be more suitable for developers or designers who have access to the application’s source code. If you are using a pre-built application or experience, you may need to contact the developer or explore alternative methods for hiding the cursor.
By using a transparent cursor image, you have the flexibility to customize the cursor design to align with your overall user interface and branding. This method allows for a more cohesive and tailored experience, providing a polished and professional appearance for your HoloLens application or experience.
Method 3: Disabling the cursor by voice command
A convenient method to hide the HoloLens cursor is by using a voice command to disable it. This allows for a hands-free approach, making it easy to toggle the visibility of the cursor as needed. Here’s how you can utilize voice commands to disable the cursor on your HoloLens:
- Initiate the voice command feature on your HoloLens by either saying “Hey Cortana” or pressing the bloom button on the device.
- Speak the command “Hide cursor” or any other equivalent phrase you have set up for this function.
- The HoloLens will process the voice command and instantly hide the cursor from view.
By using voice commands, you can quickly and effortlessly disable the cursor, allowing for a more seamless and natural interaction with holographic content. This method is particularly useful when you want to avoid manual adjustments or modifications, providing a hands-free solution for hiding the cursor.
It’s worth noting that to enable voice commands on your HoloLens, you need to have the voice command feature set up and activated. This can be done through the device’s settings or the Cortana app. Consult the HoloLens documentation or Microsoft support for detailed instructions on how to enable and configure voice commands for your specific device.
Using voice commands to hide the cursor offers a convenient and intuitive method for users to control the cursor visibility. It allows for a more seamless navigation and interaction with holographic content, empowering users to focus on the virtual elements without any distracting overlays.
It’s important to note that the availability and functionality of voice commands may vary depending on the HoloLens device and the installed software version. Ensure that your device is up to date and compatible with the voice command feature to leverage this method effectively.
Conclusion
In this guide, we explored three different methods to hide the HoloLens cursor, allowing for a more immersive and customized experience when interacting with holographic content. Adjusting the cursor opacity provides a simple way to reduce its visibility while maintaining some level of interaction precision. Using a transparent cursor image offers the flexibility to completely remove the cursor from view, allowing for a seamless and distraction-free experience. Disabling the cursor by voice command provides a hands-free approach, making it quick and convenient to toggle the cursor visibility as needed.
Depending on your specific needs and preferences, you can choose the method that best suits your situation. Whether you are a developer looking to enhance user immersion, a presenter aiming for a polished demonstration, or simply a user wanting a cleaner interface, these methods empower you to take control of the HoloLens cursor and create a more tailored experience.
It’s important to note that each method has its own considerations and may require different levels of technical knowledge. Adjusting the cursor opacity and using voice commands are accessible to most HoloLens users, while using a transparent cursor image may require programming or scripting skills. Choose the method that aligns with your capabilities and goals.
By hiding the HoloLens cursor, you can enhance user immersion, create a cleaner presentation, customize the user interface, and ensure a more seamless interaction with holographic content. Experiment with these methods and find the approach that best suits your needs to fully leverage the potential of your HoloLens device.


