Introduction
Welcome to the exciting world of HoloLens development! If you’re looking to create stunning augmented reality experiences using Microsoft’s HoloLens device, you’ve come to the right place. In this article, we will guide you through the process of importing an existing HoloLens project into Unity to help you kickstart your development journey.
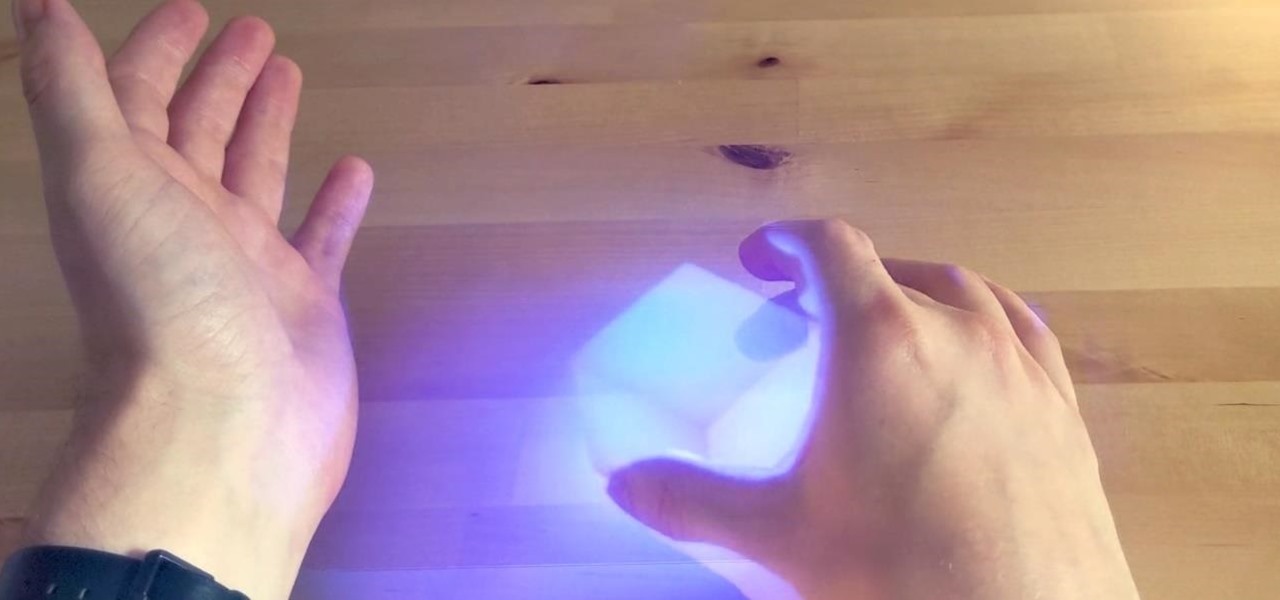
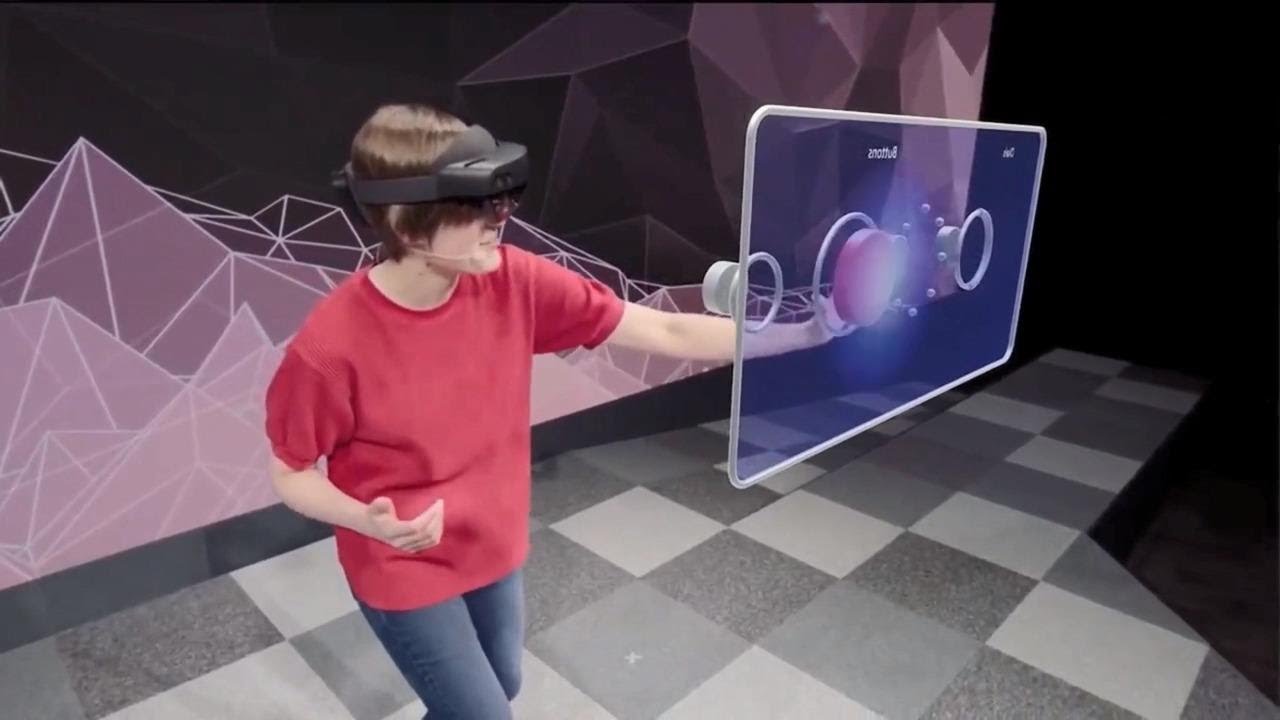
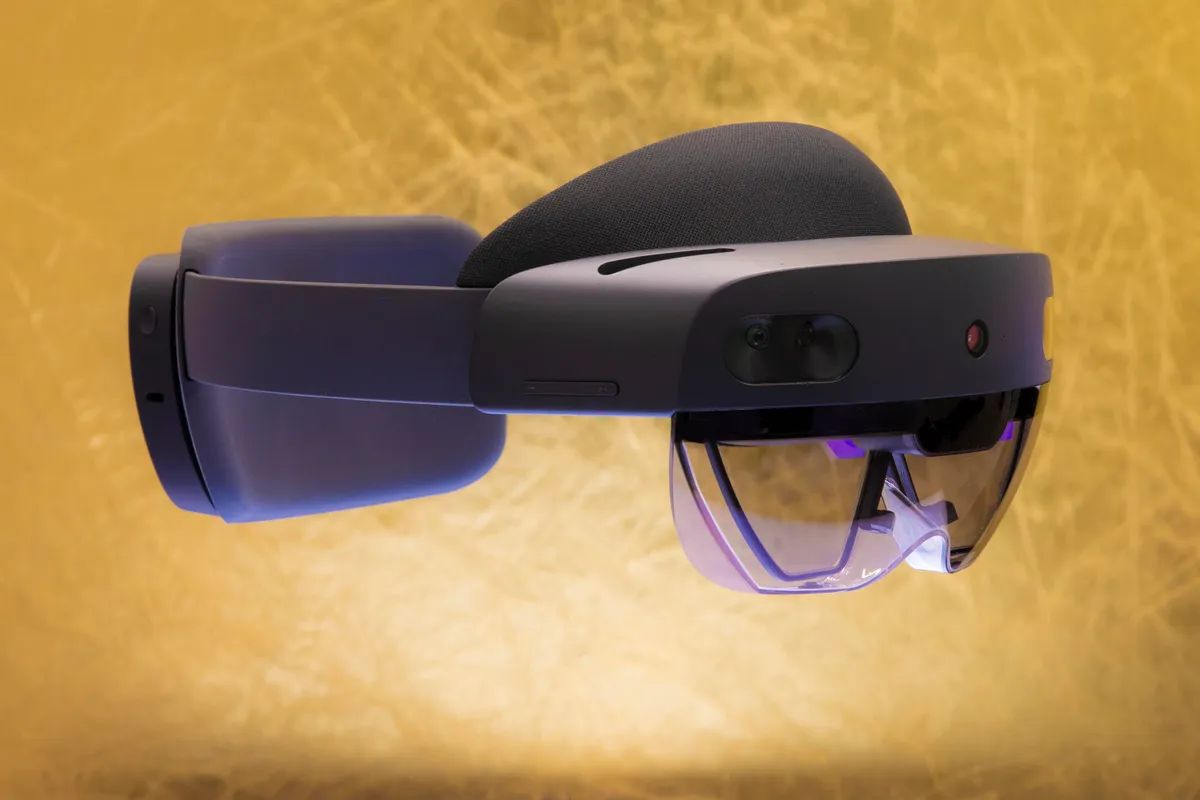
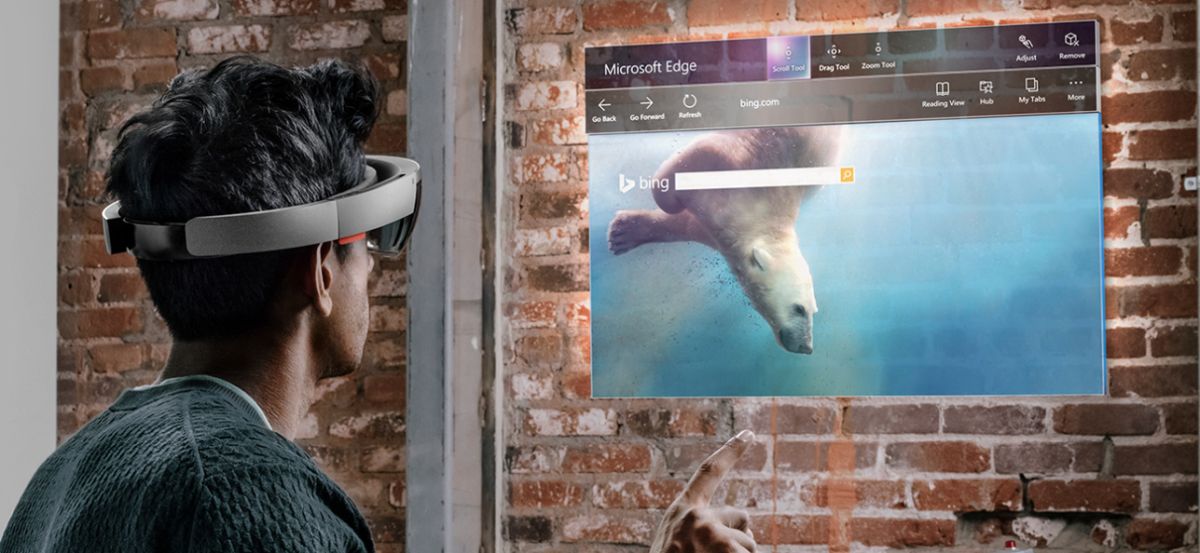
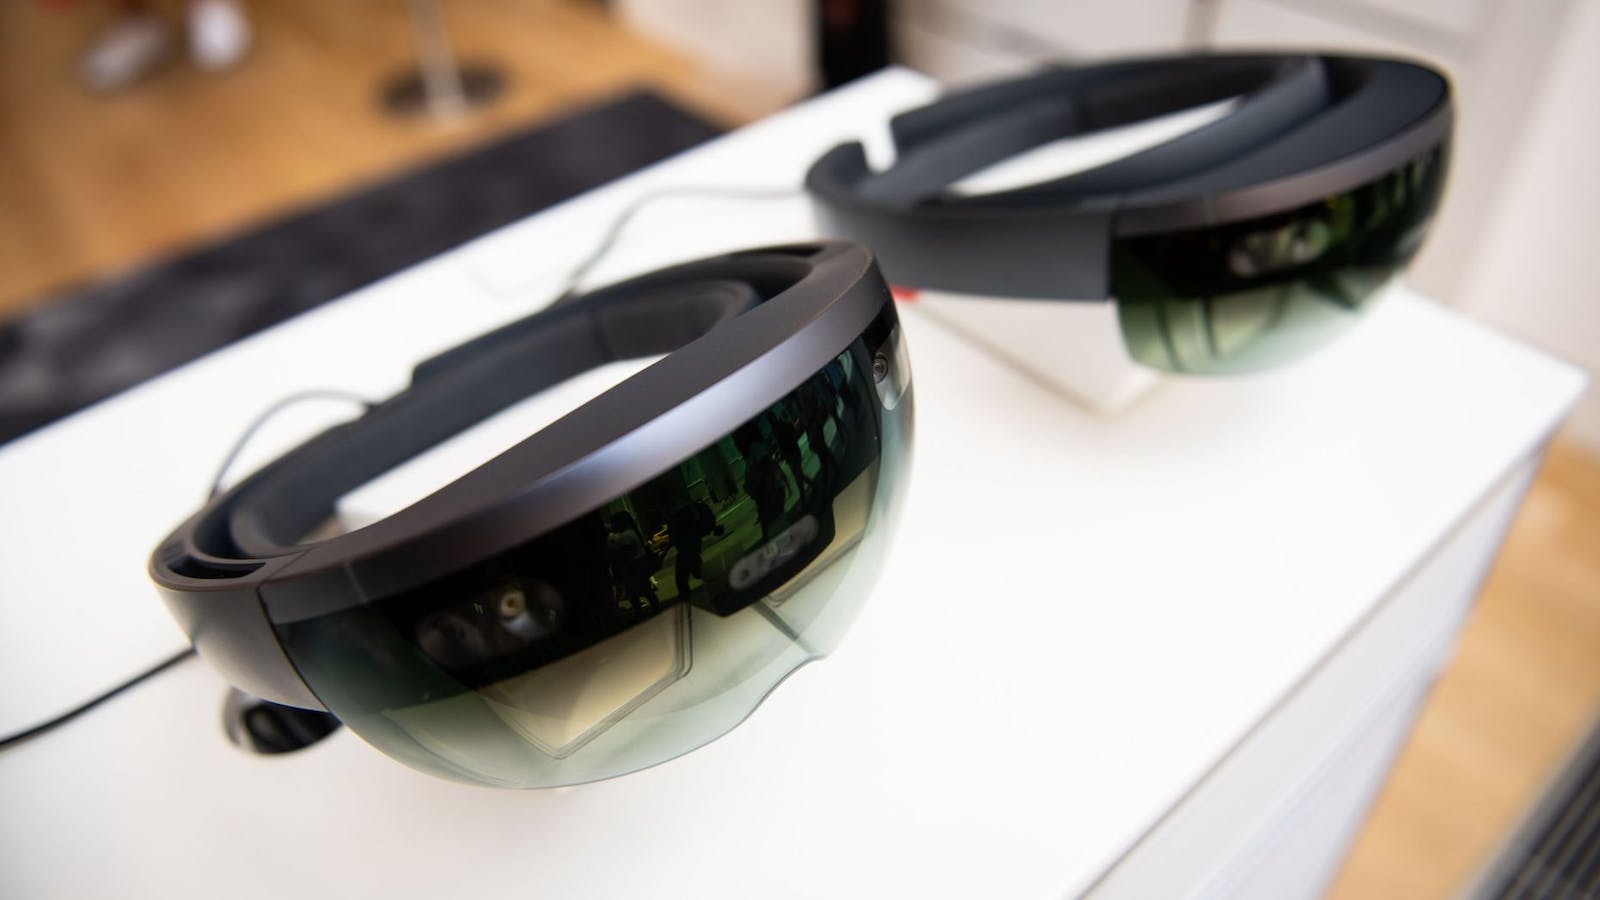
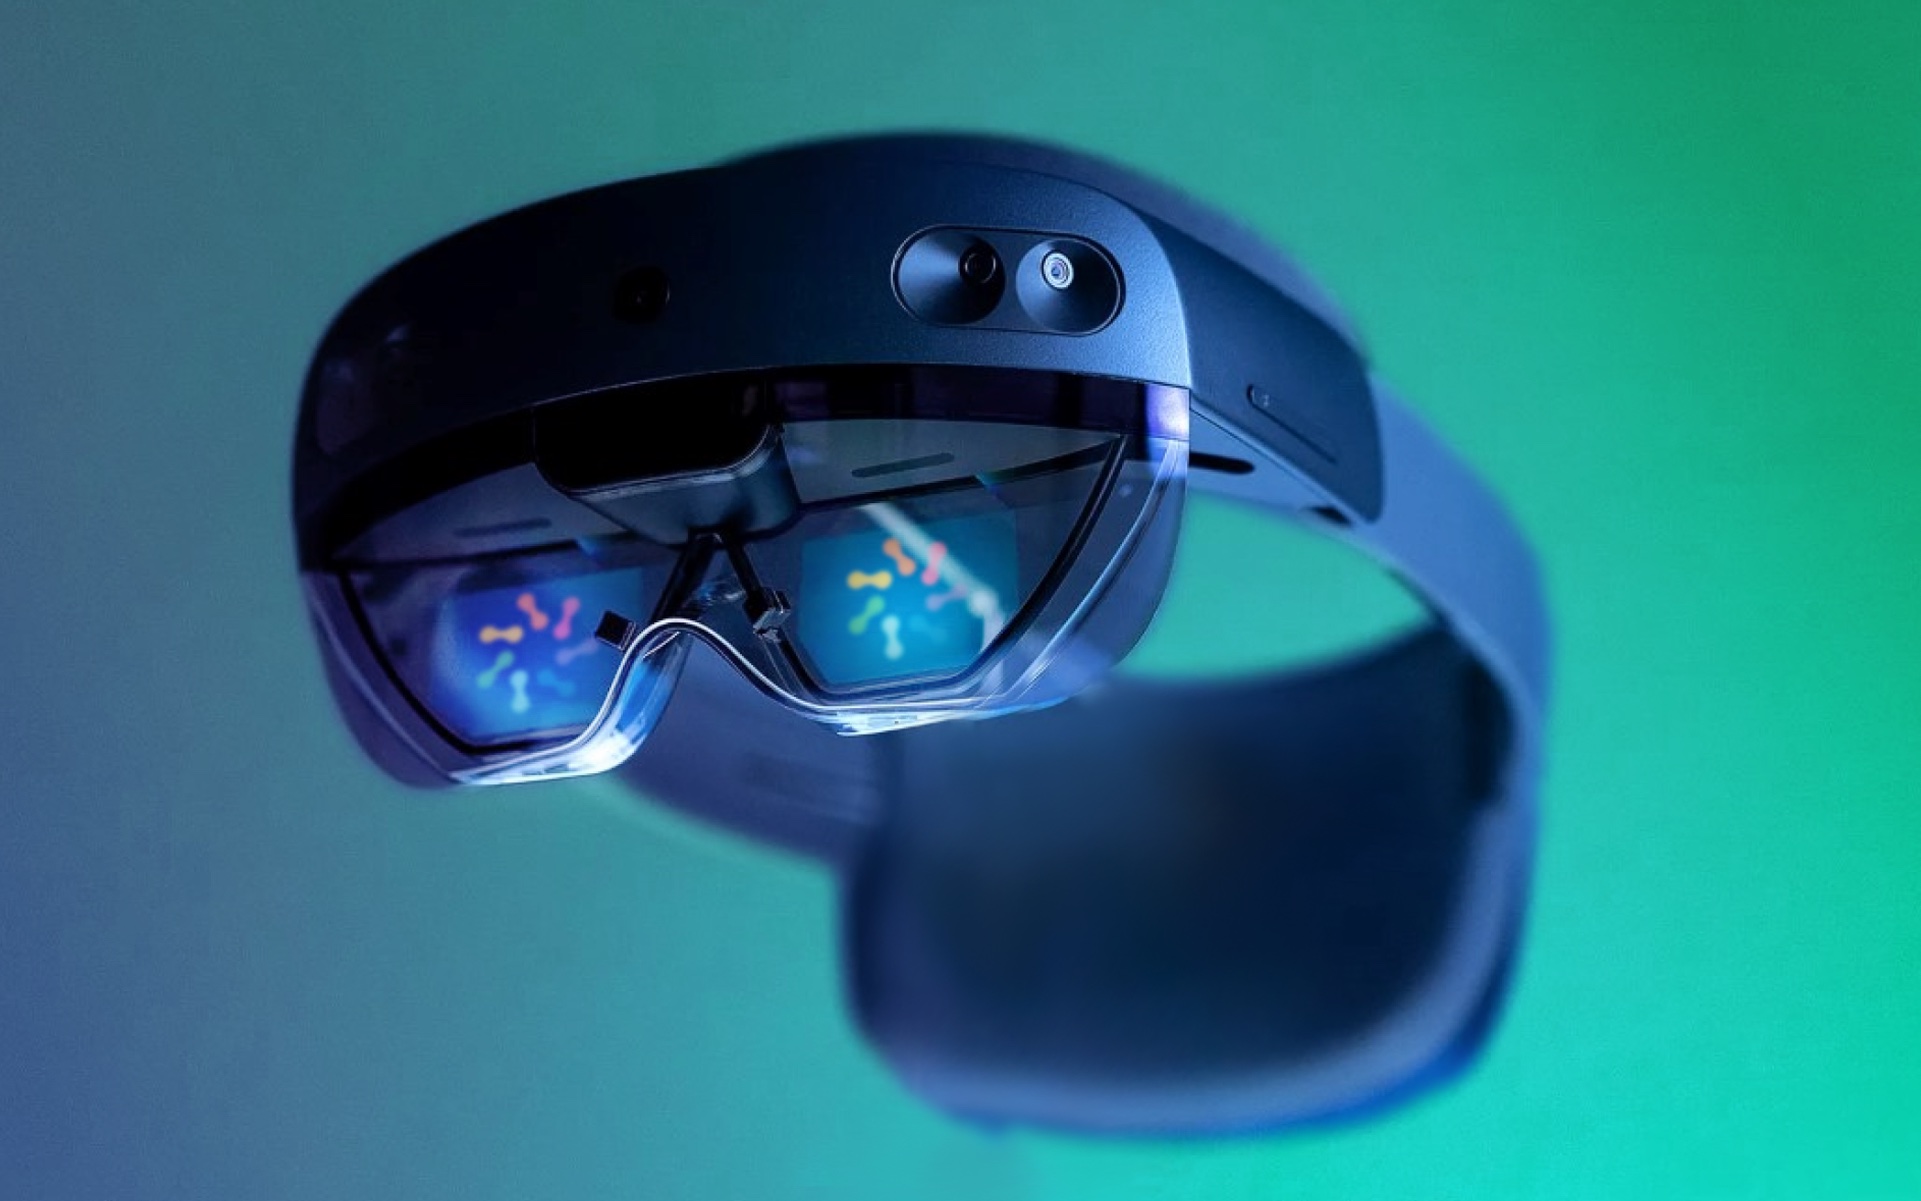
The HoloLens device, developed by Microsoft, is a groundbreaking mixed reality headset that allows users to interact with virtual objects overlaid on the real world. With its advanced tracking capabilities, spatial mapping, and spatial sound, the HoloLens offers a truly immersive and interactive experience.
Unity, one of the most popular game development engines, provides robust support for creating HoloLens applications. By importing your HoloLens project into Unity, you gain access to a wealth of tools and features that can enhance your project and help bring your vision to life.
Whether you’re a seasoned developer or just starting out, this step-by-step guide will walk you through the process of importing your HoloLens project into Unity. We will cover everything from setting up the HoloLens development environment to building and deploying your project onto the HoloLens device.
By the end of this tutorial, you will have a solid understanding of how to import and manage your HoloLens projects in Unity, allowing you to unleash your creativity and develop captivating augmented reality experiences.
Step 1: Setting up the HoloLens Development Environment
Before diving into the world of HoloLens development, it’s crucial to ensure that your development environment is set up correctly. Here are the steps to follow:
- Install the necessary software: Begin by installing the Windows 10 SDK (Software Development Kit) and the Unity development environment. Ensure that your PC meets the minimum requirements specified by Microsoft to run the HoloLens emulator.
- Enable developer mode: Activate developer mode on your Windows 10 machine. Developer mode allows you to sideload applications onto the HoloLens device, enabling you to test and debug your projects directly.
- Set up the HoloLens emulator: The HoloLens emulator is a valuable tool that allows you to test your applications without needing a physical device. Install and configure the emulator to create a virtual HoloLens environment on your PC.
- Connect your HoloLens device: If you have a physical HoloLens device, connect it to your PC using a USB cable. Enable the Device Portal on the HoloLens device to establish a connection and enable wireless deployment and debugging.
- Create a HoloLens developer account: To deploy your applications onto a physical HoloLens device, you need to create a developer account with Microsoft. This account will also allow you to access additional resources and tools for HoloLens development.
Setting up the HoloLens development environment can be a bit involved, but it’s a one-time process that lays the foundation for all your future HoloLens projects. By carefully following these steps, you’ll ensure that you have the necessary tools and configurations in place to create and deploy your HoloLens applications.
Step 2: Creating a New Unity Project
Once you have set up the HoloLens development environment, it’s time to create a new Unity project. Here’s how to get started:
- Launch Unity: Open the Unity application on your computer. If you don’t have Unity installed, make sure to download and install the latest version from the Unity website.
- Create a new project: In the Unity Hub, click on the “New” button to start creating a new project. Give your project a name and specify the location where you want it to be saved. Select the 3D template as the starting point for your HoloLens project.
- Set the project settings: In the project settings, make sure to set the target platform as Universal Windows Platform (UWP). This is essential for HoloLens development. You can also choose other project-specific settings, such as the default scripting language and asset management options.
- Configure the Holographic settings: Enable the Holographic setting by going to “Edit” > “Project Settings” > “Player.” Under the “XR Settings” section, make sure “Virtual Reality Supported” and “Windows Mixed Reality” are checked. This enables Unity to build for the HoloLens device.
- Save and initialize the project: Save your project settings and let Unity initialize the project. This may take a few moments while Unity creates the necessary project files and folders.
By following these steps, you have successfully created a new Unity project tailored for HoloLens development. The project is now ready to be populated with assets and scripts to bring your augmented reality experience to life.
Step 3: Importing the HoloLens Project Assets
Now that you have set up your Unity project, it’s time to import the assets from your existing HoloLens project. Here’s how you can do it:
- Locate your HoloLens project assets: Find the directory where your HoloLens project assets are stored on your computer. This typically includes 3D models, textures, scripts, and any other resources specific to your project.
- Import the assets into Unity: In the Unity Editor, click on the “Assets” menu and select “Import New Asset.” Browse to the directory where your HoloLens project assets are located and choose the files you want to import. You can also drag and drop the assets directly into the Unity Project window.
- Organize and manage your assets: Once the assets are imported into Unity, you can organize them into folders and subfolders within the Project window. This will help you keep your project organized and make it easier to find and access assets later on.
- Check for any missing dependencies: After importing the assets, Unity will automatically check for any missing dependencies or broken references. If there are any missing scripts or assets, Unity will display a warning. Make sure to resolve these dependencies to ensure that your project works as expected.
- Review and refine imported assets: Take some time to review the imported assets in the Scene view and make any necessary adjustments. This includes setting the correct scale, position, and rotation of 3D models, assigning materials and textures, and refining any scripts or behaviors associated with the assets.
By following these steps, you have successfully imported the assets from your existing HoloLens project into Unity. This brings you one step closer to creating an immersive augmented reality experience for the HoloLens device. In the next steps, we will configure Unity for HoloLens development and build and deploy the project onto the HoloLens device.
Step 4: Configuring Unity for HoloLens Development
Now that you have imported the assets into your Unity project, it’s time to configure Unity specifically for HoloLens development. Here are the key steps to follow:
- Open the Build Settings: Go to “File” > “Build Settings” to open the Build Settings window in Unity.
- Set the target platform: In the Build Settings window, click on “Universal Windows Platform” and then click on the “Switch Platform” button. This ensures that Unity builds your project for the HoloLens platform.
- Configure the project settings: Under the “Player Settings” section in the Build Settings window, you can configure various settings related to your HoloLens project. This includes settings for the display orientation, splash screen, and other platform-specific options.
- Enable the “Virtual Reality Supported” option: In the Player Settings, under the “XR Settings” section, make sure that “Virtual Reality Supported” is checked. This enables Unity to use the HoloLens capabilities, such as spatial mapping and gaze input.
- Configure the scripting backend: In the Player Settings, under the “Other Settings” section, make sure that the scripting backend is set to “.NET.” This is the recommended scripting backend for HoloLens development.
- Adjust other project-specific settings: Depending on your project requirements, you may need to adjust other settings in the Player Settings to optimize performance and enable specific capabilities. These settings include the device capabilities, packaging options, and scripting define symbols.
- Build the project: Once you have configured all the necessary settings, click on the “Build” button in the Build Settings window. Choose a directory where you want to build the project and click “Select Folder” to initiate the build process.
By following these steps, you have successfully configured Unity for HoloLens development. The project is now ready to be built and deployed onto the HoloLens device. In the next step, we will explore how to build and deploy the project to ensure that it works seamlessly on the HoloLens platform.
Step 5: Building and Deploying the Project to HoloLens Device
With the Unity project configured for HoloLens development, it’s time to build and deploy your project onto the HoloLens device. Follow these steps to ensure a successful deployment:
- Connect the HoloLens device: Ensure that your HoloLens device is connected to your computer either via USB or wirelessly using the Wi-Fi connection. Make sure that the device is powered on.
- Open the Build Settings: In Unity, go to “File” > “Build Settings” to open the Build Settings window. Make sure the target platform is set to Universal Windows Platform (UWP) and that the HoloLens device is selected as the target device.
- Configure the build settings: Fine-tune the build settings to suit your needs. This includes specifying the build location, choosing the appropriate build configuration (Debug or Release), and any additional platform-specific settings required for your project.
- Build the project: Click on the “Build” button in the Build Settings window to start the build process. Unity will compile the project and create the necessary deployment package (.appx) for the HoloLens device.
- Deploy the project: Once the build process is complete, Unity will provide you with the deployment package (.appx). Deploy the project onto the HoloLens device either by installing it directly from Unity or sideloading it using the Device Portal.
- Test and debug: Once the project is deployed on the HoloLens device, test it thoroughly to ensure that all the features and functionalities are working as expected. Use the debugging tools available in Unity or the Visual Studio debugger to troubleshoot any issues that may arise.
- Iterate and improve: Throughout the testing and debugging process, take note of any improvements or refinements you can make to your project. Use the feedback from testing to iterate and enhance the user experience of your HoloLens application.
By following these steps, you have successfully built and deployed your Unity project onto the HoloLens device. Now, you can fully experience and showcase your augmented reality application using one of the most advanced mixed reality devices available.
Conclusion
Congratulations! You have successfully imported your HoloLens project into Unity and configured it for HoloLens development. Throughout this guide, we walked you through the process of setting up the HoloLens development environment, creating a new Unity project, importing project assets, configuring Unity, and building and deploying the project onto the HoloLens device.
By leveraging the power of Unity and the capabilities of the HoloLens device, you now have the tools and knowledge to create captivating augmented reality experiences. Whether you are creating educational applications, immersive games, or innovative visualization tools, the possibilities are endless.
Remember, as you continue your HoloLens development journey, always strive for excellence. Test your project on the HoloLens device, gather feedback, and iterate to improve the user experience. Take advantage of the resources and communities available to you to enhance your skills and stay up to date with the latest advancements in HoloLens development.
Now, it’s time to let your creativity soar. Embark on new projects, experiment with different features and techniques, and above all, have fun as you continue to push the boundaries of augmented reality with the HoloLens and Unity.
Happy HoloLens development!