Introduction
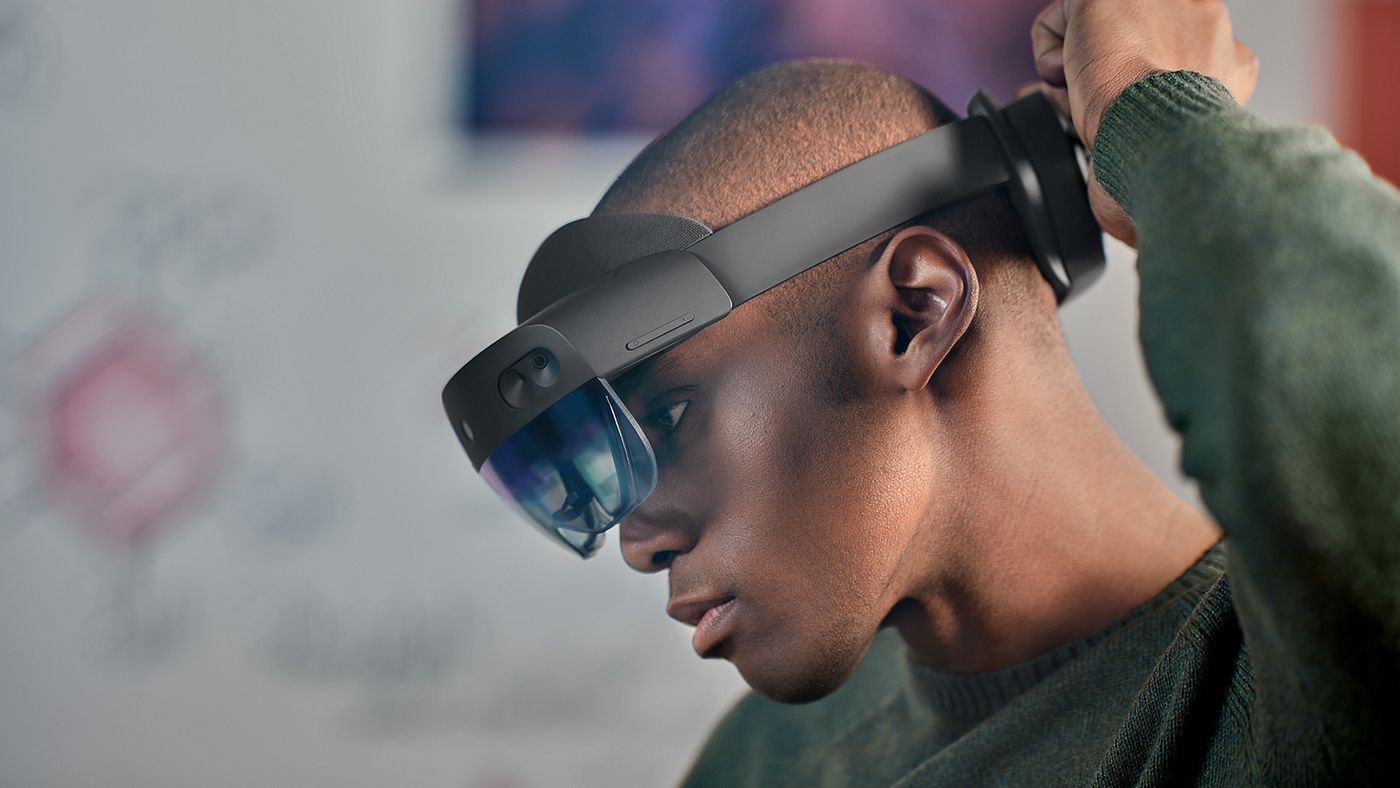
The HoloLens, developed by Microsoft, is a revolutionary augmented reality device that allows users to interact with virtual objects in the real world. One of the key features of the HoloLens is its ability to place and manipulate 3D objects using gestures. This opens up a world of possibilities for designers, developers, and content creators to create immersive and interactive experiences.
In this article, we will explore how to place 3D objects in the world using gestures in HoloLens Unity. By leveraging the power of Unity, a popular game development engine, combined with the intuitive gesture recognition capabilities of the HoloLens, we can seamlessly integrate virtual objects into our surroundings.
Understanding how to place 3D objects in the world is essential for creating compelling augmented reality applications. Whether you are working on architectural visualization, industrial simulations, or educational experiences, being able to accurately position and manipulate virtual objects is a fundamental skill.
Throughout this tutorial, we will guide you through the process of setting up gestures for object placement in Unity, importing and preparing 3D object models, writing Unity scripts for object placement and manipulation, testing and debugging the application, and finally, deploying the application to the HoloLens device.
So, if you are eager to learn how to bring your 3D objects to life in the HoloLens environment, let’s dive in and discover the exciting world of object placement with gestures in HoloLens Unity.
Overview of HoloLens and Unity
Before we delve into the specifics of placing 3D objects with gestures in HoloLens Unity, let’s take a moment to understand the core technologies involved in this process.
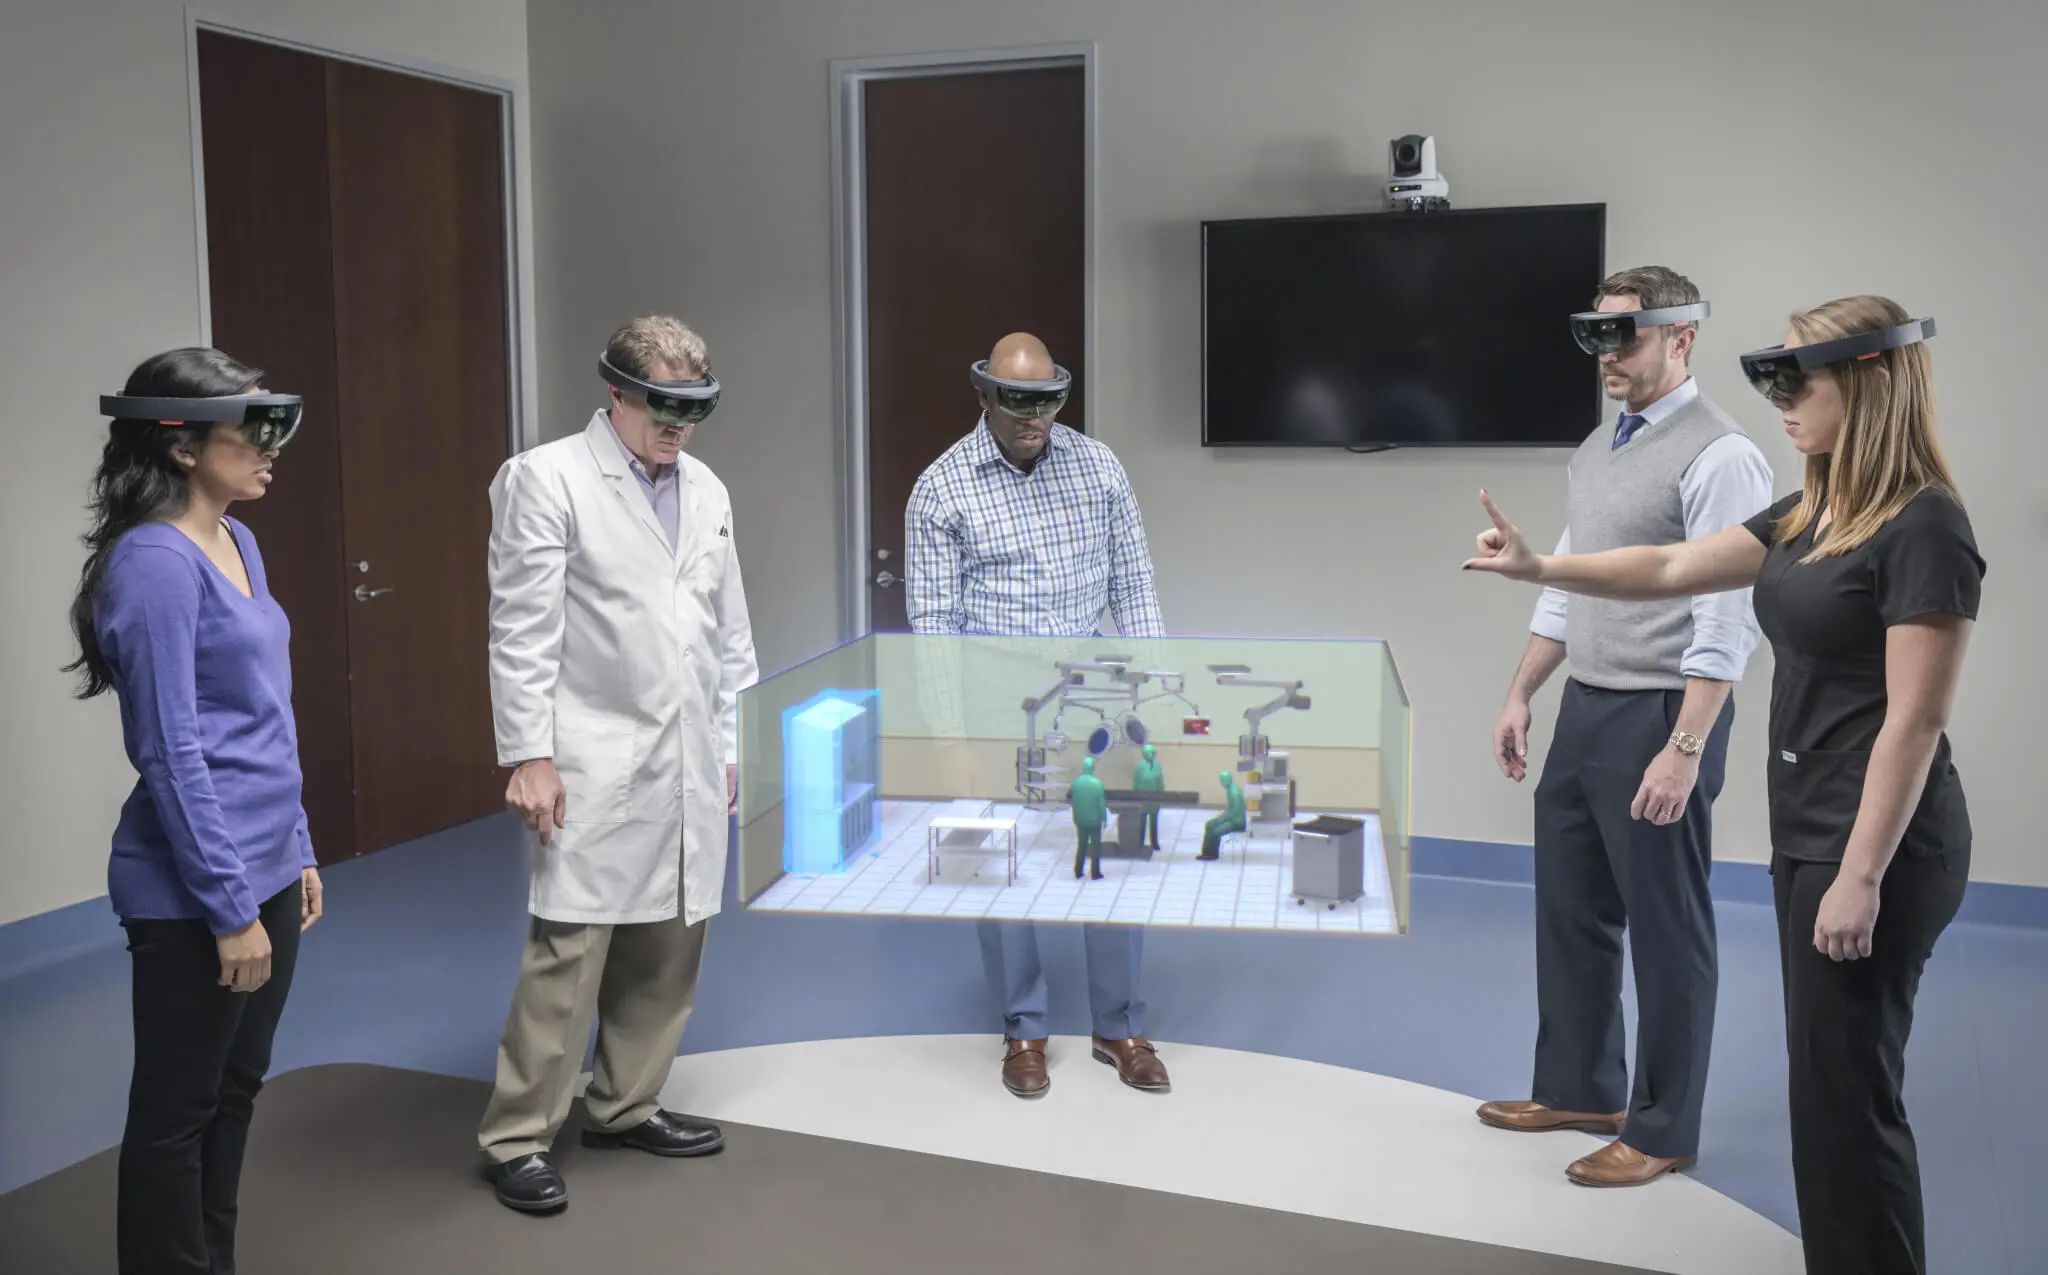
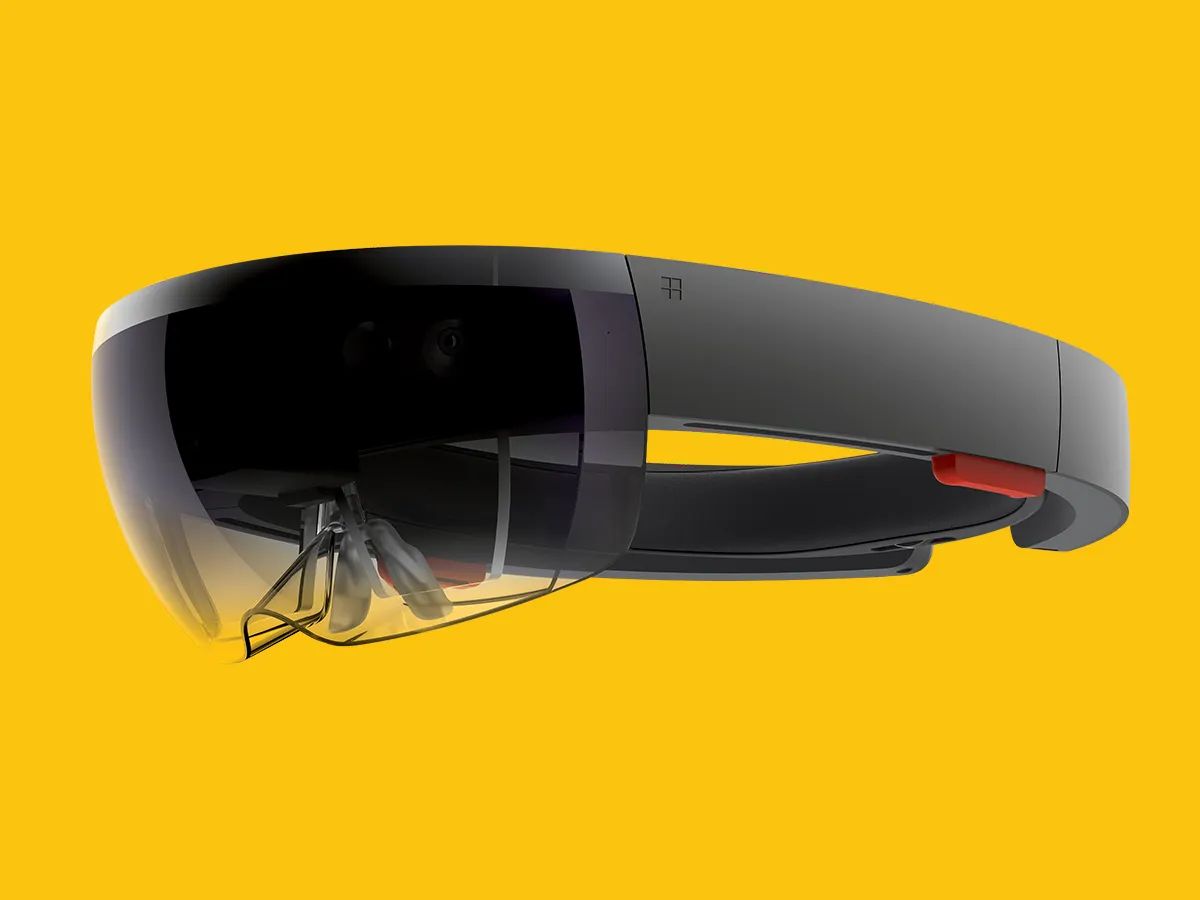
The HoloLens is a cutting-edge mixed reality device developed by Microsoft. It combines advanced sensors, cameras, and optics to overlay virtual objects onto the real world, creating an immersive augmented reality experience. With the HoloLens, users can interact with virtual content in their physical environment, bringing digital elements to life in three dimensions.
Unity, on the other hand, is an incredibly powerful and versatile game development engine widely used in the industry. It provides a comprehensive set of tools and features for creating interactive 3D and 2D experiences across various platforms, including Windows, Android, iOS, and more. With Unity, developers have the flexibility and resources to build engaging applications, games, and simulations.
By combining the capabilities of HoloLens and Unity, developers can create captivating mixed reality applications that seamlessly blend virtual and real elements. The HoloLens provides the spatial tracking and gesture recognition capabilities, while Unity offers a robust environment for building, animating, and interacting with 3D objects.
To work with HoloLens and Unity, you will need to have a basic understanding of Unity development and C# scripting. Unity provides a visual editor that allows you to design scenes, place objects, and define their behavior using scripts. These scripts are written in C#, which is a powerful programming language used extensively in Unity development.
In the upcoming sections, we will guide you through the process of incorporating gesture-based object placement in your HoloLens Unity projects. From setting up gestures in Unity to importing 3D object models and implementing object manipulation, you will gain a comprehensive understanding of how to create interactive augmented reality experiences.
So, grab your HoloLens device, open up Unity, and let’s embark on this exciting journey into the world of object placement with gestures in HoloLens Unity.
Understanding 3D Object Placement in HoloLens Unity
To effectively place 3D objects in the HoloLens environment, it is crucial to understand the spatial tracking capabilities of the device. The HoloLens uses a combination of sensors, cameras, and advanced algorithms to create a map of the physical space and track the user’s movements within it.
When placing a 3D object, it is essential to anchor it to a specific point in the real world. This ensures that the virtual object remains in the desired location, regardless of the user’s movements. This anchoring process is known as spatial mapping.
Spatial mapping involves scanning the environment to create a virtual representation of the physical space. The HoloLens captures depth data using its sensors and uses it to generate a mesh that represents the surfaces, such as walls, floors, and tables, in the real world. This mesh is then used as a reference for placing virtual objects.
In Unity, you can leverage the spatial mapping capabilities of the HoloLens using the SpatialMapping component. This component automatically generates a mesh based on the real-world environment and allows you to interact with it in your application. By utilizing the spatial mapping data, you can accurately position and scale your 3D objects in relation to the physical space.
When placing a 3D object, you need to consider its alignment, rotation, and scale. The HoloLens provides a set of default gestures, such as air tap and bloom, which can be used to manipulate the object’s position, rotation, and size. By combining these gestures with the spatial mapping data, you can create realistic and intuitive object placement experiences.
In addition to default gestures, you can also create custom gestures using the HoloLens GestureRecognizer component. This allows you to define specific hand movements or gestures that trigger object placement or manipulation actions. Custom gestures can enhance the user experience and provide more interactive control over the virtual objects.
Understanding the principles and techniques of 3D object placement in HoloLens Unity is essential for creating immersive and engaging augmented reality applications. With a solid grasp of spatial mapping, gestures, and object manipulation, you will be well-equipped to create realistic and interactive experiences on the HoloLens device.
Setting Up Gestures for Object Placement
To enable object placement with gestures in HoloLens Unity, we need to configure and handle the user’s input through various gestures. The HoloLens comes with built-in gestures that allow users to interact with the virtual objects in the augmented reality environment. These gestures include air tap, bloom, and navigation gestures.
To begin, we need to add the GestureRecognizer component to our Unity project. This component allows us to recognize and respond to the predefined gestures recognized by the HoloLens device. It provides a straightforward way to capture and handle the user’s input.
To set up the GestureRecognizer, follow these steps:
- Open your Unity project and navigate to the Hierarchy panel.
- Right-click in the hierarchy and select “Create Empty” to create an empty game object.
- Rename the game object to “Gesture Manager” or a name that suits your project.
- Attach the GestureRecognizer component to the “Gesture Manager” game object by clicking on “Add Component” in the Inspector panel and searching for “Gesture Recognizer”.
Now that we have added the GestureRecognizer to our project, we need to define the gestures that we want to recognize and respond to. This can be done by modifying the GestureSettings property of the GestureRecognizer component in the Inspector panel.
By default, the GestureSettings property includes all the available gestures. You can choose to enable or disable specific gestures based on your application requirements. For object placement, the most common gesture used is the air tap gesture, which is already enabled by default.
In addition to the default gestures, you can also create custom gestures to enhance the user experience. This involves defining specific hand movements or gestures and mapping them to specific actions in your application. The GestureRecognizer component provides methods to add custom gestures and associate them with the desired actions.
By setting up gestures for object placement, we are providing users with an intuitive and natural way to interact with virtual objects in the HoloLens environment. With the gestures configured, we can now proceed to import and prepare the 3D object models for placement.
Importing and Preparing 3D Object Models
To bring our virtual objects to life in the HoloLens environment, we need to import and prepare 3D object models in Unity. There are several ways to obtain 3D models, including creating them from scratch, downloading pre-made models from online repositories, or leveraging professional 3D modeling software.
Once you have your 3D object model, follow these steps to import it into Unity:
- Open your Unity project and navigate to the Project panel.
- Create a new folder in the Project panel to organize your 3D object assets.
- Drag and drop the 3D object file into the newly created folder.
- Unity will automatically import the file and create a prefab in the project.
After importing the 3D object model, it is essential to prepare it for placement in the HoloLens environment. Here are a few considerations during the preparation process:
- Optimize the mesh: Ensure that your 3D object model has an efficient and optimized mesh. This involves reducing polygon count, removing unnecessary details, and simplifying the geometry to improve performance.
- Set the pivot point: Adjust the pivot point of the 3D object model so that it aligns with the point where you want it to be placed. This is crucial for accurate positioning and rotation in the HoloLens environment.
- Apply materials and textures: Add appropriate materials and textures to your 3D object model to give it a realistic appearance. Unity provides a wide range of built-in materials and allows you to create custom materials to achieve the desired visual effects.
- Define the collider: Set up colliders on your 3D object model to provide collision detection and physics interactions. This ensures that the virtual object interacts with the real world accurately.
Unity provides a user-friendly interface and a range of tools to manipulate and modify 3D object models. You can use the Transform component within Unity to adjust the position, rotation, and scale of the object.
By importing and preparing 3D object models, we are ready to create the scene and set up the HoloLens simulator in Unity. In the next section, we will explore the process of scene creation and simulator setup to test our object placement with gestures.
Creating the Scene and Setting Up the HoloLens Simulator
To develop and test our object placement with gestures in HoloLens Unity, we need to create a scene and set up the HoloLens simulator. The scene serves as the virtual environment where the objects will be placed and manipulated, while the HoloLens simulator allows us to preview and interact with the scene using the HoloLens gestures.
To create a scene in Unity, follow these steps:
- Open your Unity project and navigate to the Hierarchy panel.
- Right-click in the hierarchy and select “Create Empty” to create an empty game object.
- Rename the game object to “Scene Manager” or a name that suits your project.
- Drag and drop the 3D object models from the project panel into the scene hierarchy to place them in the scene.
Now that we have our scene set up with the necessary 3D object models, we can proceed to configure the HoloLens simulator for testing. The HoloLens simulator provides a virtual environment that emulates the experience of using a HoloLens device without requiring a physical device.
To set up the HoloLens simulator in Unity, follow these steps:
- Click on the “Window” tab in the toolbar and select “XR” to open the XR (Mixed Reality) settings.
- In the XR settings window, select “Simulator” as the target device.
- Ensure that the “Use Oculus Emulator” and “Use Virtual Reality Supported” checkboxes are checked.
- Click on the “Play” button to enter Play mode and launch the HoloLens simulator.
Once the HoloLens simulator is launched, you can navigate around the virtual environment using the WASD keys and the mouse, simulating the movement and gestures of a HoloLens user. This allows you to interact with the 3D object models in the scene and test the object placement with gestures.
By creating the scene and setting up the HoloLens simulator, we have established the foundation for testing our object placement with gestures. In the next section, we will delve into the process of writing Unity scripts to enable object placement and manipulation using the HoloLens gestures.
Writing Unity Scripts for Object Placement
To enable object placement with gestures in HoloLens Unity, we need to write scripts that handle the user’s input and manipulate the 3D object models accordingly. Unity provides a powerful scripting language, C#, that allows us to create custom behaviors and interactions for our objects.
First, we need to attach the appropriate scripts to the objects in our scene. These scripts will define how the objects respond to gestures and how they are placed and manipulated. To attach a script to an object, follow these steps:
- Select the object in the scene hierarchy.
- In the Inspector panel, click on “Add Component” and search for the desired script.
- Attach the script to the object by clicking on it.
Once the script is attached, we can start writing the necessary code to implement object placement with gestures. Here are a few key components to consider when writing the Unity scripts:
- Gesture recognition: Use the GestureRecognizer component from the HoloToolkit.Unity.InputModule namespace to detect and identify the user’s gestures. Subscribe to the appropriate events, such as OnTapped, OnManipulationStarted, and OnManipulationCompleted, to trigger actions based on the detected gestures.
- Object placement: When an appropriate gesture is detected, we need to place the object in the scene at the desired location. This can be done by calculating the position based on the user’s hand or gaze and applying it to the object’s transform.
- Object manipulation: Apart from placement, we can also enable object manipulation using gestures such as rotation and scaling. By capturing the user’s input and translating it into the desired transformation, we can provide an interactive experience for the user.
- Collision detection: It is important to consider collision detection between the virtual objects and the physical environment. This can be achieved by applying colliders to the objects and handling collision events to ensure realistic interactions.
By writing Unity scripts for object placement, we can create dynamic and interactive experiences for the user. These scripts allow us to leverage the power of gestures and create intuitive ways for users to place and manipulate the 3D object models in the HoloLens environment.
Once the scripts are implemented, we can test and debug the application to ensure that the object placement with gestures is working as intended. In the next section, we will explore the process of testing and debugging our application on the HoloLens simulator and the HoloLens device itself.
Implementing Gestures for Object Manipulation
In order to enhance the user experience and provide more interactivity, it’s essential to implement gestures for object manipulation in our HoloLens Unity application. These gestures will allow users to rotate, scale, and move the objects within the augmented reality environment, providing a more immersive and intuitive interaction.
To implement gesture-based object manipulation, we need to extend our existing scripts or create new ones that handle the specific gestures we want to support. Here are some common gestures and their corresponding actions for object manipulation:
- Rotation: Enable the user to rotate the object by bringing their hand closer to the object and performing a rotating gesture. This can be achieved by registering the hand’s movement and mapping it to the object’s rotation using Unity’s transform component.
- Scaling: Allow the user to scale the object by performing a pinch or spread gesture with their hands. Capture the distance between the user’s hand fingers and translate it into a scale factor to apply to the object’s transform.
- Movement: Enable the user to move the object by pinching and dragging their hand on the screen. Track the hand’s movement and update the object’s position accordingly using its transform component.
To implement these gestures, we can leverage the GestureRecognizer component provided by the HoloLens Unity Toolkit. This component allows us to recognize and handle gestures such as manipulation and navigation, providing us with a solid foundation for implementing object manipulation in our application.
Additionally, we can customize and create our own gestures using the GestureRecognizer component. This allows us to define specific hand movements or gestures that trigger object manipulation actions based on our specific application requirements. Custom gestures can greatly enhance the user experience and provide more intuitive control over the virtual objects.
By implementing gestures for object manipulation, we enable users to have a more natural and interactive experience in our HoloLens Unity application. Users can easily rotate, scale, and move the objects using their hands, making the virtual objects seamlessly integrate with the real world.
Once we have implemented the gestures for object manipulation, the next step is to test and debug our application to ensure the gestures are working correctly. In the subsequent section, we will explore the process of testing and debugging our application on both the HoloLens simulator and the HoloLens device itself.
Testing and Debugging the Application
Testing and debugging are critical stages in the development process of our HoloLens Unity application. These steps ensure that our object placement with gestures functionality works smoothly and provides a seamless user experience. In this section, we will explore the process of testing and debugging our application on the HoloLens simulator and the HoloLens device itself.
To begin testing, we can use the built-in HoloLens simulator within Unity. The simulator provides a virtual environment that emulates the experience of using a HoloLens device. We can navigate through the scene and interact with the objects using the HoloLens gestures simulated by the keyboard and mouse controls. This allows us to quickly iterate and fine-tune the object placement and gestures without the need for a physical device.
While testing on the simulator is helpful, it is crucial to validate the application on an actual HoloLens device to ensure proper functionality. To do this, we need to deploy our application to the HoloLens device. Here are the steps to deploy the application:
- Connect the HoloLens device to your computer via USB.
- Build the Unity project by selecting the target platform as Universal Windows Platform (UWP).
- Set the build settings and configurations as per the device requirements.
- Build the project and generate the app package.
- Deploy the app package to the HoloLens device using the Windows Device Portal or Visual Studio.
Once the application is deployed to the HoloLens device, we can thoroughly test it in a real-world environment with the actual gestures. We should pay close attention to the object placement accuracy, gesture recognition, smoothness of interaction, and overall user experience. This allows us to identify any bugs or issues and make the necessary adjustments to enhance the application’s performance and user satisfaction.
During testing, it is essential to keep track of any errors or unexpected behavior. Unity provides a variety of debugging tools, such as the debug console, breakpoints, and error logs, to help identify and resolve issues. Utilize these tools to pinpoint and fix any bugs or errors in the application logic or scripts. Additionally, gather user feedback and iterate on the design and functionality to ensure a seamless and immersive experience.
By thoroughly testing and debugging the application, we can ensure that our object placement with gestures functionality is working as intended. This process helps us deliver a polished and reliable application that provides an immersive and intuitive augmented reality experience for HoloLens users.
With the application thoroughly tested and debugged, we are now ready to deploy it to the HoloLens device and let users experience the magic of placing and manipulating 3D objects in the real world.
Deploying the Application to HoloLens Device
Once we have thoroughly tested and debugged our HoloLens Unity application, the next step is to deploy it to the HoloLens device itself. Deploying the application to the device allows us to showcase and share our augmented reality experience with others.
To deploy the application to a HoloLens device, follow these steps:
- Ensure that your HoloLens device is connected to your computer via USB and turned on.
- In Unity, go to the build settings by selecting “File” > “Build Settings”.
- Select the Universal Windows Platform as the target platform and click on “Switch Platform”.
- Choose the appropriate build settings and configurations, such as the architecture and build type.
- Click on “Build” to generate the app package.
- Specify the location to save the app package and click on “Save”.
- Once the app package is generated, open the Windows Device Portal by entering the device’s IP address in your web browser.
- Authenticate and navigate to the “Apps” section in the Device Portal.
- Select “Add” and locate the app package that you generated in Unity.
- Upload the app package to the HoloLens device using the Device Portal.
- Once the app is installed, it will appear in the list of apps on the HoloLens device.
After successful deployment, the application will be ready to run on the HoloLens device. Disconnect the device from the computer and put on the HoloLens headset. Look at the application in the list of installed apps, select it, and it will launch in the augmented reality environment.
During deployment, it is important to ensure that the necessary permissions and capabilities are set correctly in the app manifest. This ensures that the application has the required capabilities to access sensors, gestures, and other device functionalities.
Once the application is deployed to the HoloLens device, consider gathering user feedback and continuously improving the experience based on user input. This iterative process allows us to refine and enhance the application over time, ensuring a better user experience and greater satisfaction.
By successfully deploying the application to the HoloLens device, we can share our object placement with gestures experience with users, whether it’s for educational purposes, gaming, or industrial applications. The HoloLens device opens up a world of possibilities for immersive augmented reality experiences, and deploying our application to this device allows us to unlock that potential.
Conclusion
In this comprehensive guide, we have explored the exciting world of object placement with gestures in HoloLens Unity. We started by understanding the fundamental concepts of HoloLens and Unity, highlighting their key features and their role in creating immersive augmented reality experiences.
We then delved into the process of placing 3D objects in the HoloLens environment using gestures, emphasizing the importance of spatial mapping and the integration of Unity scripts. By setting up gestures for object placement, we provided users with an intuitive and natural way to interact with virtual objects in the augmented reality space.
Importing and preparing 3D object models played a crucial role in enhancing the visual quality and performance of our application. We learned how to optimize the mesh, define the pivot point, apply materials and textures, and set up colliders for realistic interactions.
Creating the scene and setting up the HoloLens simulator allowed us to test and iterate on our object placement with gestures methodology. Through debugging and testing on both the simulator and the HoloLens device itself, we ensured that the application functioned as intended, offering a seamless and engaging user experience.
With gestures implemented for object manipulation, users can now rotate, scale, and move the objects within the augmented reality environment, providing a more immersive and interactive experience. By leveraging the powerful scripting capabilities of Unity, we created custom behaviors to respond to gestures and enrich the application’s functionality.
Finally, we explored the process of deploying our application to the HoloLens device, enabling us to share and showcase our object placement with gestures experience with others. The HoloLens device opened up a world of possibilities for augmented reality applications, and by deploying our application to this device, we embraced its potential for delivering captivating experiences.
As technology continues to advance, the possibilities for object placement with gestures in HoloLens Unity are limitless. By mastering these techniques and continuously refining our applications, we can create even more immersive and interactive augmented reality experiences for users worldwide.
So, let’s embrace the power of gesture-based object placement in HoloLens Unity and bring our virtual creations to life in the real world. Begin your journey and unlock the potential of augmented reality today!