Introduction
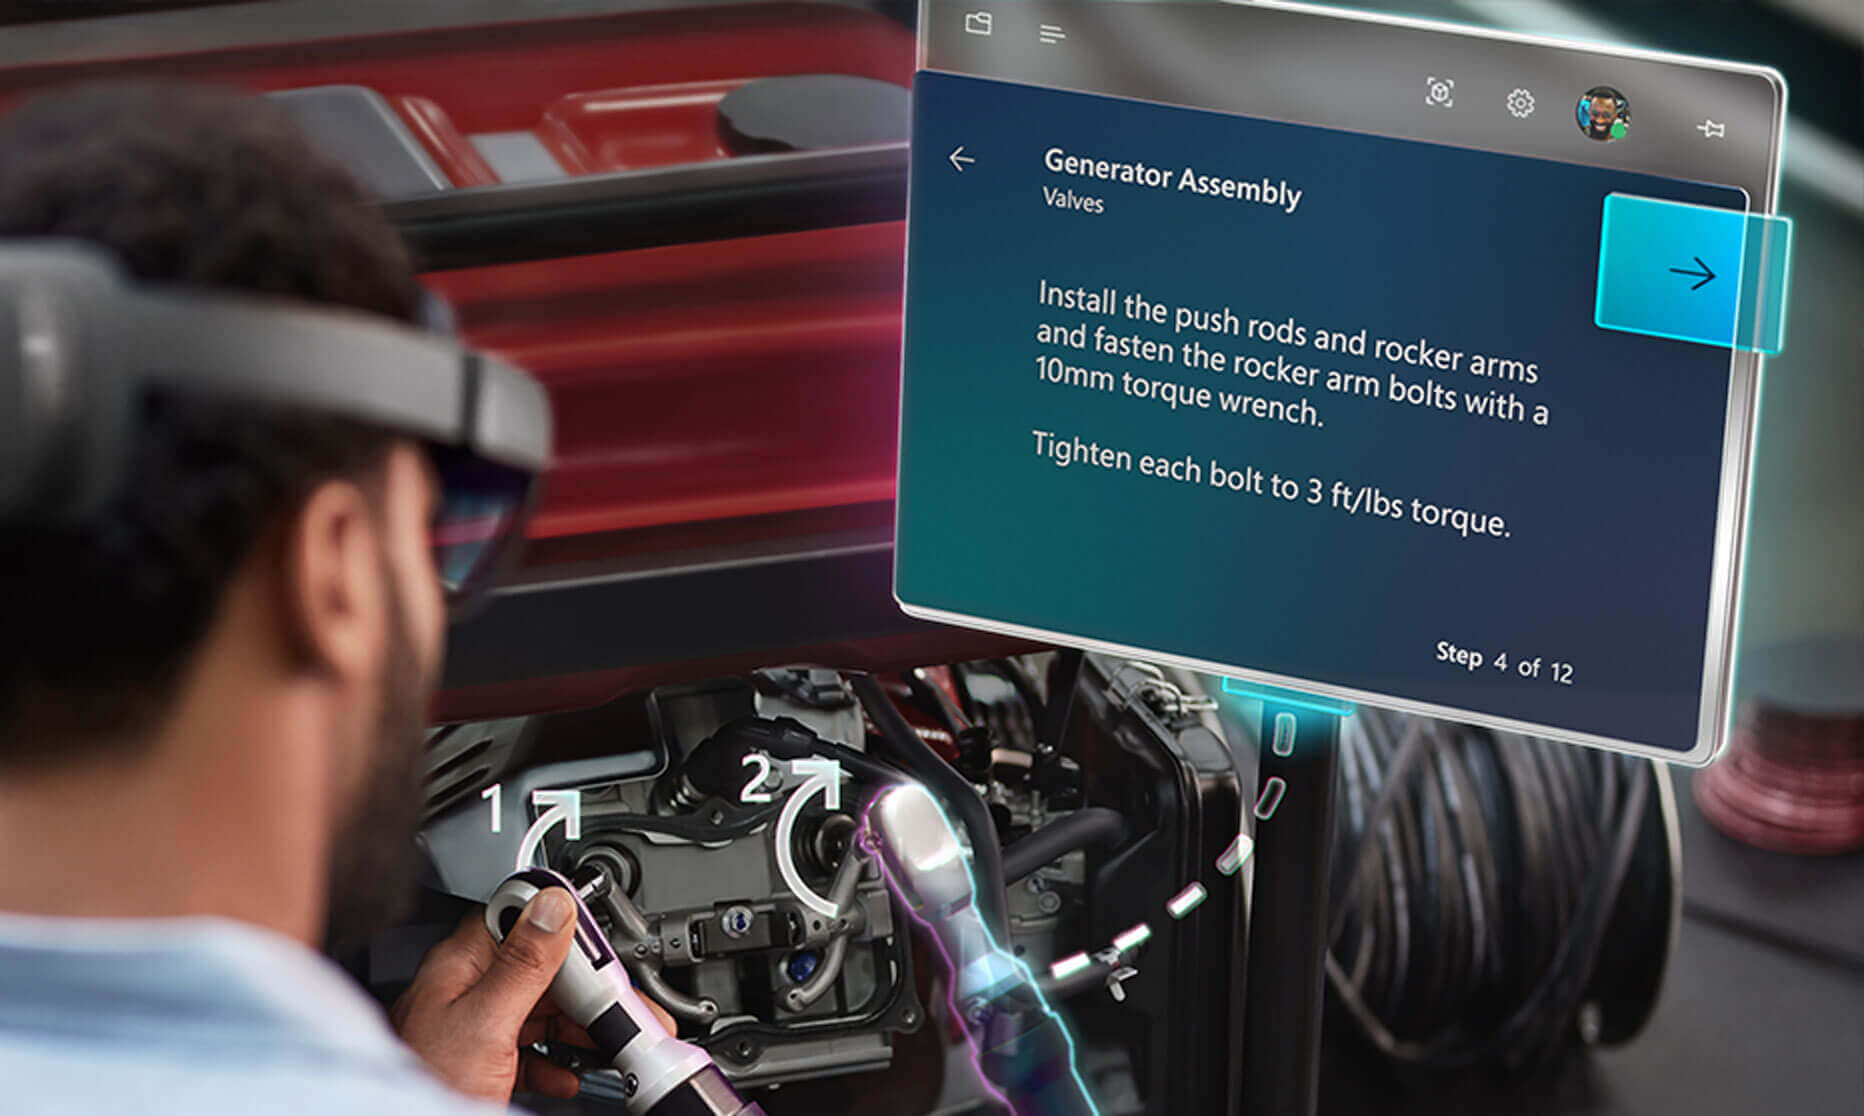
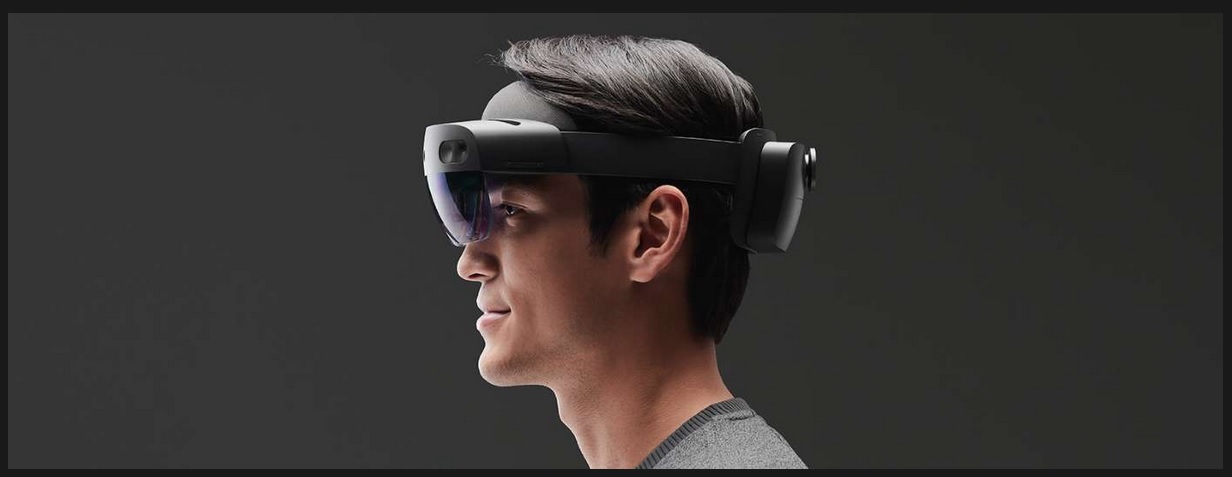
Welcome to the exciting world of HoloLens, Microsoft’s groundbreaking augmented reality headset. Whether you’re a developer, a tech enthusiast, or a curious user, keeping your HoloLens up to date is crucial for experiencing the latest features, enhancements, and security patches.
Regularly updating your HoloLens ensures that you have access to the most current software updates, bug fixes, and performance optimizations. These updates not only improve the overall user experience but also introduce new functionalities that can enhance your productivity and enjoyment with HoloLens.
In this guide, we will walk you through the process of updating your HoloLens to ensure you’re running the latest software version. We’ll cover everything from connecting to Wi-Fi, checking for updates, downloading and installing updates, and even troubleshooting any issues that may arise during the update process.
Before we dive into the update process, it’s important to note that HoloLens updates are released periodically by Microsoft. These updates can include new features and improvements based on user feedback and the evolving technological landscape. Therefore, it’s essential to stay up to date to make the most of your HoloLens experience.
So, if you’re ready to embark on this update journey with us, let’s get started and ensure your HoloLens is equipped with the latest and greatest software!
Why Update HoloLens?
Updating your HoloLens is not just a matter of staying current with the latest software version; it offers a range of benefits that can significantly enhance your experience with the device. Let’s explore why updating HoloLens is crucial:
1. Performance Improvements: Each software update comes with performance optimizations that enhance the overall speed, stability, and responsiveness of your HoloLens. By updating regularly, you’ll ensure that your device runs smoothly and efficiently, providing you with a seamless user experience.
2. New Features and Functionalities: Microsoft regularly introduces new features and functionalities to HoloLens through software updates. These updates can add exciting capabilities and expand the possibilities of what you can achieve with HoloLens. Whether it’s improved gesture recognition, enhanced voice commands, or new interaction methods, updating your device keeps you at the forefront of HoloLens innovation.
3. Bug Fixes and Security Patches: Software updates often include bug fixes and security patches, addressing any known issues or vulnerabilities in the previous version. By updating your HoloLens, you ensure that you’re protected against potential security threats and enjoy a more stable and secure experience on the device.
4. Compatibility: Updating your HoloLens also ensures compatibility with the latest apps and experiences available in the Windows Store. As developers release new applications and experiences specifically designed for the latest software versions, keeping your device updated ensures you can take full advantage of these offerings.
5. Optimized Battery Life: Software updates often include optimizations that can improve battery life on your HoloLens. These optimizations can help maximize the time you can spend using your device before needing to recharge, allowing for longer and more immersive experiences.
By regularly updating your HoloLens, you’re not just staying up to date with the latest features and enhancements; you’re also ensuring optimal performance, security, and compatibility. So, don’t miss out on the exciting possibilities that come with each software update – keep your HoloLens updated and ready to deliver the best augmented reality experience possible!
Preparing for the Update
Before you can update your HoloLens to the latest software version, it’s essential to make a few preparations to ensure a smooth and successful update process. Here’s what you need to do:
1. Charge your HoloLens: It’s crucial to have your HoloLens fully charged or connected to a power source during the update process. Updating software requires a significant amount of power, and a low battery can interrupt or delay the update. So, plug in your HoloLens or ensure it has enough charge to complete the update without any interruptions.
2. Backup your data: Though the update process generally doesn’t affect your personal data and settings, it’s always a good practice to back up your important files and documents before proceeding. This way, in the rare event that something goes wrong during the update, you can rest assured that your data is safely stored and can be restored if needed.
3. Check your internet connection: Updating your HoloLens requires a stable and reliable internet connection. Ensure that you have access to a Wi-Fi network with a strong and consistent signal. A poor or unstable connection can cause the update to fail or take longer than expected. If you have a limited or metered internet connection, consider downloading the update files in advance to save on data usage during the update.
4. Remove obstructions: Before initiating the update process, make sure there are no physical obstructions (e.g., stickers, dirt, or debris) blocking the sensors and cameras on your HoloLens. Clear any potential hindrances to ensure accurate tracking and optimal performance during and after the update.
5. Update companion apps: If you’re using companion apps on your smartphone or computer to manage your HoloLens, ensure that they are up to date. Sometimes, compatibility issues can arise between older versions of companion apps and the latest HoloLens software. Updating the companion apps ensures a seamless connection and management experience.
By following these preparation steps, you’ll be ready to proceed with the update process confidently. Taking the time to prepare adequately will minimize the chances of encountering any issues and help ensure a successful update for your HoloLens device!
Connecting HoloLens to Wi-Fi
Before you can check for updates and download the latest software version for your HoloLens, you need to ensure that it is connected to a Wi-Fi network. Follow these steps to connect your HoloLens to Wi-Fi:
1. Turn on your HoloLens: Start by powering on your HoloLens device. Press and hold the power button located at the back of the device until the Microsoft logo appears.
2. Access the Start menu: Once your HoloLens is powered on, the Start menu will appear in your field of view. To access the Start menu, use Air Tap gesture, which involves lifting and extending your hand to select items in the virtual interface.
3. Navigate to the Settings app: From the Start menu, navigate to the Settings app. You can do this by moving your gaze cursor or using hand gestures to interact with the virtual interface.
4. Select Network & Internet: Within the Settings app, select the Network & Internet option. This is where you can manage your network settings.
5. Choose Wi-Fi: Under the Network & Internet section, select the Wi-Fi option to access Wi-Fi settings.
6. Scan for available networks: Once in the Wi-Fi settings, HoloLens will automatically scan for available Wi-Fi networks. Wait for a few seconds until the available networks appear on the screen.
7. Select your network: Scroll through the list of available networks and select your desired Wi-Fi network. You may need to provide the network password if it is secured.
8. Connect to the network: Once you’ve selected the network, choose the Connect option to establish a connection. HoloLens will attempt to connect to the network using the provided credentials.
9. Confirm the connection: You will see a confirmation message when your HoloLens successfully connects to the Wi-Fi network. You are now ready to proceed with checking for updates and downloading the latest software.
Connecting your HoloLens to a Wi-Fi network is a critical step in keeping your device up to date. It allows the device to communicate with Microsoft servers to check for updates and download the latest software version. By following these steps, you can ensure a seamless connection and proceed with the next stages of the update process.
Checking for Updates
Once your HoloLens is connected to Wi-Fi, it’s time to check for any available updates. Microsoft regularly releases updates to improve the performance, functionality, and security of HoloLens. Follow these steps to check for updates:
1. Access the Start menu: Start by accessing the Start menu on your HoloLens. Use the Air Tap gesture or hand gestures to bring up the virtual interface and navigate to the Start menu.
2. Open the Settings app: Within the Start menu, locate and select the Settings app. It is represented by a gear icon.
3. Choose Update & Security: Within the Settings app, scroll down to find and select the Update & Security option. This is where you can manage the update settings for your HoloLens.
4. Select Windows Update: Once in the Update & Security section, choose the Windows Update option. This will open the Windows Update settings for your device.
5. Check for updates: On the Windows Update page, look for the “Check for updates” button. Click or select this button to initiate the process of checking for available updates.
6. Wait for the update check: Your HoloLens will now connect to the Microsoft update servers and check for any new updates. This process may take a few moments, so be patient and allow the device to complete the check.
7. View available updates: Once the check is complete, your HoloLens will display a list of available updates, if any. The device will show the description and details of each update, including its size and any required system restart.
8. Select and download updates: If there are updates available, choose the “Download” button next to each update to start downloading them. Make sure you have a stable Wi-Fi connection to ensure a successful download.
By following these steps, you can check for updates on your HoloLens and ensure that you have the latest software version installed. Once you’ve downloaded the updates, it’s time to proceed with the installation process to apply the new software and enjoy the latest features and improvements on your HoloLens.
Downloading Updates
After checking for updates on your HoloLens, the next step is to download any available updates that you have selected. Downloading updates ensures that your device receives the latest improvements, bug fixes, and features. Follow these steps to download updates on your HoloLens:
1. Access the Windows Update page: Start by accessing the Windows Update page on your HoloLens. You can do this by navigating to the Settings app, selecting Update & Security, and then choosing Windows Update.
2. View the available updates: On the Windows Update page, you will find a list of available updates. Each update will include details such as its name, size, and any necessary system restart.
3. Select the updates to download: Review the available updates and check the box next to each update that you want to download. Alternatively, if there is a “Download all” button, you can choose that to download all the updates at once.
4. Start the download: Once you have selected the updates, click or select the “Download” button to initiate the download process. The updates will begin downloading onto your HoloLens.
5. Monitor the download progress: While the updates are downloading, you will see a progress bar indicating the status of each update. Depending on the size and number of updates, the download process may take some time, so be patient and ensure that you have a stable internet connection.
6. Keep the HoloLens connected: It is important to keep your HoloLens connected to a power source or ensure that the battery has sufficient charge during the download process. Interrupting the download or losing power could result in an incomplete update, potentially causing issues with your device.
7. Wait for the downloads to complete: Once the downloads are complete, you will see a notification indicating that the updates have finished downloading. At this point, you’re ready to move on to the installation process.
By following these steps, you can successfully download the available updates for your HoloLens. Once the download is complete, you can proceed to the next step of installing the updates and ensuring that your HoloLens is up to date with the latest software version.
Installing Updates
After downloading the updates for your HoloLens, it’s time to install them to ensure that your device is running the latest software version. The installation process is straightforward, and here’s how you can install updates on your HoloLens:
1. Access the Windows Update page: Start by accessing the Windows Update page on your HoloLens. You can do this by navigating to the Settings app, selecting Update & Security, and then choosing Windows Update.
2. Verify the downloaded updates: On the Windows Update page, you will see a list of downloaded updates. Review the updates and ensure that they correspond to the ones you previously selected for download.
3. Initiate the installation: To start the installation process, click or select the “Install” button next to the downloaded updates. If there is an “Install all” button, you can choose that to begin installing all the downloaded updates at once.
4. Wait for the installation: The installation process may take some time, depending on the number and size of the updates. During the installation, your HoloLens may restart multiple times, which is normal. Allow the installation process to complete without interruption.
5. Monitor the installation progress: While the updates are being installed, you will see a progress bar indicating the status of each update. In some cases, you may also see a percentage or estimated time remaining for each update.
6. Keep your HoloLens connected: It is crucial to keep your HoloLens connected to a power source or ensure that it has sufficient battery charge while the updates are being installed. Interrupting the installation process or losing power could result in an incomplete installation or potential issues with your device.
7. Restart your HoloLens (if required): After the installation is complete, your HoloLens may prompt you to restart the device to apply the updates fully. Follow the on-screen instructions to restart your device if necessary.
8. Verify successful installation: Once your HoloLens has restarted, navigate back to the Windows Update page to confirm that the installed updates are marked as “Successfully installed.” This confirms that your HoloLens is now running the latest software version.
By following these steps, you can easily install the downloaded updates on your HoloLens. Keeping your device up to date ensures you have access to the latest features, bug fixes, and security patches, enhancing your overall HoloLens experience.
Restarting HoloLens
After installing updates on your HoloLens, it may be necessary to restart the device to ensure that the updates are applied successfully and any system changes take effect. Here’s how you can restart your HoloLens:
1. Access the Start menu: Start by accessing the Start menu on your HoloLens. Use the Air Tap gesture or hand gestures to bring up the virtual interface and navigate to the Start menu.
2. Open the Power menu: Within the Start menu, locate and select the Power menu. Depending on your version of HoloLens, the Power menu may be located at the bottom or top of the Start menu.
3. Choose Restart: In the Power menu, you will see several options, including Restart. Select the Restart option to begin the restart process for your HoloLens.
4. Confirm the restart: A confirmation message will appear, asking you to confirm the restart. Choose the Restart option once again to confirm and initiate the restart process.
5. Wait for the restart: Your HoloLens will now begin the restart process. It may take a few moments for the device to shut down and boot back up. Be patient and allow the restart process to complete.
6. Sign in again: After the restart, your HoloLens will boot up to the sign-in screen. Use the appropriate gestures or voice commands to sign in with your Microsoft account or, if applicable, the account associated with your device.
7. Check for successful update installation: Once you’ve signed back in, you can navigate to the Windows Update page to verify that the installed updates are marked as “Successfully installed.” This confirms that the restart process applied the updates successfully.
Restarting your HoloLens is a critical step after installing updates, as it ensures that the updates are fully applied and any necessary system changes are implemented. By following these steps, you can easily restart your HoloLens and continue enjoying the benefits of the latest software version.
Troubleshooting Update Issues
While updating your HoloLens is generally a straightforward process, there may be instances where you encounter issues or errors. If you are facing problems during the update process, try these troubleshooting steps to resolve common update issues:
1. Check your internet connection: Ensure that your HoloLens is connected to a stable and reliable Wi-Fi network. A weak or unstable internet connection can cause issues with downloading or installing updates. Consider connecting to a different network or moving closer to the router for a stronger signal.
2. Restart your HoloLens: Sometimes, a simple restart can resolve minor software glitches and allow the update process to proceed smoothly. Try restarting your HoloLens by accessing the Power menu, selecting Restart, and confirming the restart process.
3. Free up storage space: Insufficient storage space on your HoloLens can prevent updates from being downloaded and installed. Delete unnecessary apps, files, or media to create more space. You can manage your storage in the Settings app under the System section.
4. Check for pending updates: If you’re experiencing update issues, ensure that there are no pending updates that require installation before proceeding. Sometimes, installing previous updates can resolve compatibility issues and allow for a smoother update process.
5. Reset network settings: Resetting your HoloLens network settings can help resolve issues related to connectivity. Navigate to the Settings app, select Network & Internet, and choose Network reset. Note that this will remove saved Wi-Fi networks and VPN settings, so you’ll need to reconnect to your network afterward.
6. Contact support: If you’ve tried the above steps and are still experiencing update issues, consider reaching out to Microsoft support for further assistance. They can provide personalized guidance and troubleshooting steps specific to your situation.
Remember, patience is key when troubleshooting update issues. Updates can sometimes take time, and occasional hiccups are not uncommon. By following these troubleshooting steps and seeking support when needed, you can address update issues and ensure that your HoloLens stays up to date with the latest software version.
Conclusion
Updating your HoloLens is essential to ensure that you have access to the latest features, performance improvements, bug fixes, and security patches. By following the steps outlined in this guide, you can easily update your HoloLens and keep it running the latest software version.
We started by emphasizing the importance of regular updates and how they enhance the overall user experience. We then discussed the preparations necessary before updating, including charging your device, backing up data, and ensuring a stable internet connection.
Next, we covered the steps to connect your HoloLens to Wi-Fi and check for available updates. We then guided you through the process of downloading the updates onto your device. Following that, we provided instructions for installing the downloaded updates, and highlighted the significance of restarting your HoloLens to apply the updates successfully.
In the event that you encounter issues during the update process, we also offered troubleshooting tips to help resolve common update issues.
By keeping your HoloLens up to date, you can continue to explore and experience the immense potential of augmented reality. Regular updates ensure that you’re equipped with the latest features, enhanced performance, improved security, and compatibility with the latest applications.
Stay connected to the world of HoloLens and enjoy the ever-evolving possibilities that come with each update. So, go ahead and update your HoloLens to unlock a world of immersive experiences and stay at the forefront of augmented reality innovation!