Introduction
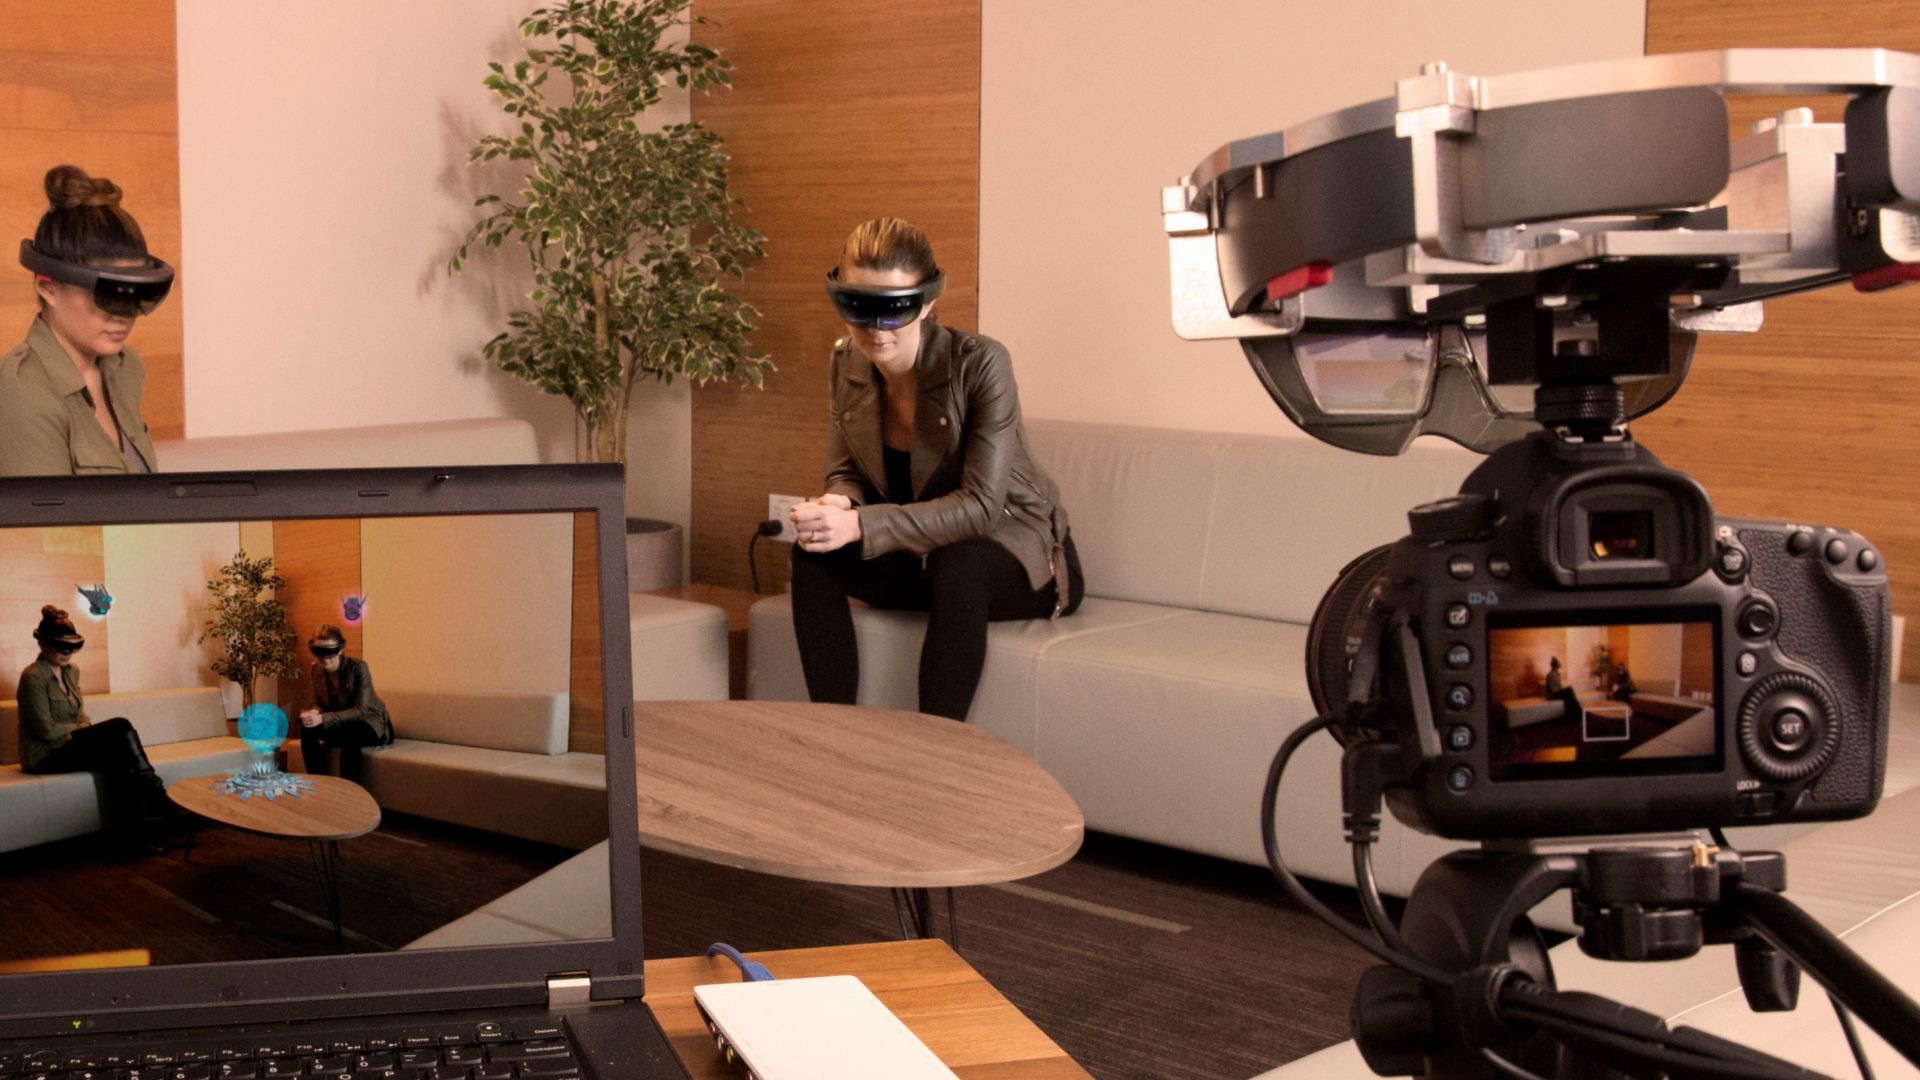
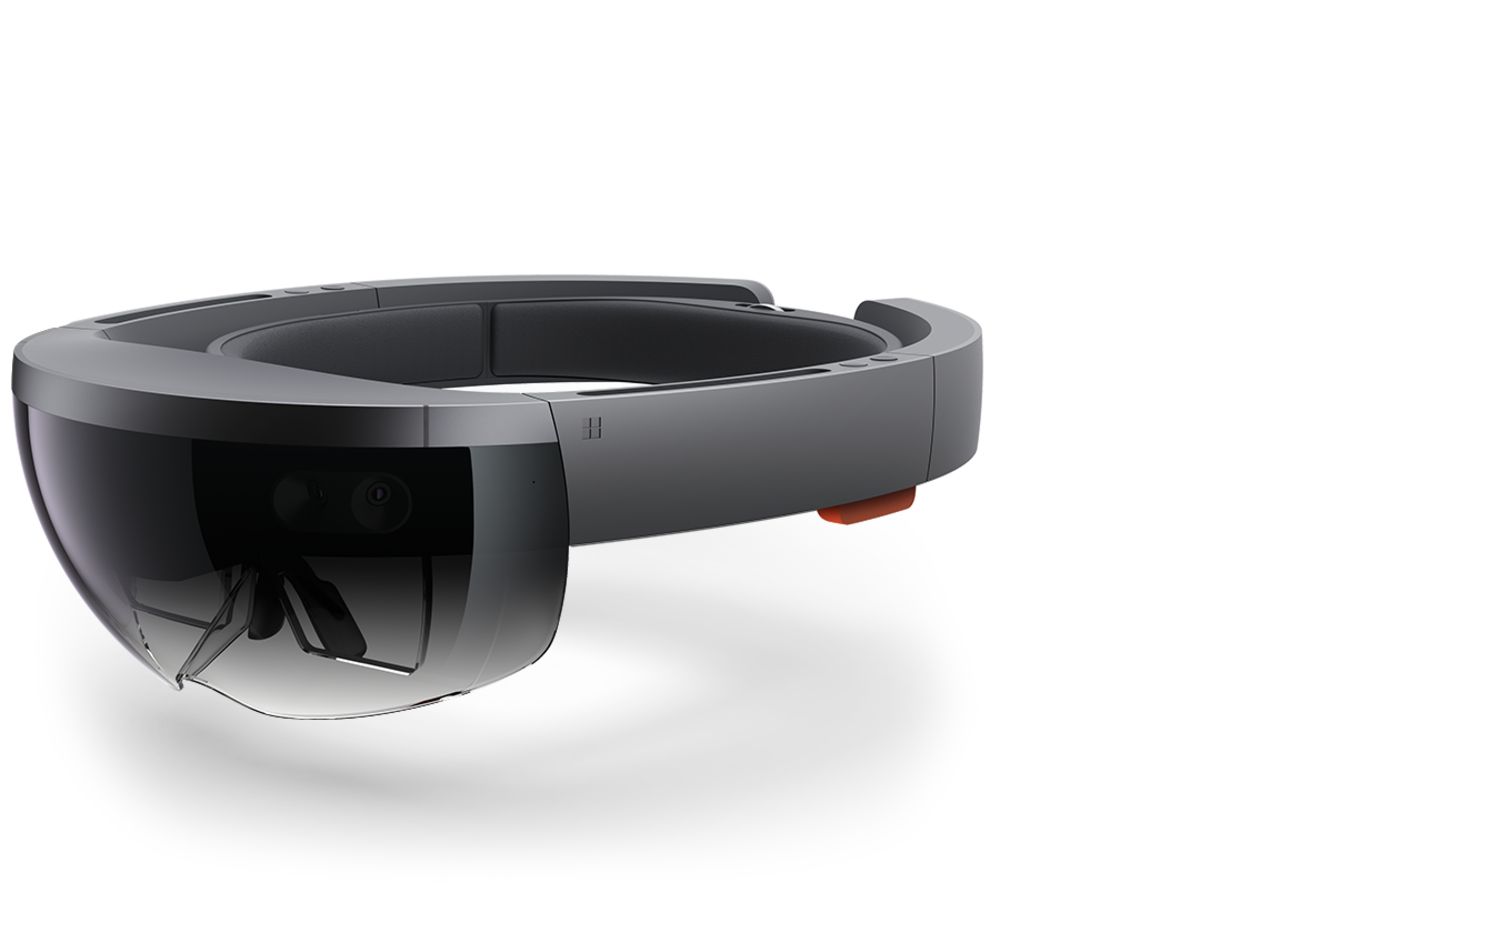
Welcome to our step-by-step guide on how to setup your computer to see what’s on the HoloLens live! The HoloLens, developed by Microsoft, is an innovative mixed reality device that allows users to interact with holograms and virtual reality elements in the real world. Being able to see what’s on the HoloLens in real-time is essential for developers and enthusiasts who want to create and test applications.
In this tutorial, we will walk you through the process of setting up your computer to establish a live connection with the HoloLens device. By following these steps, you will be able to view and interact with holographic content directly on your computer screen.
Before we dive into the setup process, there are a few requirements that you need to fulfill:
- HoloLens Device: You will need an actual HoloLens device. While this tutorial focuses on connecting the HoloLens to a computer, you must have access to the physical device itself.
- Computer: Make sure you have a computer running Windows 10 Pro or Enterprise edition. These editions allow for the necessary developer tools and features required for the HoloLens setup.
- Microsoft Account: You will need a Microsoft account to access certain developer-specific features and tools.
With these requirements in place, you’re ready to proceed with the setup process. Let’s get started!
Requirements
Before you begin setting up your computer to see what’s on the HoloLens live, there are a few prerequisites that you need to fulfill. These requirements ensure that you have the necessary hardware and software in place to establish a connection with the HoloLens device and view its content on your computer screen.
- HoloLens Device: The first and most obvious requirement is that you have a HoloLens device. Without the physical hardware, you won’t be able to proceed with the setup process.
- Compatible Computer: Ensure that you have a computer running Windows 10 Pro or Enterprise edition. These editions provide the necessary developer tools and features required for connecting to the HoloLens.
- Microsoft Account: You will need a Microsoft account to access certain developer-specific features and tools. If you don’t already have one, you can easily create an account on the Microsoft website.
- USB Cable: To establish a connection between your computer and the HoloLens device, you will need a USB cable. Make sure you have a compatible cable available.
- Network Connection: Both your computer and the HoloLens device should be connected to the same network. This ensures a smooth and uninterrupted data transfer between the two devices.
- Latest Windows Updates: It’s crucial to keep your computer up to date with the latest Windows updates. These updates often contain important patches and bug fixes that are necessary for the HoloLens setup.
- Developer Mode: Enable developer mode on the HoloLens device. This mode unlocks additional features and settings that are required for establishing the connection and viewing live content.
By ensuring that you meet these requirements, you will have everything in place to begin the setup process. In the following steps, we will guide you through the necessary configuration and provide detailed instructions on how to connect your computer to the HoloLens device.
Step 1: Setting up the HoloLens Development Environment
Before you can connect your computer to the HoloLens and view its content, you need to set up the HoloLens development environment on your computer. Follow these steps to ensure you have the necessary software and tools:
- Install Visual Studio: Start by installing Visual Studio on your computer. Visual Studio is the primary integrated development environment (IDE) used for HoloLens app development. You can download the latest version of Visual Studio from the official Microsoft website, ensuring you select the edition that includes support for Universal Windows Platform (UWP) development.
- Install Unity: Unity is a popular game engine that is widely used for creating HoloLens applications. Install the latest version of Unity from their official website. During the installation process, make sure you select the options for UWP support and HoloLens development.
- Install Windows SDK and HoloLens Emulator: To simulate HoloLens functionality without a physical device, you can use the HoloLens Emulator. Install the Windows Software Development Kit (SDK), which includes the emulator, by downloading it from the Microsoft Developer website.
- Enable Hyper-V: The HoloLens Emulator requires Hyper-V, Microsoft’s virtualization technology, to be enabled on your computer. Check if Hyper-V is enabled by searching for “Windows features” in the Start menu. Open the “Turn Windows features on or off” option and make sure the box next to Hyper-V is checked.
- Update Windows Device Portal: Ensure that you have the latest version of the Windows Device Portal installed on your HoloLens device. Open the HoloLens Settings app, navigate to the “Update” section, and check for updates. If an update is available, follow the on-screen instructions to install it.
- Developer Mode on HoloLens: To establish a connection with your computer, you need to enable Developer Mode on the HoloLens device. On your HoloLens, open the Settings app, go to the “Update” section, and select “For developers.” From there, enable the Developer Mode option.
Once you have completed these steps, you have successfully set up the HoloLens development environment on your computer. You are now ready to move on to the next step and install the Windows Device Portal, which will allow you to connect your computer to the HoloLens device.
Step 2: Installing the Windows Device Portal
In order to establish a connection between your computer and the HoloLens device, you will need to install the Windows Device Portal. The Windows Device Portal is a web-based tool that allows you to manage and configure your HoloLens device remotely from a computer.
Follow these steps to install the Windows Device Portal:
- Connect HoloLens to the computer: Start by connecting your HoloLens device to your computer using a USB cable. Ensure that both devices are powered on before making the connection.
- Open the Device Portal: On your computer, open a web browser and enter the IP address of your HoloLens device. You can find the IP address by navigating to the HoloLens Settings app, selecting the “Network & Internet” section, and then choosing “Advanced options.” The IP address will be displayed under the “IPv4 address” section.
- Login to the Device Portal: Once you have entered the IP address in the web browser, you will be prompted to log in to the Device Portal. Use your Microsoft account credentials to log in.
- Install the Device Portal Certificate: If this is your first time accessing the Device Portal on your HoloLens device, you may be prompted to install a certificate. Follow the on-screen instructions to install the certificate and proceed with the setup process.
- Access the Device Portal Dashboard: After logging in and installing the certificate, you will be redirected to the Device Portal dashboard. This dashboard provides various options for managing and configuring your HoloLens device.
- Configure Device Portal Settings: Take some time to explore the Device Portal dashboard and configure any settings that are relevant to your needs. You can adjust network settings, install or uninstall apps, view device logs, and perform other administrative tasks.
Once you have successfully installed the Windows Device Portal and configured the necessary settings, you are ready to proceed to the next step: connecting your computer to the HoloLens device. This will allow you to view and interact with the HoloLens content directly on your computer screen.
Step 3: Connecting the HoloLens to your Computer
Now that you have installed the Windows Device Portal, it’s time to establish a connection between your HoloLens device and your computer. Follow these steps to connect the HoloLens to your computer:
- Open the Device Portal: Launch a web browser on your computer and enter the IP address of your HoloLens device in the address bar. If you’re unsure of the IP address, refer to the previous step for instructions on finding it.
- Login to the Device Portal: Enter your Microsoft account credentials to log in to the Device Portal. This will grant you access to the settings and features of your HoloLens device.
- Navigate to the “Connect” Section: In the Device Portal dashboard, locate and click on the “Connect” tab. This will display the connection options for your HoloLens device.
- Select “Pair” for Connection Method: Under the “Connection Method” section, choose the “Pair” option. This will initiate the pairing process between your computer and the HoloLens device.
- Confirm Pairing Code: On the HoloLens device, a pairing code will be displayed. Ensure that the pairing code matches the one shown in the Device Portal on your computer. If they match, click on the “Pair” button on your computer to confirm the pairing.
- Wait for Connection Confirmation: After confirming the pairing code, wait for a few moments while the connection between your computer and the HoloLens device is established. Once the connection is successfully established, you will receive a confirmation message.
- Verify Connection: To verify that the HoloLens device is connected to your computer, check the status indicator in the Device Portal dashboard. It should indicate that the device is connected and ready for use.
Once the connection is established, you are now able to see what’s on the HoloLens live through your computer screen. This allows you to easily develop, test, and interact with holographic content without having to wear the HoloLens device itself.
Now that you have successfully connected the HoloLens to your computer, it’s time to move on to the next step and adjust the display settings to optimize your viewing experience.
Step 4: Enabling Developer Mode on the HoloLens
In order to establish a connection and access advanced developer features on your HoloLens device, you need to enable Developer Mode. This mode unlocks developer-specific settings and capabilities that are essential for testing and deploying applications. Follow these steps to enable Developer Mode on the HoloLens:
- Open the Settings App: Put on your HoloLens device and navigate to the Start menu. Scroll through the list of apps until you find the Settings app. Select it to open the settings menu.
- Select “Update & Security”: Within the Settings app, scroll down and select the “Update & Security” option. This section allows you to manage updates and security settings for your HoloLens device.
- Go to the “For developers” Section: In the Update & Security menu, find and click on the “For developers” option. This will take you to a dedicated section for developer-specific settings.
- Enable Developer Mode: Within the For developers section, you will see a toggle switch labeled “Developer mode.” Click on the toggle switch to enable Developer Mode on your HoloLens device.
- Confirm the Alert: A confirmation alert will appear, notifying you of the potential risks and implications of enabling Developer Mode. Read through the information, and if you understand the risks and agree to proceed, click on “Yes” to confirm.
- Reboot the HoloLens: After enabling Developer Mode, your HoloLens device will need to reboot in order to apply the changes. Allow the device to restart by following the on-screen instructions.
Once the HoloLens has rebooted, it will be in Developer Mode, providing you with greater control and access to advanced features. Enabling Developer Mode is a necessary step for establishing a connection with your computer and making full use of the development tools and capabilities offered by the HoloLens device.
With Developer Mode successfully enabled, you are now ready to move on to the next step and connect to the HoloLens through the Windows Device Portal.
Step 5: Connecting to the HoloLens through the Device Portal
Now that you have enabled Developer Mode on your HoloLens device, you can establish a connection with your computer through the Windows Device Portal. The Device Portal provides a web-based interface that allows you to access and manage your HoloLens device remotely. Follow these steps to connect to the HoloLens through the Device Portal:
- Ensure HoloLens and Computer are on the same network: Both your HoloLens device and your computer need to be connected to the same network to establish a connection. This ensures that the data can be transferred seamlessly between the devices.
- Launch a web browser: Open a web browser on your computer and enter the IP address of your HoloLens device in the address bar. To find the IP address, navigate to the HoloLens Settings app, select the “Network & Internet” section, and then choose “Advanced options.” The IP address will be displayed under the “IPv4 address” section.
- Login to the Device Portal: Once you have entered the IP address in the web browser, you will be prompted to log in to the Device Portal. Use your Microsoft account credentials to log in. This will grant you access to the settings and features of your HoloLens device.
- Explore the Device Portal: After logging in, you will be redirected to the Device Portal dashboard. Here, you can access various features and settings to manage your HoloLens device. Familiarize yourself with the different sections and options available.
- Configure settings: Take some time to configure the settings according to your preferences. You can adjust network settings, manage installed apps, update firmware, and more. Customize the settings to enhance your development and usage experience.
By connecting to the HoloLens through the Device Portal, you can remotely manage and configure your device, allowing for easier development, troubleshooting, and monitoring. This connection provides you with a comprehensive overview of your HoloLens device’s status and allows for efficient management of apps and settings.
Now that you have successfully connected to the HoloLens through the Device Portal, you are ready to move on to the next step and adjust the display settings to ensure optimal viewing of the HoloLens content on your computer.
Step 6: Adjusting the Display Settings
After connecting your computer to the HoloLens device, it’s important to adjust the display settings to ensure that you have the best viewing experience. By making these adjustments, you can optimize the display quality and make the holograms more visually appealing. Follow these steps to adjust the display settings:
- Access the Device Portal: Open the web browser on your computer and enter the IP address of your HoloLens device in the address bar. Log in to the Device Portal using your Microsoft account credentials.
- Go to the “Settings” section: In the Device Portal dashboard, navigate to the “Settings” section. Here, you will find various options to configure your HoloLens device.
- Adjust the display settings: Within the Settings section, locate the display settings options. You will be able to adjust parameters such as brightness, color calibration, hologram stability, and field of view. Experiment with these settings to find the balance that suits your needs.
- Test different room lighting conditions: To ensure optimal display performance, try testing the HoloLens in different lighting conditions. Certain lighting conditions may affect the visibility and clarity of the holograms. Adjust the display settings accordingly to achieve the best results.
- Save and apply the settings: Once you have made the desired adjustments, save and apply the settings. This will ensure that the display settings are saved and implemented for future use.
By adjusting the display settings, you can enhance the visual quality and overall experience of using the HoloLens device. Experiment with different settings to find the combination that enables the holograms to appear vivid, clear, and stable. Don’t hesitate to continue fine-tuning the settings until you achieve the optimal display and performance.
Congratulations! You have successfully adjusted the display settings of your HoloLens device. You are now ready to dive into the exciting world of holograms and explore the endless possibilities of mixed reality.
Conclusion
Congratulations on completing the setup process to connect your computer and view what’s on the HoloLens live! By following the steps outlined in this guide, you now have the necessary tools and software to establish a connection between your HoloLens device and your computer, enabling you to develop, test, and enjoy holographic applications seamlessly.
We began by ensuring that you have the requirements in place, including a HoloLens device, a compatible computer running Windows 10 Pro or Enterprise edition, and a Microsoft account. From there, we guided you through the steps of setting up the HoloLens development environment on your computer, installing the Windows Device Portal, connecting the HoloLens to your computer, enabling Developer Mode on the HoloLens device, and accessing the Device Portal through the web browser to manage and configure your HoloLens device remotely.
Lastly, we walked you through the process of adjusting the display settings to optimize your viewing experience. By fine-tuning the display settings, you can ensure that holograms appear vividly and clearly, enhancing your overall mixed reality experience.
Now that you have accomplished the setup process, you are ready to explore the vast world of mixed reality applications and unleash your creative potential. Whether you are a developer, designer, or an enthusiast, the HoloLens opens up endless opportunities for innovation and immersive experiences.
Remember to keep your software and firmware up to date and continue to explore and experiment with the capabilities of the HoloLens device. The more you delve into its features, the more you will uncover the true potential of mixed reality.
Enjoy your journey with the HoloLens and have fun creating, learning, and experiencing the future of technology!


