Introduction
Welcome to the world of HoloLens development! If you’re interested in creating immersive holographic experiences and applications, you’ve come to the right place.
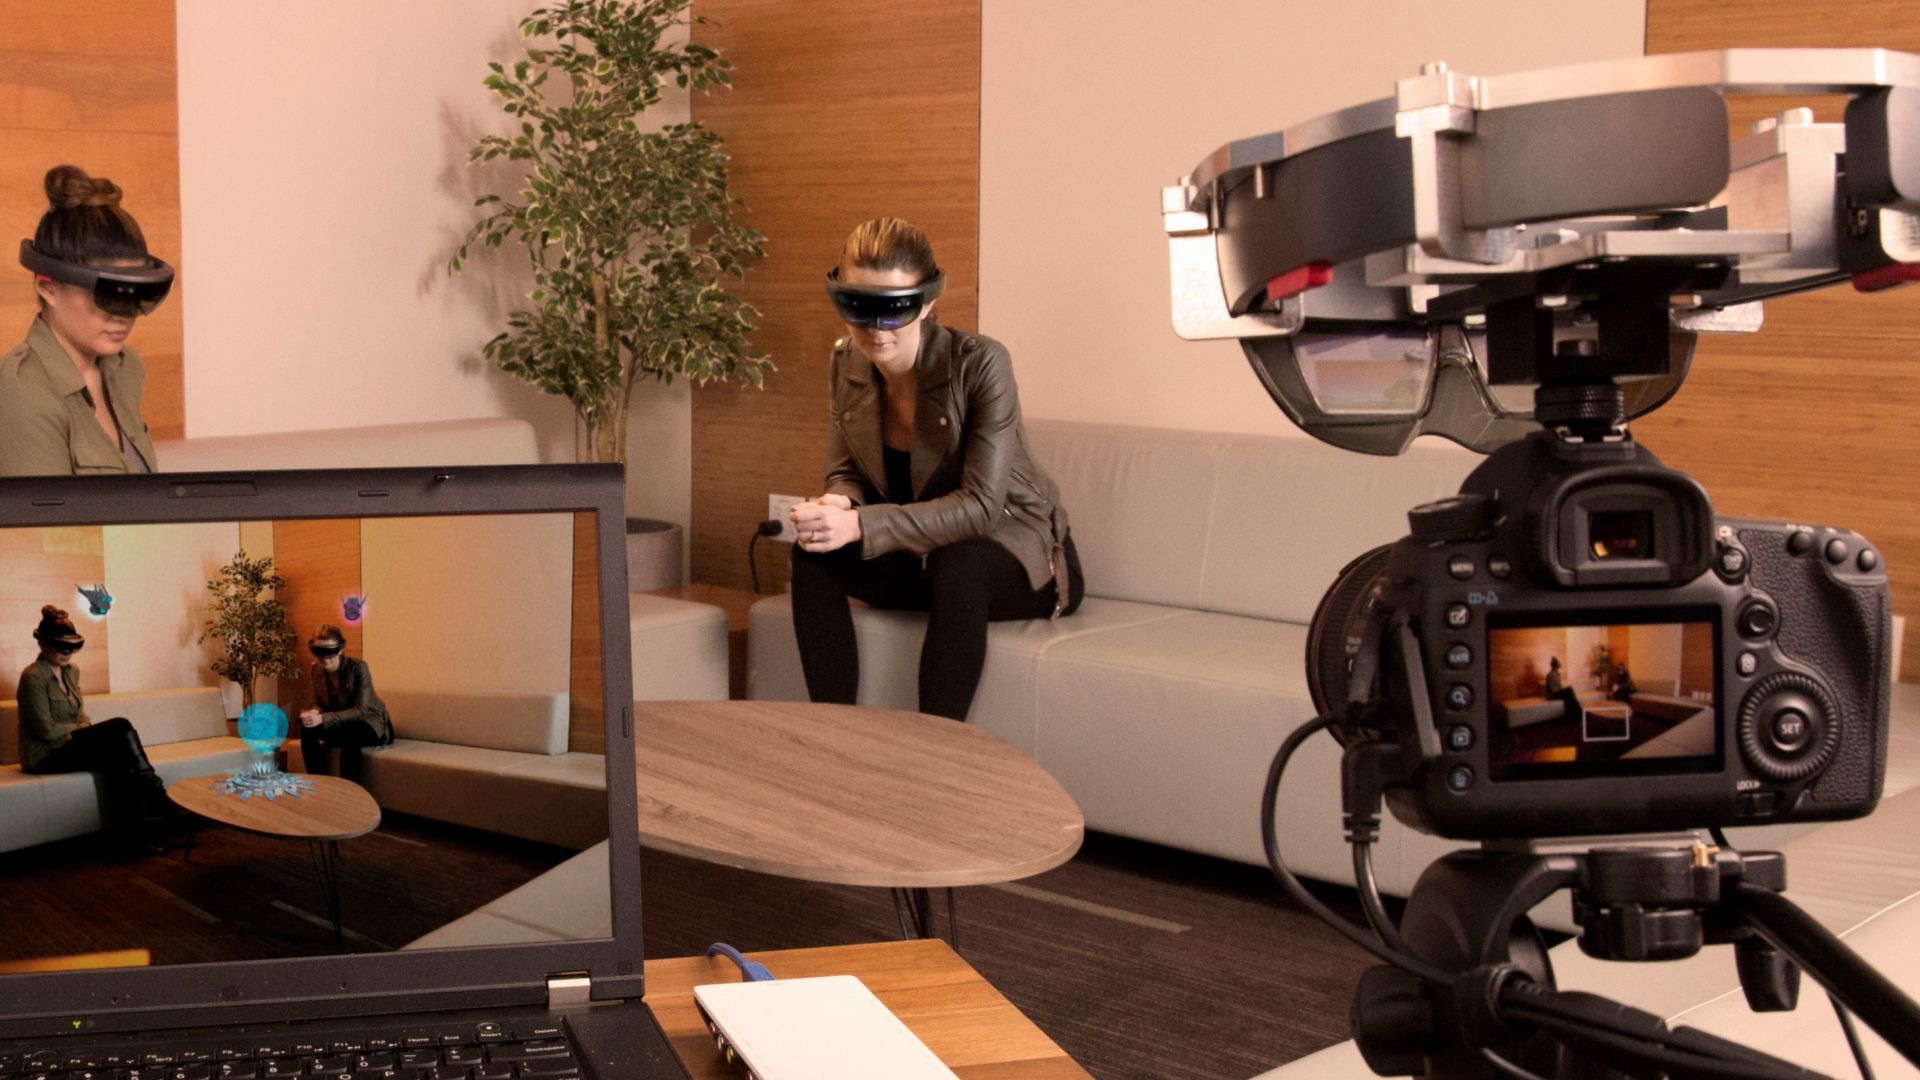
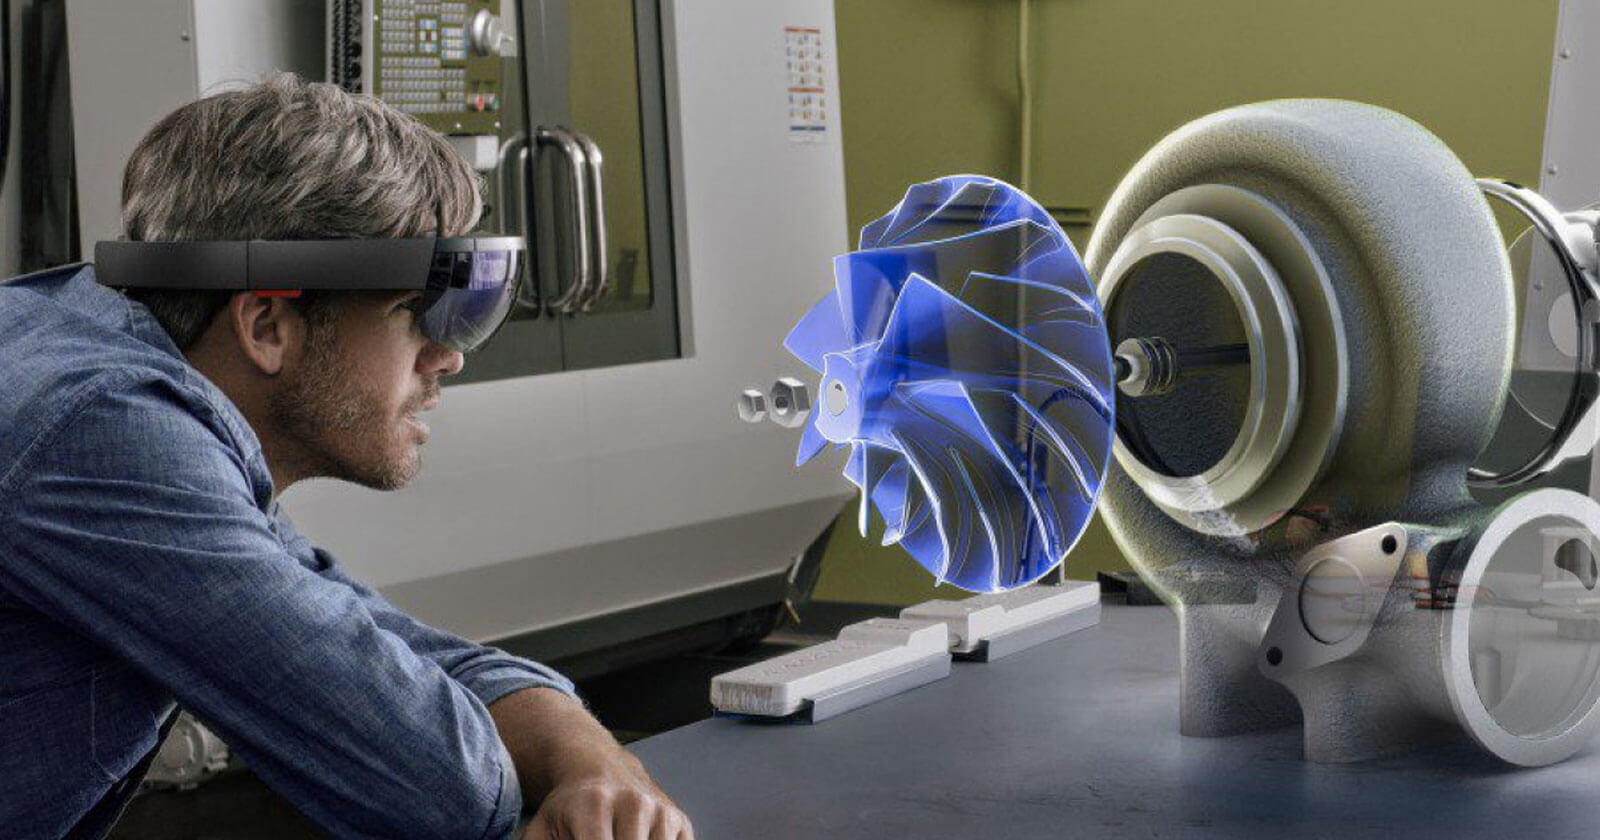
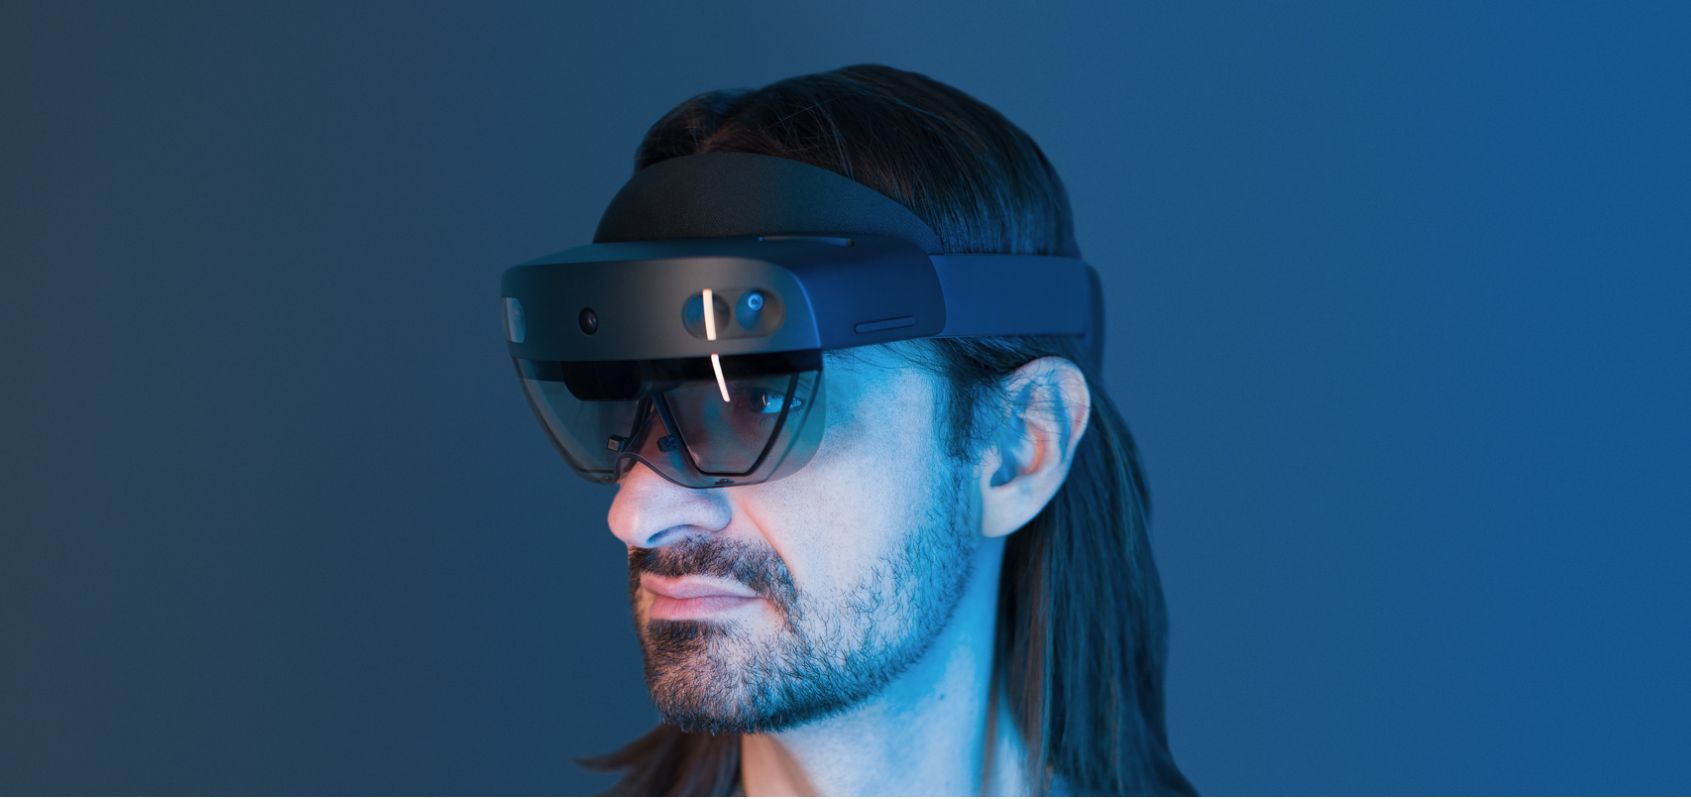
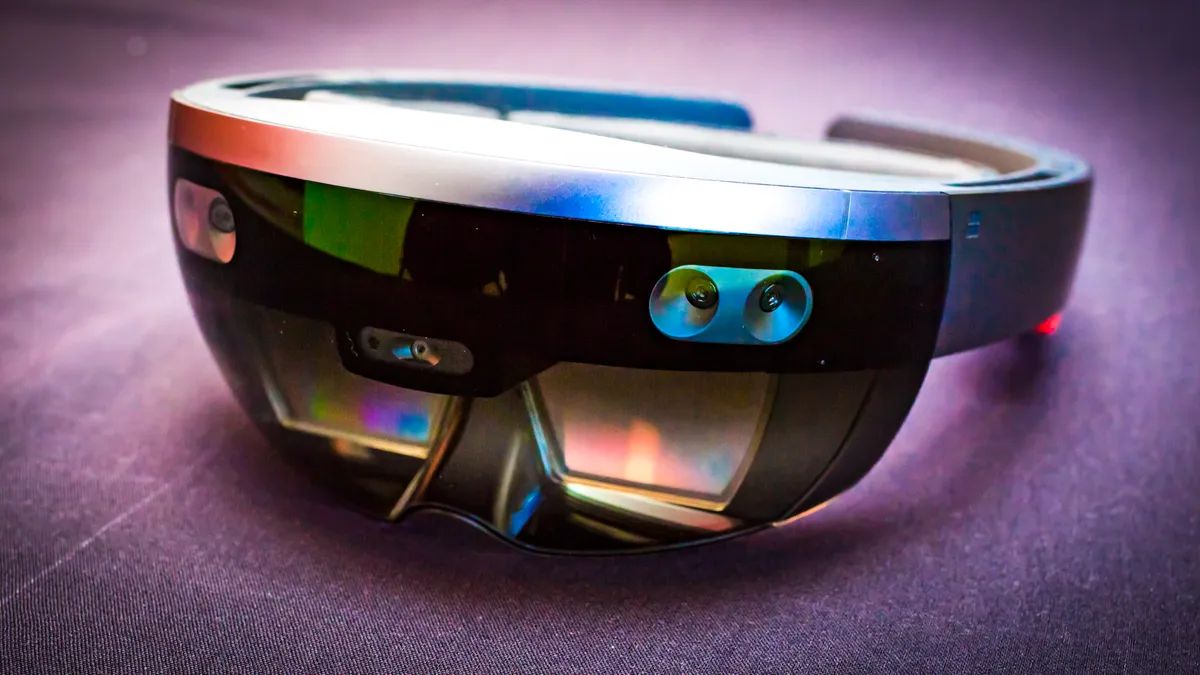
HoloLens is a cutting-edge mixed reality device developed by Microsoft. It allows users to interact with holograms that blend seamlessly with the real world, bringing a new level of depth and interactivity to digital content. Whether you’re a developer looking to build games, educational apps, or enterprise solutions, HoloLens opens up a world of possibilities.
Now, you may have heard about Hyper-V, which is a virtualization technology used by Windows. It allows you to create virtual machines and run multiple operating systems on a single physical machine. While Hyper-V is a powerful tool for various purposes, it can sometimes hinder the development workflow when working with HoloLens.
This article will guide you on how to develop with HoloLens without Hyper-V. We’ll explore the reasons why you may want to bypass Hyper-V, and provide step-by-step instructions on setting up your development environment, installing the necessary tools, creating projects, deploying apps, and testing and debugging without Hyper-V. By the end, you’ll be equipped with the knowledge to develop for HoloLens smoothly and efficiently.
So, if you’re ready to dive into the world of HoloLens development and learn how to do it without relying on Hyper-V, let’s get started!
What is HoloLens?
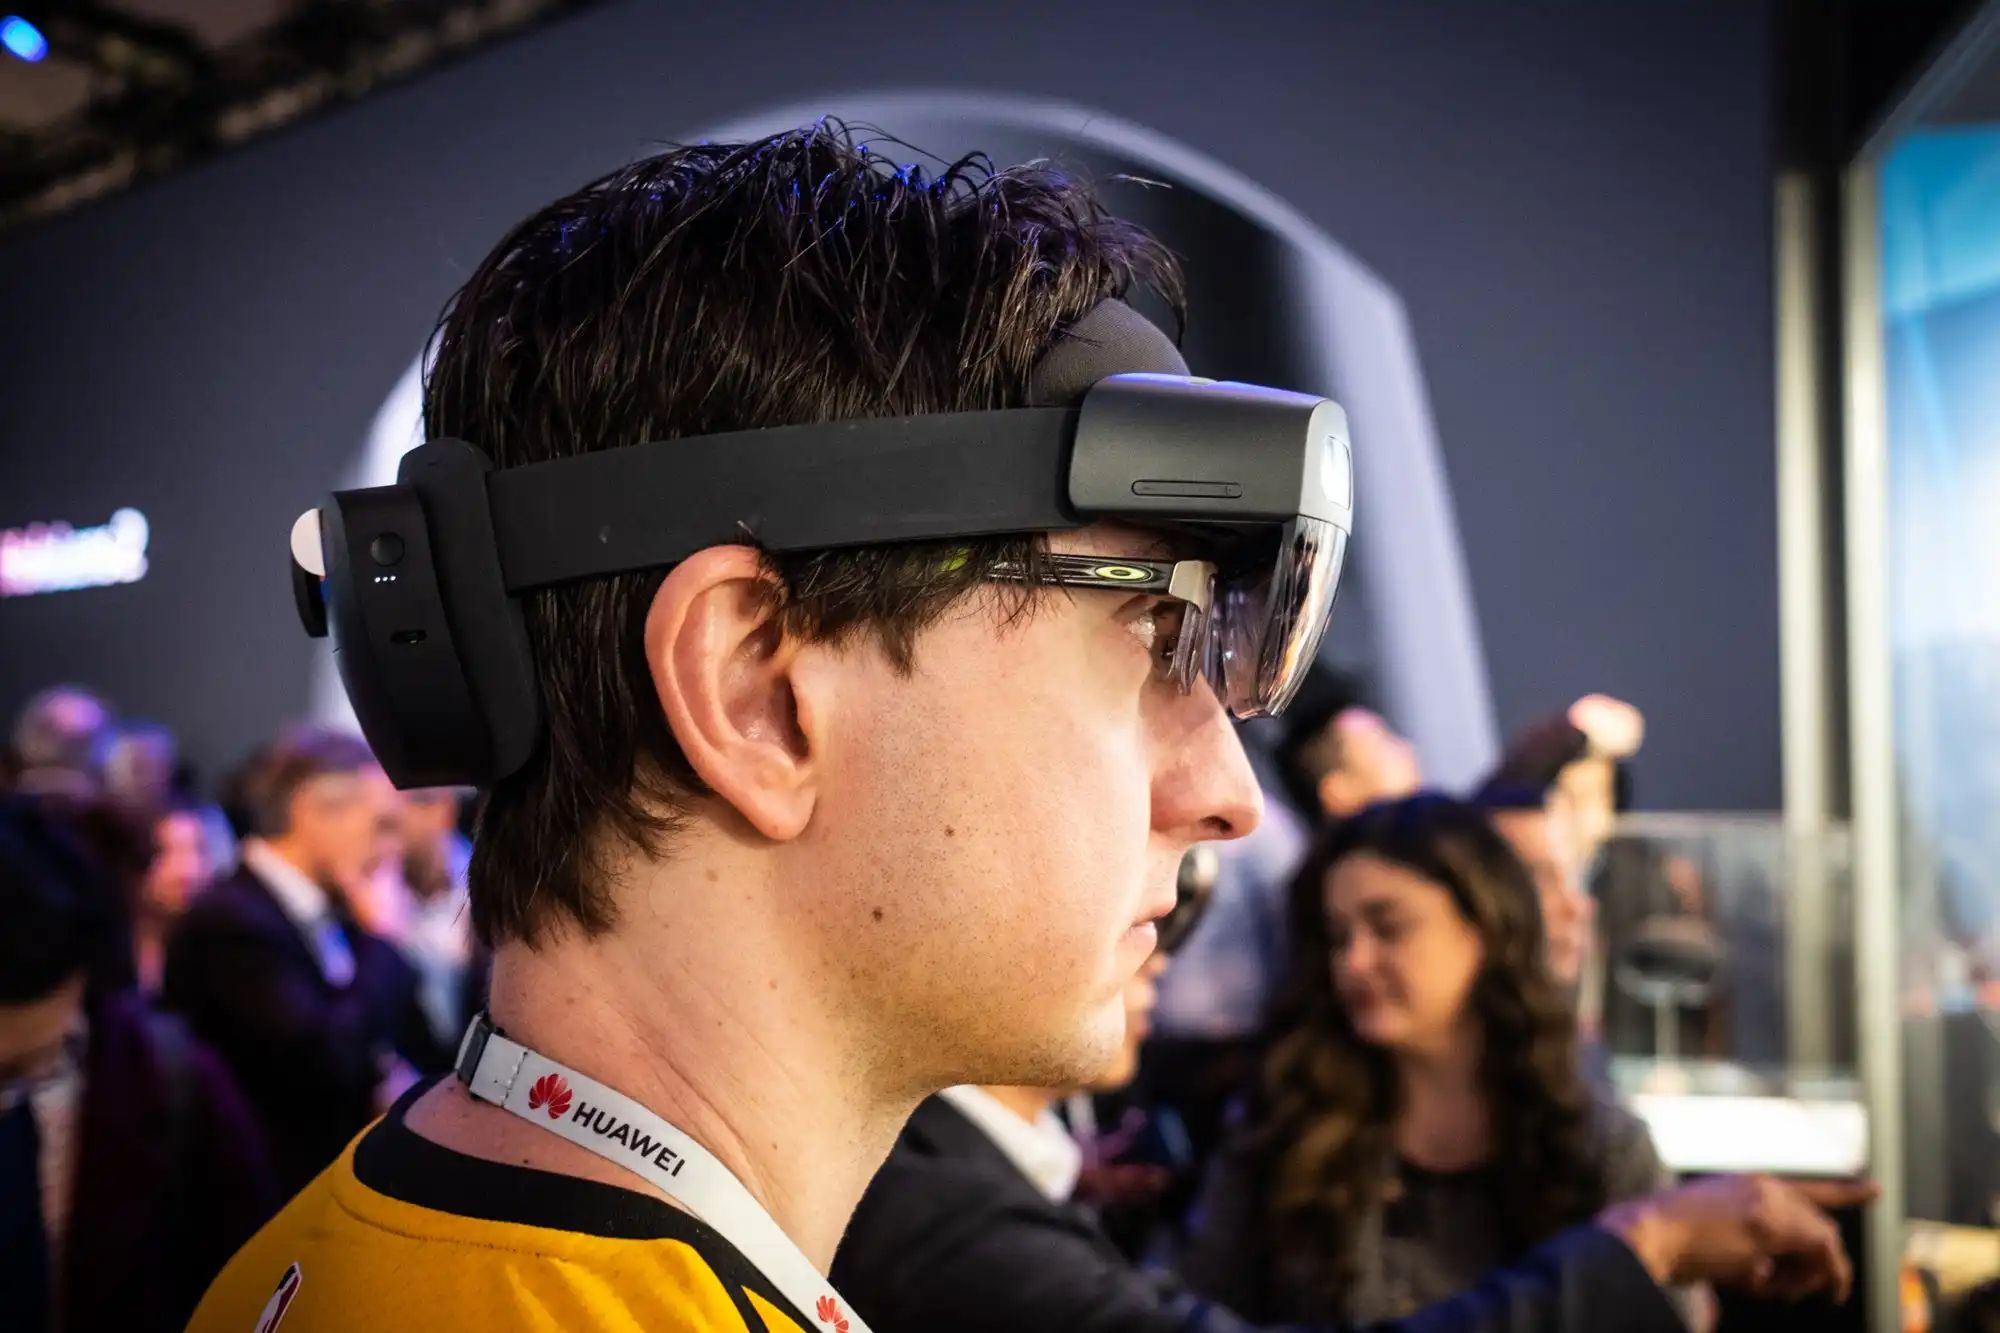
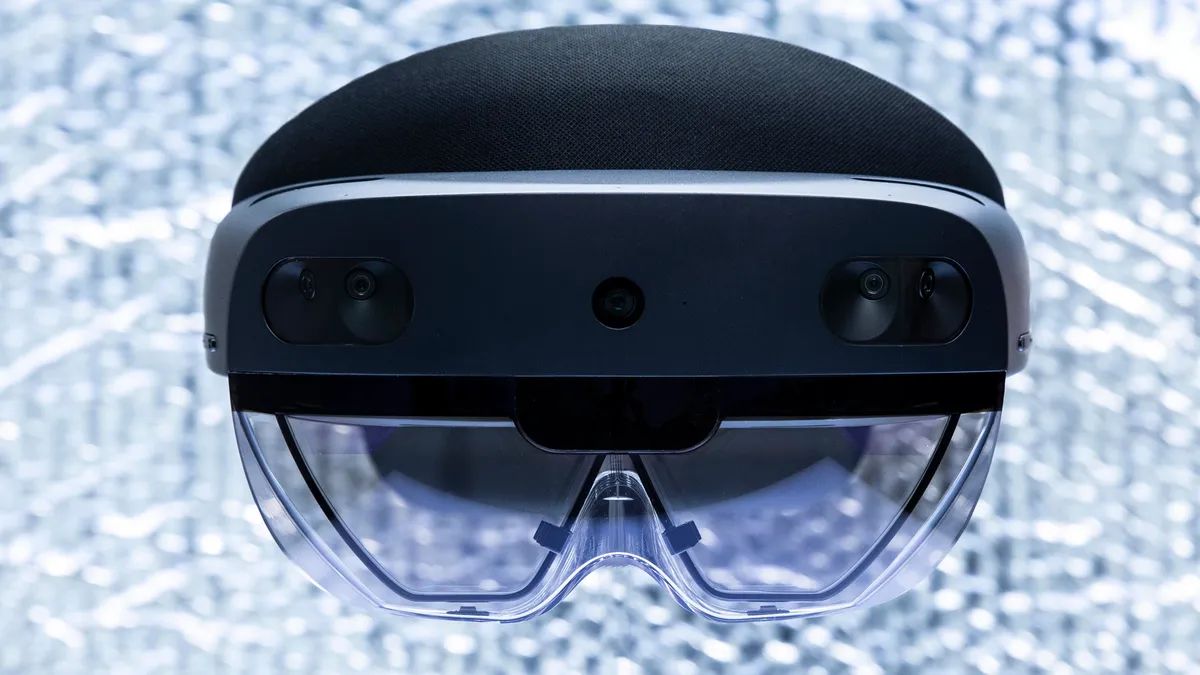
HoloLens is a groundbreaking mixed reality device developed by Microsoft. It combines advanced optics, sensors, and processing power to merge the digital and physical worlds, allowing users to interact with holograms in their real-world environment.
Unlike virtual reality (VR) headsets that immerse users in a completely virtual environment, HoloLens overlays holographic images onto the user’s field of view, making it a powerful tool for developing augmented reality (AR) applications.
One of the key features of HoloLens is its spatial mapping capabilities. The device uses sensors and cameras to scan the surrounding environment, creating a detailed 3D map. This allows holograms to seamlessly integrate with real-world objects, enabling users to interact with them in a natural and intuitive way.
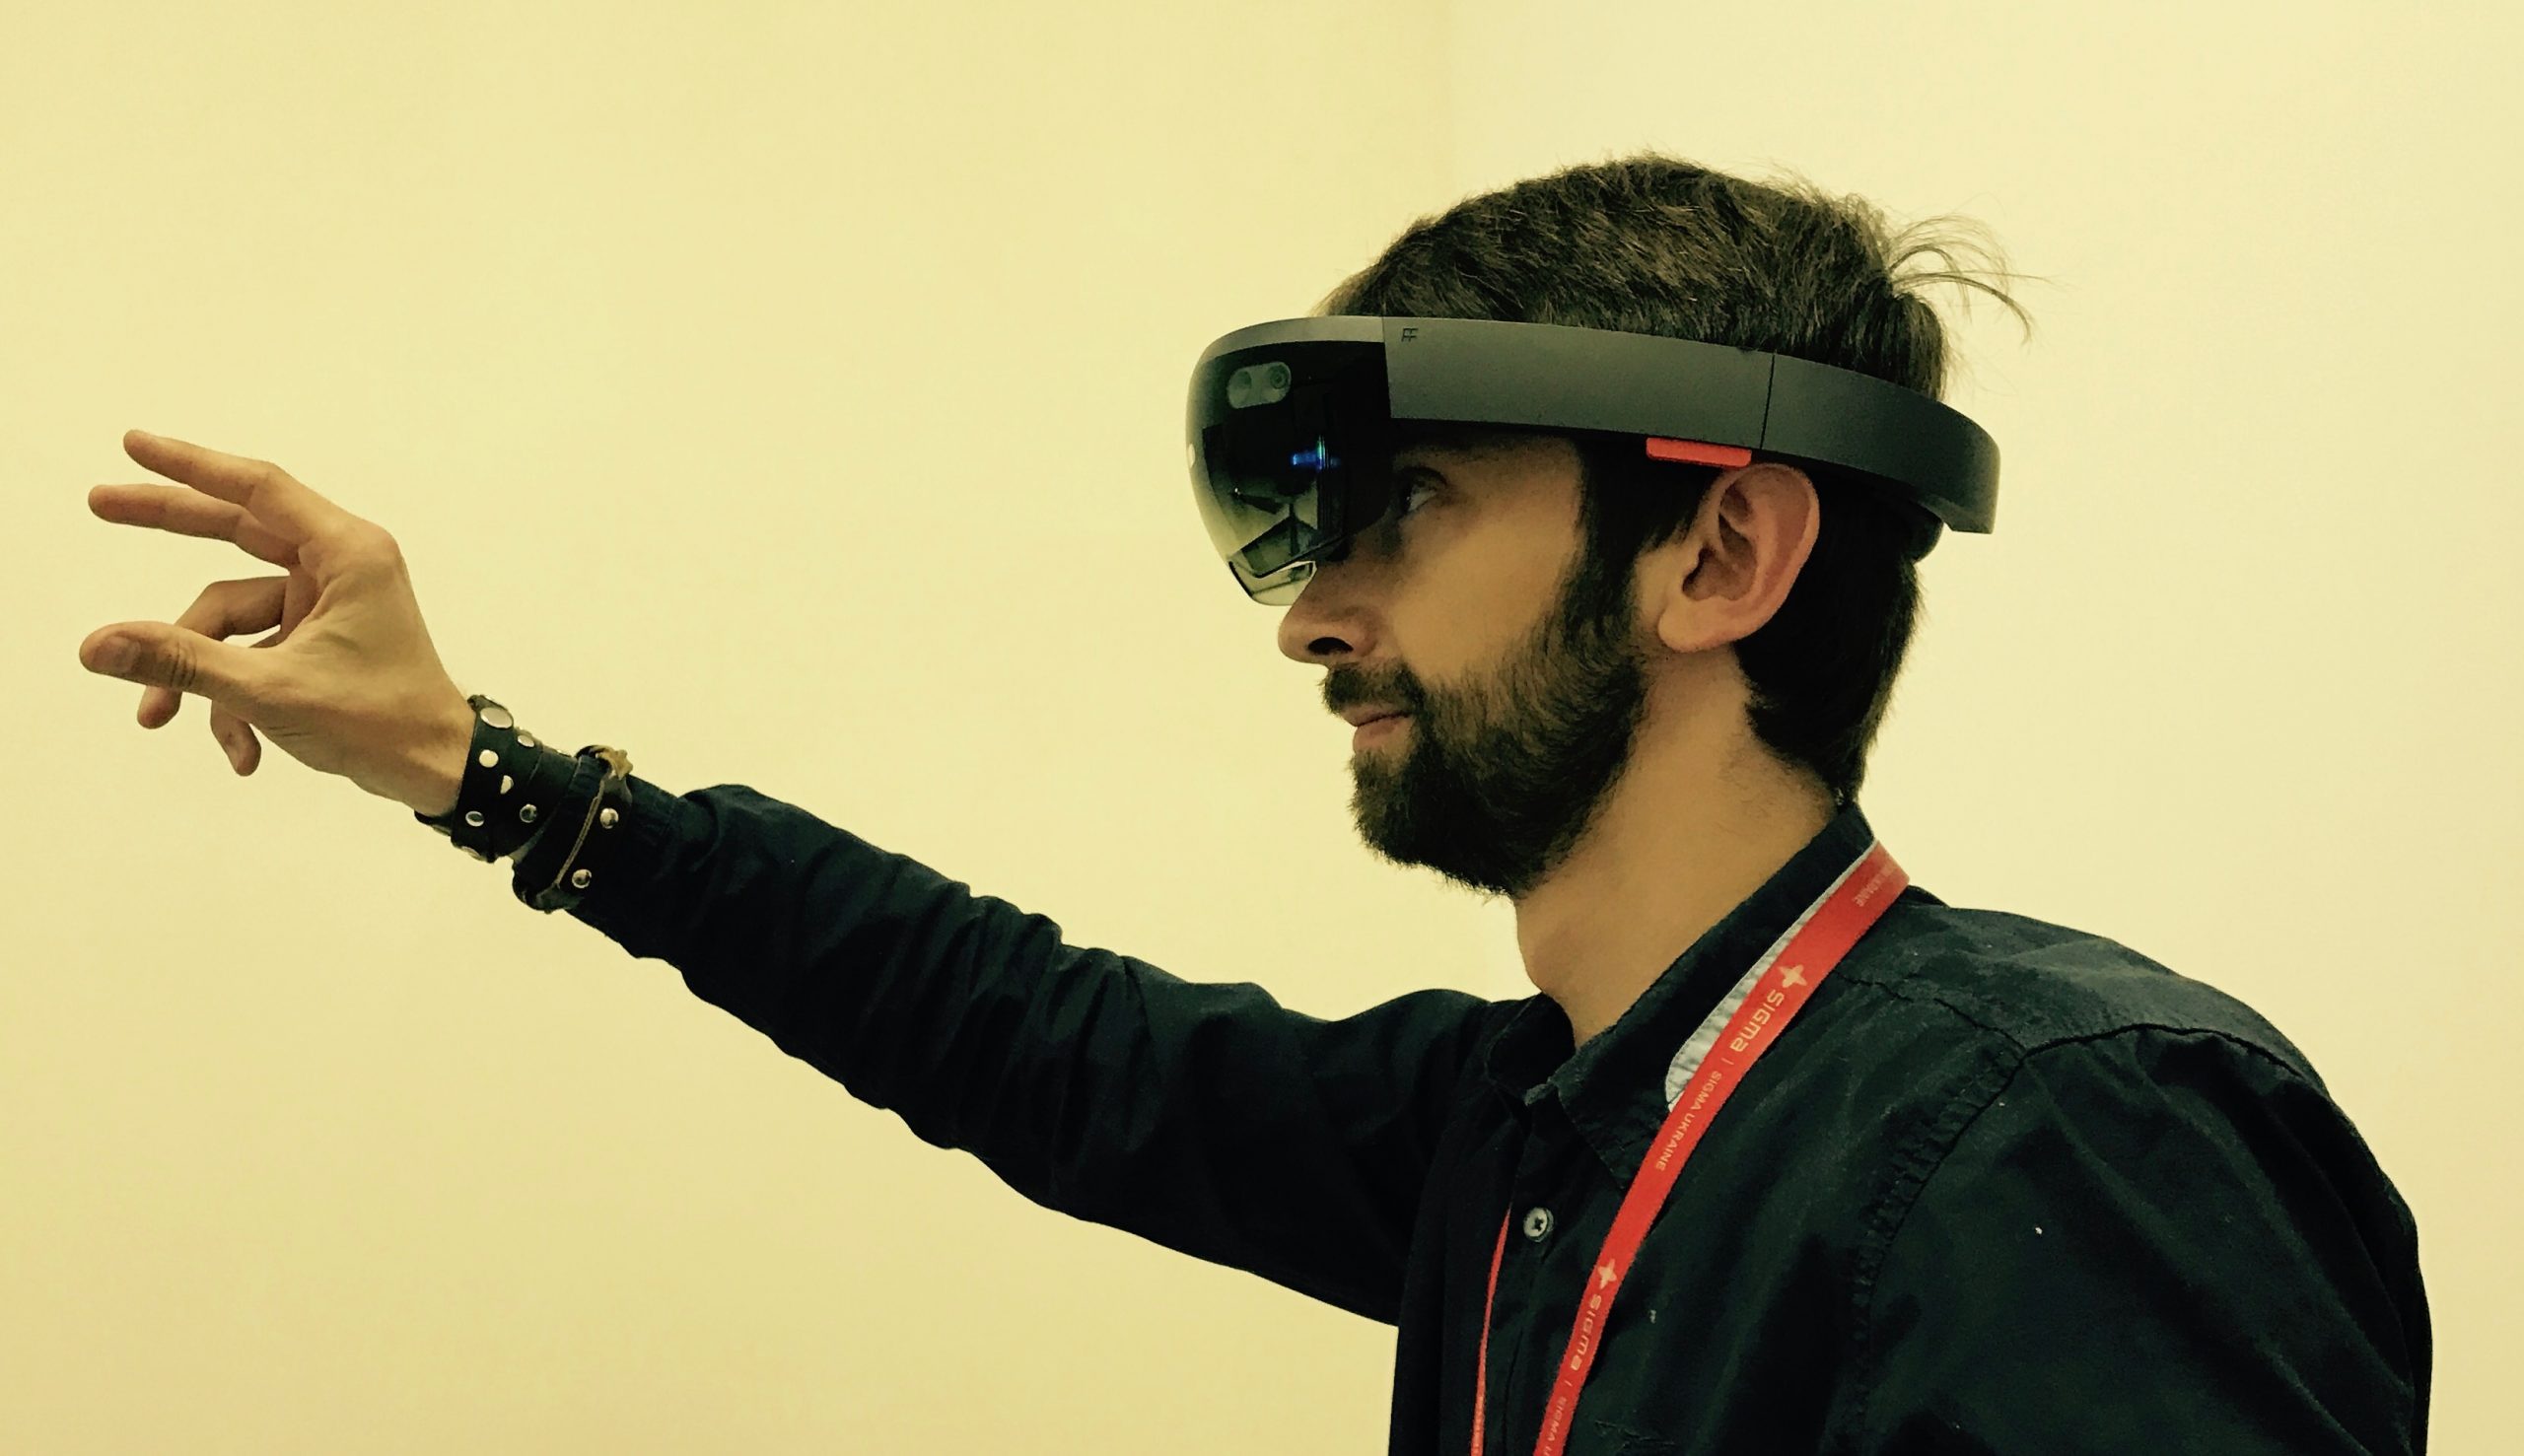
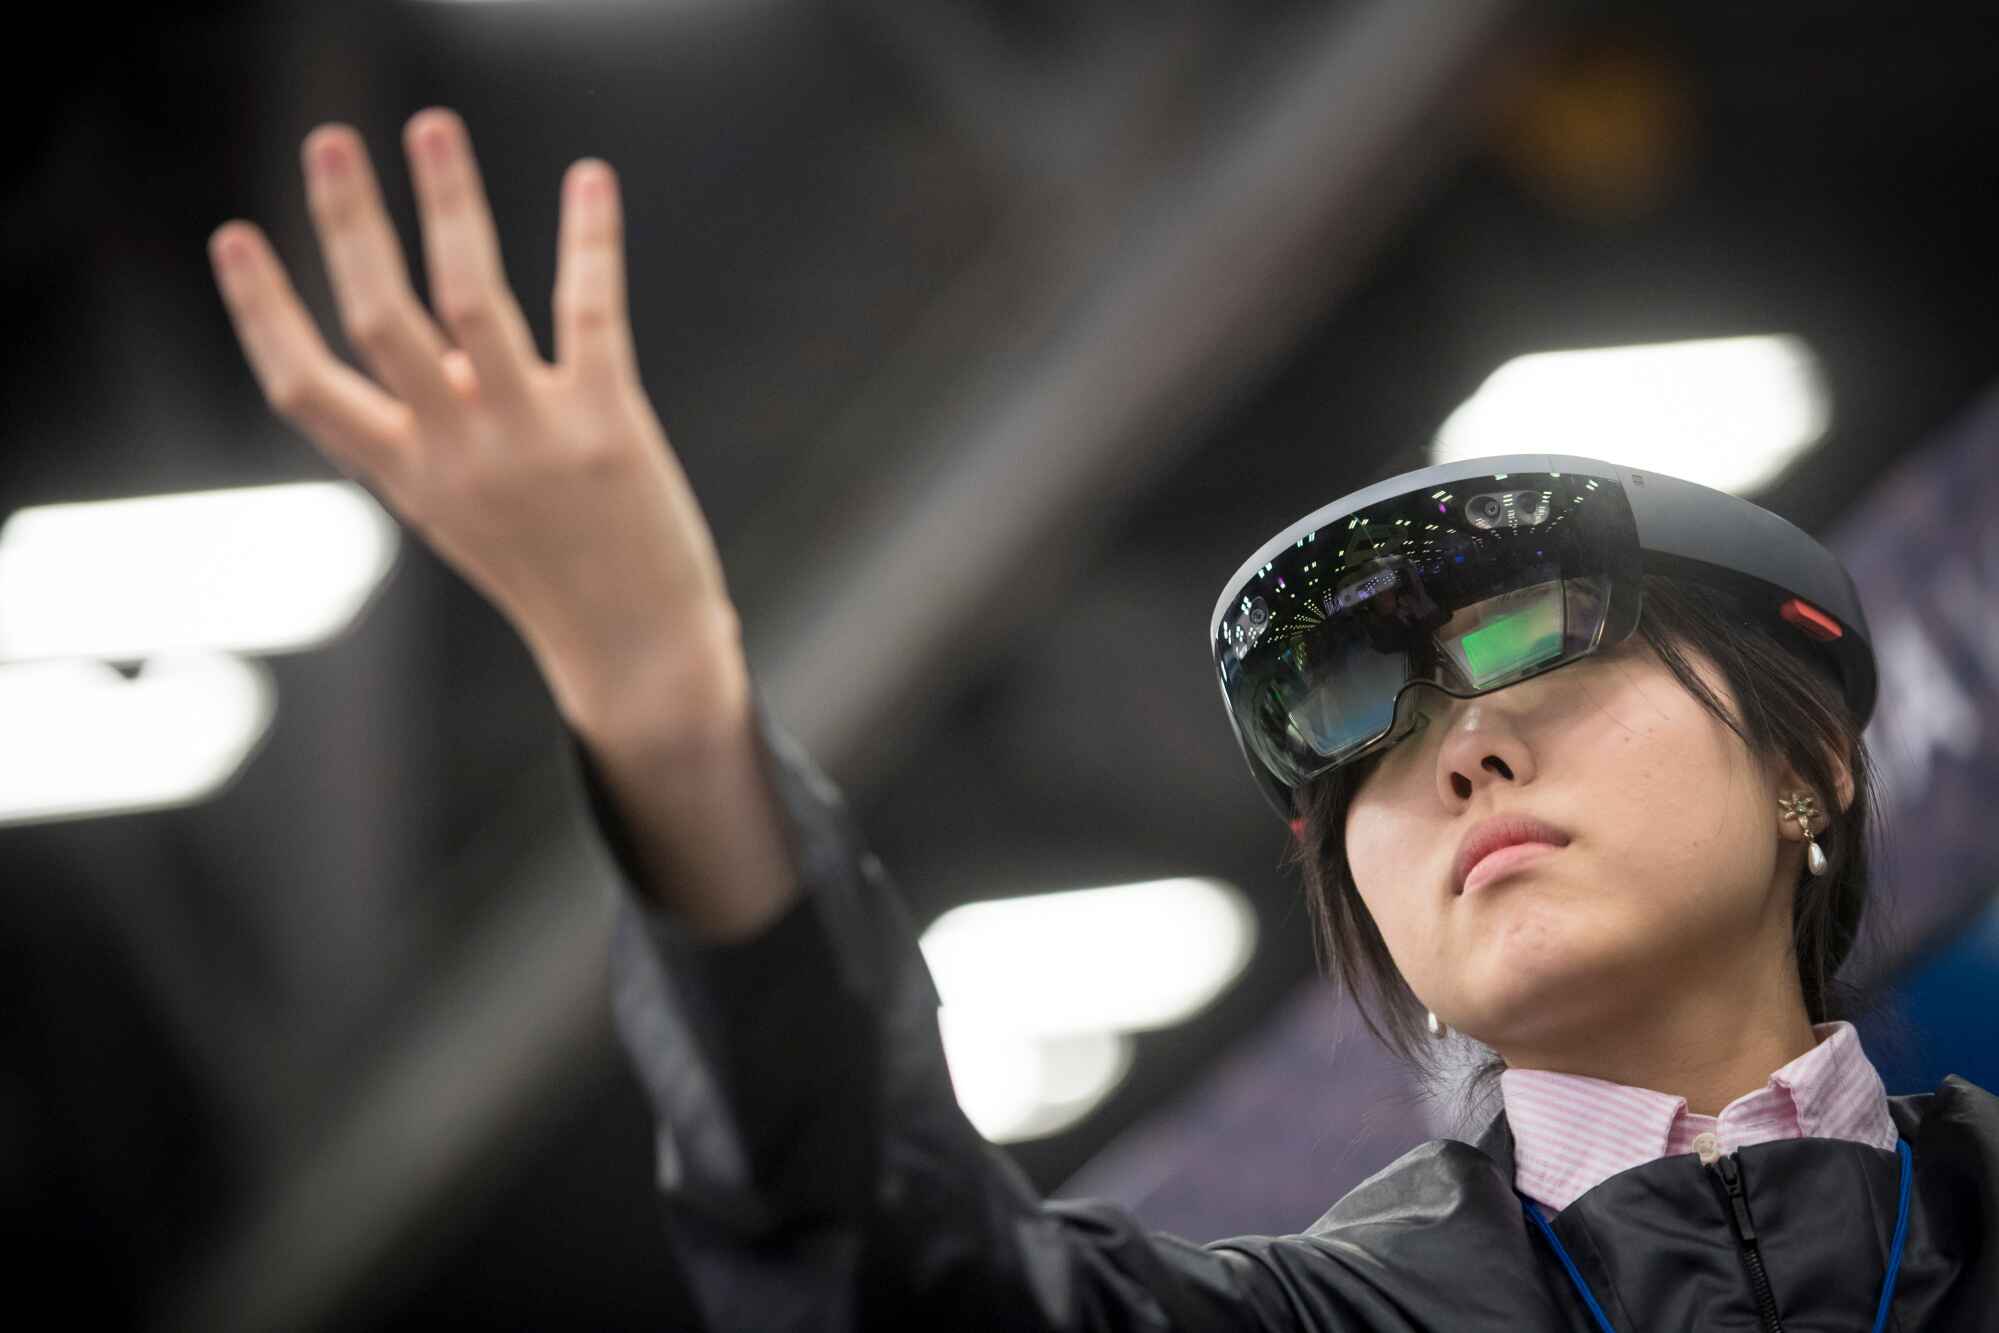
Another noteworthy feature of HoloLens is its gesture recognition and spatial sound. The device tracks hand movements and gestures, allowing users to interact with holograms through gestures like tapping, dragging, and resizing. Spatial sound enhances the immersion by providing audio feedback that appears to come from different locations in the user’s environment.
Developers can leverage the HoloLens platform to create a wide range of applications across various industries. From gaming and entertainment to education, healthcare, and industrial training, the possibilities are endless.
For game developers, HoloLens unlocks new possibilities for immersive experiences. Imagine battling virtual enemies that interact with your physical surroundings or exploring a virtual world that seamlessly blends with your living room.
In the field of education, HoloLens can revolutionize the way we learn. By overlaying 3D models and interactive content onto real-world objects, students can visualize complex concepts and manipulate virtual objects in ways that were never before possible.
In healthcare, HoloLens has the potential to enhance medical training and patient care. Surgeons can use holographic overlays during procedures to access relevant patient information or visualize internal structures. Medical students can practice complex procedures in a realistic virtual environment.
These are just a few examples of the transformative power of HoloLens. With its unique capabilities, HoloLens is shaping the future of mixed reality technology and opening up new opportunities for developers and users alike.
What is Hyper-V?
Hyper-V is a virtualization technology developed by Microsoft. It allows you to create and run virtual machines on your Windows computer, effectively enabling the concurrent use of multiple operating systems on a single physical machine.
With Hyper-V, you can create virtual machines that act like separate computers within your existing system. Each virtual machine can have its own operating system, applications, and network configurations, allowing you to easily test software or run different operating systems without the need for separate physical machines.
Hyper-V provides a range of benefits, particularly for IT professionals and developers. It offers efficient resource management, allowing you to allocate specific CPU, memory, and disk resources to each virtual machine. This enables better utilization of hardware resources and enhances overall system performance.
One of the key advantages of Hyper-V is its snapshot capability. You can take snapshots of a virtual machine at different stages of its operation, allowing you to revert back to a previous state if something goes wrong or when testing software configurations. This feature is invaluable for troubleshooting and software development purposes.
Hyper-V also provides a secure environment for testing potentially harmful or untrusted software. By running applications within a virtual machine, you can isolate them from your main operating system, preventing any potential damage or interference with your host system.
While Hyper-V is a powerful tool with numerous advantages for many use cases, it can sometimes pose challenges when developing for specific platforms or devices, such as HoloLens.
HoloLens development typically requires a direct connection between your development environment and the HoloLens device. However, enabling Hyper-V on your machine can interfere with this connection and make it difficult to deploy and test applications directly on the HoloLens device.
Fortunately, there are alternative methods to develop for HoloLens without relying on Hyper-V. In the following sections, we’ll explore these methods and guide you through the process of setting up your development environment and creating HoloLens applications without Hyper-V.
Why Develop with HoloLens Without Hyper-V?
While Hyper-V is a valuable tool for various virtualization purposes, developing for HoloLens without relying on Hyper-V can offer certain advantages and facilitate a smoother development workflow.
One of the primary reasons to develop without Hyper-V is the direct connection between your development environment and the HoloLens device. Enabling Hyper-V on your machine can sometimes disrupt this connection, making it challenging to deploy and test applications directly on the HoloLens.
Developing without Hyper-V allows for quicker deployment and testing cycles. You can directly deploy your applications to the HoloLens device, eliminating the need for additional steps and potential complications caused by Hyper-V configuration conflicts.
Another advantage of developing without Hyper-V is the flexibility to use different tools and frameworks. Some tools or frameworks may not be compatible with Hyper-V or require specific configurations to work properly. By bypassing Hyper-V, you can ensure a wider range of options for HoloLens development.
In addition, developing without Hyper-V can provide a more seamless and immersive experience. Hyper-V can sometimes consume a significant portion of system resources, leading to potential performance issues, such as slowdowns or delays. By disabling Hyper-V, you can allocate more system resources to your development environment, resulting in a smoother and more efficient workflow.
Furthermore, not relying on Hyper-V can simplify the development setup process. Setting up a Hyper-V environment requires specific configurations and may involve additional steps, such as creating and configuring virtual machines. Developing without Hyper-V removes these complexities, streamlining the development environment setup and allowing for faster iteration and experimentation.
Lastly, developing without Hyper-V ensures better compatibility with other hardware or software dependencies. Some devices or software tools may not function properly in a Hyper-V environment or require specific configurations to work seamlessly. By developing without Hyper-V, you can ensure a more reliable and hassle-free integration of these components.
Overall, developing for HoloLens without Hyper-V can enhance the development workflow, improve performance, provide greater flexibility in tooling choices, simplify setup processes, and ensure better compatibility with other dependencies. It allows developers to focus on creating engaging and immersive HoloLens experiences without unnecessary configuration complications or restrictions imposed by Hyper-V.
Setting Up Your Development Environment Without Hyper-V
To start developing for HoloLens without relying on Hyper-V, you will need to configure your development environment accordingly. Here are the steps to set up your development environment without Hyper-V:
1. Disable Hyper-V feature: Open the Control Panel on your Windows machine and navigate to “Programs” > “Turn Windows features on or off.” Locate the Hyper-V feature and uncheck the box to disable it. Restart your computer to apply the changes.
2. Enable Developer mode: Go to the Settings app on your Windows machine, then click on “Update & Security” > “For Developers.” Choose the “Developer mode” option to enable developer mode, which allows you to install and run applications from outside the Windows Store.
3. Install Visual Studio: Download and install the latest version of Visual Studio, which is the primary tool for HoloLens development. Make sure to include the necessary components for Universal Windows Platform (UWP) development.
4. Install HoloLens emulator: If you don’t have access to a physical HoloLens device, you can use the HoloLens emulator for testing your applications. Download and install the HoloLens emulator from the Windows Dev Center website.
5. Set up Windows Device Portal: The Windows Device Portal allows you to remotely manage and monitor your HoloLens device. To access the Device Portal, you will need to enable it on your HoloLens by going to “Settings” > “Update & Security” > “For Developers” and turning on the Device Portal feature.
6. Connect to your HoloLens device: Once your development environment is set up, you need to establish a connection between your machine and the HoloLens device. Make sure both your machine and the HoloLens are connected to the same Wi-Fi network. Open the “Network” settings on your HoloLens and note down the IP address. In the Visual Studio project properties, select “Device” as the target and enter the IP address of your HoloLens.
With your development environment properly configured and connected to the HoloLens device, you are now ready to start creating applications for HoloLens without the need for Hyper-V. You can easily deploy and test your applications directly on the HoloLens device or utilize the emulator for simulation.
It’s important to note that while developing without Hyper-V can simplify the process, you may still encounter occasional challenges or compatibility issues with specific tools or frameworks. However, by following the steps outlined above, you can ensure a smooth setup and a seamless development experience for your HoloLens projects.
Installing the HoloLens Tools Without Hyper-V
Once you have set up your development environment without Hyper-V, the next step is to install the necessary tools for HoloLens development. Here’s how you can install the HoloLens tools without relying on Hyper-V:
1. Install Windows 10 SDK: The Windows 10 SDK provides the essential libraries, headers, and tools for building Universal Windows Platform (UWP) applications. Download and install the latest version of the Windows 10 SDK from the Microsoft Developer website.
2. Install Unity: Unity is a popular game development engine that also supports HoloLens development. Download and install Unity from the official Unity website. Make sure to select the appropriate version that includes support for Universal Windows Platform development.
3. Install Visual Studio Tools for Unity: The Visual Studio Tools for Unity is an extension that integrates Visual Studio with Unity, providing a seamless development experience. Open Visual Studio and go to “Extensions” > “Manage Extensions.” Search for “Visual Studio Tools for Unity” and install the extension.
4. Install HoloLens Emulator: If you don’t have access to a physical HoloLens device, you can use the HoloLens Emulator to simulate HoloLens experiences on your development machine. Download and install the HoloLens Emulator from the Windows Dev Center website.
5. Install Mixed Reality Toolkit (MRTK): The Mixed Reality Toolkit is a collection of scripts, components, and examples that help accelerate development for mixed reality applications. You can download the MRTK from the GitHub repository and integrate it into your Unity projects for HoloLens development.
6. Install HoloLens Device Portal: The HoloLens Device Portal provides a web-based interface for managing and configuring your HoloLens device. To install it, open a web browser on your development machine and type the IP address of your HoloLens device followed by “:10080” (e.g., http://192.168.1.10:10080). This will prompt you to install the necessary Device Portal components on your machine.
By installing these tools, you will have everything you need to start developing HoloLens applications without relying on Hyper-V. Unity provides a robust environment for creating 3D interactive content, while Visual Studio offers powerful debugging and deployment capabilities for your projects.
With the HoloLens Emulator, you can simulate the holographic experience and test your applications without the need for a physical device. The Mixed Reality Toolkit (MRTK) is also a valuable resource that provides pre-built components and examples to accelerate HoloLens development.
Additionally, the HoloLens Device Portal allows you to manage and monitor your HoloLens device remotely. This web-based interface provides access to diagnostic information, performance profiling, and deployment options for your HoloLens applications.
By following the installation steps above, you can ensure that you have the necessary tools and resources to create immersive and engaging experiences for HoloLens without relying on Hyper-V.
Creating a HoloLens Project Without Hyper-V
Now that you have your development environment set up and the necessary tools installed without relying on Hyper-V, let’s dive into creating a HoloLens project. Follow these steps to create a HoloLens project without Hyper-V:
1. Open Visual Studio: Launch Visual Studio and select “Create a new project” from the start page. Make sure to choose a project template that supports HoloLens development. Unity 3D and C# are commonly used for HoloLens projects, so select a template that suits your preferences.
2. Set project properties: Configure the project properties to target HoloLens. In the project properties window, navigate to the “Build” tab. Set the target device to “Remote Machine” and enter the IP address of your HoloLens device. This will allow Visual Studio to deploy the application directly onto the HoloLens.
3. Configure Unity for HoloLens: If you’re using Unity for HoloLens development, open the Unity project associated with your Visual Studio project. Make sure the Unity project has the necessary assets and configurations for HoloLens, such as the Mixed Reality Toolkit (MRTK). Customize the scene with holograms, spatial mapping, and other HoloLens-specific elements.
4. Write code: Start writing code to create the functionality for your HoloLens app. Use the HoloLens API provided by Unity or the Windows SDK to interact with holograms, spatial mapping, input gestures, and other HoloLens features. Incorporate best practices for performance optimization, user experience, and hologram interaction to create a seamless and immersive application.
5. Build and deploy: Once you have written the code, build the project from Visual Studio. Make sure your HoloLens device is connected to the same network as your development machine. Deploy the app to the HoloLens device by selecting “Build” > “Deploy Solution” in Visual Studio. This will install the app onto the HoloLens device for testing and evaluation.
6. Test and iterate: Once the app is deployed to the HoloLens device, test it thoroughly to ensure proper functionality and user experience. Utilize the HoloLens Device Portal to monitor performance, access diagnostic information, and make adjustments as needed. Iterate on the code, design, and user feedback to improve the app further.
By following these steps, you can create a HoloLens project without relying on Hyper-V. Whether you’re creating a gaming experience, a training application, or a visualization tool, developing for HoloLens provides exciting opportunities to leverage the unique features of mixed reality.
Remember to consistently test, iterate, and improve your application throughout the development process to deliver the best possible HoloLens experience to your users.
Deploying Your HoloLens App Without Hyper-V
Once you have developed your HoloLens app without relying on Hyper-V, the next step is to deploy it onto your HoloLens device for testing and evaluation. Follow these steps to deploy your HoloLens app without Hyper-V:
1. Connect your HoloLens device: Ensure that your HoloLens device is connected to the same network as your development machine. This will allow the deployment of the app from your machine to the HoloLens device.
2. Set the deployment target: In Visual Studio, open your HoloLens project and navigate to the “Build” tab in the project properties. Set the target device to “Remote Machine” and enter the IP address of your HoloLens device. This will configure Visual Studio to deploy the app onto the HoloLens device.
3. Build the app: Build the HoloLens app by selecting “Build” > “Build Solution” in Visual Studio. This will compile your project into an app package that can be installed on the HoloLens device.
4. Deploy the app: Once the build process is complete, choose “Build” > “Deploy Solution” in Visual Studio. This will initiate the deployment of the app to the HoloLens device. Visual Studio will automatically install the app package on your HoloLens device, making it ready for testing.
5. Test the app: With the app installed on your HoloLens device, put on the device, and run the app to test its functionality and user experience. Interact with holograms, explore spatial mapping, and test input gestures to ensure that the app performs as expected in a mixed reality environment.
6. Iterate and optimize: As you test the app on the HoloLens device, identify areas for improvement and implement necessary changes. Use the HoloLens Device Portal to monitor performance, access diagnostic information, and fine-tune the app to deliver a seamless and immersive experience.
7. Distribute the app: Once you’re satisfied with the app’s performance and user experience, you can distribute it to other HoloLens devices. Publish the app to the Microsoft Store or use enterprise distribution methods to make the app available to a broader audience.
By following these steps, you can deploy your HoloLens app without relying on Hyper-V. Remember to thoroughly test the app on the HoloLens device and iterate on the design and functionality to create an engaging and immersive experience for your users.
Deploying the app directly onto the HoloLens device allows you to closely evaluate its performance and make necessary optimizations. Utilize the tools and resources provided by the HoloLens Device Portal to monitor the app’s performance, diagnose issues, and ensure a smooth user experience.
With the app successfully deployed and tested, you can now focus on refining and enhancing the app based on user feedback, pushing the boundaries of what’s possible with HoloLens development.
Testing and Debugging Without Hyper-V
Testing and debugging are crucial stages in the development of any application, including HoloLens apps. While testing and debugging without Hyper-V may require some adjustments, it is still a feasible and effective process. Here’s how you can test and debug your HoloLens app without relying on Hyper-V:
1. Use the HoloLens device for testing: When developing without Hyper-V, you can directly deploy and test your app on the HoloLens device. By wearing the device, you can experience and evaluate the app in its intended mixed reality context. This allows you to observe how holograms interact with the real world and test user interactions firsthand.
2. Utilize the HoloLens Device Portal: The HoloLens Device Portal provides a web-based interface that allows you to remotely manage and monitor your HoloLens device. You can access the Device Portal by opening a web browser on your development machine and entering the IP address of your HoloLens device followed by “:10080” (e.g., http://192.168.1.10:10080). The Device Portal offers a range of debugging and diagnostic features, including performance monitoring, crash logs, and the ability to remotely deploy updates to your app.
3. Enable debugging in Visual Studio: To debug your HoloLens app, you can leverage the debugging capabilities provided by Visual Studio. Connect your HoloLens device to your development machine, set breakpoints in your code, and start a debug session in Visual Studio. This allows you to step through your code, inspect variables, and diagnose any issues that arise during app execution. Visual Studio also provides tools for profiling performance and analyzing performance bottlenecks.
4. Implement error handling and logging: Proper error handling and logging are essential for effective debugging. Implement error handling mechanisms in your code to catch and handle exceptions gracefully. Use logging frameworks to record important information and log events during app execution. By utilizing detailed logging, you can track down issues and gather valuable insights for debugging purposes.
5. Use remote debugging: If you encounter complex issues that require deep inspection, you can leverage remote debugging. With remote debugging, you can debug your app on the HoloLens device while the code execution is monitored and controlled by your development machine. This allows you to track down difficult-to-reproduce bugs and investigate issues that are specific to the HoloLens device environment.
6. Seek feedback from end-users: Testing is not only about debugging technical issues but also about assessing the usability and overall user experience. Gather feedback from end-users who engage with your HoloLens app. Conduct user testing sessions to understand how users interact with the app and address any usability concerns or confusion. Actively collect feedback and iterate on your app based on user suggestions and observations.
By implementing these testing and debugging practices without Hyper-V, you can ensure a thorough evaluation of your HoloLens app. Leveraging the HoloLens Device Portal, Visual Studio’s debugging tools, error handling mechanisms, and user feedback, you’ll be able to identify and rectify any issues, optimize performance, and deliver a high-quality mixed reality experience to your users.
Conclusion
Developing for HoloLens without relying on Hyper-V opens up new possibilities and a smoother development workflow. By setting up your development environment, installing the necessary tools, and creating projects without Hyper-V, you can unleash the full potential of HoloLens development.
HoloLens offers a unique and immersive mixed reality experience, allowing developers to create applications that seamlessly blend digital holograms with the real world. Whether you’re developing games, educational apps, or enterprise solutions, HoloLens provides a revolutionary platform with endless possibilities.
While Hyper-V is a powerful virtualization technology, it can sometimes hinder the direct connection between your development environment and the HoloLens device. By disabling Hyper-V and configuring your development environment without it, you can deploy and test your apps directly on the HoloLens device, ensuring a more efficient and seamless development process.
Setting up your development environment, installing the HoloLens tools, creating projects, deploying apps, and testing and debugging without Hyper-V are essential steps in successfully developing for HoloLens. These activities allow you to fully leverage the capabilities of the HoloLens device, ensuring an immersive, engaging, and seamless mixed reality experience for your users.
Throughout the development process, it’s important to test your app on the HoloLens device, utilize the HoloLens Device Portal, and leverage the debugging capabilities of Visual Studio. These tools and practices enable you to thoroughly test and refine your app, iron out any issues, and optimize performance.
Remember to seek feedback from end-users, iterate on your app based on their suggestions, and continually improve the user experience. HoloLens development is an ongoing and dynamic process, and by staying connected to the HoloLens community and staying up-to-date with the latest tools and best practices, you can create truly immersive and groundbreaking experiences.
In conclusion, developing for HoloLens without Hyper-V allows for a more direct and efficient development process. By following the steps outlined in this article and leveraging the power of the HoloLens device, you can create compelling mixed reality applications that push the boundaries of innovation and engage users in ways that were once unimaginable.