Introduction
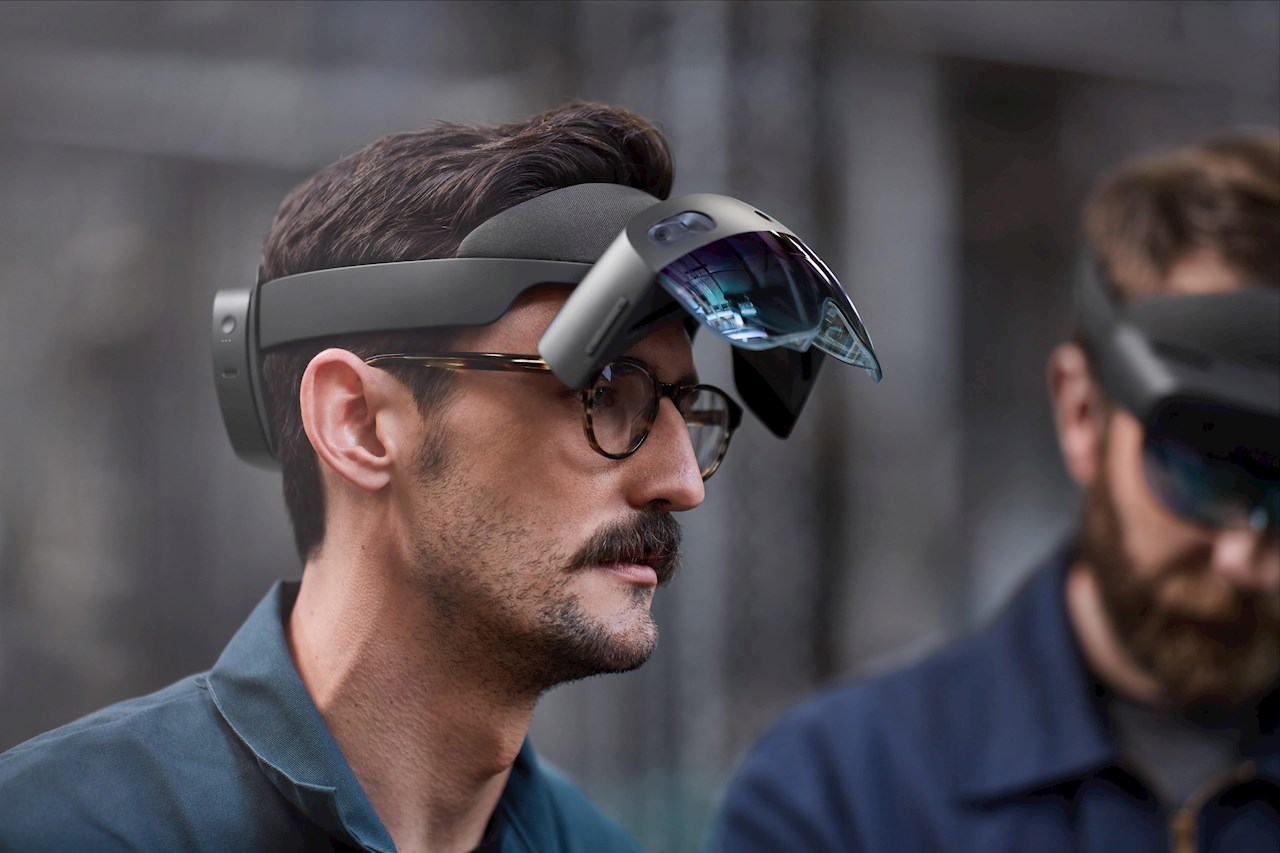
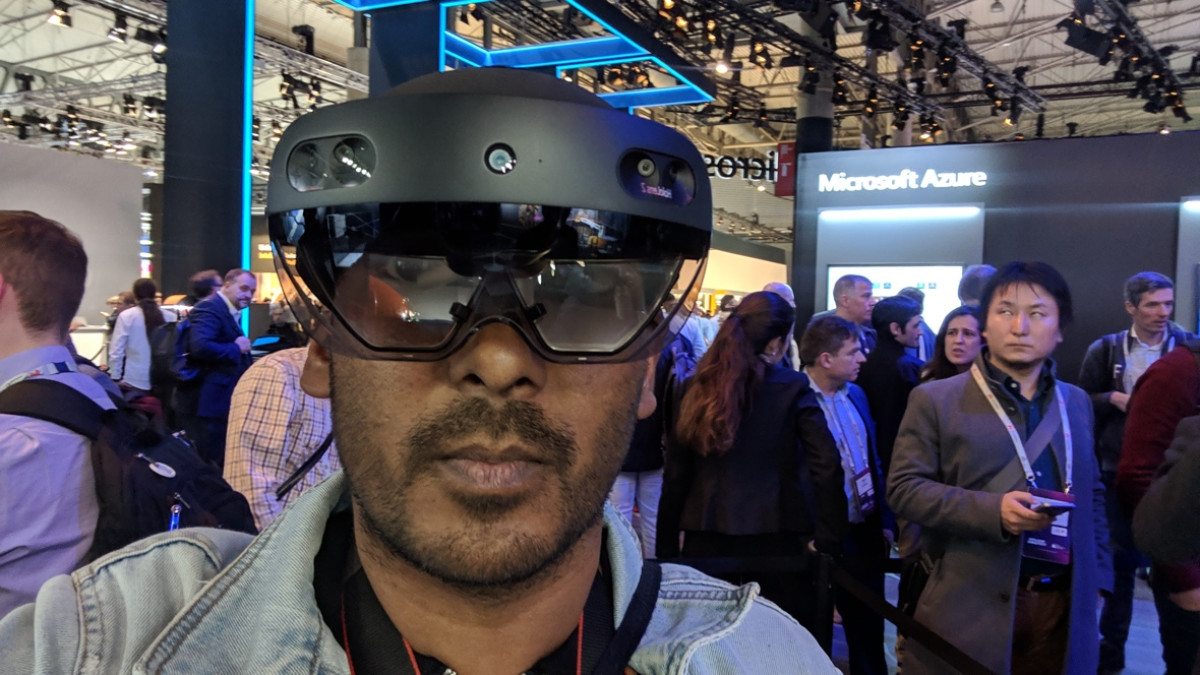
Welcome to the exciting world of Mixed Reality Capture (MRC) with HoloLens! If you’re interested in creating stunning mixed reality content using Microsoft’s innovative HoloLens device, you’ve come to the right place. In this article, we’ll guide you through the process of getting started with MRC HoloLens, from setting up your account to capturing captivating mixed reality experiences.
By harnessing the power of HoloLens, you can overlay digital holograms onto the real world, blending virtual objects seamlessly with your surroundings. MRC takes this immersive experience a step further by enabling you to record and share your mixed reality adventures with others.
Whether you’re a developer, an artist, or simply curious about the potential of mixed reality, this guide will help you embark on your journey. We’ll walk you through the necessary steps to set up your HoloLens device, create a mixed reality capture application, and start capturing awe-inspiring content.
But before diving into the technical aspects, it’s worth mentioning that MRC with HoloLens opens up a world of possibilities. From showcasing immersive virtual tours of real estate properties to creating engaging educational experiences, the applications of mixed reality are limitless.
Throughout this guide, we’ll provide you with detailed instructions and tips to ensure a smooth and successful MRC HoloLens experience. So, without further ado, let’s jump right in and begin the exciting journey of capturing and sharing mixed reality content with HoloLens!
Step 1: Register for an MRC HoloLens Account
Before you can start capturing mixed reality content with HoloLens, you’ll need to register for an MRC HoloLens Account. This account will grant you access to the necessary tools and resources to develop and deploy your mixed reality applications.
To get started, visit the Microsoft Mixed Reality Capture website and locate the registration page. Fill out the required information, including your name, email address, and desired username. Make sure to create a strong password to protect your account.
Once you’ve completed the registration process, you’ll receive a confirmation email with a link to verify your account. Click on the link to complete the verification process and officially activate your MRC HoloLens Account.
Having an MRC HoloLens Account is not only essential for capturing mixed reality content but also provides you with access to a wealth of resources and support. You’ll gain access to the Microsoft Developer Center and the HoloLens documentation, which includes valuable tutorials, code samples, and best practices.
Furthermore, your MRC HoloLens Account allows you to connect with a vibrant developer community, participate in forums, and attend virtual events. Collaboration and knowledge sharing among fellow developers can greatly enhance your mixed reality journey and open doors to exciting opportunities.
Remember to keep your MRC HoloLens Account credentials safe and secure. Regularly update your password and enable two-factor authentication for added security. With an active and verified account, you’re now ready to move on to the next step: installing the HoloLens development tools.
Step 2: Install the HoloLens Development Tools
To start building mixed reality applications for HoloLens, you’ll need to install the necessary development tools. These tools provide you with the environment and resources to create, test, and deploy your applications onto the HoloLens device.
The primary tool for HoloLens development is the Windows 10 SDK. This SDK includes the Windows Device Portal, which allows you to interact with your HoloLens device remotely and deploy applications wirelessly. It also provides the necessary APIs and libraries to access HoloLens features and functionalities.
To install the Windows 10 SDK, you’ll need to visit the official Microsoft Developer Center website and download the SDK package specific to your system architecture. Follow the on-screen instructions to complete the installation process. Make sure to select the components related to HoloLens development during the installation to ensure you have the necessary tools.
In addition to the SDK, you’ll also need to install the Unity Engine. Unity is a powerful and popular game engine that provides a user-friendly interface for 3D content creation and real-time simulations. It offers extensive support for HoloLens development and simplifies the process of building mixed reality experiences.
Visit the Unity website and download the latest version of the Unity Engine. Run the installer and follow the instructions to complete the installation. Once installed, you’ll have access to the Unity Editor, where you’ll be able to import assets, create scenes, and develop interactive experiences for HoloLens.
After installing Unity, it’s recommended to install the HoloToolkit, a collection of scripts, prefabs, and components that facilitate HoloLens development. The HoloToolkit provides ready-to-use functionalities for spatial mapping, input management, gesture recognition, and more.
You can find the HoloToolkit on the official HoloToolkit GitHub repository. Download the latest release and import it into your Unity project. The HoloToolkit will greatly accelerate your development process and ensure a smoother integration of HoloLens features into your applications.
With the Windows 10 SDK, Unity Engine, and HoloToolkit installed, you now have the foundation for HoloLens development. In the next step, we’ll guide you through the process of setting up your HoloLens device for mixed reality capture.
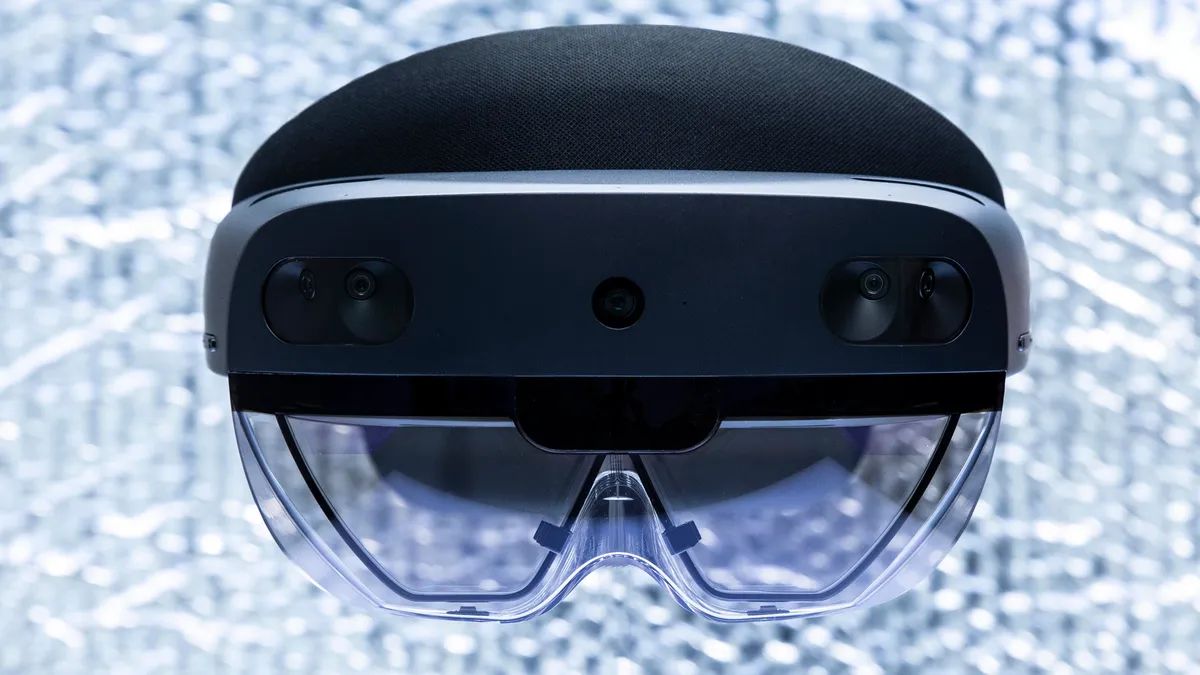
Step 3: Set up the HoloLens Device
Setting up your HoloLens device for mixed reality capture is a crucial step to ensure a seamless and optimal experience. Follow these steps to configure your HoloLens device:
- Turn on your HoloLens device by pressing and holding the power button located on the back of the device. The HoloLens logo will appear on the display.
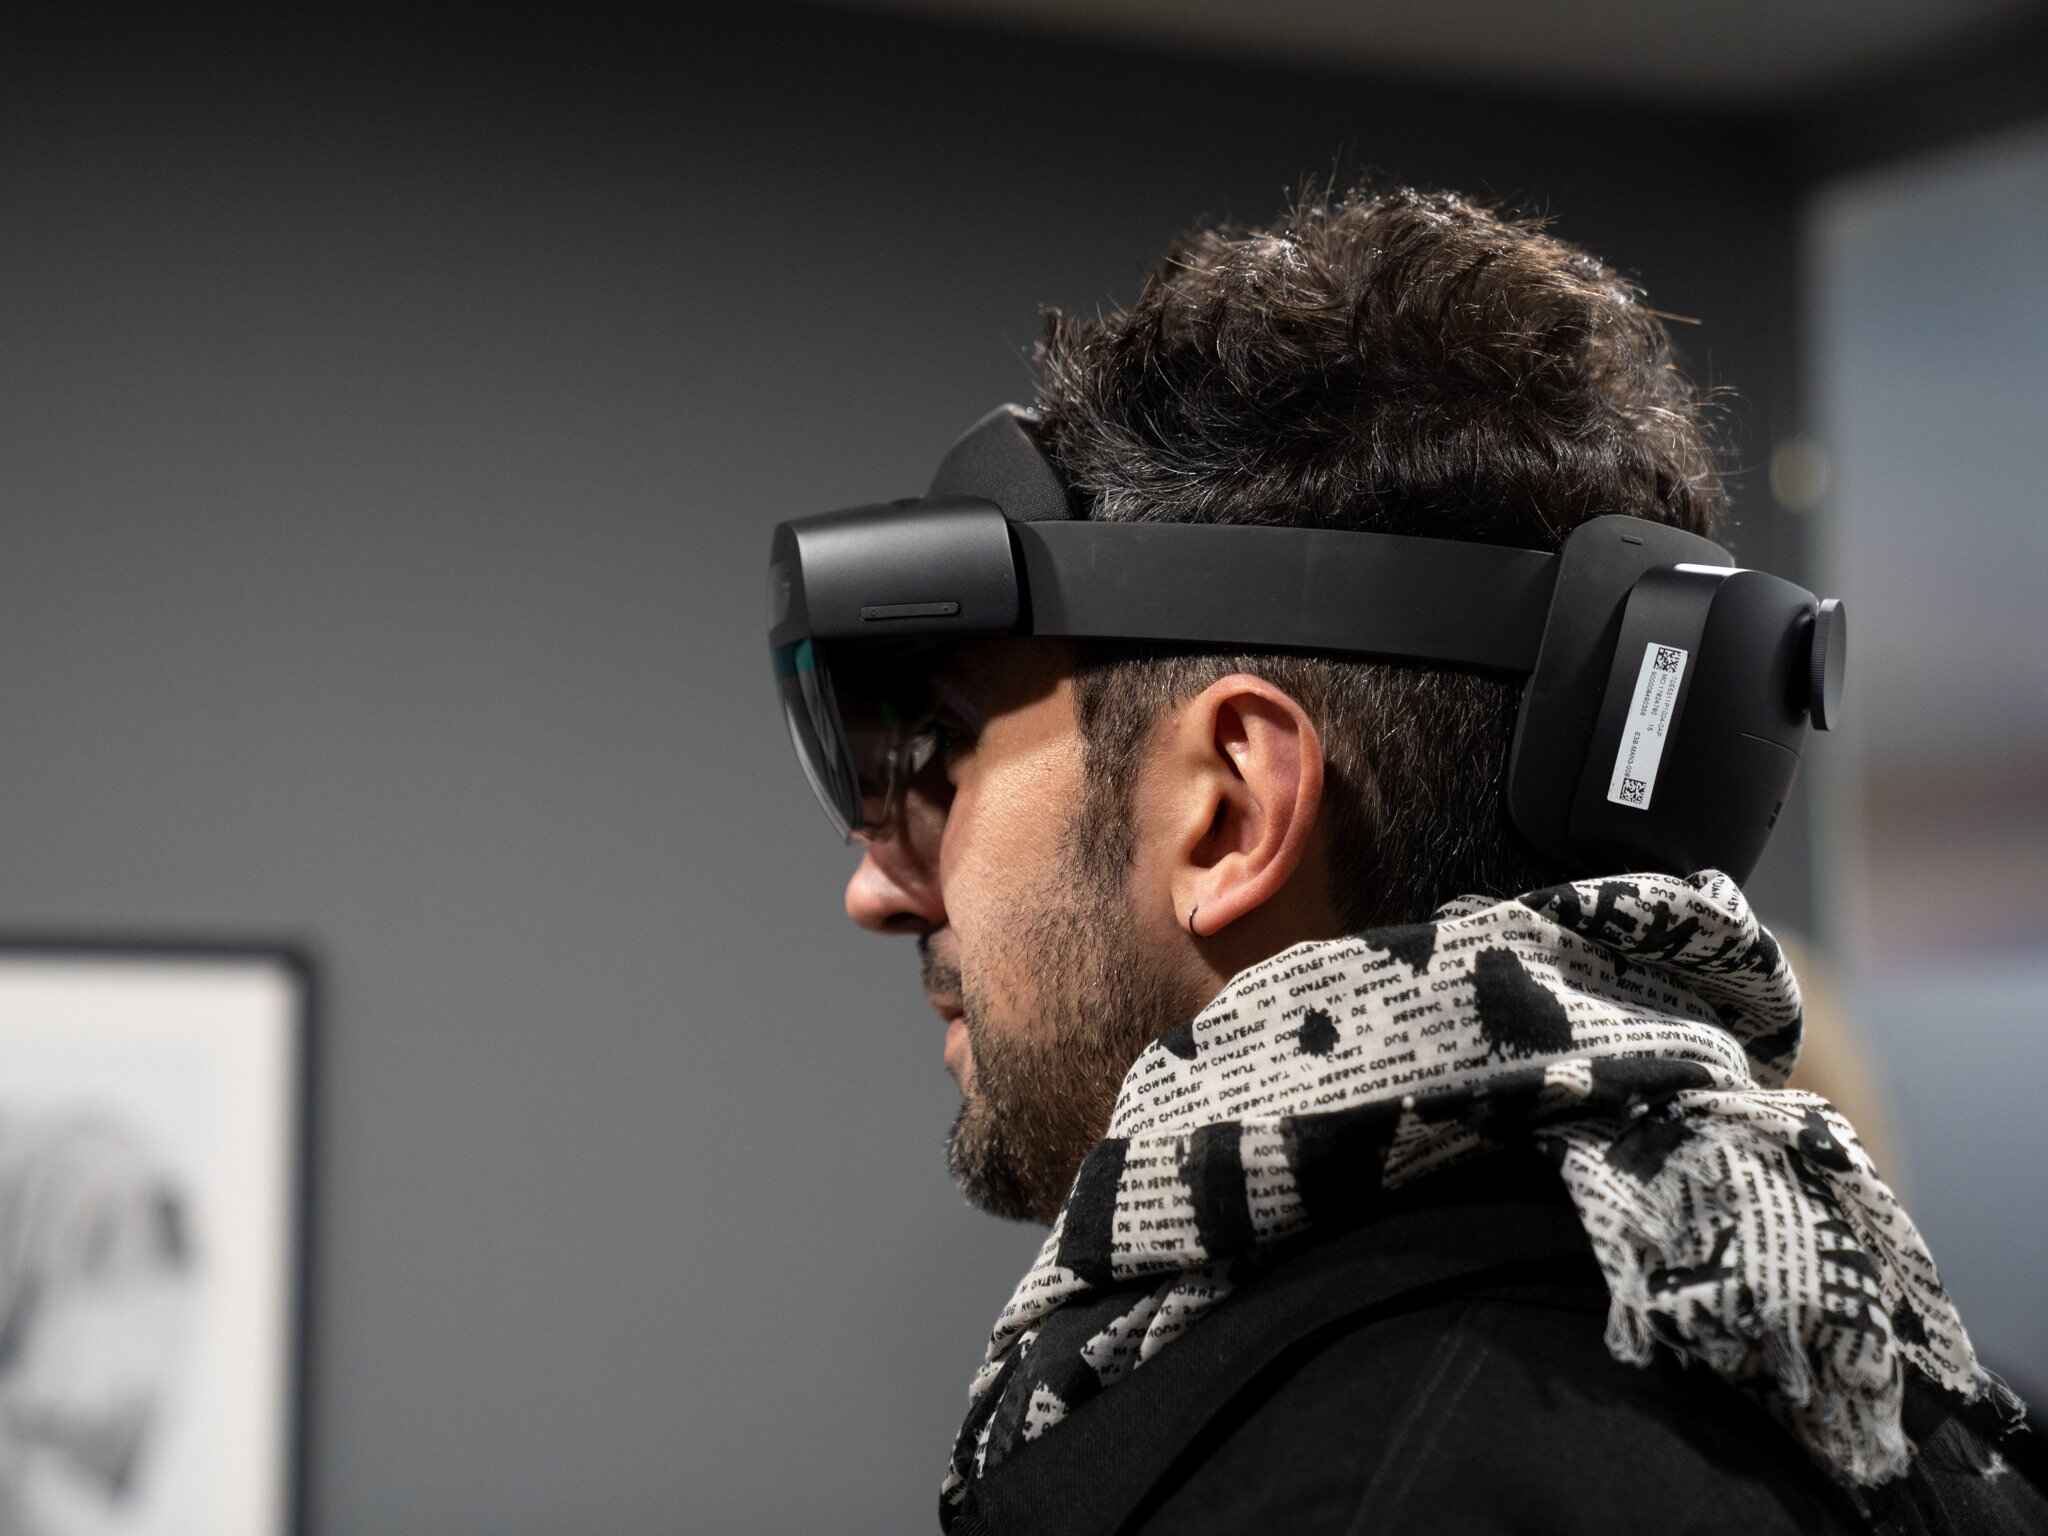
- Put on the HoloLens device and adjust the straps for a comfortable fit. Ensure that the device is securely positioned on your head to prevent any discomfort during extended use.
- During the initial setup, follow the on-screen instructions to connect to a Wi-Fi network and sign in with your Microsoft account. This step is essential to access the Windows Store and download applications onto your HoloLens device.
- Once you’ve completed the initial setup, navigate to the Settings menu on your HoloLens device. Here, you can customize various options such as display brightness, volume levels, and system preferences.
- Enable Developer mode on your HoloLens device by going to the Update & Security section in Settings. If prompted, follow the instructions to enable developer mode, which allows you to deploy and test applications directly from your development machine.
- Connect your HoloLens device to your computer using a USB cable. Windows should automatically recognize the device and install the necessary drivers.
- Go to the HoloLens Device Portal by opening your web browser and entering the IP address of your HoloLens device. The IP address can be found in the Settings menu under Network & Internet – Wi-Fi – Advanced Options.
- Sign in to the HoloLens Device Portal using your Microsoft account credentials. This portal allows you to manage your HoloLens device remotely, install applications, and access device information.
- Ensure that developer mode is enabled in the HoloLens Device Portal. From here, you can also configure device settings, view performance metrics, and install developer tools or certificates if required.
With your HoloLens device properly set up and connected to your computer, you’re now ready to create a mixed reality capture application and start capturing immersive content. The next step will guide you through the process of building an MRC application for HoloLens.
Step 4: Create a Mixed Reality Capture Application
Now that your HoloLens device is set up, it’s time to create a mixed reality capture application. This application will serve as the foundation for capturing and sharing immersive mixed reality experiences with HoloLens.
To create the application, you’ll be using the Unity Engine along with the HoloToolkit. Follow these steps to get started:
- Open Unity and create a new project. Choose a name and location for your project, and select the appropriate 3D settings.
- Import the HoloToolkit package into your Unity project. This package contains the necessary scripts and prefabs for HoloLens development, including components related to mixed reality capture.
- Create a new scene in Unity where you’ll build your mixed reality experience. You can start by adding 3D objects, importing assets, or creating interactive elements.
- To enable mixed reality capture, navigate to the main camera in your scene. Add the “HolographicCameraRig” component from the HoloToolkit to the camera object.
- Configure the HolographicCameraRig component to your desired settings. This component allows you to specify the capture mode (video or photo) and adjust other parameters such as resolution and frame rate.
- Customize your scene based on your vision for the mixed reality experience. You can use the HoloToolkit’s spatial mapping capabilities to enable object interaction and spatial understanding within your scene.
- Test your application by running it in the Unity Editor. Ensure that the mixed reality capture functionality is working as intended and that the virtual objects are properly aligned with the real world.
- Once you’re satisfied with your application, you can build and deploy it onto your HoloLens device. Connect your device to your computer and use the Unity Build Settings to create an application package for HoloLens.
- Deploy the application onto your HoloLens device using the Windows Device Portal. The Device Portal will allow you to install and launch your application wirelessly.
With your mixed reality capture application successfully deployed onto your HoloLens device, you’re now ready to connect the device to the MRC application and start capturing captivating mixed reality content. This will be covered in the next step.
Step 5: Connect the HoloLens Device to the MRC Application
After creating your mixed reality capture (MRC) application in Unity, the next step is to connect your HoloLens device to the application. This allows you to capture and record mixed reality content seamlessly. Follow these steps:
- Ensure that your HoloLens device is turned on and connected to the same network as your development machine.
- Launch your MRC application on the HoloLens device by selecting it from the device’s application menu or using the Windows Device Portal.
- On your development machine, open the Unity Editor and go to the “Window” menu. From there, select the “Device” option to open the Device panel.
- In the Device panel, click on the “Connect” button and select your HoloLens device from the list. Unity will establish a connection with the device.
- Once the HoloLens device is connected to the Unity Editor, you can control the application’s behavior and monitor its performance directly from your development machine.
- To start capturing mixed reality content, enable the Mixed Reality Capture feature on your HoloLens device. This can be done by navigating to the Settings menu, selecting “System”, then “Mixed Reality Capture”, and finally enabling the switch.
- Position the HoloLens device on your head and make sure the capture area is clear of obstacles. The device will capture both the real world and virtual content, creating an immersive mixed reality experience.
- Using the Unity Editor, you can now interact with your virtual objects and control the recording of the mixed reality session. Start and stop the recording as desired to capture the moments you want to share.
- During the recording, explore the environment and showcase the capabilities of your mixed reality application. Engage with the virtual content and demonstrate its interactive features.
- Once you’ve finished capturing the mixed reality content, stop the recording and save the captured file. This file can be utilized for playback or sharing with others.
Connecting your HoloLens device to the MRC application allows you to seamlessly integrate virtual and real-world content. With the recording feature enabled, you can capture captivating mixed reality experiences that can be shared with others or used for further development and analysis.
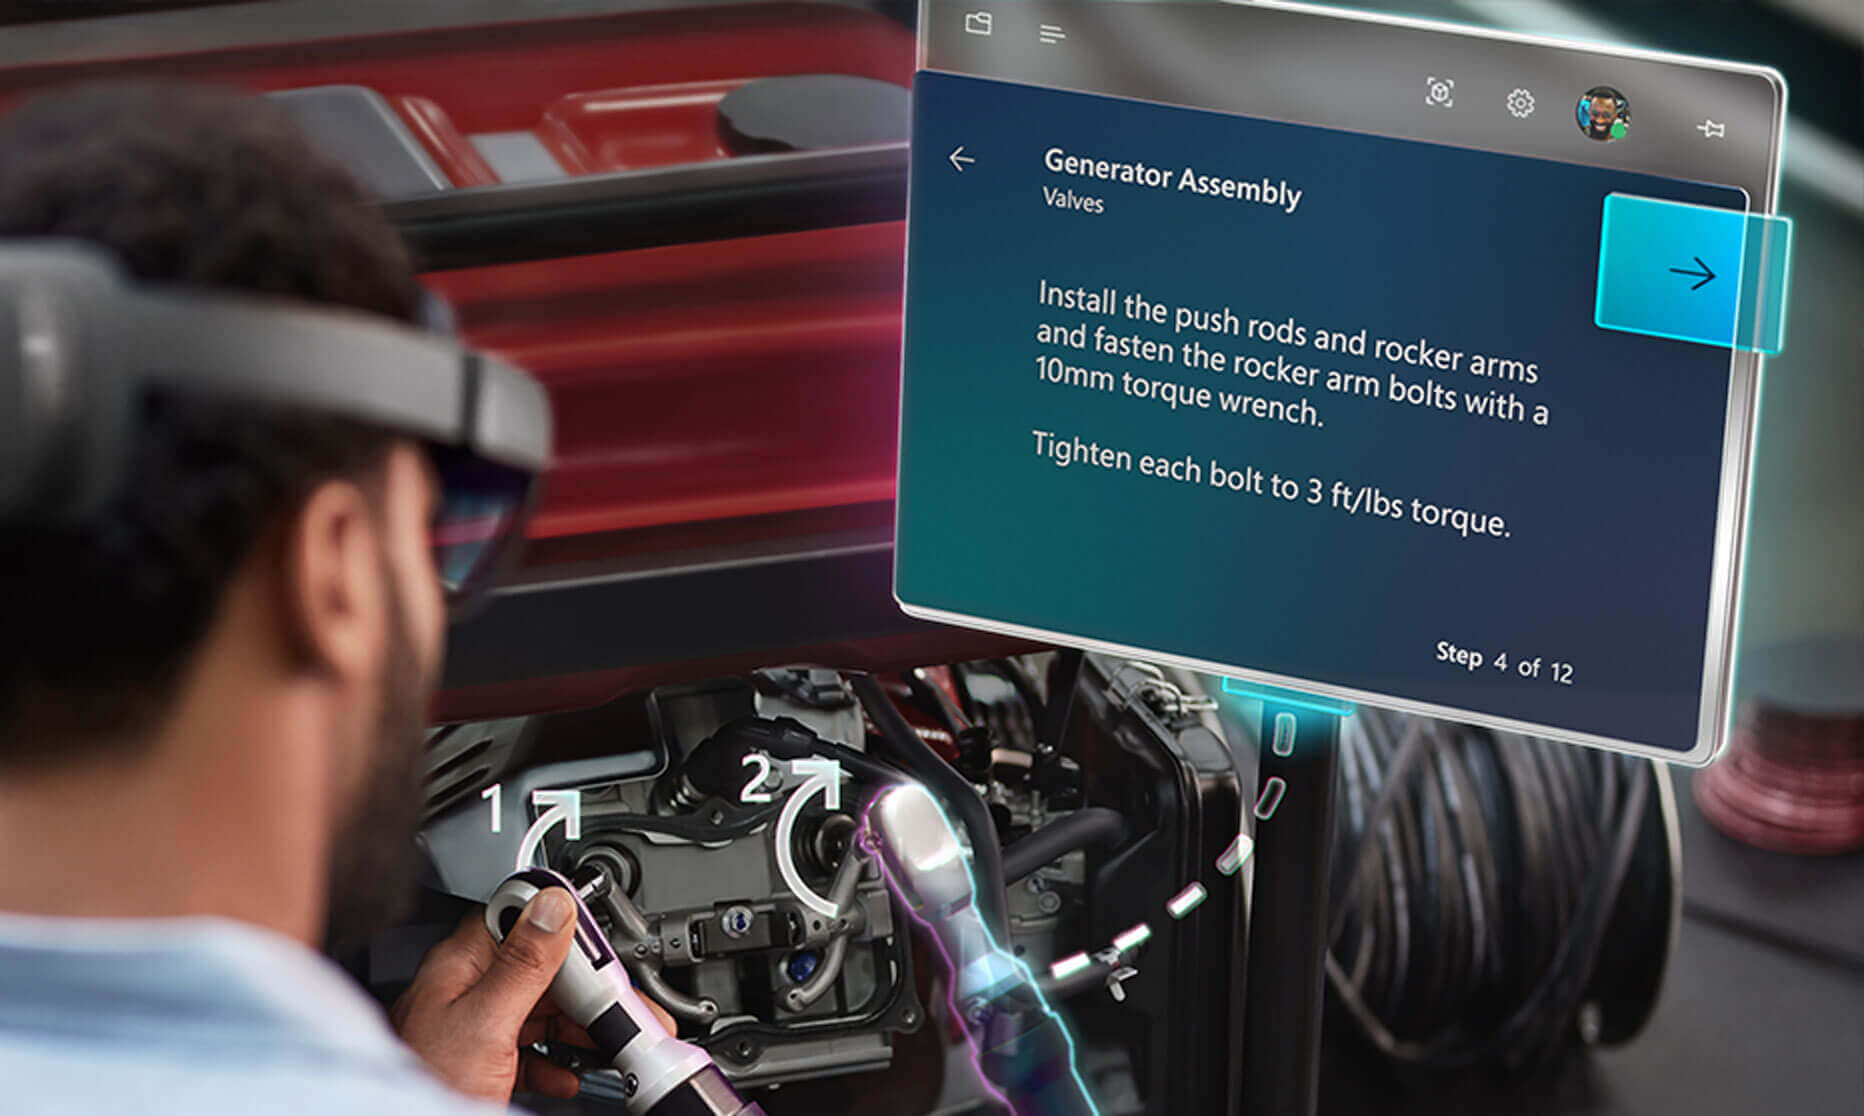
Step 6: Start Capturing Mixed Reality Content
With your HoloLens device connected to the MRC application, you’re now ready to start capturing captivating mixed reality content. Follow these steps to ensure a successful recording:
- Position the HoloLens device securely on your head, ensuring that it provides a clear view of both the real world and virtual content.
- Use the controls in the MRC application to initiate the recording. This may involve pressing a dedicated button or using a voice command, depending on how your application is designed.
- Start interacting with the virtual elements in your mixed reality environment. Demonstrate the capabilities of your application, whether it’s showcasing interactive holograms or exploring virtual worlds.
- Ensure that your movements and actions are smooth and deliberate. Avoid sudden jerky movements that can result in shaky or distorted footage.
- Stay conscious of the capture area and make sure it’s free from obstructions. This will help ensure that the virtual objects are properly aligned with the real-world environment.
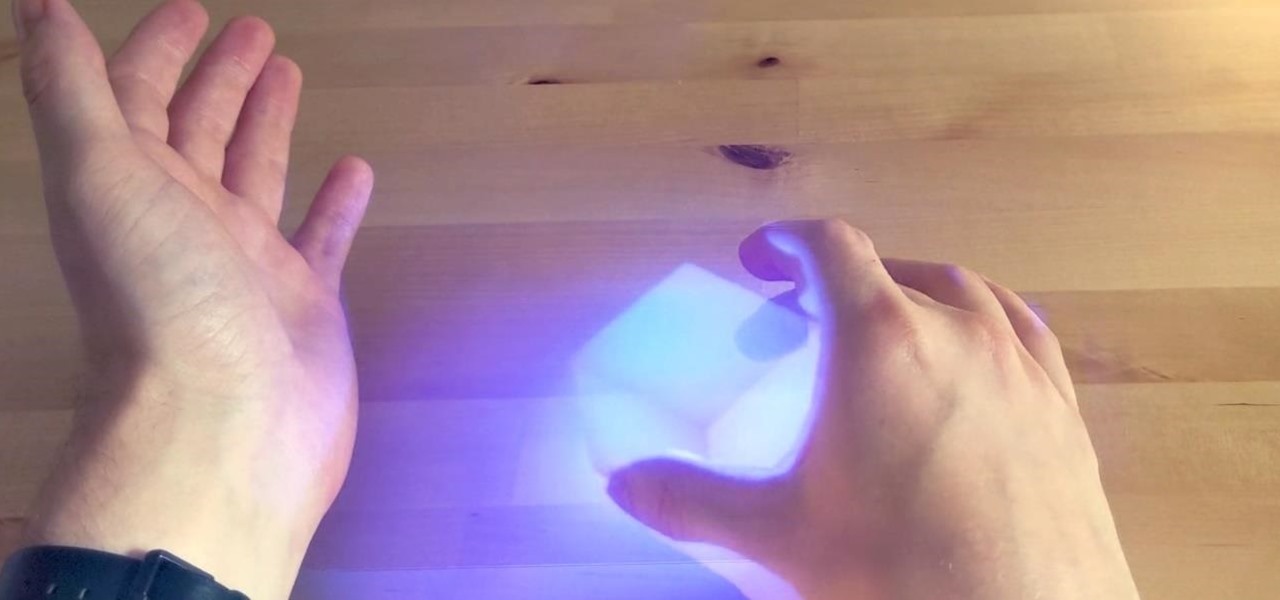
- Take advantage of the HoloLens’ spatial mapping capabilities to create dynamic and engaging mixed reality experiences. Utilize gestures and voice commands to interact with virtual elements.
- Consider incorporating sound design to enhance the captured content. Use spatial audio to give a sense of depth and realism to the mixed reality experience.
- Be creative and showcase the unique features and functionalities of your mixed reality application. This is the perfect opportunity to demonstrate the value of your creation.
- Once you’re satisfied with the captured mixed reality content, stop the recording by using the controls in the MRC application.
- Double-check the recorded content to ensure its quality and integrity. Make any necessary edits or enhancements before sharing it with others.
By following these steps, you’ll be able to capture impressive mixed reality content with your HoloLens device. Whether you’re creating educational experiences, immersive virtual tours, or engaging entertainment, the captured content will showcase the possibilities and potential of mixed reality technology.
Conclusion
Congratulations! You’ve successfully learned how to start capturing mixed reality content with HoloLens. By following the steps outlined in this guide, you’ve gained the necessary knowledge to create awe-inspiring mixed reality experiences and share them with the world.
From registering for an MRC HoloLens Account and installing the essential development tools to setting up your HoloLens device and creating a mixed reality capture application, you have taken significant strides in unlocking the potential of mixed reality.
Remember to continuously explore and experiment with the features and capabilities of HoloLens and the Unity Engine. Join the thriving community of HoloLens developers, where you can learn from others, collaborate, and stay up to date with the latest advancements in mixed reality technology.
Use your newfound expertise to develop innovative mixed reality applications that enhance education, entertainment, and countless other industries. Share your creations with others, inspire new ideas, and contribute to the growing world of mixed reality experiences.
The possibilities with HoloLens and mixed reality are truly limitless. As technology continues to advance, so too will the potential for immersive and captivating experiences. Embrace the journey, keep learning, and let your creativity drive you forward.
So, put on your HoloLens device, ignite your imagination, and venture into the exciting realm of mixed reality. It’s time to bring the virtual and real worlds together like never before.