Prerequisites
Before you can put files into HoloLens, there are a few prerequisites you need to fulfill to ensure a smooth and hassle-free process. Here are the key requirements:
- Access to a PC: You will need a computer running Windows 10 to connect and transfer files to your HoloLens.
- HoloLens Device: Of course, you will need a HoloLens device to perform the file transfer. Make sure your HoloLens is charged and ready for use.
- USB Type-C Cable: You will require a USB Type-C cable to establish a physical connection between your HoloLens and the PC. Ensure you have a functioning cable.
- Windows 10 Device Portal: The Windows 10 Device Portal is a web-based tool that allows you to manage and configure your HoloLens. Ensure that you have the Device Portal enabled on your HoloLens. We will guide you through enabling it later in this article.
Having these prerequisites in place will ensure that you can easily connect your HoloLens to your PC and transfer files seamlessly. Now that we have covered the prerequisites, let’s move on to the next step: connecting your HoloLens to your PC.
Connect HoloLens to your PC
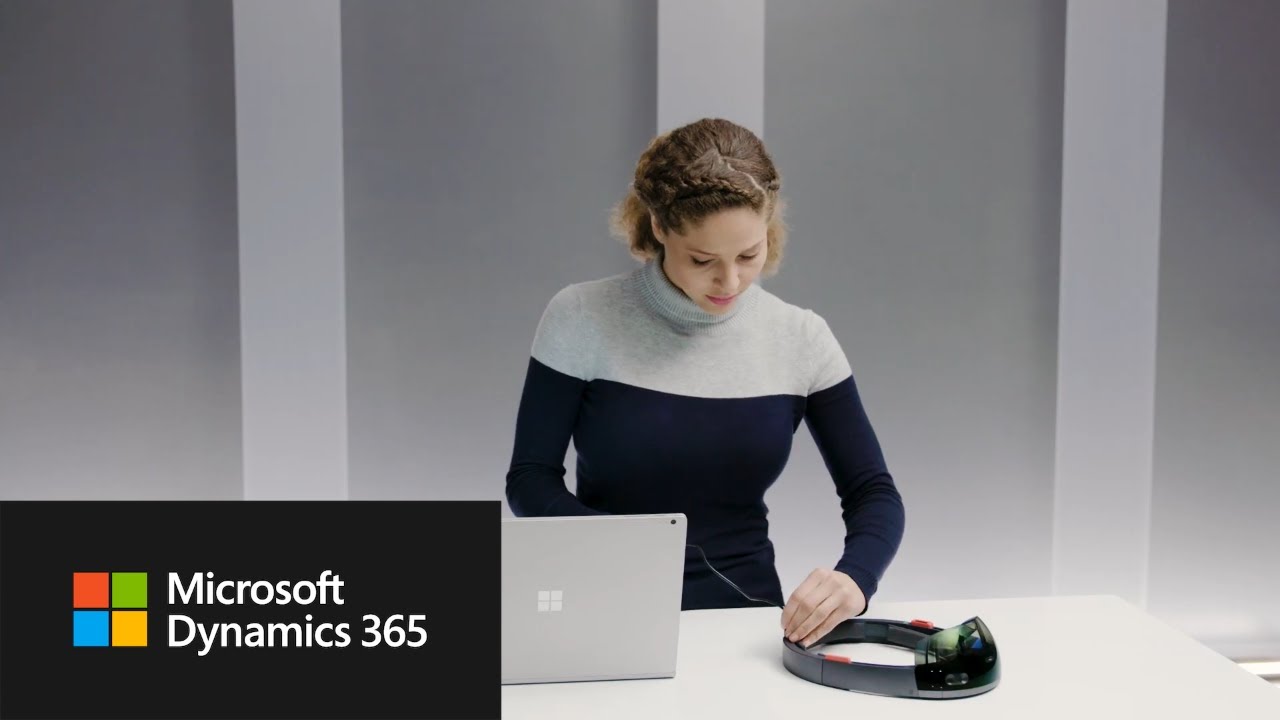
Connecting your HoloLens to your PC is the first step in the process of putting files into your device. Follow these steps to establish a connection:
- Turn on your HoloLens: Power on your HoloLens by pressing the power button located on the right-hand side of the device.
- Connect the USB Type-C cable: Take one end of the USB Type-C cable and plug it into your HoloLens. Then, take the other end of the cable and plug it into a USB port on your PC.
- Grant permission on your HoloLens: Once the HoloLens is connected to your PC, a pop-up notification will appear on your HoloLens display. Tap on the notification to allow the connection.
- Launch the Windows 10 Device Portal: On your PC, open a web browser and navigate to the Windows 10 Device Portal by entering the IP address of your HoloLens. You can find the IP address by going to the Settings app on your HoloLens, selecting “Network & Internet,” and then choosing “Advanced options.”
Once you have completed these steps, you will be connected to your HoloLens through the Device Portal on your PC. This connection will allow you to access and manage your HoloLens device. Now that you have successfully connected your HoloLens to your PC, let’s proceed to the next step: enabling Developer Mode on your HoloLens.
Enable Developer Mode on your HoloLens
Before you can put files into HoloLens, you need to enable Developer Mode on your device. Enabling Developer Mode allows you to deploy and test applications, as well as access certain advanced features. Follow these steps to enable Developer Mode:
- Access the Settings app: On your HoloLens, navigate to the Start menu and select the Settings app. It is represented by a gear icon.
- Select Update & Security: In the Settings app, scroll down and select “Update & Security” from the list of options.
- Go to For developers: In the Update & Security section, locate and click on “For developers” on the left-hand side of the screen.
- Enable Developer Mode: On the For developers page, you will find the option to enable Developer Mode. Click on the radio button to enable it.
- Confirm the changes: A warning message will appear, informing you about the implications of enabling Developer Mode. Read the message and click on “Yes” to confirm the changes and enable Developer Mode.
- Restart your HoloLens: After enabling Developer Mode, restart your HoloLens for the changes to take effect. This can be done by going to the Start menu, selecting Power, and choosing Restart.
Once your HoloLens has restarted and Developer Mode is enabled, you are ready to proceed with the next step: setting up file sharing on your HoloLens. Enabling Developer Mode gives you the necessary permissions to deploy and interact with files on your device. Let’s continue to the next section to learn how to set up file sharing.
Set up File Sharing on your HoloLens
Setting up file sharing on your HoloLens is essential for transferring files from your PC to your device. To set up file sharing, follow these steps:
- Access the Settings app: On your HoloLens, navigate to the Start menu and select the Settings app (gear icon).
- Select System: In the Settings app, scroll down and select “System” from the list of options.
- Go to File Sharing: In the System section, locate and click on “File Sharing” on the left-hand side of the screen.
- Enable File Sharing: On the File Sharing page, toggle the switch to enable File Sharing.
- Assign a Username and Password: After enabling File Sharing, you will need to assign a username and password for accessing the shared files. Click on “Add User” and enter the desired credentials.
- Save the changes: Once you have assigned a username and password, click on “Save” to apply the changes.
With file sharing enabled on your HoloLens, you can now securely transfer files between your device and your PC. However, to complete the file transfer process, we need to transfer the files to your HoloLens using the appropriate method. In the next section, we will explore how to transfer files to your HoloLens effectively.
Transfer Files to your HoloLens
Now that you have set up file sharing on your HoloLens, you can start transferring files from your PC to your device. Follow these steps to transfer files effectively:
- Access your PC’s file explorer: On your PC, open the file explorer by clicking on the folder icon in the taskbar or pressing the Windows key + E.
- Navigate to the file to transfer: Use the file explorer to navigate to the location of the file you want to transfer to your HoloLens.
- Right-click on the file: Once you have located the file, right-click on it to open the context menu.
- Select “Send to” option: In the context menu, hover over the “Send to” option. A list of devices and storage options will appear.
- Choose your HoloLens: From the list of devices, select your HoloLens device. This will initiate the file transfer process.
- Wait for the transfer to complete: The file transfer may take a few moments, depending on the size of the file and the speed of the connection. Be patient and allow the transfer to complete.
Once the file transfer is complete, you will find the transferred file in the specified directory on your HoloLens. Now that you have successfully transferred files to your HoloLens, let’s proceed to the final section: opening and accessing the files on your device.
Open and Access Files on your HoloLens
After transferring files to your HoloLens, you can easily open and access them on your device. Here’s how:
- Locate the file explorer app: On your HoloLens, navigate to the Start menu and find the file explorer app. It is represented by a folder icon.
- Open the file explorer: Tap on the file explorer app to launch it.
- Navigate to the directory: In the file explorer, navigate to the directory where the transferred files are located. You can use the folder hierarchy to drill down to the specific location.
- Select the file: Once you have located the desired file, tap on it to open it. The file will open in its corresponding application or viewer.
- Interact with the file: Once the file is open, you can interact with it just like any other file. For example, you can view images, read documents, or play videos.
Remember, the way you interact with different file types may vary. Use natural gestures such as air tapping or gaze to navigate within files and interact with their content. This allows for a truly immersive experience with your files on the HoloLens.
With these steps, you can easily open and access the files that you have transferred to your HoloLens. Enjoy the convenience of having your files readily available on your device and make the most of your HoloLens experience!


