Introduction
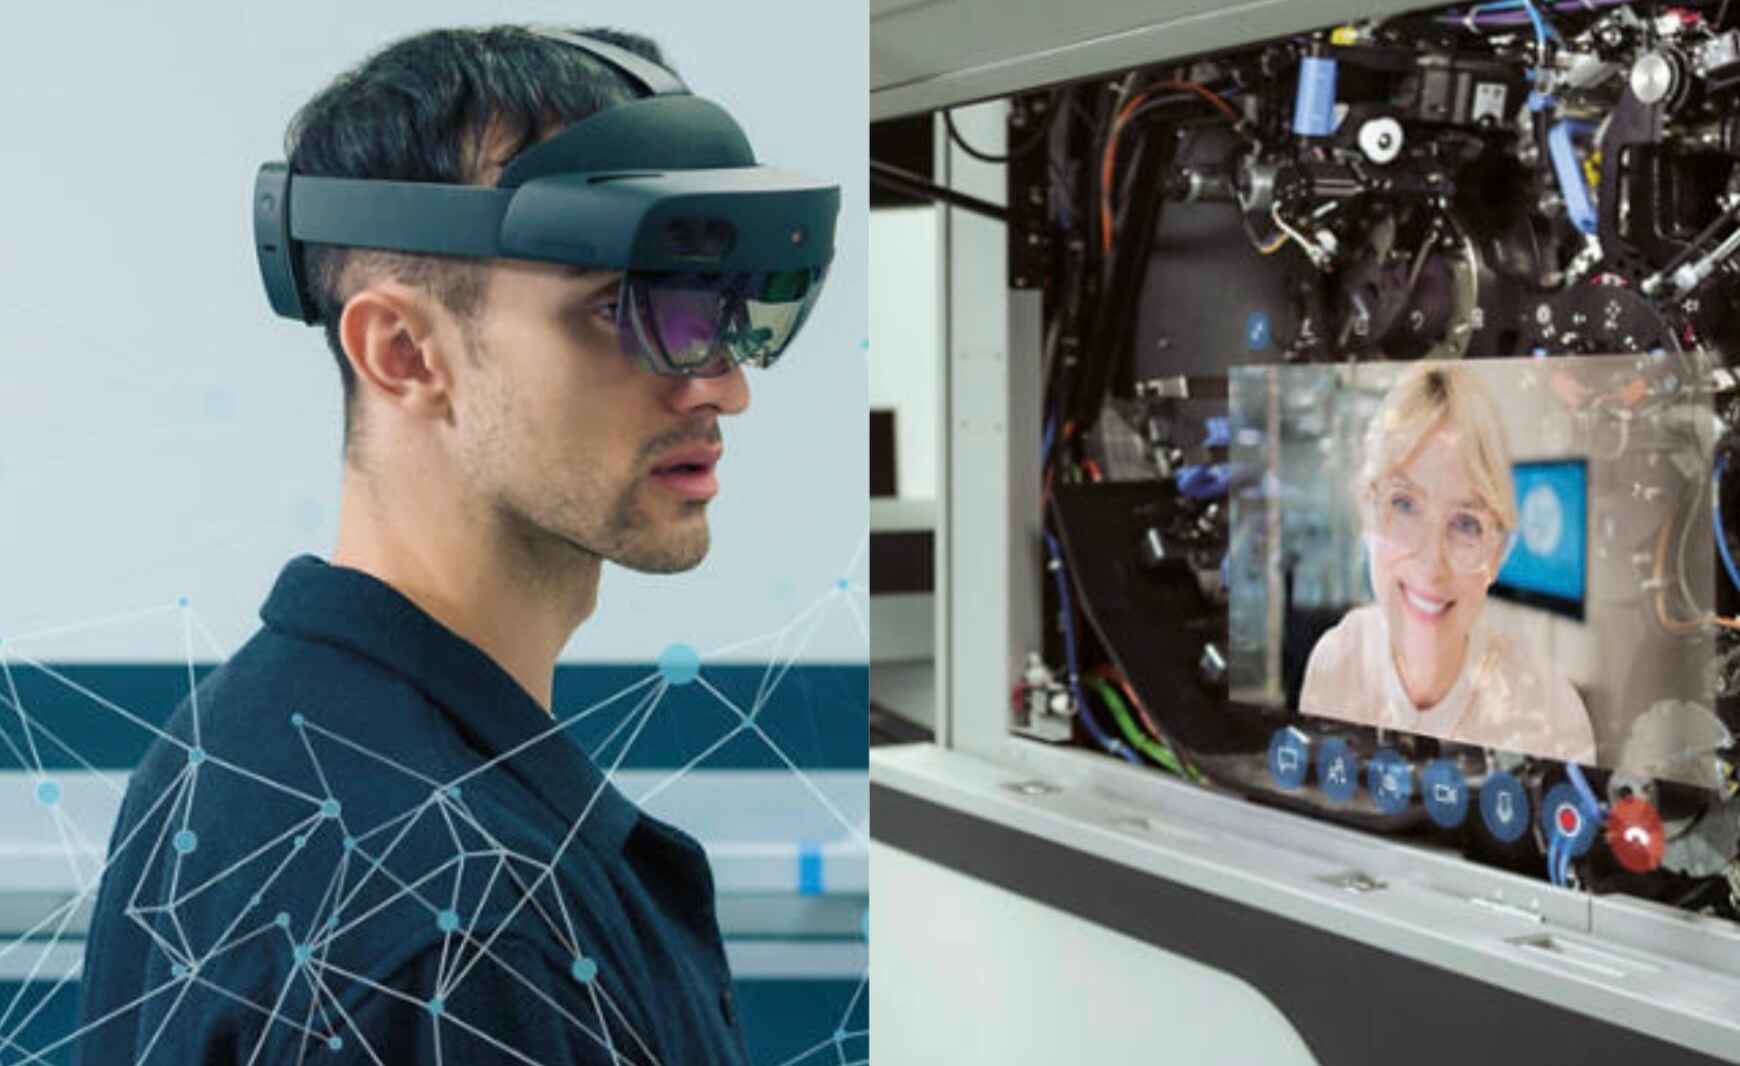
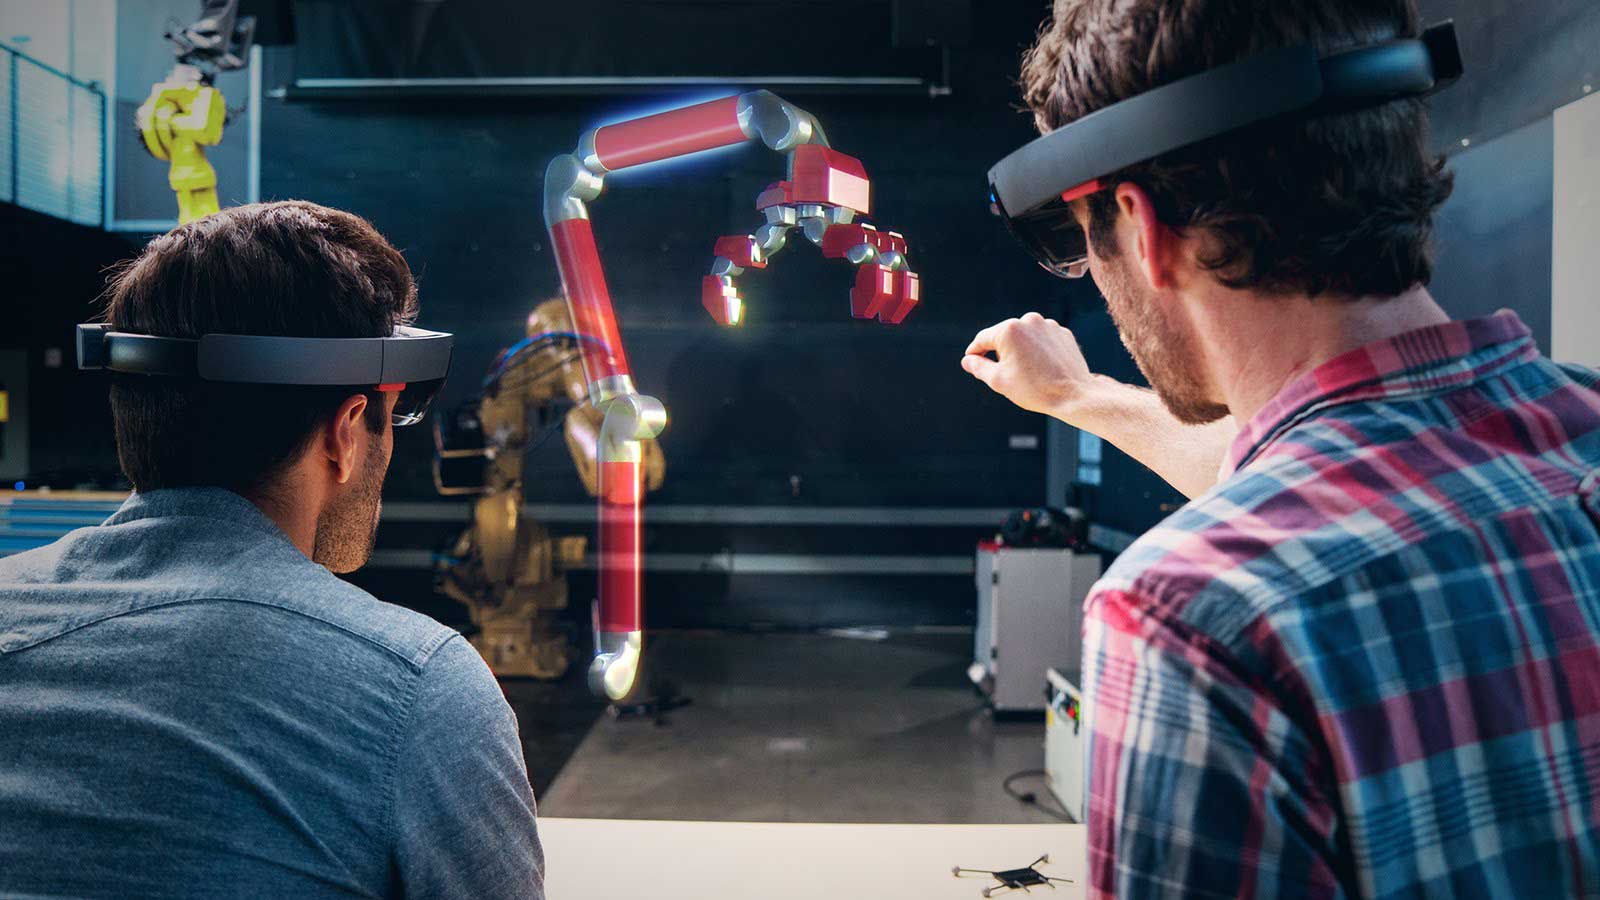
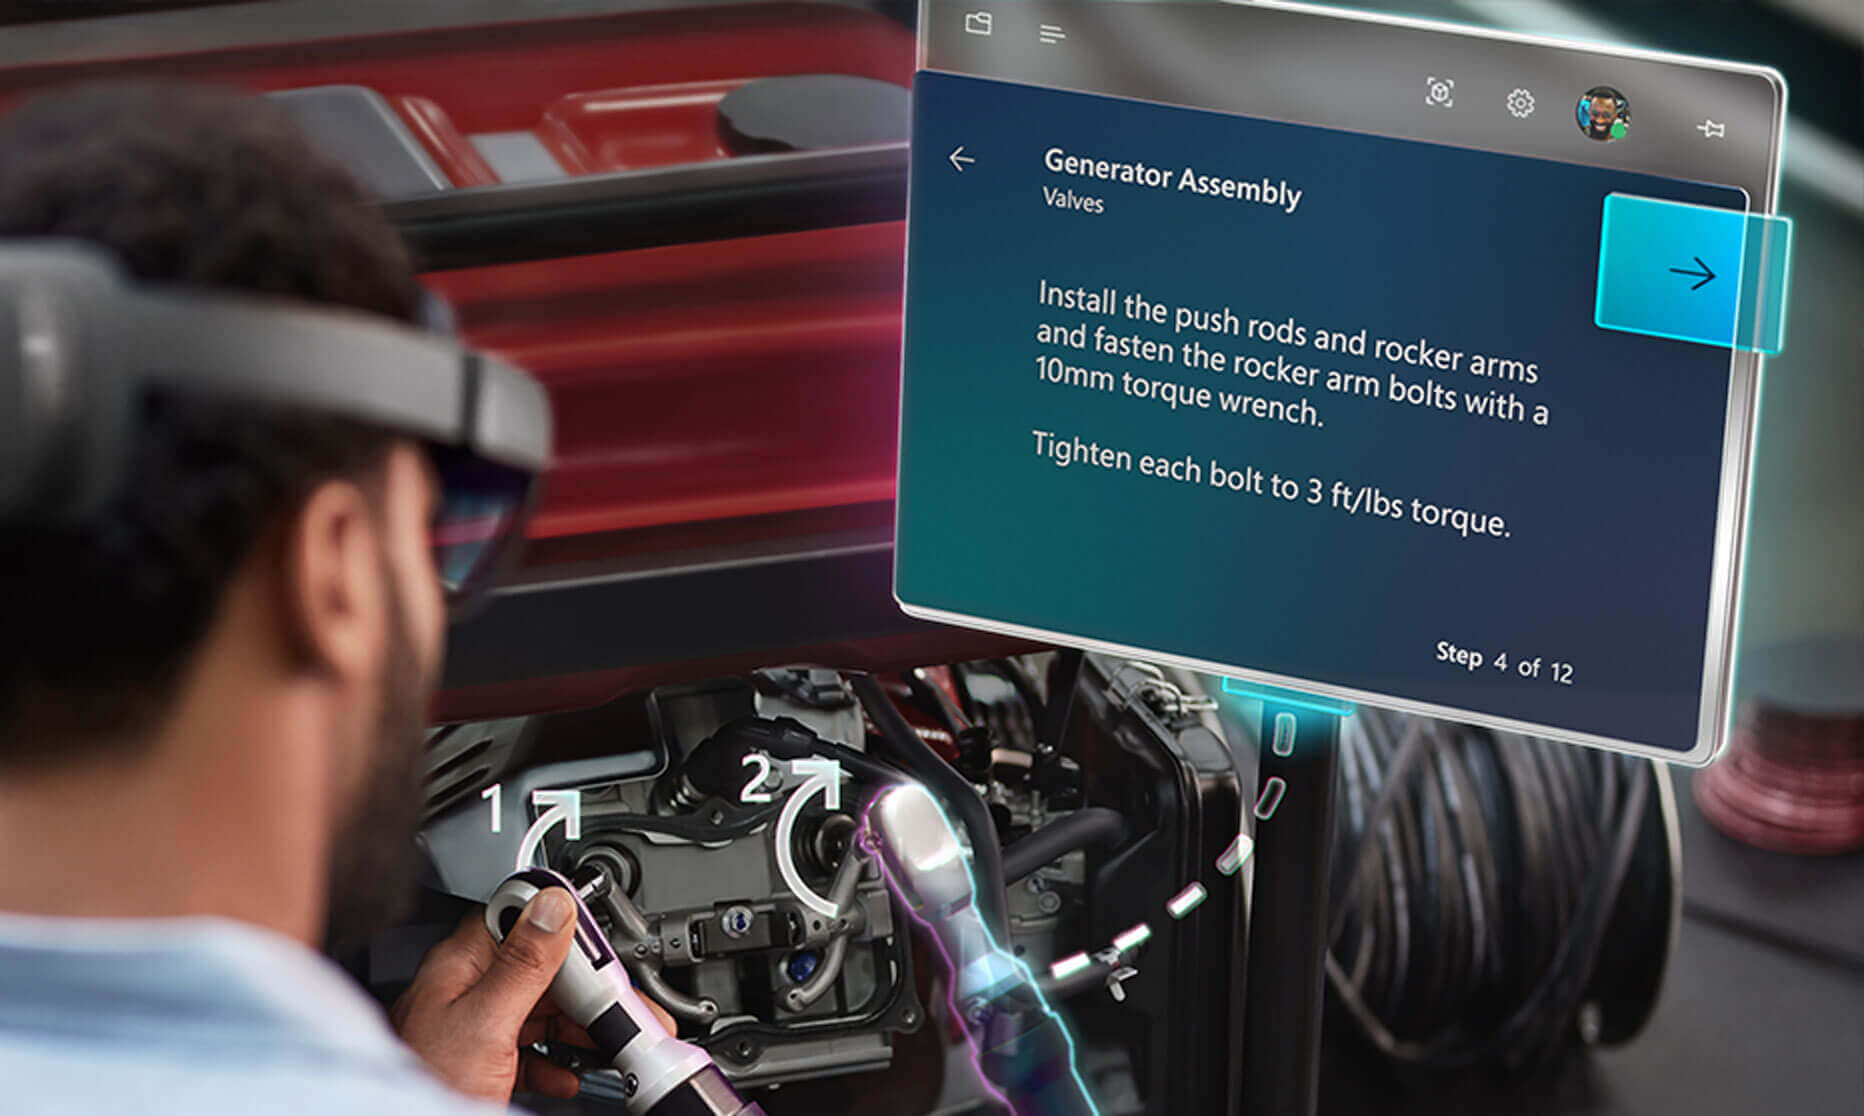
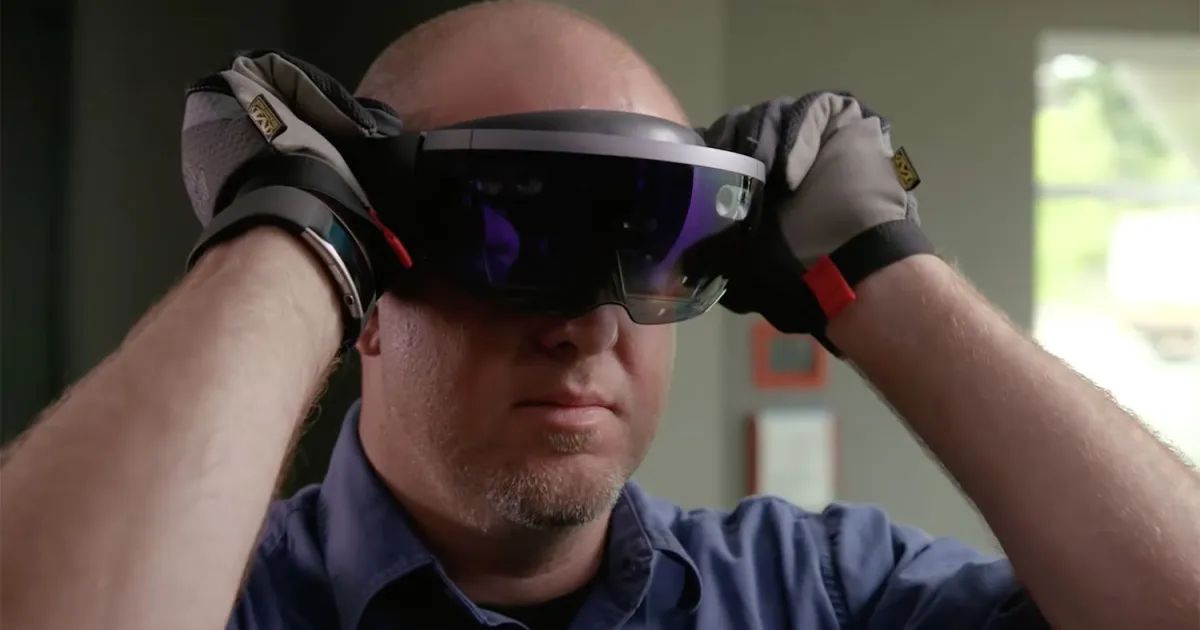
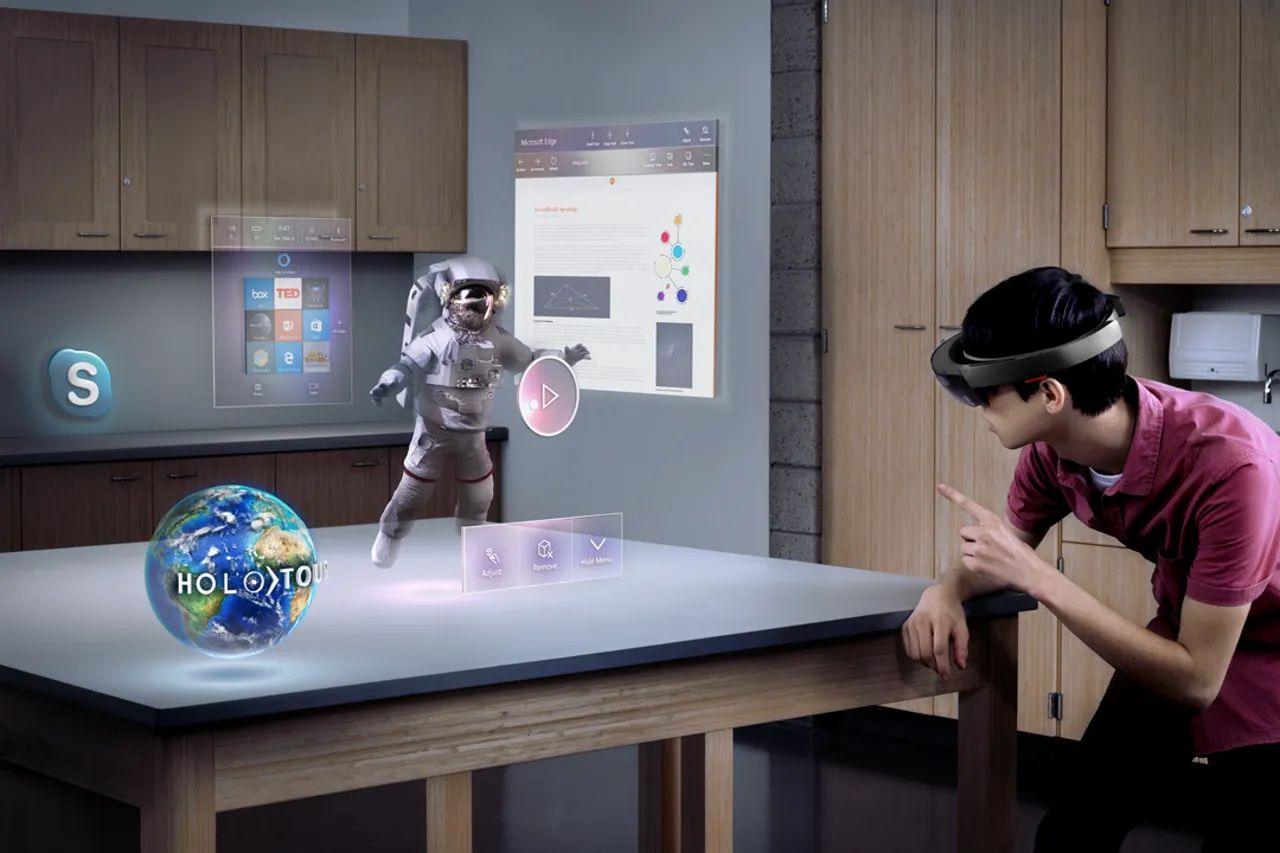
Welcome to this guide on how to pair your HoloLens device to your PC. The HoloLens is an innovative augmented reality headset developed by Microsoft. It allows you to interact with holograms in your real-world environment, opening up new possibilities for gaming, entertainment, and productivity.
Pairing your HoloLens to your PC is essential for seamless communication and management of the device. By connecting your HoloLens to your PC, you can access the HoloLens Device Portal, which provides a web interface to control various aspects of your device, including file management, app installation, and device configuration.
Before we dive into the pairing process, let’s go over the prerequisites to ensure you have everything you need:
- A HoloLens device
- A PC running Windows 10
- A stable Wi-Fi connection
Once you have confirmed that you have all the prerequisites, you can proceed with the pairing process. This guide will take you through the necessary steps to connect your HoloLens to your PC and establish a connection with the HoloLens Device Portal.
It’s important to note that this guide assumes you already have basic knowledge of operating the HoloLens device and your PC. If you’re new to HoloLens, it’s recommended to familiarize yourself with the device’s interface and controls before proceeding.
Now, let’s get started with connecting your HoloLens to Wi-Fi, which is the first step in the pairing process.
Prerequisites
Before you can pair your HoloLens to your PC, there are a few prerequisites that you need to have in place. Make sure you have the following:
- HoloLens device: You will need a HoloLens device to complete the pairing process. If you don’t have one yet, you can purchase it from authorized retailers.
- PC running Windows 10: Ensure that your PC is running on Windows 10 as the HoloLens pairing process requires compatibility with this operating system.
- Stable Wi-Fi connection: You will need a stable Wi-Fi connection for both your PC and HoloLens. This connection will enable communication between the two devices and allow you to perform various tasks using the HoloLens Device Portal.
It is important to note that the HoloLens device and the PC should be connected to the same Wi-Fi network for successful pairing. If you haven’t already connected your PC to a Wi-Fi network, ensure that you have the necessary credentials to establish a connection.
In addition to these prerequisites, you should also have a basic understanding of how to operate the HoloLens device and navigate through the Windows 10 interface on your PC. This familiarity will make the pairing process smoother and help you troubleshoot any potential issues that may arise.
Having the prerequisites in place ensures a seamless pairing experience between your HoloLens device and your PC. Once you have checked off all the prerequisites, you are ready to proceed with the step-by-step instructions for connecting your HoloLens to your PC.
Step 1: Connect HoloLens to Wi-Fi
The first step in the pairing process is to connect your HoloLens device to a Wi-Fi network. This is crucial as it enables the device to communicate with your PC and establish a connection for further configuration.
To connect your HoloLens to Wi-Fi, follow these steps:
- Put on your HoloLens device and power it on by pressing the power button located above your right ear.
- Once the device is powered on, navigate to the Start menu by using the built-in gesture controls or by voice command.
- From the Start menu, select the ‘Settings’ option. This will open the Settings menu on your HoloLens.
- In the Settings menu, select the ‘Network & Internet’ option.
- Under the Network & Internet section, select the ‘Wi-Fi’ option.
- Your HoloLens will now scan for available Wi-Fi networks in the area. Wait for a moment until the list of networks appears on the screen.
- Select your desired Wi-Fi network from the list by using gaze and air tap gestures. If your network is password-protected, you will be prompted to enter the password using the holographic keyboard.
- Once you have entered the password, select the ‘Next’ button to proceed.
- Your HoloLens will now attempt to connect to the selected Wi-Fi network. Wait for a few moments until the connection is established.
- Once the connection is established, your HoloLens will display a confirmation message indicating a successful connection to the Wi-Fi network.
At this point, your HoloLens device is successfully connected to a Wi-Fi network. This connectivity ensures that the device can now communicate with your PC, setting the stage for the next steps in the pairing process.
Now, let’s move on to the next step: enabling Developer Mode on your PC.
Step 2: Enable Developer Mode on the PC
In order to proceed with the pairing process and establish a connection between your HoloLens and your PC, you need to enable Developer Mode on your PC. Developer Mode allows you to install and test applications on your HoloLens device from your PC.
Here’s how you can enable Developer Mode on your PC:
- On your PC, open the Windows Settings by clicking on the Start menu and selecting the gear icon.
- In the Settings menu, select the “Update & Security” option.
- In the “Update & Security” menu, select the “For developers” option from the sidebar.
- Under the “Use developer features” section, choose the “Developer mode” option.
- A confirmation prompt will appear. Click on “Yes” to confirm the change and enable Developer Mode.
- Wait for a few moments as Windows enables Developer Mode on your PC.
- Once Developer Mode is enabled, you will see a notification confirming the change.
Enabling Developer Mode on your PC is an important step as it allows you to unlock additional features and functionalities for your HoloLens device. It enables you to side-load apps and perform advanced configurations to enhance your development and testing capabilities.
With Developer Mode successfully enabled, you are now ready to move on to the next step: downloading and installing the HoloLens Device Portal on your PC.
Step 3: Download and Install HoloLens Device Portal
After enabling Developer Mode on your PC, the next step in the pairing process is to download and install the HoloLens Device Portal. The Device Portal is a web-based tool that allows you to manage and configure your HoloLens device from your PC.
To download and install the HoloLens Device Portal, follow these steps:
- On your PC, open a web browser.
- Navigate to the following URL:
https://[insert your HoloLens device's IP address]. You can find the IP address of your HoloLens device by following the steps provided in the next section. - You will see the HoloLens Device Portal login page.
- Click on the “Pair” button to start the pairing process.
- A QR code will be displayed on the screen.
- On your HoloLens device, navigate to the Start menu and select the “Settings” option.
- In the Settings menu, select the “Update & Security” option.
- In the “Update & Security” menu, select the “For developers” option from the sidebar.
- Under the “Pair HoloLens” section, select the “Pair with Visual Studio” option.
- A QR code scanner will launch on your HoloLens device.
- Point the HoloLens device towards the QR code displayed on your PC screen and align it until the code is successfully scanned.
- Your HoloLens device will now be paired with the HoloLens Device Portal.
- Once the pairing process is complete, you will gain access to the Device Portal interface on your PC.
By successfully downloading and installing the HoloLens Device Portal, you have unlocked a range of functionalities to manage and configure your HoloLens device. You can now proceed to the next step: pairing your HoloLens device to your PC.
Step 4: Pair HoloLens to PC
With the HoloLens Device Portal successfully installed on your PC, it’s time to pair your HoloLens device to your PC. Pairing your HoloLens to your PC establishes a connection that allows you to control and manage your device seamlessly.
To pair your HoloLens to your PC, follow these steps:
- Ensure that your HoloLens device and PC are connected to the same Wi-Fi network.
- On your PC, open a web browser.
- In the address bar, enter the IP address of your HoloLens device. You can find the IP address by following the instructions provided in the next section.
- Press Enter to access the HoloLens Device Portal.
- You will be prompted to log in with your HoloLens device credentials. Enter the required information to proceed.
- Once logged in, you will be able to access the HoloLens Device Portal interface, which provides control and management options for your HoloLens.
- At this point, your HoloLens device is successfully paired to your PC, and you can now begin exploring the features and functionalities offered by the HoloLens Device Portal.
Successfully pairing your HoloLens to your PC unlocks a range of capabilities, allowing you to manage apps, install updates, adjust settings, and perform various other tasks directly from your PC.
Now that your HoloLens device is paired to your PC, it’s time to establish a connection with the HoloLens Device Portal. This will enable you to access the device’s interface and perform further configurations and operations.
Step 5: Establish Connection with HoloLens Device Portal
After successfully pairing your HoloLens to your PC, the next step is to establish a connection with the HoloLens Device Portal. This connection will allow you to access and utilize the various features and functionalities available through the Device Portal interface.
To establish a connection with the HoloLens Device Portal, follow these steps:
- Ensure that your HoloLens device is powered on and connected to the same Wi-Fi network as your PC.
- On your PC, open a web browser.
- In the address bar, enter the IP address of your HoloLens device. If you’re unsure of the IP address, you can find it by following the instructions provided in the next section.
- Press Enter to navigate to the HoloLens Device Portal page.
- You will be prompted to log in to the Device Portal using your HoloLens device credentials.
- Enter the required information and click on the “Log In” button.
- Once logged in, you will establish a connection with the HoloLens Device Portal, and the interface will be displayed on your PC.
With the connection established, you can now access the different sections of the HoloLens Device Portal, including app management, device configuration, file management, and more. You can explore the various options and settings available to customize your HoloLens experience.
It’s important to note that the connection between your PC and the HoloLens Device Portal may be interrupted if the devices are not on the same Wi-Fi network or if there are any connectivity issues. In such cases, ensure that both devices are connected to the same network and troubleshoot any network-related problems if necessary.
Congratulations! You have successfully established a connection with the HoloLens Device Portal and can now take full advantage of its features to manage and configure your HoloLens device.
Conclusion
Congratulations on successfully pairing your HoloLens device to your PC! By following the step-by-step instructions in this guide, you have established a connection that allows you to control and manage your HoloLens seamlessly through the HoloLens Device Portal.
By connecting your HoloLens to your PC, you gain access to a range of features and functionalities that enhance your HoloLens experience. From app management and device configuration to file management and more, the HoloLens Device Portal puts you in control of your HoloLens device.
Remember to ensure that your HoloLens and PC are connected to the same Wi-Fi network for a successful pairing process. This ensures a stable and reliable connection between the two devices.
Throughout the pairing process, it’s important to keep in mind that basic knowledge of operating the HoloLens device and navigating through the Windows 10 interface on your PC is essential. This familiarity will help you troubleshoot any issues that may arise and make the overall experience smoother.
Now that you have successfully paired your HoloLens device to your PC, you can explore the HoloLens Device Portal and unleash the full potential of your HoloLens. Discover new apps, customize settings, and unlock endless possibilities with this innovative augmented reality headset.
Thank you for following this guide, and enjoy your journey into the exciting world of HoloLens!