Introduction
Are you a fan of using Cash App for your everyday financial transactions? Are you looking to explore the benefits of having a second Cash App account? Look no further! In this article, we will guide you through the process of creating a second Cash App account and the advantages it can offer.
Cash App, developed by Square Inc., is a popular mobile payment service that allows users to send and receive money with just a few taps on their smartphones. With its user-friendly interface and seamless transaction process, Cash App has gained immense popularity in recent years. While many users are content with using a single Cash App account, there are certain scenarios where having a second account can be advantageous.
Creating a second Cash App account can provide you with additional flexibility and convenience. You may want a separate account for personal expenses and another for business-related transactions. Having separate accounts can help you maintain better financial organization and track your expenses more effectively.
Furthermore, a second Cash App account can be useful if you have multiple income sources or if you want to keep your personal and professional finances separate. It allows you to manage your funds more efficiently and avoid any confusion in your financial records.
Another reason to create a second Cash App account is to take advantage of the promotional offers and referral benefits that Cash App periodically offers. By having multiple accounts, you can maximize the benefits and bonuses available, ultimately saving money and earning rewards.
Now that you understand the benefits of creating a second Cash App account, let’s dive into the step-by-step process to help you set it up. Whether you want a separate account for personal or business use, or simply want to take advantage of the perks, we will walk you through the process to get you up and running with your second Cash App account.
What is Cash App?
Cash App is a popular mobile payment service developed by Square Inc. It allows users to send and receive money quickly and securely using their smartphones. With just a few taps, you can easily pay your friends, family, or merchants for goods and services.
One of the main features of Cash App is its simplicity and ease of use. Unlike traditional payment methods, Cash App eliminates the need for carrying physical cash or credit cards. All you need is your smartphone and a linked bank account or debit card to get started. Transactions are processed instantly, making it convenient for day-to-day financial activities.
With Cash App, you can not only send money to other Cash App users, but you can also request money from others. This feature comes in handy when splitting bills, organizing group events, or collecting payments from clients. The app also allows you to buy and sell Bitcoin, making it a versatile platform for both traditional and cryptocurrency transactions.
Security is a top priority for Cash App. The platform employs industry-standard encryption and fraud detection measures to ensure that your financial information is protected. Cash App also offers users the option to enable additional security features such as PIN codes or fingerprint authentication for added peace of mind.
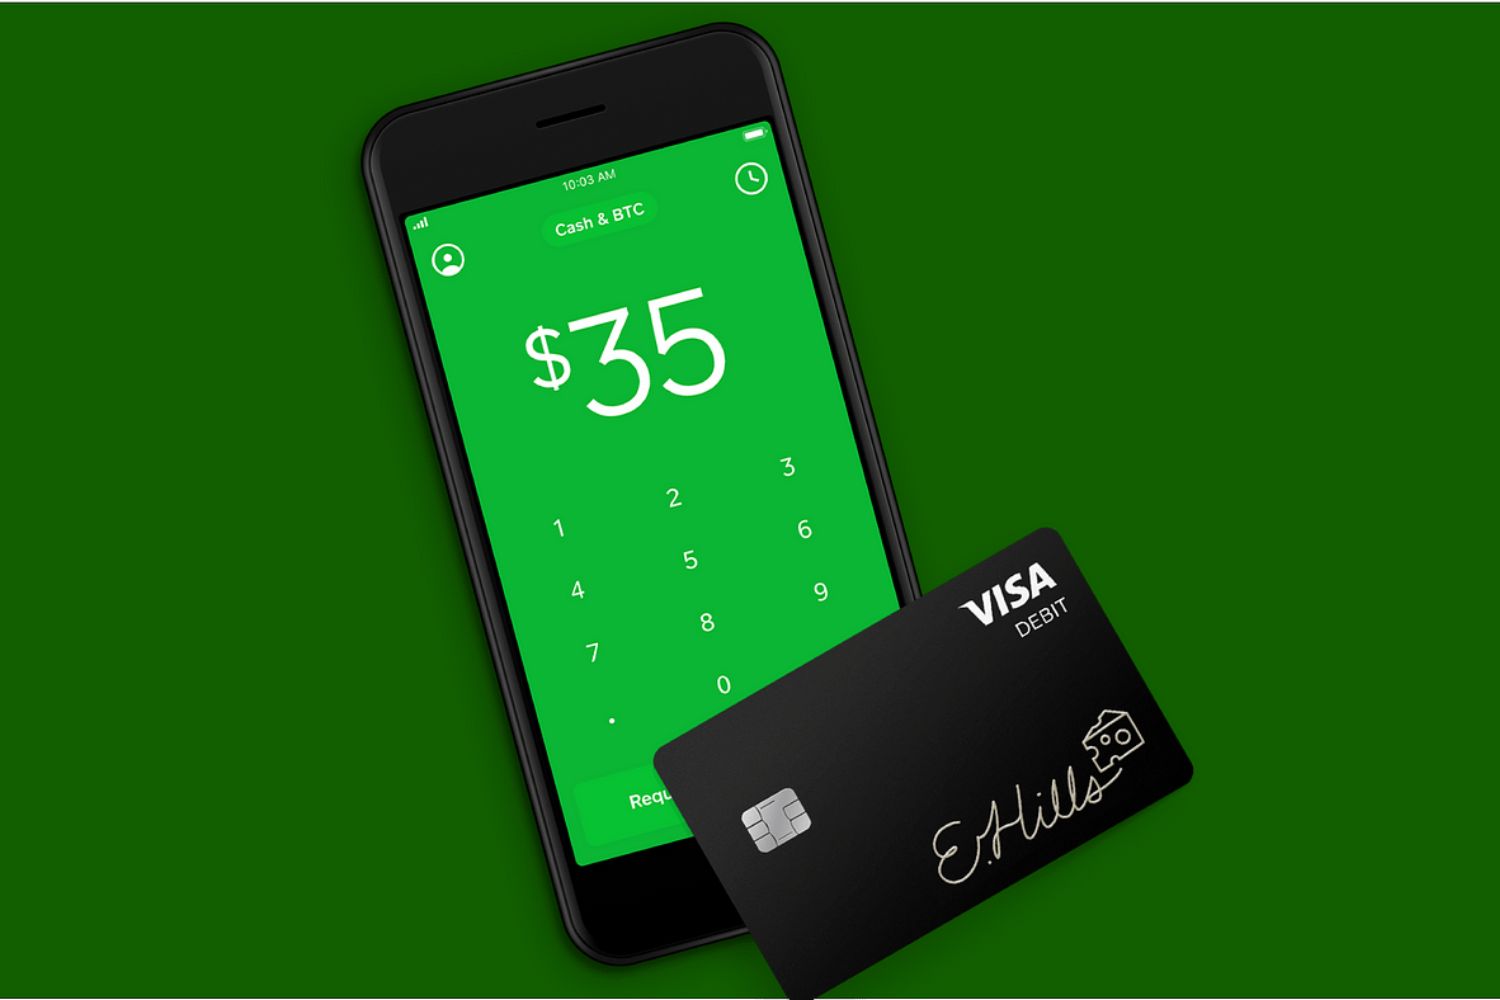
In addition to its primary functionality as a payment platform, Cash App offers other features such as the Cash Card. The Cash Card is a free Visa debit card that comes with your Cash App account. Users can use the Cash Card to make purchases online or in-store, withdraw money from ATMs, and even earn special boosts or cashback rewards at select merchants.
Another noteworthy aspect of Cash App is its customer support. The Cash App support team is available 24/7 to assist users with any issues or inquiries. Whether it’s a question about a transaction, account security, or any other concern, you can reach out to the support team through various channels, such as phone, email, or social media.
Overall, Cash App provides a convenient and secure solution for your everyday financial transactions. Its user-friendly interface, swift transaction processing, and additional features like the Cash Card make it a popular choice among millions of users. Now that you have a better understanding of what Cash App is, let’s explore the benefits of creating a second Cash App account.
Why create a second Cash App account?
There are several compelling reasons why you may want to create a second Cash App account. Let’s explore some of the main advantages:
1. Separate personal and business finances: Having a second Cash App account allows you to keep your personal and business finances separate. This can help you accurately track your expenses, manage your finances more efficiently, and simplify your tax reporting process. With separate accounts, you can easily distinguish between personal and business transactions, ensuring better financial organization.
2. Multiple income sources: If you have multiple sources of income, a second Cash App account can be beneficial. You can use one account for your salary or main source of income, while dedicating the second account for additional income streams, such as freelance work or side businesses. This separation can make it easier to budget, track your earnings, and allocate funds accordingly.
3. Enhanced financial security: Creating a second Cash App account can also provide an added layer of security for your finances. By segregating your funds across different accounts, you minimize the risk of losing all your money in case of a security breach or fraudulent activity. It’s always a good practice to have backup accounts to ensure the safety of your funds.
4. Maximizing promotional offers and referral benefits: Cash App periodically offers promotional offers and referral bonuses to its users. By creating a second Cash App account, you can take advantage of these offers multiple times. This means more savings, discounts, and potential rewards. Keep an eye out for special promotions and refer friends and family to earn extra cash.
5. Improved privacy: If you prefer to keep your financial transactions private, a second Cash App account can be useful. You can use one account for personal transactions and the second account for more confidential or discreet transactions. This way, you can maintain a level of privacy and control over who has access to your financial information.
6. Streamline budgeting and financial goals: With a second Cash App account, you can create multiple budgets and financial goals tailored to specific purposes. Whether it’s saving for a vacation, paying off debt, or tracking your monthly expenses, having separate accounts can simplify your budgeting process. You can allocate funds accordingly and monitor your progress more effectively.
7. Experiment with new features and test functionality: Having a second Cash App account allows you to test new features and functionality without impacting your primary account. You can explore any updates, try different payment methods, or experiment with new settings. This way, you can stay updated with the latest features without risking any disruptions or changes to your primary account setup.
Now that you understand the various advantages of creating a second Cash App account, let’s move on to the step-by-step process of how to set up your new account.
Step 1: Download and install the Cash App
The first step to creating a second Cash App account is to download and install the Cash App on your smartphone. Follow these simple instructions:
- Open the App Store (for iPhone users) or Google Play Store (for Android users) on your smartphone.
- Search for “Cash App” in the search bar.
- Select the official Cash App listing from Square Inc.
- Tap the “Install” or “Get” button to download the app to your device.
- Wait for the installation to complete and the app icon to appear on your home screen.
Ensure that you download the official Cash App from Square Inc. to avoid any potential security risks or scams.
Once you have successfully downloaded and installed the Cash App, you are ready to move on to the next step: signing up for a new account.
Note: If you already have a Cash App account installed on your device, you can log out and proceed with the account creation process. Alternatively, you can use a separate device or create a second user profile on your smartphone to set up the new Cash App account.
Step 2: Sign up for a new account
After downloading and installing the Cash App on your smartphone, the next step is to sign up for a new account. Follow these simple steps to create your second Cash App account:
- Open the Cash App on your smartphone by tapping on the app icon.
- Tap on the “Sign Up” or “Register” button to begin the account creation process.
- Enter your email address or mobile phone number in the provided field. Make sure it is a valid and accessible email address or phone number.
- Create a unique and secure password for your new account. Make sure to choose a password that is easy for you to remember but difficult for others to guess.
- Tap on the “Next” or “Continue” button to proceed to the next step.
- You will receive a verification code on the email address or phone number you provided. Enter the code in the verification field to confirm and validate your account.
- Once the verification process is complete, you will be prompted to provide some additional information, such as your first and last name. Enter the required details accurately.
- Review the terms of service and privacy policy, and if you agree, tap on the “Agree” or “Accept” button to continue.
- Finally, you will be asked to set up a unique $CashTag. This is a unique username that other Cash App users can use to send you money. Choose a $CashTag that is easy to remember and represents your identity accurately.
Once you have completed these steps, you have successfully signed up for your new Cash App account. In the next step, we will guide you on how to link a new bank account or debit card to your account to facilitate seamless transactions.
Step 3: Link a new bank account or debit card
After signing up for your new Cash App account, the next step is to link a new bank account or debit card. This allows you to add funds to your Cash App account and make seamless transactions. Follow these steps to link your account:
- Open the Cash App on your smartphone and log in to your newly created account.
- On the home screen, tap on the profile icon at the top-left corner of the screen. This will take you to your account settings.
- Scroll down and select the “Add a Bank” or “Add Card” option, depending on your preference.
- If you choose to add a bank account, you will be prompted to provide your bank’s name, your account number, and your routing number. Enter the details accurately to ensure a successful link.
- If you prefer to link a debit card, you will need to provide the card number, expiration date, and CVV code. Again, double-check the information to avoid any errors.
- Tap on the “Next” or “Continue” button to proceed to the verification stage.
- Cash App will verify the provided information by making a small deposit or charge to your linked bank account or debit card. Check your bank statement or card transaction history to find the verification amount or charge.
- Once you have the verification amount or charge, open the Cash App and go to the “Balance” section in your account settings.
- Enter the verification amount or confirm the charge amount to complete the linking process.
Congratulations! You have now successfully linked a new bank account or debit card to your Cash App account. This enables you to add funds, withdraw money, and make transactions conveniently.
In the next step, we will guide you through the process of verifying your account to ensure security and unlock additional features of your new Cash App account.
Step 4: Verify your account
As part of the security measures and to unlock additional features, it is important to verify your Cash App account. Verifying your account not only adds an extra layer of protection but also allows you to increase your transaction limits and access other benefits. Follow these steps to verify your account:
- Open the Cash App on your smartphone and log in to your account.
- Tap on the profile icon at the top-left corner of the screen to access your account settings.
- Scroll down and select the “Verify Your Account” or “Verification” option.
- You will be prompted to provide some personal information, such as your full name, date of birth, and the last four digits of your Social Security Number (SSN).
- Follow the instructions and enter the required information accurately. Ensure that the information matches the details on your identification documents.
- Once you have provided the necessary information, Cash App might ask you to provide additional documents for verification purposes, such as a photo of your ID or a proof of address.
- Take clear and legible photos of the required documents and upload them as directed.
- Wait for the verification process to complete. This can take a few hours or up to a few days, depending on the volume of verifications.
- You will receive a notification or email confirming the completion of the verification process.
By verifying your account, you not only ensure the security of your funds but also gain access to features like increasing your transaction limits, enabling direct deposits, and even applying for a Cash Card or Boost rewards.
Once your Cash App account is verified, you can proceed to the next step: customizing your new Cash App account to suit your preferences.
Step 5: Customize your new Cash App account
After verifying your Cash App account, the next step is to customize your account settings to suit your preferences. Customizing your account allows you to personalize your experience and manage your transactions more efficiently. Follow these steps to customize your new Cash App account:
- Open the Cash App on your smartphone and log in to your account.
- Tap on the profile icon at the top-left corner of the screen to access your account settings.
- Scroll down and select the “Settings” or “Account Settings” option.
- Explore the various settings available to customize your account. These settings may include:
- Profile Picture: Add or change your profile picture to make your account more recognizable to your contacts.
- Notification Preferences: Customize your notification settings to receive alerts for various activities, such as incoming payments, transactions, or account updates.
- Security Settings: Enhance the security of your account by enabling features like two-factor authentication, setting up a PIN code, or enabling biometric authentication.
- Privacy Settings: Choose the level of privacy you prefer for your account, such as controlling who can send you money or see your transaction history.
- Transaction Limits: Depending on your verification level, you may have the option to adjust your transaction limits to meet your needs.
- Preferred Payment Methods: Customize your payment methods by linking additional bank accounts or debit cards, if desired.
- Adjust the settings according to your preferences and tap on the corresponding options to save your changes.
- Take some time to explore and familiarize yourself with the various customization options available. This will allow you to tailor your Cash App experience to your liking.
By customizing your Cash App account, you can personalize your profile, control your privacy settings, and enhance the security of your transactions. It allows you to have a more tailored experience that aligns with your needs and preferences.
Now that you have customized your new Cash App account, you are ready to link your new account to your phone number or email address, which will be covered in the next step.
Step 6: Link your new account to your phone number or email address
Once you have customized your new Cash App account, the next step is to link your account to your phone number or email address. Linking your account to your phone number or email address allows you to easily connect with your contacts and facilitates seamless transactions. Follow these steps to link your new account:
- Open the Cash App on your smartphone and log in to your account.
- Tap on the profile icon at the top-left corner of the screen to access your account settings.
- Select the “Add Phone Number” or “Add Email Address” option, depending on your preference.
- Enter your phone number or email address in the provided field. Make sure it is a valid and accessible phone number or email address.
- Follow the on-screen instructions to verify your phone number or email address. This may involve receiving a verification code via SMS or email and entering it in the app.
- Once the verification process is complete, your phone number or email address will be linked to your Cash App account.
- Repeat the above steps if you want to link both your phone number and email address to your account.
By linking your phone number or email address, you can easily connect with your contacts who also use Cash App and facilitate seamless transactions. It ensures that you can effortlessly send or receive money using your preferred contact method.
Once you have linked your new account to your phone number or email address, you can proceed to the next step: transferring funds between your Cash App accounts.
Step 7: Transfer funds between accounts
After setting up your second Cash App account, you may need to transfer funds between your accounts for various purposes. Whether you want to move money from your primary account to your secondary account or vice versa, Cash App makes it easy to transfer funds between accounts. Follow these steps to transfer funds:
- Open the Cash App on your smartphone and log in to your account.
- On the home screen, tap on the “Balance” tab at the bottom of the screen to view your account balance.
- Under your balance, you will see both of your linked Cash App accounts. Tap on the account you want to transfer funds from.
- Next, tap on the “Transfer” or “Send” button, depending on the version of the app you are using.
- Enter the amount you want to transfer between your accounts. You can either type in the amount manually or choose from the suggested options.
- Select the account you want to transfer the funds to.
- Review the transaction details and tap on the “Confirm” or “Send” button to complete the transfer.
- After confirming the transfer, the funds will be moved between your Cash App accounts, and you will receive a notification confirming the successful transaction.
Transferring funds between your Cash App accounts is a quick and simple process. It allows you to easily manage your finances, allocate funds to different accounts, and keep track of your transactions. Whether you want to move funds for personal or business use, Cash App provides a seamless solution.
Once you have transferred funds between your accounts, you can utilize your second Cash App account for different purposes, which will be covered in the next step.
Step 8: Use your second Cash App account for different purposes
Now that you have set up your second Cash App account and transferred funds between your accounts, you can utilize your second account for various purposes. Here are some ideas on how to make the most of your second Cash App account:
- Separate Personal and Business Expenses: Use your second Cash App account to keep personal and business expenses separate. This allows you to easily track and manage your finances for each area of your life.
- Multiple Income Streams: If you have multiple sources of income, use your second Cash App account to receive payments from different clients or income streams. This helps you maintain financial organization and simplifies your record-keeping.
- Special Projects or Savings: Designate your second Cash App account for special projects or savings. Whether you’re saving for a vacation, a new car, or a specific goal, having a separate account can help you stay focused and monitor your progress.
- Private or Confidential Transactions: If you prefer to keep certain transactions private or confidential, use your second Cash App account for those specific purposes. This allows you to handle discreet transactions without mixing them with your primary account.
- Promotional Offers and Referral Bonuses: Take advantage of promotional offers and referral bonuses by using your second Cash App account for referrals. You can earn additional rewards and benefits, making your financial experience even more rewarding.
- Experiment with New Features: Use your second Cash App account to test new features and functionality. This way, you can explore updates, try different payment methods, and experiment with settings without affecting your primary account.
- Income and Expense Categorization: Utilize your second Cash App account to categorize your income and expenses. This helps you easily track your spending habits and evaluate where your money is going.
By using your second Cash App account for different purposes, you can streamline your finances, stay organized, and make the most of the features and benefits provided by Cash App.
Now that you have completed the steps to create and optimize your second Cash App account, you can enjoy the convenience, flexibility, and security it offers for your financial transactions. Start exploring the possibilities and maximize the benefits of having a second Cash App account to suit your unique needs and goals.
Conclusion
Creating a second Cash App account can provide you with additional flexibility, convenience, and control over your financial transactions. Whether you want to separate personal and business expenses, manage multiple income streams, or take advantage of promotional offers, having a second account allows you to customize your financial experience.
In this article, we walked you through the step-by-step process of creating a second Cash App account. We covered how to download and install the app, sign up for a new account, link a bank account or debit card, verify your account, customize your account settings, link your phone number or email address, transfer funds between accounts, and use your second account for different purposes.
By following these steps, you can establish a separate Cash App account to meet your specific needs. Whether it’s managing personal and business finances separately, exploring different income sources, maintaining privacy, or taking advantage of promotional benefits, having a second Cash App account empowers you with greater financial control and organization.
Remember to always ensure the security of your accounts by using strong passwords, enabling two-factor authentication, and keeping your personal information secure.
We hope that this guide has been helpful in assisting you with the process of creating a second Cash App account. Start enjoying the benefits and convenience that come with having a second account, and make the most out of your financial transactions with Cash App.


