Introduction
Welcome to our comprehensive guide on how to deposit checks into Cash App. In this digital era, mobile banking apps have revolutionized the way we manage our finances. Cash App, developed by Square Inc., is one such app that allows users to send and receive money, make purchases, and even deposit checks with just a few taps on their smartphone.
If you’re tired of making trips to the bank or dealing with the hassle of physical checks, Cash App offers a convenient solution. With its mobile check deposit feature, you can simply snap a photo of your check and deposit it directly into your Cash App account. No need to wait in line or worry about losing your paper checks.
In this guide, we’ll walk you through the process of setting up Cash App, linking your bank account, and depositing checks using the app’s mobile check deposit feature. We’ll provide you with step-by-step instructions and troubleshooting tips to ensure a smooth and hassle-free deposit process.
But before we dive into the how-tos, let’s take a closer look at what Cash App is and why it has gained immense popularity among users.
What is Cash App?
Cash App is a mobile payment service developed by Square Inc. that allows users to send, receive, and store money electronically. It’s available for both iOS and Android devices, making it accessible to a wide range of users.
One of the main features that sets Cash App apart from other payment apps is its simplicity and ease of use. With just a few taps on your smartphone, you can send money to friends, family, or businesses, pay bills, and even buy and sell Bitcoin.
But what makes Cash App particularly appealing to many users is its added functionality of mobile check deposits. With this feature, you can deposit physical paper checks into your Cash App account without the need to visit a bank or ATM.
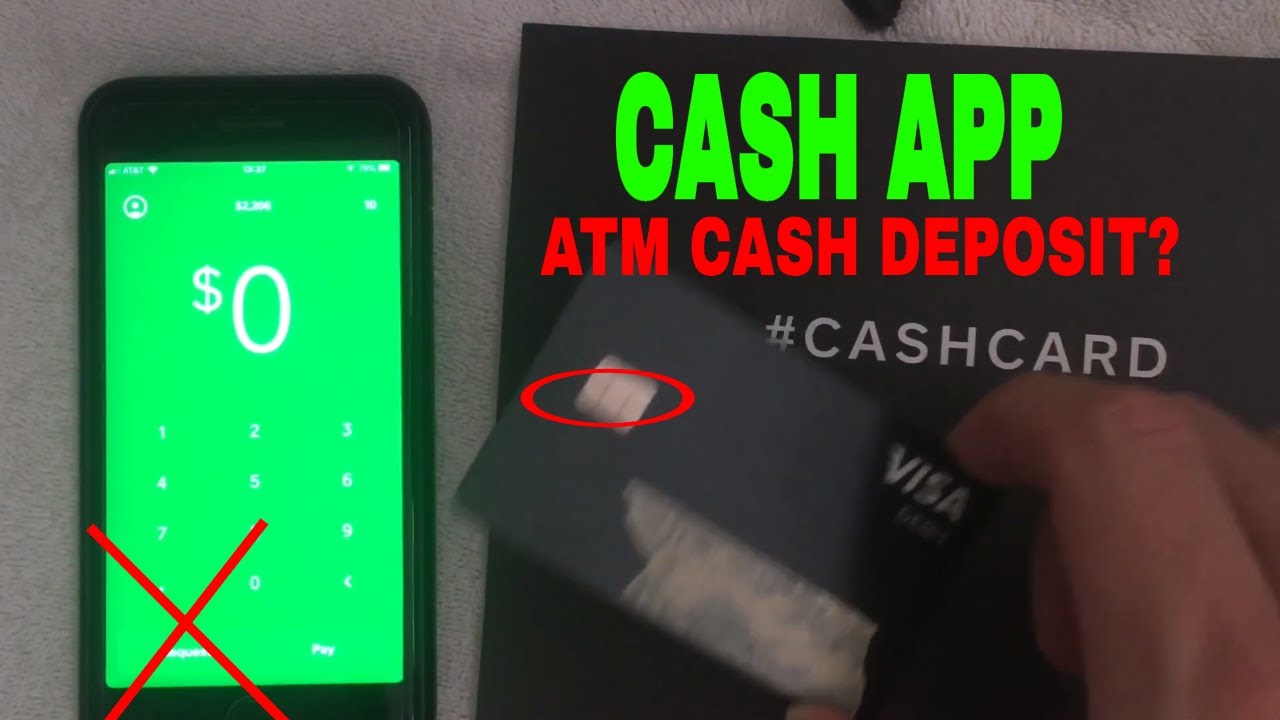
In addition to mobile check deposits, Cash App also offers a Cash Card, which is a customizable Visa debit card linked to your Cash App account. You can use the Cash Card to make purchases online and in-person, withdraw cash from ATMs, and even earn cashback rewards on select purchases.
Receiving money through Cash App is also straightforward. When someone sends you money, it gets deposited into your Cash App balance instantly, and you can choose to transfer it to your linked bank account or keep it in your Cash App balance for future spending.
Furthermore, Cash App boasts strong security measures to protect your financial information. It utilizes encryption and multi-factor authentication to ensure that your transactions and personal data remain secure.
In summary, Cash App is a user-friendly mobile payment app that not only allows you to send and receive money but also offers the convenience of mobile check deposits and a customizable debit card. Its intuitive interface and robust security features have made it a popular choice for individuals looking for a seamless and secure way to manage their finances.
Linking Your Bank Account to Cash App
In order to deposit checks into your Cash App account, you’ll need to link your bank account to the app. This will allow you to transfer funds between your bank account and Cash App seamlessly.
Here’s a step-by-step guide to help you link your bank account:
- Open the Cash App on your smartphone.
- Tap on the profile icon located in the upper-left corner of the screen.
- Scroll down and select “Add Bank” or “Bank Account.”
- Choose your bank from the list of available options. If your bank is not listed, you can manually enter your account and routing number.
- Follow the prompts to verify your account by entering your online banking credentials or providing additional verification information as required.
- Once your bank account is successfully linked, you can now transfer funds between your bank account and Cash App.
It’s important to note that the process may vary slightly depending on the version of the app and the device you’re using. If you encounter any difficulties during the linking process, Cash App provides helpful resources and customer support to assist you in resolving any issues.
Linking your bank account to Cash App not only enables you to deposit checks but also allows you to transfer your Cash App balance to your bank account for easy access to your funds. Additionally, linking your bank account adds an extra layer of security to your transactions and ensures that your money is safely stored in your preferred financial institution.
Now that your bank account is linked to Cash App, let’s move on to the next step: adding funds to your Cash App account.
Adding Funds to Your Cash App Account
In order to deposit checks into your Cash App account, you’ll need to ensure that you have sufficient funds in your account. Adding funds to your Cash App account is a simple process that can be done through various methods.
Here are a few ways to add funds to your Cash App account:
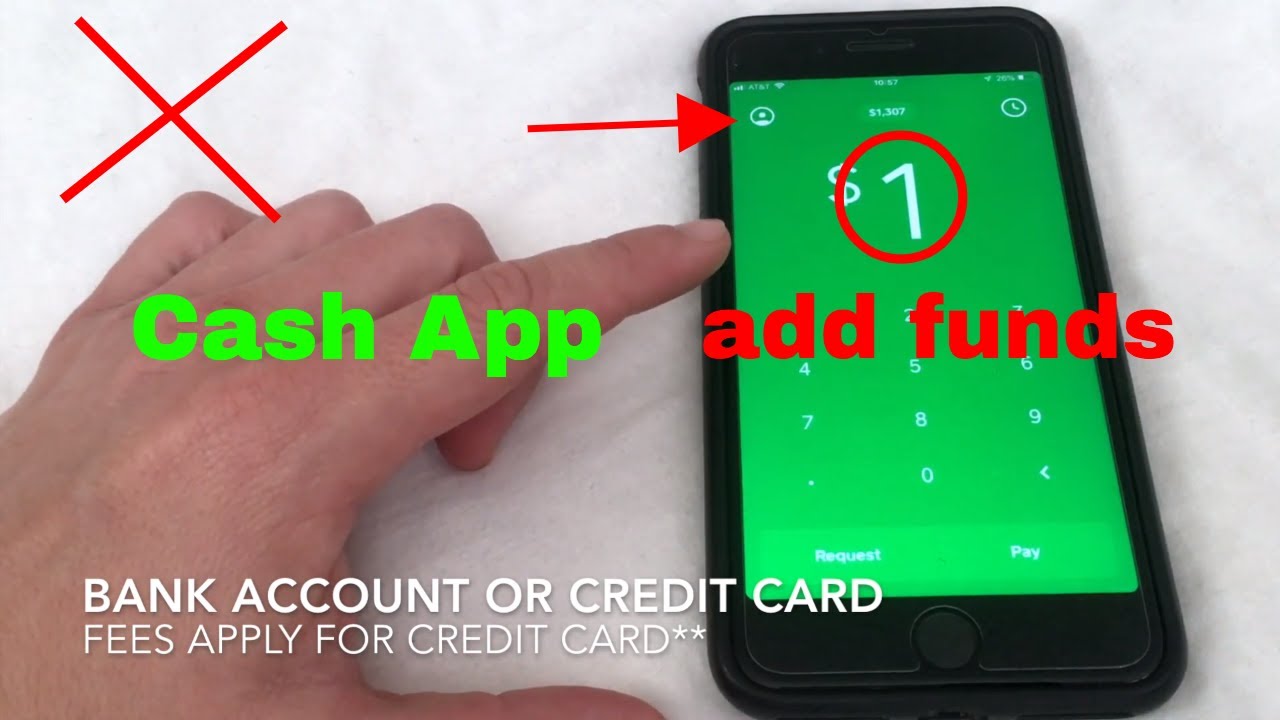
- Linking your bank account: Once you’ve successfully linked your bank account to Cash App, you can transfer funds from your bank account to your Cash App balance. Simply select the “Cash In” or “Add Cash” option in the app and enter the desired amount you want to add.
- Receiving money from friends or family: If someone sends you money through Cash App, it will be deposited into your Cash App balance instantly. You can use these funds for various transactions, including depositing checks.
- Adding funds from a debit card: Cash App also allows you to add funds directly from a linked debit card. Tap on the “Add Cash” option in the app, enter the amount you want to add, and select the “Add” button. You’ll be prompted to enter your card details to complete the transaction.
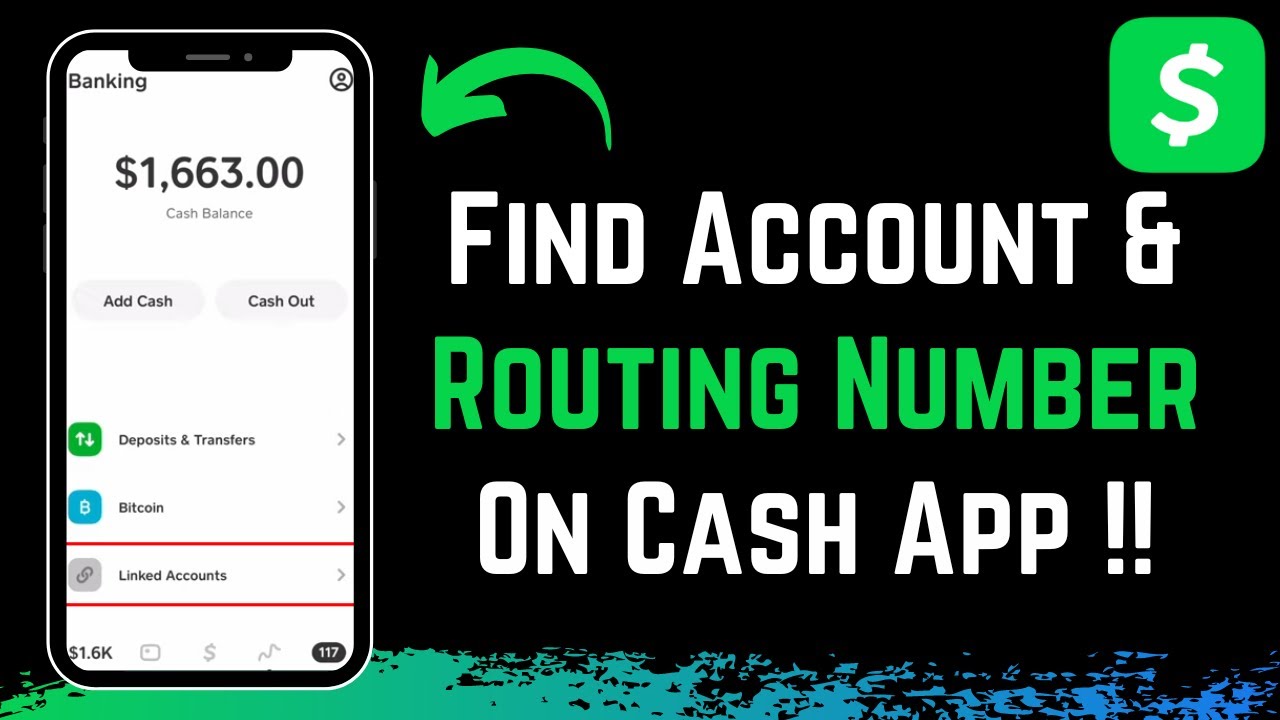
- Direct deposit: If you receive regular payments or income, you may opt to have the funds directly deposited into your Cash App account. Cash App provides you with a unique account and routing number that you can provide to your employer or any other party making direct deposits.
It’s important to note that some methods of adding funds to your Cash App account may have associated fees or processing times. Be sure to review the terms and conditions provided by Cash App to understand any fees or limitations that may apply.
By having funds readily available in your Cash App account, you can seamlessly use the app’s mobile check deposit feature to deposit physical checks and have the funds instantly available for use in your Cash App balance.
Now that you have funds in your Cash App account, let’s move on to the next step: understanding mobile check deposit on Cash App.
Understanding Mobile Check Deposit on Cash App
Mobile check deposit is a convenient feature offered by Cash App that allows you to deposit physical checks into your Cash App account by simply using your smartphone. With this feature, you no longer have to visit a bank or ATM to deposit your checks.
Here’s how mobile check deposit works on Cash App:
- Open the Cash App on your smartphone and log in to your account.
- Tap on the “My Cash” tab located at the bottom of the screen.
- Scroll down and select the option “Cash” or “Deposit Checks”.
- Follow the instructions to take photos of the front and back of the check. Make sure the check is properly aligned within the guidelines provided to enhance accuracy.
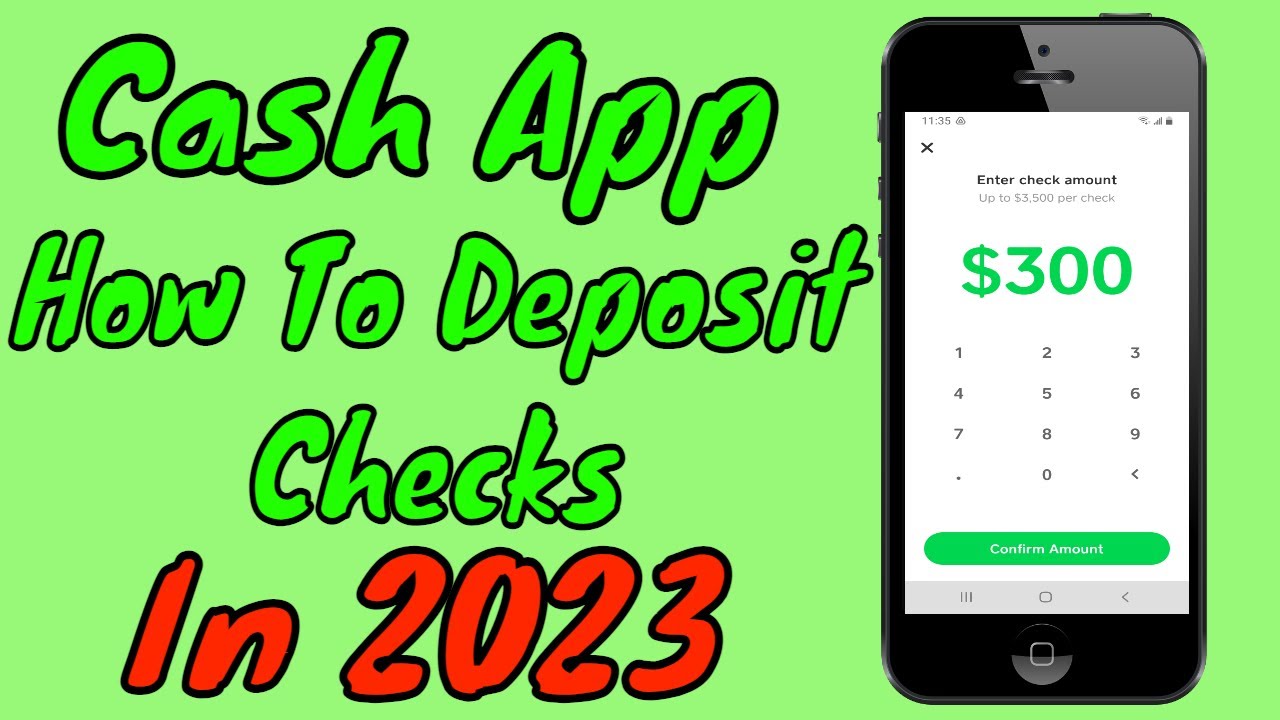
- Review the check details and enter the amount you want to deposit. Confirm the deposit and wait for the processing to complete.
It’s important to note that Cash App imposes certain limits on mobile check deposits. These limits vary based on factors such as account verification level, transaction history, and overall usage of the app. Be sure to check the specific limits applicable to your Cash App account.
Once the check deposit is successful, the funds will be added to your Cash App balance and will be available for use within the app. You can then use the funds to send money, make purchases, or even transfer the funds to your linked bank account for withdrawal.
It’s worth mentioning that mobile check deposit is subject to certain verification and security measures to ensure the validity of the checks. Cash App may perform additional checks to prevent fraudulent activities, which could result in a longer processing time for certain deposits.
Now that you have a good understanding of how mobile check deposit works on Cash App, let’s move on to the step-by-step guide on depositing checks into Cash App.
Step-by-Step Guide to Depositing Checks into Cash App
Depositing checks into Cash App is a quick and straightforward process. By following these step-by-step instructions, you’ll be able to deposit your checks and have the funds available in your Cash App account in no time:
- Open the Cash App on your smartphone and ensure that you’re logged in to your account.
- Tap on the “My Cash” tab located at the bottom of the screen.
- Scroll down and select the option “Cash” or “Deposit Checks”.
- Ensure that the front and back of the check are properly aligned within the guidelines displayed on the screen.
- Take a clear, well-lit photo of the front of the check by tapping the camera icon. Make sure all necessary information, such as the payee’s name and check amount, are clearly visible.
- Next, tap the camera icon again to capture a photo of the back of the check. If required, sign the back of the check and write “For deposit only” above your signature.
- Review the check details on the screen, including the payee’s name and the check amount. Ensure that all information is correct, and enter the check amount if it hasn’t been automatically detected.
- Confirm the deposit by tapping the “Submit” or “Deposit” button. You may be prompted to agree to the terms and conditions of the deposit.
- Wait for the processing to complete. The time taken to process the deposit may vary, depending on various factors such as check verification and account activity.
- Once the deposit is processed successfully, the funds will be added to your Cash App balance. You can now use the deposited funds for various transactions within the app.
It’s essential to keep the original check in a safe place until you’ve confirmed that the funds have been successfully deposited into your Cash App account. It’s recommended to retain the physical check for a reasonable period before securely disposing of it.
By following these simple steps, you can take advantage of Cash App’s mobile check deposit feature and enjoy the convenience of depositing checks without the need for physical visits to banks or ATMs.
Now that you’re familiar with the deposit process, let’s move on to the next section, which covers troubleshooting common issues that may arise during the check deposit process.
Troubleshooting Common Issues
While depositing checks into Cash App is generally a smooth process, you may encounter some common issues along the way. Here are a few troubleshooting tips to help you overcome any hurdles you may face:
- Check image quality: Ensure that the photos you take of the front and back of the check are clear and well-lit. Blurry or poorly-lit images can lead to difficulties in check verification, resulting in longer processing times or failed deposits.
- Align the check properly: Position the check within the guidelines provided on the screen. Misaligned checks may not be processed correctly, leading to potential deposit issues.
- Verify check details: Double-check the details, such as the payee’s name and the check amount, before confirming the deposit. Incorrect information may result in failed or delayed deposits.
- Ensure internet connectivity: Stable internet connection is crucial for a successful check deposit. Make sure you have a strong and reliable internet connection throughout the process.
- Verify account and routing numbers: If you manually entered your bank account and routing numbers, ensure that they are accurate. Incorrect numbers can lead to failed deposits or delays in processing.
- Contact Cash App Support: If you encounter persistent issues or have specific questions about the check deposit process, reach out to Cash App’s customer support. They can provide guidance and assistance to help resolve any problems you may be experiencing.
It’s important to note that while Cash App strives to provide a seamless and reliable experience, there may still be occasional technical glitches or issues beyond your control. In such cases, remaining patient and reaching out to customer support for assistance is the best course of action.
By following these troubleshooting tips, you can overcome common issues that may arise during the check deposit process and ensure a smooth and successful deposit into your Cash App account.
Now that you’re equipped with troubleshooting knowledge, let’s move on to the next section, which provides a few tips for a smooth deposit process.
Tips for a Smooth Deposit Process
To make the check deposit process on Cash App as seamless as possible, here are some valuable tips to keep in mind:
- Ensure check legibility: Before taking photos of the check, ensure that all necessary information, such as the payee’s name, check amount, and endorsement signature (if required), is clear and visible.
- Choose a well-lit environment: Opt for a well-lit area when capturing check images. Sufficient lighting helps enhance the clarity and legibility of the check photos.
- Double-check all details: Review the check details, including the payee’s name and the check amount, to ensure accuracy before confirming the deposit. Incorrect information may cause delays or issues with the processing.
- Use a stable surface: Place the check on a stable surface, such as a table or desk, to ensure steady and focused photos. This helps prevent blurriness and misalignment of the check images.
- Be patient during processing: The processing time for check deposits may vary. Avoid initiating multiple deposit attempts for the same check, as this can cause confusion and potential issues with your account.
- Monitor your account activity: Regularly review your Cash App account activity to ensure that the deposited funds reflect accurately in your balance. If you notice any discrepancies or delays, contact Cash App customer support for assistance.
- Keep the original check safe: Once the deposit is confirmed, securely store the original check for a reasonable period before disposing of it. This ensures that you have a physical backup if needed.
- Stay aware of Cash App policies: Familiarize yourself with Cash App’s terms and conditions, including deposit limits, processing times, and any applicable fees. This helps you understand the rules and guidelines surrounding check deposits.
By following these tips, you can maximize the efficiency and accuracy of the check deposit process on Cash App, ensuring a smooth and hassle-free experience.
Now that you’re equipped with these helpful tips, let’s move on to the next section, which discusses the benefits and limitations of depositing checks into Cash App.
Benefits and Limitations of Depositing Checks into Cash App
Depositing checks into Cash App offers several benefits for users looking for a convenient and efficient way to manage their finances. However, it’s important to be aware of the limitations associated with this feature. Let’s explore the benefits and limitations of depositing checks into Cash App.
Benefits:
- Convenience: Depositing checks through Cash App eliminates the need to visit a bank or ATM. With just a few taps on your smartphone, you can deposit checks anytime and anywhere.
- Speed: Mobile check deposit on Cash App allows for faster processing compared to traditional banking methods. Once the check is successfully deposited, the funds are usually available in your Cash App balance within a short period.
- Accessibility: Cash App is available on both iOS and Android devices, making it accessible to a wide range of users. You can easily deposit checks into your Cash App account using your smartphone, providing a user-friendly experience.
- Integration with other features: Cash App seamlessly integrates check deposits with its other features, such as the Cash Card and person-to-person payments. The deposited funds can be instantly used for various transactions, including sending money to friends or making purchases online.
Limitations:
- Deposit limits: Cash App imposes daily, weekly, and monthly deposit limits on mobile check deposits, depending on various factors such as account verification and usage history. Be sure to check your specific limits to ensure they meet your deposit needs.
- Processing times: While Cash App strives to provide quick check deposit processing, there may be occasional delays due to verification checks or technical issues. It’s important to be patient and allow sufficient processing time for your deposits.
- Check verification: Cash App employs strict security measures to prevent fraudulent activities. As a result, certain checks may undergo additional verification steps, leading to longer processing times or potential rejection.
- Deposited funds limitations: While the funds from deposited checks can be used within the Cash App ecosystem, there may be limitations on withdrawing funds to your linked bank account or transferring them to other financial institutions.
Understanding the benefits and limitations of depositing checks into Cash App allows you to make an informed decision and utilize the app’s features to its fullest potential. It’s advisable to review the terms and conditions provided by Cash App to familiarize yourself with their specific policies regarding mobile check deposits.
Now that we’ve explored the benefits and limitations, let’s move on to the concluding section of our guide.
Conclusion
Depositing checks into Cash App offers a convenient and efficient way to manage your finances on-the-go. With its mobile check deposit feature, you can skip the hassle of visiting a bank or ATM and deposit checks directly into your Cash App account using your smartphone.
In this comprehensive guide, we’ve covered everything you need to know about depositing checks into Cash App. We started by introducing Cash App and its features, followed by the step-by-step process of linking your bank account and adding funds to your Cash App account.
We then provided a detailed understanding of mobile check deposit on Cash App and a step-by-step guide to help you deposit checks seamlessly. Additionally, we offered troubleshooting tips and highlighted the importance of following best practices for a smooth deposit process.
Lastly, we discussed the benefits and limitations of depositing checks into Cash App, ensuring that you have a clear understanding of the advantages and potential constraints of utilizing this feature.
Now that you’re equipped with the knowledge and guidance provided in this guide, you can confidently deposit checks into your Cash App account and enjoy the convenience and flexibility it offers for managing your finances.
If you have any further questions or need additional assistance, don’t hesitate to reach out to Cash App’s customer support. They are available to help address any concerns and provide guidance to ensure a positive user experience.
Thank you for choosing Cash App as your digital payment solution, and we wish you a seamless and successful check deposit process!