Introduction
Changing the primary email in Splitwise is a simple and straightforward process that allows you to keep your account information up to date and ensure that you receive all necessary notifications. Whether you have a new email address or simply want to switch to a different one, Splitwise provides an easy way to make this change. In this article, we will guide you through the steps to change the primary email address in Splitwise.
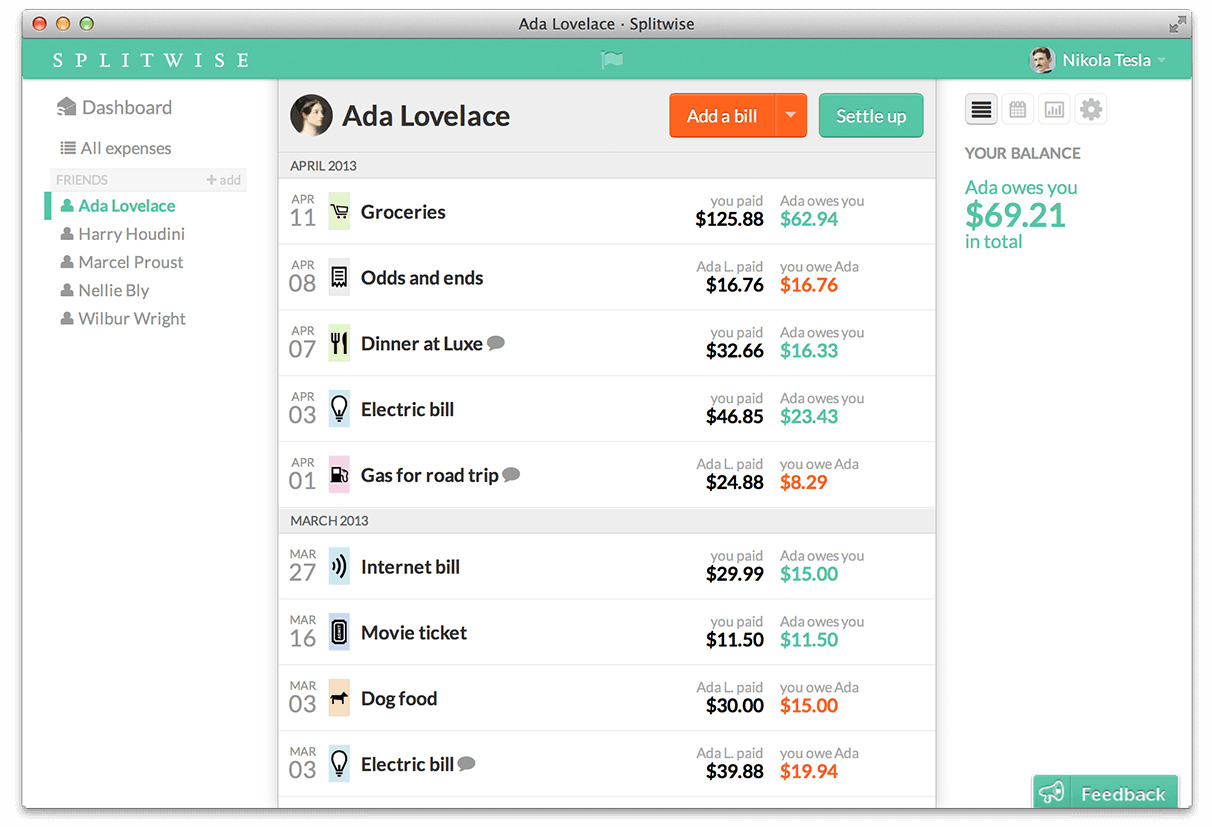
Splitwise is a popular expense management app that helps you track shared expenses and settle bills with friends, roommates, or colleagues. By default, Splitwise sends all notifications, reminders, and updates to your primary email address. Therefore, it’s essential to have the correct email associated with your account to ensure you stay informed about your shared expenses and payments.
With Splitwise, changing your primary email is a hassle-free process that can be completed in just a few minutes. Whether you’re using the Splitwise website or the mobile app, the steps are the same. In the following sections, we will walk you through the process step by step, making it easy for you to update your primary email and continue managing your shared expenses smoothly.
So, if you’re ready to change your primary email address in Splitwise and keep your account information up to date, let’s dive into the step-by-step guide on how to do it!
Step 1: Log in to your Splitwise account
The first step to changing your primary email in Splitwise is to log in to your account. You can do this by visiting the Splitwise website or opening the Splitwise mobile app on your smartphone. If you don’t already have an account, you’ll need to sign up for one before proceeding with the email change process.
Once you’re on the Splitwise login page, enter your username or email address, followed by your password. If you have forgotten your password, you can click on the “Forgot Password” link and follow the instructions to reset it. Make sure to use the email associated with your Splitwise account to log in.
After successfully logging in, you’ll be directed to your Splitwise dashboard, where you can see an overview of your shared expenses and recent activity. Now, you’re ready to move on to the next step and access the settings menu to change your primary email address.
Remember to keep your login credentials secure and avoid sharing them with anyone to protect your Splitwise account from unauthorized access.
Step 2: Go to the settings menu
Once you’ve logged in to your Splitwise account, the next step is to navigate to the settings menu. This is where you can find various options to manage and customize your account settings, including the ability to change your primary email address.
To access the settings menu, look for the account-related options, usually located in the top right corner of the Splitwise website or in the hamburger menu on the mobile app. It is often represented by a gear or settings icon. Click on this icon to open the settings menu.
After clicking on the settings icon, a drop-down or side menu will appear, presenting you with a list of different settings options. Look for the option that corresponds to your account and profile settings, typically labeled as “Account” or “Profile.”
Clicking on the “Account” or “Profile” option will redirect you to a new page where you can manage various settings related to your Splitwise account.
By accessing the settings menu, you are now one step closer to changing your primary email address in Splitwise. In the next step, we will guide you through the process of locating the specific email settings within the account settings menu.
Step 3: Click on “Account”
After accessing the settings menu in Splitwise, the next step is to locate and click on the “Account” option. This step will take you to the section where you can manage various account-related settings, including the ability to change your primary email address.
Look for the “Account” tab or button within the settings menu. Depending on the version of Splitwise you are using, the location and appearance of the “Account” option may vary slightly. However, it is usually easily recognizable and labeled as “Account” or may have a similar indication such as “Profile” or “Personal Information.”
Once you locate the “Account” option, click on it to access the account settings page. This page will provide you with a range of options to customize and manage your Splitwise account according to your preferences.
It’s important to note that Splitwise organizes its settings in a user-friendly manner, making it intuitive and easy to navigate through different sections. By clicking on the “Account” tab, you’re now ready to proceed to the next step and find the specific email settings section.
Keep in mind that changing your primary email address is just one of the many settings you can modify in your Splitwise account. Feel free to explore other settings and customize them as per your requirements to enhance your experience with the platform.
Step 4: Select “Email”
Once you have accessed the account settings page in Splitwise, it’s time to locate and select the “Email” option. This step will take you to the specific section where you can manage your email settings, including changing your primary email address.
Look for the “Email” tab or link within the account settings page. It is typically listed alongside other profile-related settings options. The location and appearance of the “Email” option may vary slightly depending on the version of Splitwise you are using, but it should be easily identifiable.
Click on the “Email” tab or link to access the email settings section. Here, you will find the various options available for managing your email address associated with your Splitwise account.
It’s worth noting that Splitwise takes the privacy and security of your personal information seriously. Therefore, you may need to provide certain credentials or undergo additional verification steps to make changes to your email address. This is to ensure that only authorized individuals can modify the account’s email settings.
By selecting the “Email” option, you have successfully made it to the specific section where you can proceed with changing your primary email address in Splitwise. In the following steps, we will guide you through the process of adding your new email address and verifying it.
Continue reading to learn how to complete the next steps and successfully change your primary email address in Splitwise.
Step 5: Add new email address
After accessing the email settings section in Splitwise, you are now ready to add your new email address. This step involves entering the new email address you want to set as your primary email in Splitwise.
In the email settings section, you should see an option to add a new email address or modify the existing one. Look for the appropriate field or button that allows you to input your desired email address.
Click on the designated area or button and enter your new email address. Double-check the email address to ensure that it is correct and free of any typos or errors. It’s essential to accurately input your new email address to avoid any issues with account verification and communication.
Once you have entered the new email address, you may need to go through an additional verification process. This can vary depending on the security measures implemented by Splitwise. You might receive a verification link or code sent to the new email address, which you will need to confirm your ownership of the email.
Remember to follow any instructions provided by Splitwise during the verification process and verify your new email address promptly. This will ensure that you can proceed with making it your primary email in Splitwise.
By successfully adding your new email address in the email settings section, you are now one step closer to changing your primary email address. In the next step, we will guide you through the process of verifying your new email address in Splitwise.
Step 6: Verify your new email address
After adding your new email address in Splitwise, the next crucial step is to verify its authenticity. Verifying your new email address confirms that you have access to it and allows you to complete the process of changing your primary email successfully.
Upon adding your new email address, Splitwise may send a verification email with a unique link or verification code to the newly provided email. Check your inbox for the email from Splitwise and open it to find the verification instructions.
If you don’t see the verification email in your inbox, make sure to check your spam or junk folder, as it may have been mistakenly filtered there. Additionally, ensure that the email address you entered is correct and free from any typos or errors.
Follow the instructions provided in the verification email to complete the process. This may involve clicking on the verification link or entering the verification code on the Splitwise website or app.
Once you’ve successfully verified your new email address, Splitwise will recognize it as a valid and active email associated with your account. This verification step is crucial for ensuring the security and integrity of your Splitwise account.
It’s important to note that the verification process may vary depending on the security measures implemented by Splitwise. If you encounter any issues or have questions regarding the verification process, refer to Splitwise’s support documentation or contact their customer support for assistance.
By completing the verification of your new email address, you are now ready to proceed to the final step of making your new email address the primary email in Splitwise.
Step 7: Make new email address primary
Now that you’ve successfully verified your new email address, it’s time to make it the primary email in Splitwise. This final step ensures that all future notifications, reminders, and updates regarding your shared expenses and payments will be sent to your new email address.
To make your new email address the primary one, navigate back to the email settings section in Splitwise. Look for the option or button that allows you to set a primary email address.
Click on the designated area or button and select your newly verified email address as the primary one. This action will update Splitwise’s system to use your new email for all communications going forward.
While setting your new email address as the primary, you may also have the option to remove or disable the previous email address associated with your account. This step is optional, but if you no longer wish to receive any communications on your old email, it is recommended to remove it from your account.
Remember to review all changes before saving them to ensure accuracy. Double-check that the new email address is selected as the primary one and that any unwanted email addresses are properly removed or disabled.
Once you have made the necessary updates, click on the save or update button to confirm the changes to your account settings.
And there you have it! You have successfully changed your primary email address in Splitwise. From now on, all communications from Splitwise will be sent to your new email, ensuring that you stay informed about your shared expenses and payments.
It’s recommended to log out and log back into your Splitwise account to ensure that the changes take effect immediately. Additionally, you can verify the change by accessing your account settings again to confirm that your new email address is now listed as the primary one.
If you encounter any issues during the process or have further questions, don’t hesitate to refer to Splitwise’s support documentation or reach out to their customer support for assistance.
Congratulations on successfully changing your primary email address in Splitwise! You can now enjoy seamless communication and efficient management of your shared expenses with your updated account information.
Conclusion
Changing the primary email address in Splitwise is a straightforward process that allows you to keep your account information up to date and ensures that you receive all necessary notifications regarding your shared expenses and payments. By following the step-by-step guide outlined in this article, you can easily make this change and continue managing your shared expenses smoothly.
We started by logging in to your Splitwise account and accessing the settings menu. From there, we navigated to the “Account” section and selected the “Email” option. Afterward, we added the new email address and went through the verification process to confirm its authenticity. Finally, we made the new email address the primary one, ensuring that all future communications from Splitwise will be sent to this address.
It’s important to note that ensuring the security and privacy of your personal information is of utmost importance. Splitwise takes various measures to protect your data, and you might encounter additional verification steps during the process of changing your email address. These steps are in place to safeguard your account and prevent unauthorized access.
Now that you have successfully changed your primary email address in Splitwise, you can enjoy uninterrupted communication and stay updated on your shared expenses and payments.
If you have any further questions or encounter any issues during the process, we recommend referring to Splitwise’s support documentation or reaching out to their customer support for assistance. They are there to help you navigate through any challenges you may encounter.
We hope this guide has been helpful in walking you through the process of changing your primary email address in Splitwise. By keeping your information up to date, you can continue utilizing the app’s features to manage your shared expenses efficiently and enhance your financial management experience.