Introduction
Welcome to the world of videography, where capturing moments is an art form and a passion. Whether you are an amateur enthusiast or a seasoned professional, the ability to display the time on your camcorder adds a valuable layer of information to your video footage. It not only provides context for the viewer but also serves as a practical reference for organizing and cataloging your recordings.
In this comprehensive guide, we will delve into the intricacies of showing time on your camcorder. From understanding the time display feature to setting the time and date on your device, we will explore the various aspects of incorporating time into your videos. Additionally, we will discuss tips and best practices for effectively showcasing the time on your camcorder footage, empowering you to elevate the quality and utility of your recordings.
Whether you are documenting a special event, creating instructional videos, or simply capturing everyday moments, the ability to display the time on your camcorder can greatly enhance the impact and relevance of your footage. So, let's embark on this journey to unravel the nuances of integrating time into your video recordings, empowering you to craft compelling and informative visual content.
Understanding the Time Display on Your Camcorder
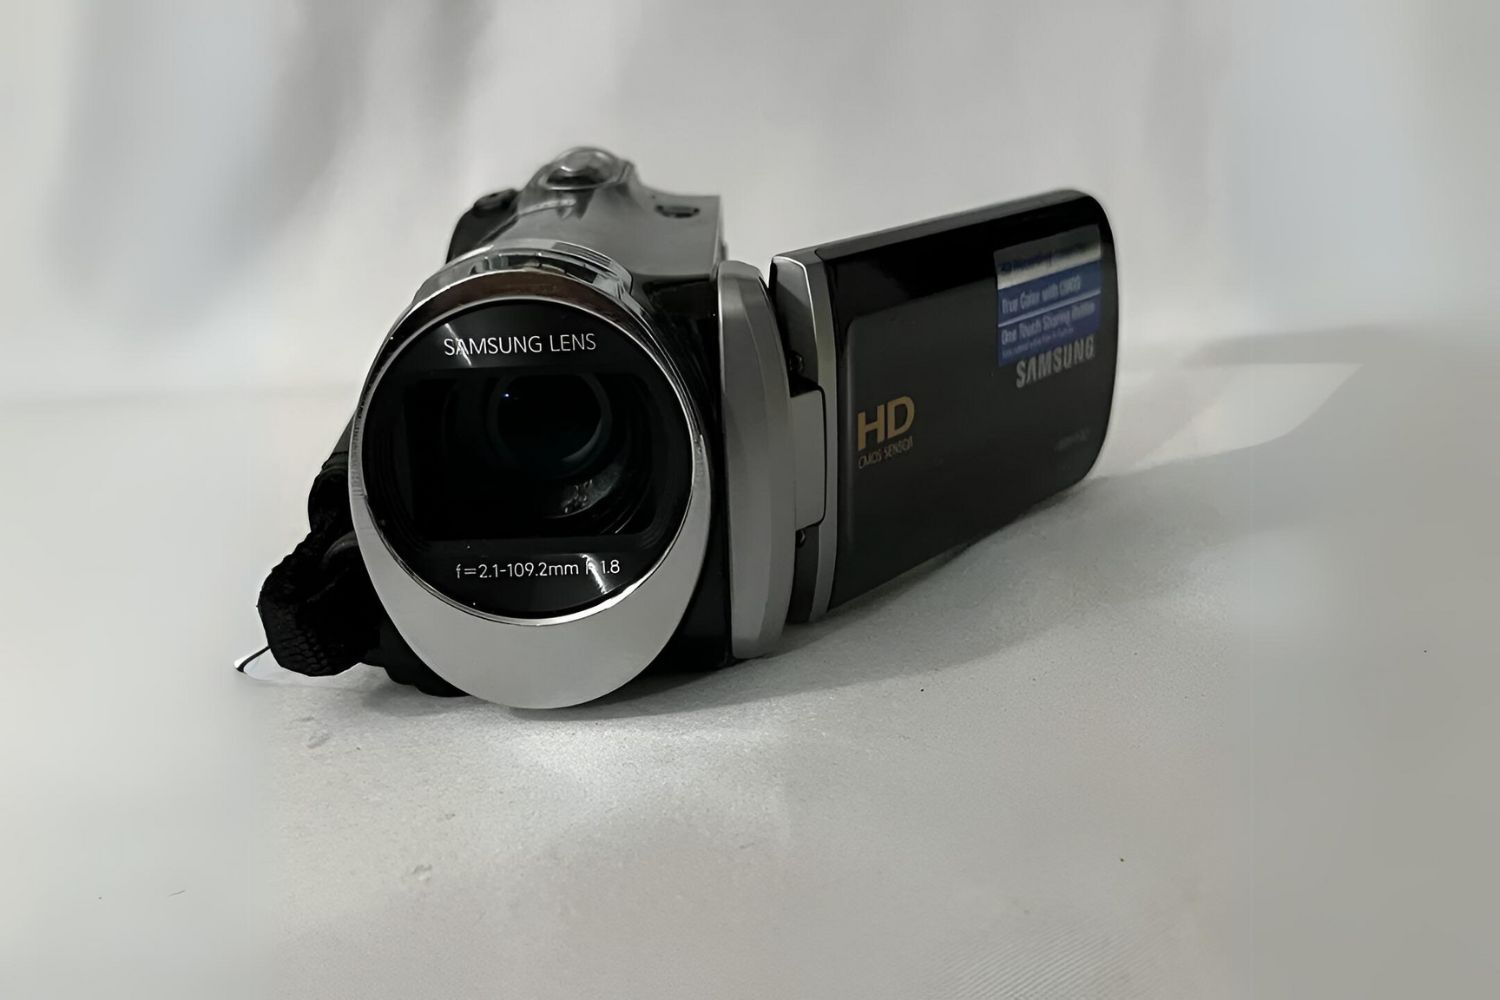
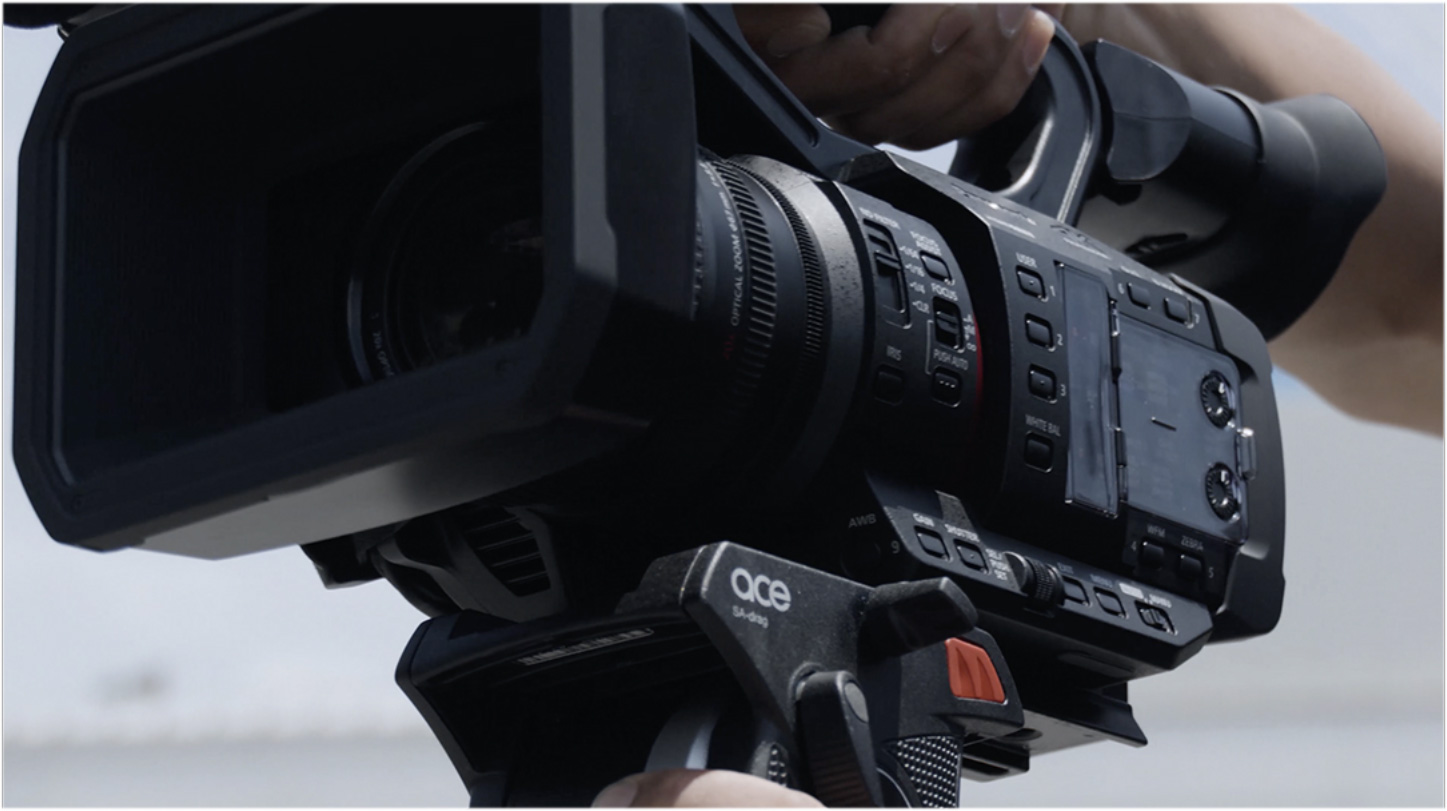
Before delving into the practical aspects of displaying time on your camcorder, it’s essential to grasp the functionality and significance of the time display feature. Most modern camcorders are equipped with a built-in feature that allows the current date and time to be superimposed on the video footage as it is being recorded. This feature is particularly useful for maintaining a chronological record of your recordings and providing temporal context for the captured moments.
The time display on a camcorder typically appears as a digital timestamp overlaid on the video frame. It is often customizable, allowing users to choose the format, position, and style of the displayed time and date. This feature is especially valuable for documentary filmmakers, journalists, and videographers who require precise temporal documentation in their recordings.
Understanding the time display feature also involves familiarity with the various settings and options available on your camcorder. This includes the ability to toggle the display on and off, adjust the time format (e.g., 12-hour or 24-hour), and synchronize the internal clock with the current time and date. Additionally, some advanced camcorders offer GPS-based time synchronization, ensuring accuracy and consistency in timestamping the footage.
Furthermore, it’s important to consider the aesthetic and practical implications of incorporating time into your video recordings. While the time display adds informational value, it should be positioned and formatted in a manner that does not distract from the main subject of the video. Finding the right balance between visibility and subtlety is crucial in ensuring that the displayed time enhances, rather than detracts from, the viewing experience.
By comprehending the functionality and customization options of the time display feature, you can harness its potential to enrich your video content with valuable temporal information. Whether you are capturing memorable events, conducting interviews, or documenting processes, the time display on your camcorder can serve as a reliable and informative element within your recordings.
Setting the Time and Date on Your Camcorder
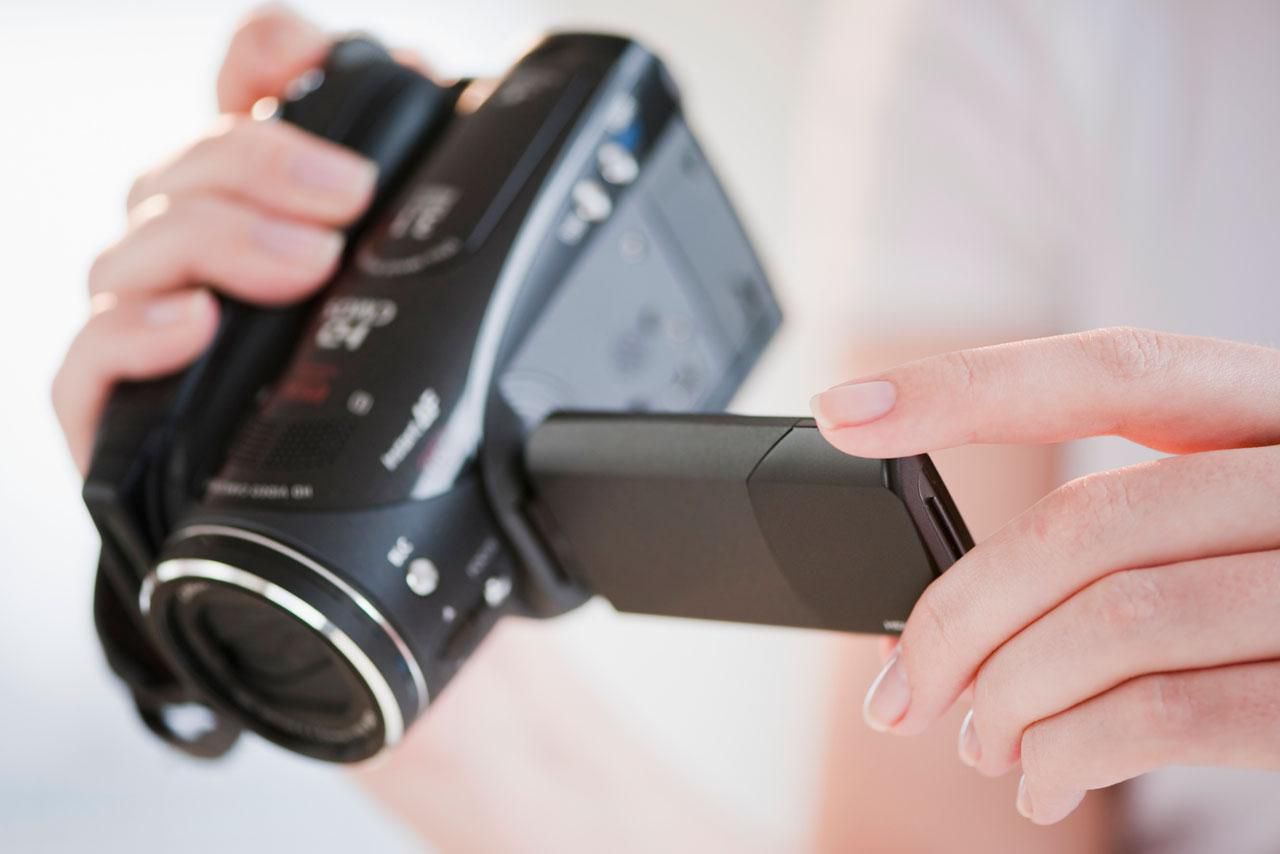
Ensuring that the time and date displayed on your camcorder are accurate is essential for maintaining the integrity and relevance of your video recordings. Most camcorders provide intuitive methods for setting the time and date, allowing users to synchronize the internal clock with the current time or a custom timestamp. Here’s a step-by-step guide to setting the time and date on your camcorder:
- Accessing the Settings: Navigate to the settings or setup menu on your camcorder. The specific location may vary depending on the make and model of your device. Look for an option related to date and time settings.
- Entering the Current Time and Date: Once in the date and time settings menu, you will typically have the option to input the current time and date using the camcorder’s controls or touchscreen interface. Some camcorders also allow for the selection of time zones and daylight saving time adjustments.
- Customizing the Time Format: Many camcorders offer the flexibility to choose between 12-hour and 24-hour time formats. Select the format that aligns with your preference and the conventions of your intended audience or use case.
- Confirming the Settings: After entering the desired time and date, confirm the settings to save the changes. Some camcorders may require a final confirmation step to ensure that the new timestamp is applied to subsequent recordings.
It’s important to periodically review and update the time and date settings on your camcorder to account for changes such as daylight saving time transitions or travel to different time zones. Maintaining accurate temporal information enhances the credibility and utility of your video recordings, especially in professional and documentary contexts.
Furthermore, some advanced camcorders offer the option to synchronize the internal clock with external time sources, such as GPS satellites or network time servers. This ensures precise and automated timekeeping, reducing the need for manual adjustments and minimizing the risk of inaccurate timestamps in your recordings.
By mastering the process of setting the time and date on your camcorder, you can ensure that your video footage is accompanied by reliable temporal metadata, enriching the viewing experience and facilitating organized cataloging and retrieval of your recordings.
Displaying Time and Date on Your Video Footage
Once you have set the time and date on your camcorder, the next step is to determine how the temporal information will be displayed on your video footage. Most modern camcorders offer customizable options for superimposing the time and date onto the video frame during recording. Here’s how you can effectively display time and date on your video footage:
- Accessing Display Settings: Navigate to the display or overlay settings on your camcorder. This menu typically allows you to customize the appearance and positioning of the time and date display on the video frame.
- Selecting Display Style: Camcorders often provide options for the style and format of the displayed time and date. This may include variations in font size, color, transparency, and background to ensure optimal visibility without overshadowing the main content of the video.
- Positioning the Display: Choose a suitable location on the video frame where the time and date display will be least intrusive. Many camcorders allow for the placement of the timestamp in corners or along the edges, ensuring that it does not obstruct crucial visual elements.
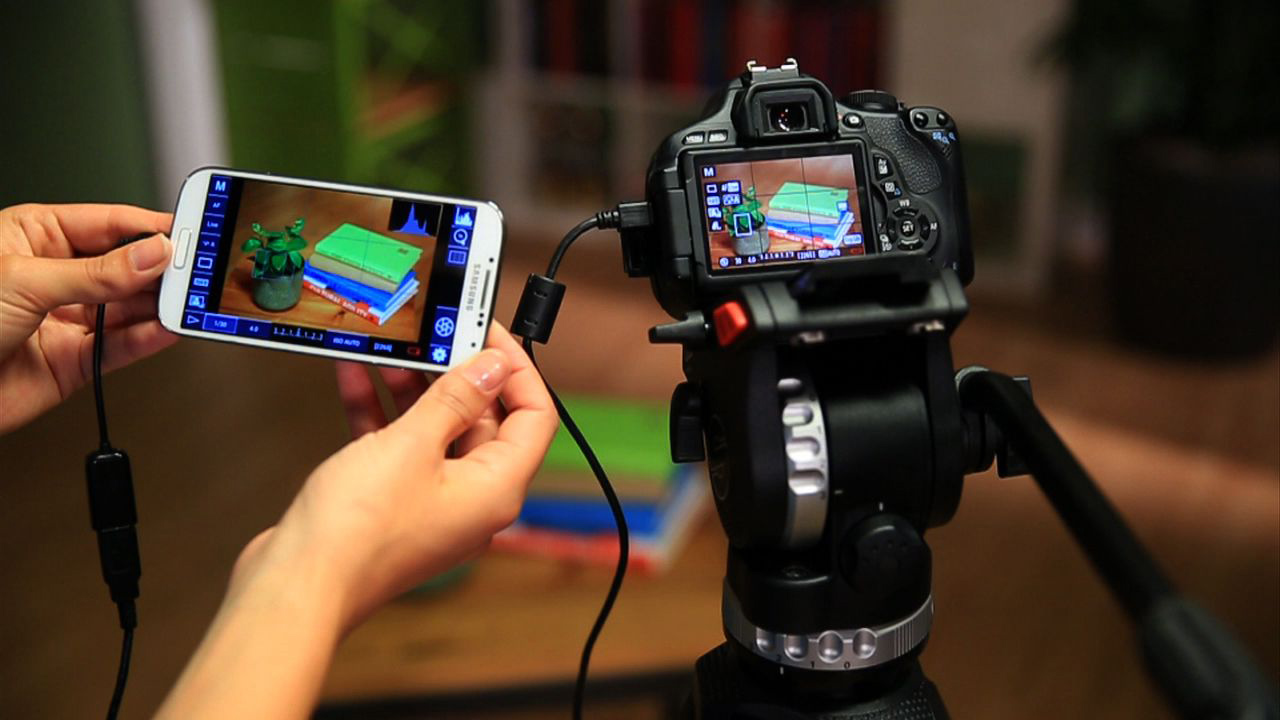
- Previewing the Display: Some camcorders offer a live preview of the time and date overlay on the viewfinder or LCD screen, allowing you to assess its visibility and impact on the composition before commencing recording.
It’s important to strike a balance between the prominence of the time and date display and its impact on the overall viewing experience. The displayed temporal information should complement the content of the video, providing context and reference without overshadowing the primary subject matter.
For documentary and evidentiary purposes, such as legal depositions or investigative journalism, the time and date display serves as a crucial element for establishing the chronological sequence of events. Additionally, in instructional or tutorial videos, the displayed time can aid viewers in tracking the duration of specific tasks or processes, enhancing the educational value of the content.
By leveraging the display settings on your camcorder, you can seamlessly integrate time and date information into your video footage, adding depth and relevance to your recordings. Whether you are capturing memorable moments, documenting procedures, or creating educational content, the displayed temporal metadata enhances the informational and archival value of your videos.
Tips for Showing Time on Camcorder Videos
While incorporating the time display into your camcorder videos can add valuable context and information, it’s essential to approach this feature thoughtfully to maximize its effectiveness. Here are some tips to consider when showing time on your camcorder videos:
- Contextual Relevance: Ensure that the displayed time aligns with the narrative or purpose of the video. For example, in documentary filmmaking, the time and date serve as critical references for establishing the sequence of events, while in travel vlogs, they can enhance the sense of temporal progression.
- Visibility without Distraction: Position the time and date display in a manner that is easily visible to viewers without detracting from the main content of the video. Avoid placing the timestamp over crucial visual elements or faces, and choose a font size and color that contrasts effectively with the background.
- Consistency in Usage: If you plan to display the time and date consistently across your video series or within a specific genre of content, maintain a standardized approach to the appearance and positioning of the timestamp. This fosters a sense of continuity and professionalism in your videography.
- Consider Audience Expectations: Understand the expectations and preferences of your target audience regarding the display of temporal information. For example, viewers of wildlife documentaries may appreciate a discreet timestamp, while viewers of instructional videos may benefit from a more prominent display for tracking progress.
- Customization for Clarity: Explore the customization options offered by your camcorder to tailor the appearance of the time and date display. Adjust the font style, size, and transparency to ensure optimal clarity and legibility, especially when the video is viewed on various devices and screen sizes.
- Practical Applications: Consider the practical utility of the displayed time and date. For example, in sports videography, the timestamp can serve as a reference for analyzing game sequences, while in home videos, it can evoke nostalgic sentiments by anchoring moments in time.
By implementing these tips, you can effectively integrate the time display feature into your camcorder videos, enhancing their informational value and visual appeal. Whether you are creating professional content, personal vlogs, or educational videos, the displayed time and date can enrich the viewing experience and provide valuable temporal context for your audience.
Conclusion
As you navigate the realm of videography and storytelling through visual media, the ability to display time on your camcorder emerges as a valuable tool for enriching your video recordings. By understanding the nuances of the time display feature, mastering the process of setting the time and date on your device, and effectively integrating temporal information into your video footage, you can elevate the quality and relevance of your visual content.
From capturing milestone events to documenting everyday experiences, the displayed time and date serve as anchors that contextualize the moments you immortalize through your lens. Whether you are a professional videographer, a passionate hobbyist, or an aspiring content creator, the thoughtful utilization of the time display feature can enhance the storytelling potential of your videos.
As you embark on your videography journey, consider the diverse applications of the time display feature across various genres of content. From educational tutorials and travel vlogs to documentary filmmaking and personal narratives, the displayed temporal metadata can serve as a unifying thread that weaves through your visual storytelling, providing viewers with valuable reference points and chronological context.
By implementing the tips and best practices outlined in this guide, you can harness the power of time as a storytelling element, fostering engagement and comprehension among your audience. The displayed time and date not only serve as factual markers but also evoke emotions, trigger memories, and impart a sense of continuity within your video narratives.
As you hone your skills in leveraging the time display feature, remember to adapt its usage to suit the specific needs and expectations of your audience. Whether the displayed time takes a subtle backseat or assumes a prominent role in your videos, its thoughtful integration contributes to the depth and resonance of your visual storytelling endeavors.
Embrace the temporal dimension of videography, and let the displayed time on your camcorder become a seamless yet impactful element that enhances the narrative fabric of your video recordings.