Introduction
Adding a time stamp to your Samsung HMX-F90 Black Camcorder can be a valuable feature, especially when you want to organize and identify your video recordings based on specific dates and times. Whether you're capturing precious moments with family and friends or documenting important events, having an accurate time stamp can greatly enhance the usability and organization of your video library. With the simple steps outlined in this guide, you'll be able to set up the time stamp on your Samsung HMX-F90 Black Camcorder with ease.
By following the instructions provided, you can ensure that each video you record will be accompanied by a time stamp, allowing you to easily track and reference the exact moment the footage was captured. This feature can be particularly useful for professional videographers, amateur enthusiasts, and anyone looking to maintain a well-organized video archive.
The process of adding a time stamp to your Samsung HMX-F90 Black Camcorder is straightforward and user-friendly, requiring only a few simple steps to complete. Whether you're new to using camcorders or a seasoned videography enthusiast, this guide will walk you through the process in a clear and concise manner, ensuring that you can make the most of this valuable feature. Let's dive into the steps required to set up the time stamp on your Samsung HMX-F90 Black Camcorder and start enhancing the organization and usability of your video recordings.
Step 1: Power on the Samsung HMX-F90 Black Camcorder
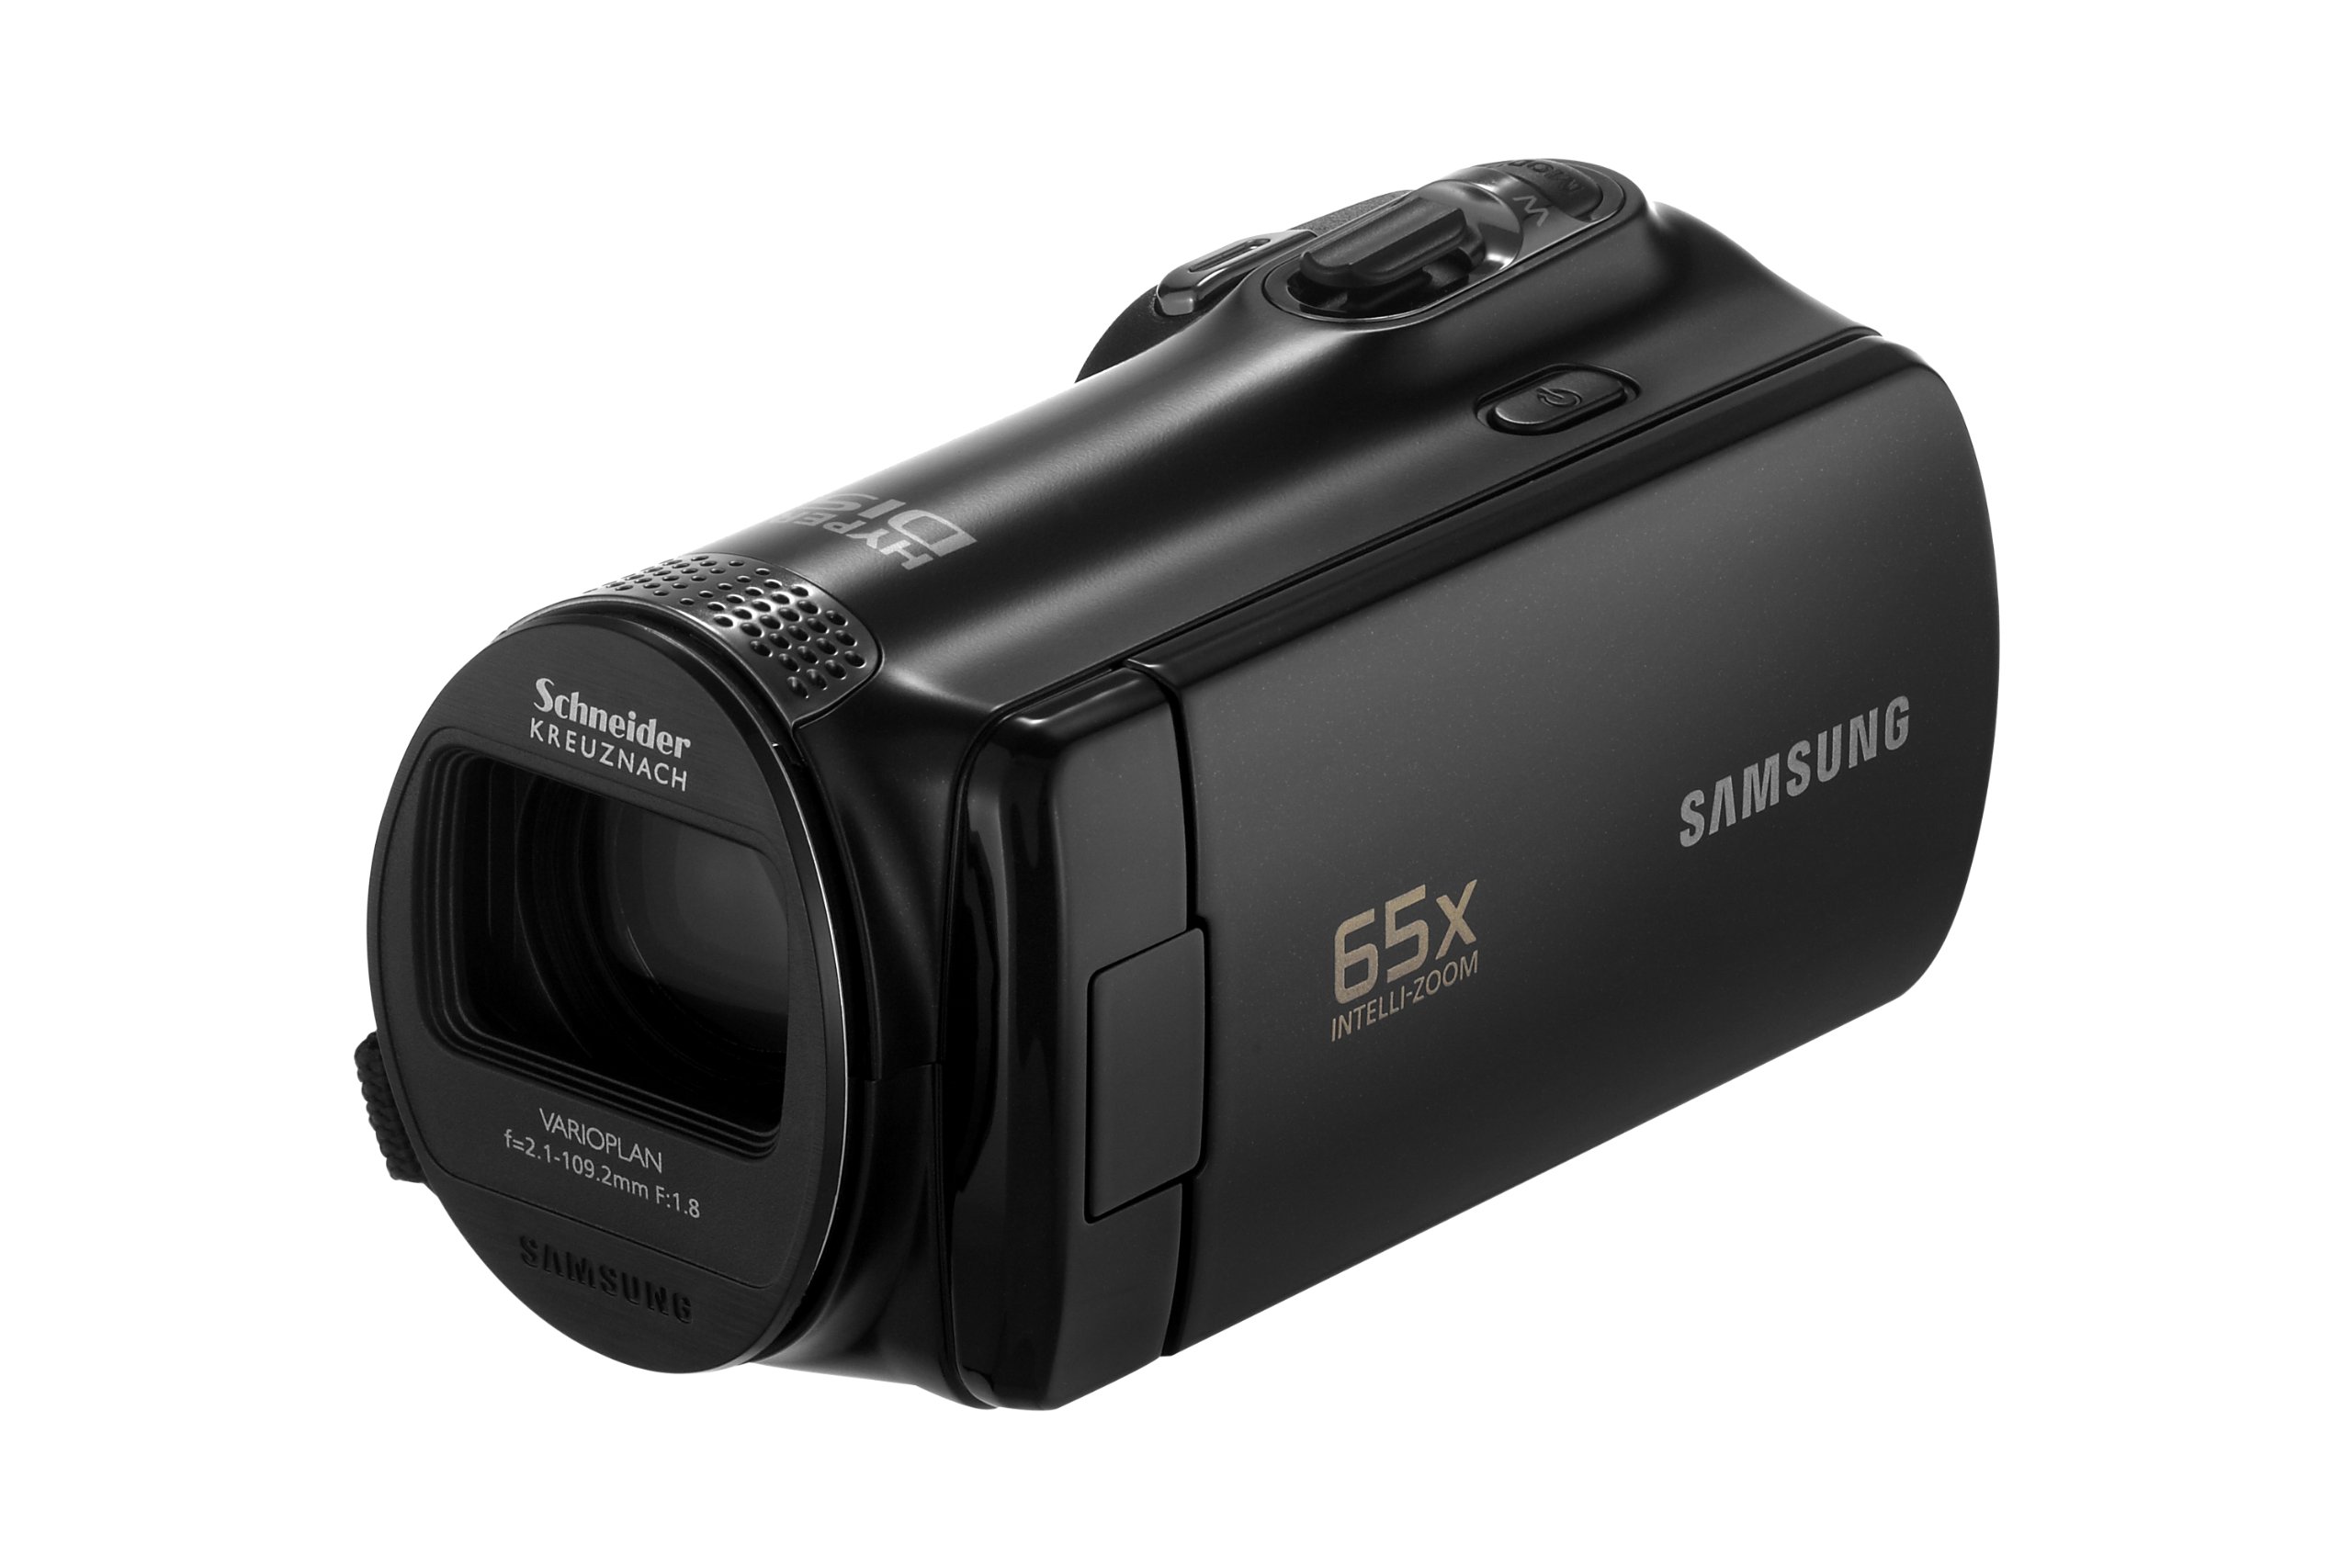
To begin the process of adding a time stamp to your Samsung HMX-F90 Black Camcorder, the first step is to power on the device. Locate the power button, which is typically situated on the body of the camcorder, and press it to turn the device on. Depending on the specific model of the HMX-F90, the power button may be labeled or indicated by a recognizable symbol, such as a power icon.
Once the camcorder is powered on, you will be greeted by the device’s display screen, which may show the Samsung logo or a home screen, depending on the current settings and mode of the camcorder. It’s important to ensure that the device is fully powered on and operational before proceeding to the next steps in setting up the time stamp feature.
If the camcorder has not been used for an extended period, it’s advisable to check the battery level and, if necessary, charge the device to ensure uninterrupted operation during the setup process. Additionally, familiarize yourself with the various buttons and controls on the camcorder, as these will be utilized in the subsequent steps to access the menu and configure the time stamp settings.
By powering on your Samsung HMX-F90 Black Camcorder, you have taken the initial step toward enabling the time stamp feature, setting the stage for the subsequent steps that will guide you through the process of configuring the date and time settings. With the device powered on and ready for use, you are now prepared to proceed to the next step in adding a time stamp to your video recordings.
Step 2: Access the Menu
After powering on your Samsung HMX-F90 Black Camcorder, the next step in adding a time stamp to your video recordings is to access the menu. The menu contains a range of settings and options that allow you to customize and configure various features of the camcorder, including the date and time settings necessary for the time stamp function.
To access the menu, locate the dedicated menu button on the camcorder. This button is often labeled with the word “Menu” or represented by an icon depicting a series of horizontal lines or a list. Press the menu button to open the on-screen menu interface, which will provide access to the camcorder’s settings and configurations.
Once the menu is displayed on the camcorder’s screen, you can navigate through the available options using the directional buttons or touchscreen controls, depending on the specific interface of the HMX-F90 model. Look for the settings related to date and time, which may be categorized under a section such as “System Settings,” “Setup,” or “Date/Time.” Selecting this option will allow you to proceed to the next step of setting the date and time for the time stamp feature.
It’s important to take your time and navigate through the menu interface carefully, as the specific location of the date and time settings may vary slightly depending on the camcorder’s firmware version and user interface design. If you encounter any difficulties locating the date and time settings, refer to the user manual provided with the Samsung HMX-F90 Black Camcorder for detailed instructions and visual aids.
By successfully accessing the menu on your Samsung HMX-F90 Black Camcorder, you have gained entry to the settings and configurations necessary to enable the time stamp feature. With the menu interface displayed on the camcorder’s screen, you are now ready to proceed to the next step of setting the date and time, bringing you closer to activating the time stamp for your video recordings.
Step 3: Set the Date and Time
With the menu interface displayed on your Samsung HMX-F90 Black Camcorder, you are now ready to set the date and time, a crucial step in enabling the time stamp feature for your video recordings. Navigate through the menu options using the directional buttons or touchscreen controls to locate the settings related to date and time configuration.
Upon finding the date and time settings, select the option to enter the configuration screen. Depending on the camcorder’s interface, you may be prompted to input the current date and time manually or adjust the settings using the on-screen controls. Take care to ensure the accuracy of the date and time entries, as this information will be embedded in the time stamp accompanying your video recordings.
When entering the date, you may be required to input the day, month, and year individually, following the specified format. Similarly, for the time setting, input the hours, minutes, and, if applicable, seconds to accurately reflect the current time. Some camcorders offer the option to synchronize the date and time with an external source, such as GPS or network time servers, providing an automated and precise configuration.
After inputting the date and time information, review the settings to ensure their accuracy before confirming and saving the changes. Depending on the camcorder’s interface, you may be prompted to confirm the updated date and time settings before they are applied. Once the changes have been saved, the date and time you have configured will be utilized to generate the time stamp for your video recordings.
Setting the date and time accurately is essential for ensuring that the time stamp accompanying your video recordings is reliable and meaningful. By carefully configuring the date and time settings on your Samsung HMX-F90 Black Camcorder, you are taking a significant step toward enhancing the organization and context of your video library, allowing you to easily identify and reference specific moments captured in your recordings.
Step 4: Confirm the Time Stamp is Set
After setting the date and time on your Samsung HMX-F90 Black Camcorder, the final step in adding a time stamp to your video recordings is to confirm that the time stamp feature is successfully enabled. To verify the activation of the time stamp, exit the menu and begin recording a brief test video using the camcorder.
Once the test recording is complete, review the footage on the camcorder’s display screen or transfer it to a computer for closer examination. During playback, observe the video to identify whether a time stamp is visible on the recording. The time stamp typically appears in one of the corners of the video frame, displaying the configured date and time information.
If the time stamp is present and accurately reflects the date and time you configured, the feature has been successfully enabled, and your Samsung HMX-F90 Black Camcorder will now include a time stamp with each video recording. This will allow you to easily track and reference the specific moments captured in your videos, enhancing the organization and context of your recordings.
In the event that the time stamp does not appear on the test recording, revisit the date and time settings in the menu to ensure that the configuration was saved correctly. Verify that the date and time information is accurate and that the time stamp feature is enabled within the camcorder’s settings. Once any necessary adjustments have been made, record another test video and review the footage to confirm the presence of the time stamp.
By confirming that the time stamp is set and visible on your video recordings, you can be confident that the feature is functioning as intended, providing valuable context and organization to your captured moments. With the time stamp feature enabled on your Samsung HMX-F90 Black Camcorder, you can now proceed to record and document your experiences with the assurance that each video will be accompanied by an accurate and informative time stamp.
Conclusion
Setting up a time stamp on your Samsung HMX-F90 Black Camcorder is a straightforward process that can greatly enhance the organization and context of your video recordings. By following the simple steps outlined in this guide, you have successfully configured the date and time settings to enable the time stamp feature, allowing you to easily track and reference the specific moments captured in your videos.
With the time stamp feature activated, each video recording made with your Samsung HMX-F90 Black Camcorder will now include a visible indication of the date and time, providing valuable context and aiding in the categorization and retrieval of your footage. Whether you are documenting important events, creating personal video logs, or capturing memorable experiences, the time stamp feature adds an additional layer of information to your recordings, enhancing their usability and significance.
By ensuring that the date and time settings are accurately configured and that the time stamp is visibly present on your test recordings, you have confirmed that the feature is functioning as intended. This allows you to proceed with confidence, knowing that your video library will be well-organized and easily navigable, thanks to the inclusion of accurate time stamps.
As you continue to utilize your Samsung HMX-F90 Black Camcorder to capture a wide range of moments and experiences, the time stamp feature will serve as a valuable tool for referencing and recalling specific events, ensuring that your video recordings remain meaningful and relevant over time. Whether for personal or professional use, the addition of time stamps to your videos can greatly enhance their value and utility.
With the time stamp feature successfully set up on your Samsung HMX-F90 Black Camcorder, you are now equipped to create a well-organized and context-rich video library, allowing you to relive and share your captured moments with clarity and precision.