Introduction
Are you ready to elevate your music listening experience by playing music from your iPad Air 2 through an AV receiver? With the seamless integration of your iPad and AV receiver, you can enjoy high-quality sound and a more immersive audio experience. Whether you're hosting a gathering, relaxing at home, or simply want to appreciate your favorite tunes with enhanced audio, connecting your iPad Air 2 to an AV receiver can significantly enhance the way you enjoy music.
In this comprehensive guide, you will discover the step-by-step process to connect and play music from your iPad Air 2 through an AV receiver. By following these instructions, you can unlock the full potential of your audio setup and make the most of your music collection. Let's dive into the details and transform your listening experience into something truly exceptional.
This guide is designed to be user-friendly and accessible, ensuring that even those new to audio equipment can easily follow along. Whether you're a tech enthusiast or someone who simply appreciates great sound, this guide will walk you through the process in a clear and straightforward manner. So, grab your iPad Air 2, gather your favorite music tracks, and let's get started on this audio adventure.
Step 1: Check the AV Receiver Compatibility
Before you begin the process of connecting your iPad Air 2 to an AV receiver, it’s important to ensure that the two devices are compatible. Compatibility between your iPad Air 2 and the AV receiver will determine the method of connection and the quality of audio output you can achieve. Here’s how to check for compatibility:
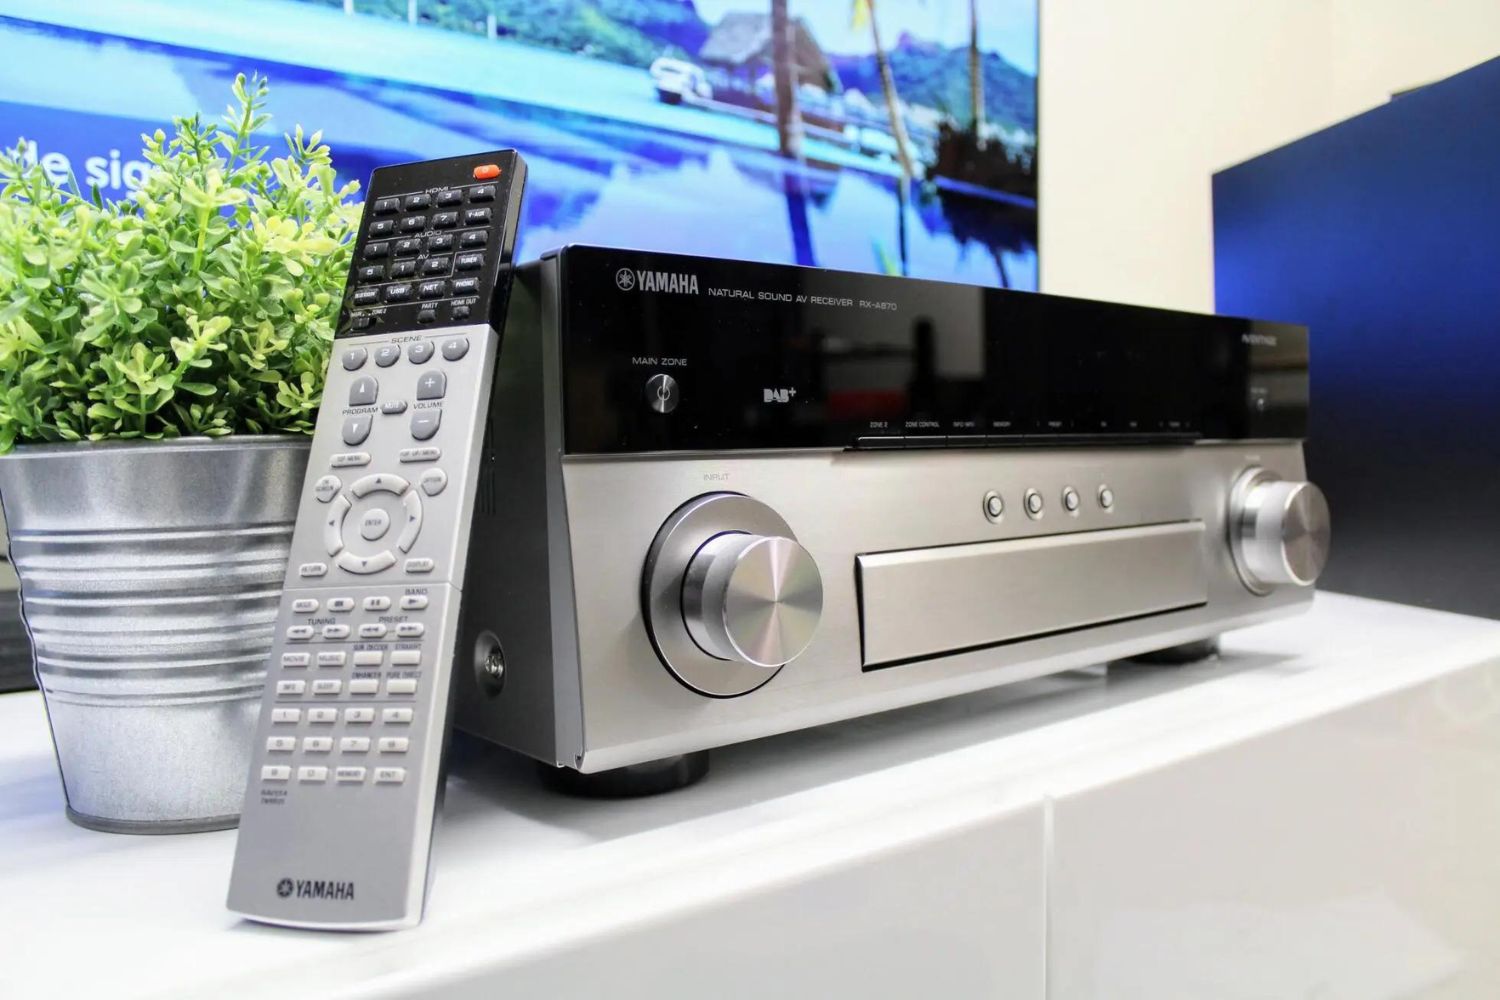
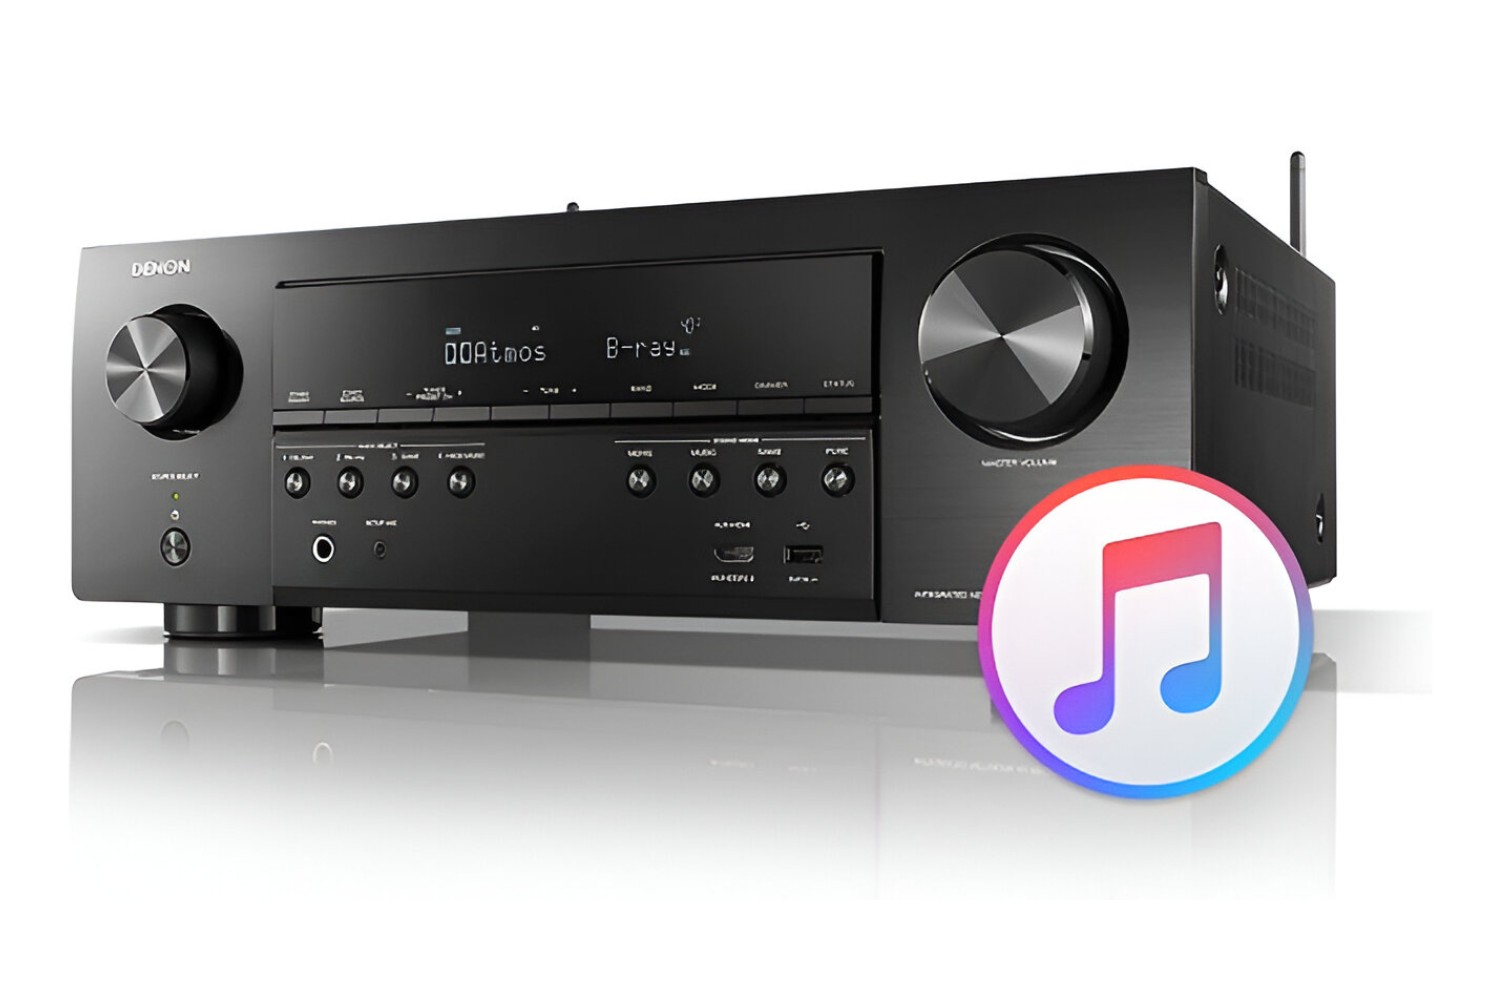
- Check the AV Receiver Inputs: Examine the input options available on your AV receiver. Most modern AV receivers feature a variety of input ports, including HDMI, optical, and analog audio inputs. Ensure that your AV receiver has the necessary input ports to connect with your iPad Air 2.
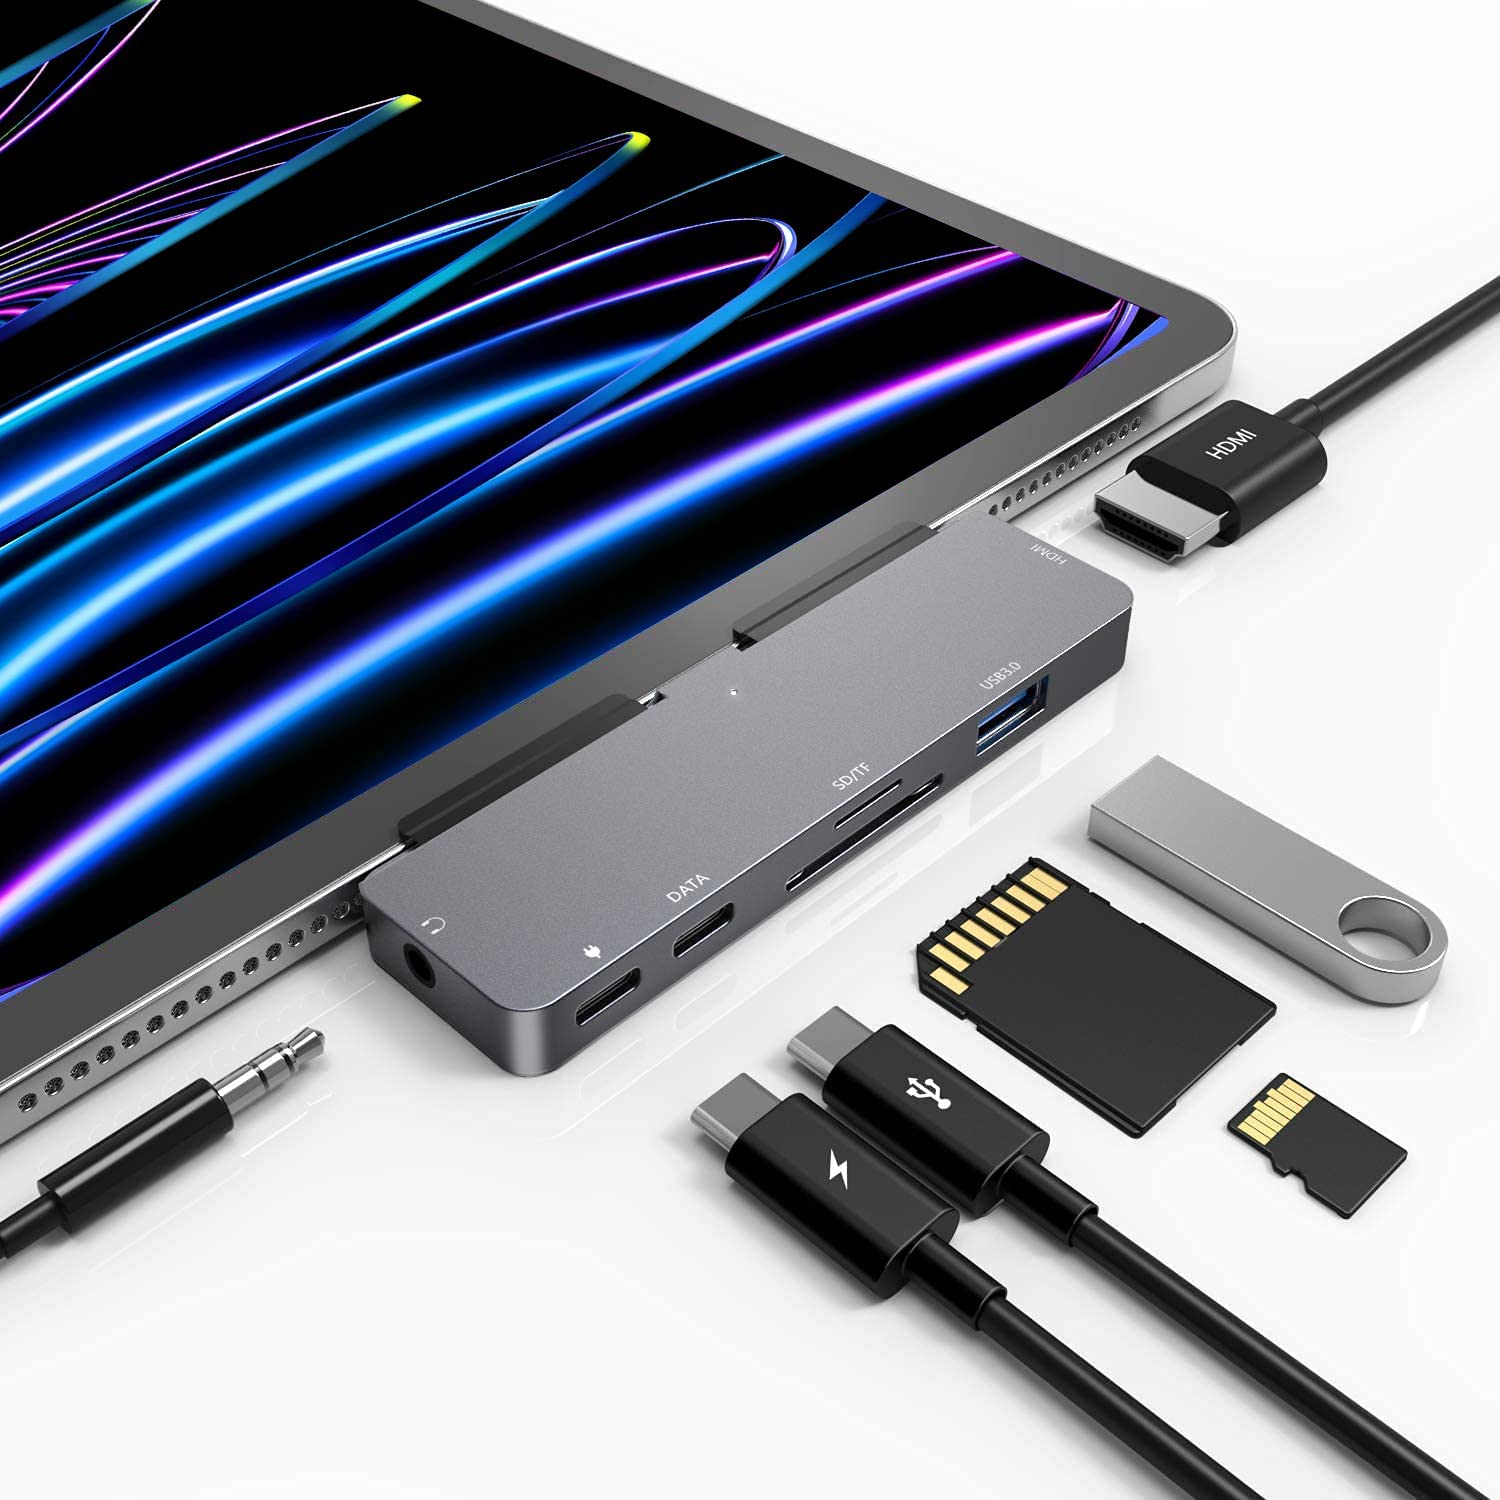
- Review iPad Air 2 Output Options: The iPad Air 2 is equipped with a headphone jack and a Lightning connector. Depending on the specific model of your AV receiver, you may need to use a compatible cable or adapter to establish a connection.
- Research Wireless Connectivity: Some AV receivers support wireless connectivity via Bluetooth or Wi-Fi. If your AV receiver offers wireless options, check if your iPad Air 2 is compatible with these features to establish a wireless connection for audio streaming.
By thoroughly examining the input options of your AV receiver and the output capabilities of your iPad Air 2, you can determine the most suitable method for connecting the two devices. This initial compatibility check sets the stage for a successful and seamless connection process, ensuring that you can enjoy your music without any technical limitations.
Step 2: Connect the iPad Air 2 to the AV Receiver
Once you’ve confirmed the compatibility between your iPad Air 2 and the AV receiver, it’s time to establish the physical connection between the two devices. Depending on the input options available on your AV receiver and the output capabilities of your iPad Air 2, you can choose the most suitable method for connecting them. Here’s a step-by-step guide to connect your iPad Air 2 to the AV receiver:
- Identify the Audio Output on the iPad Air 2: The iPad Air 2 features a headphone jack and a Lightning connector. Determine which audio output option is best suited for your AV receiver’s input ports.
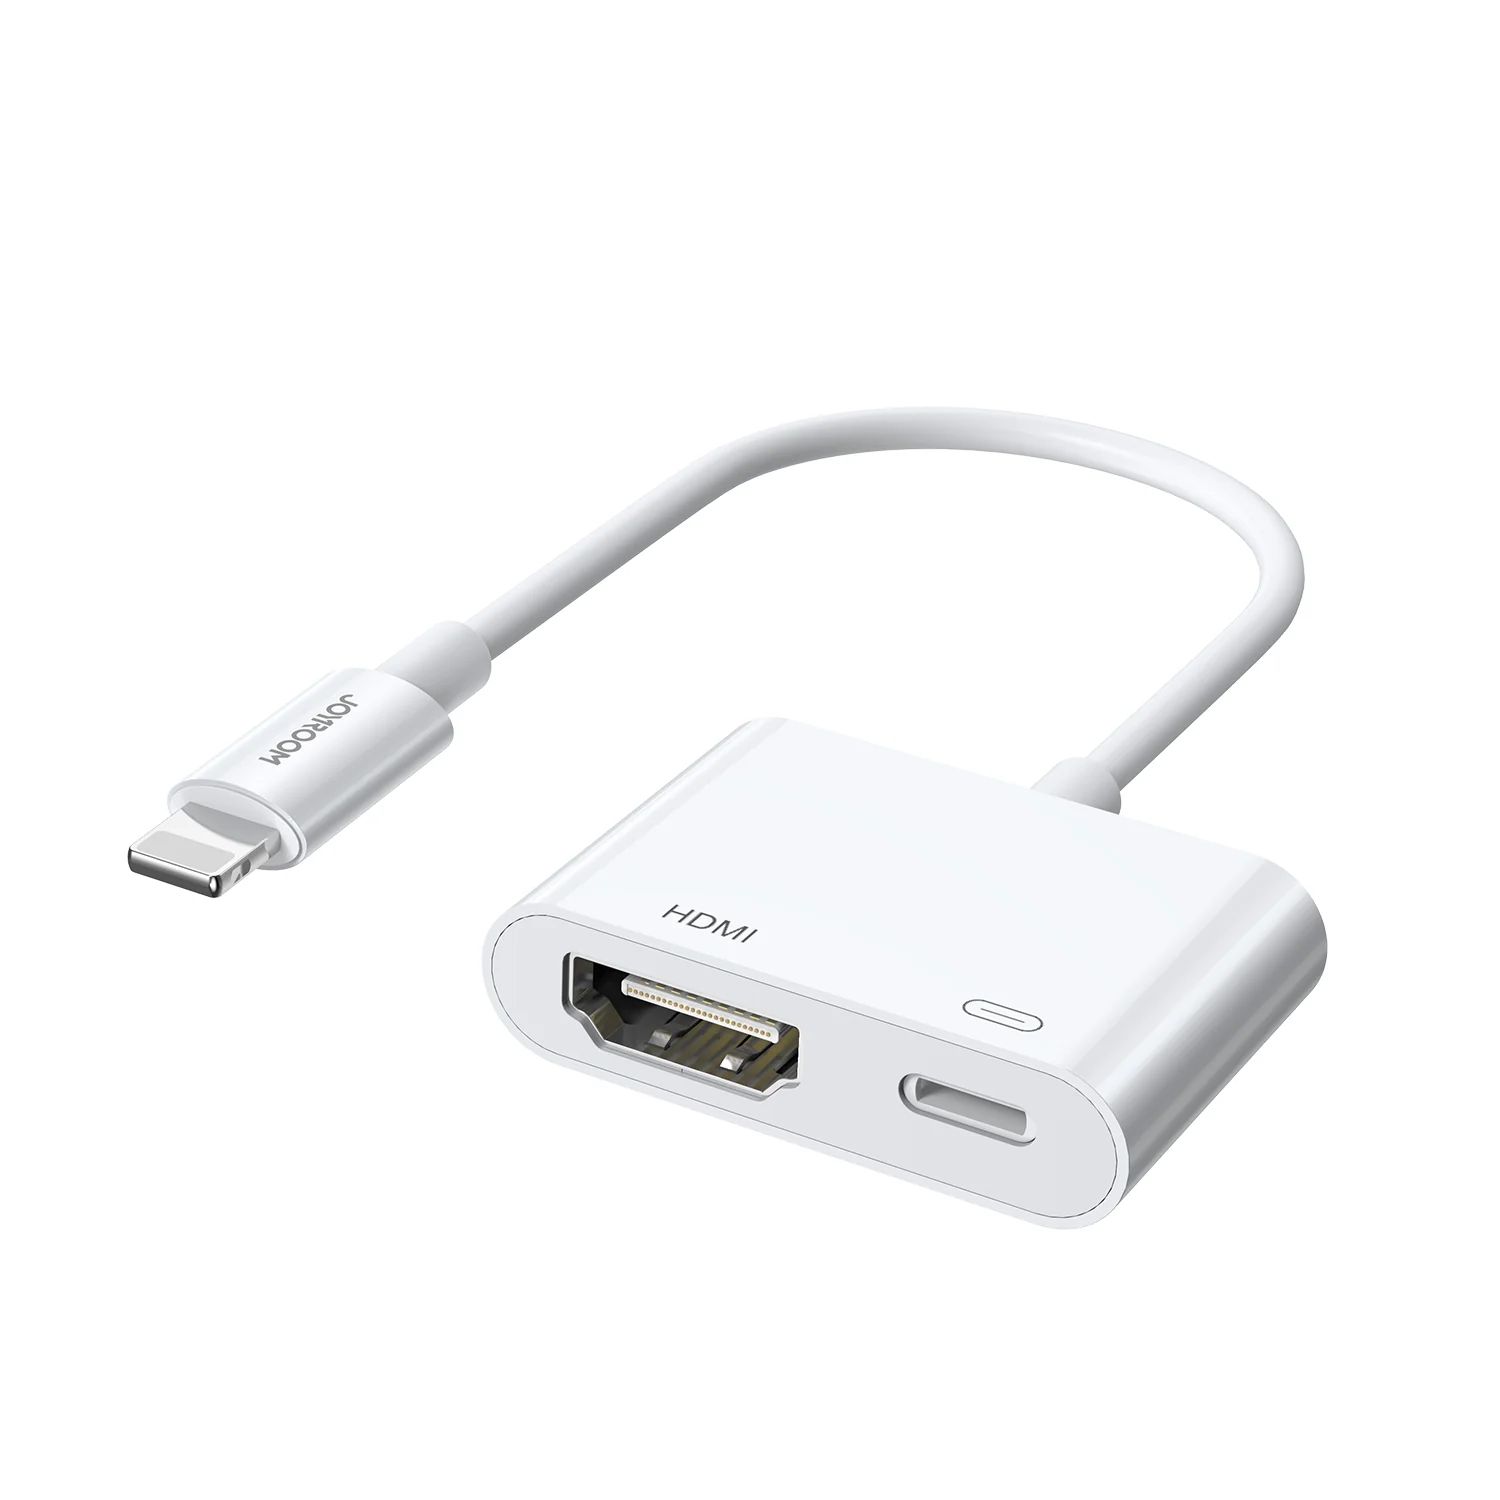
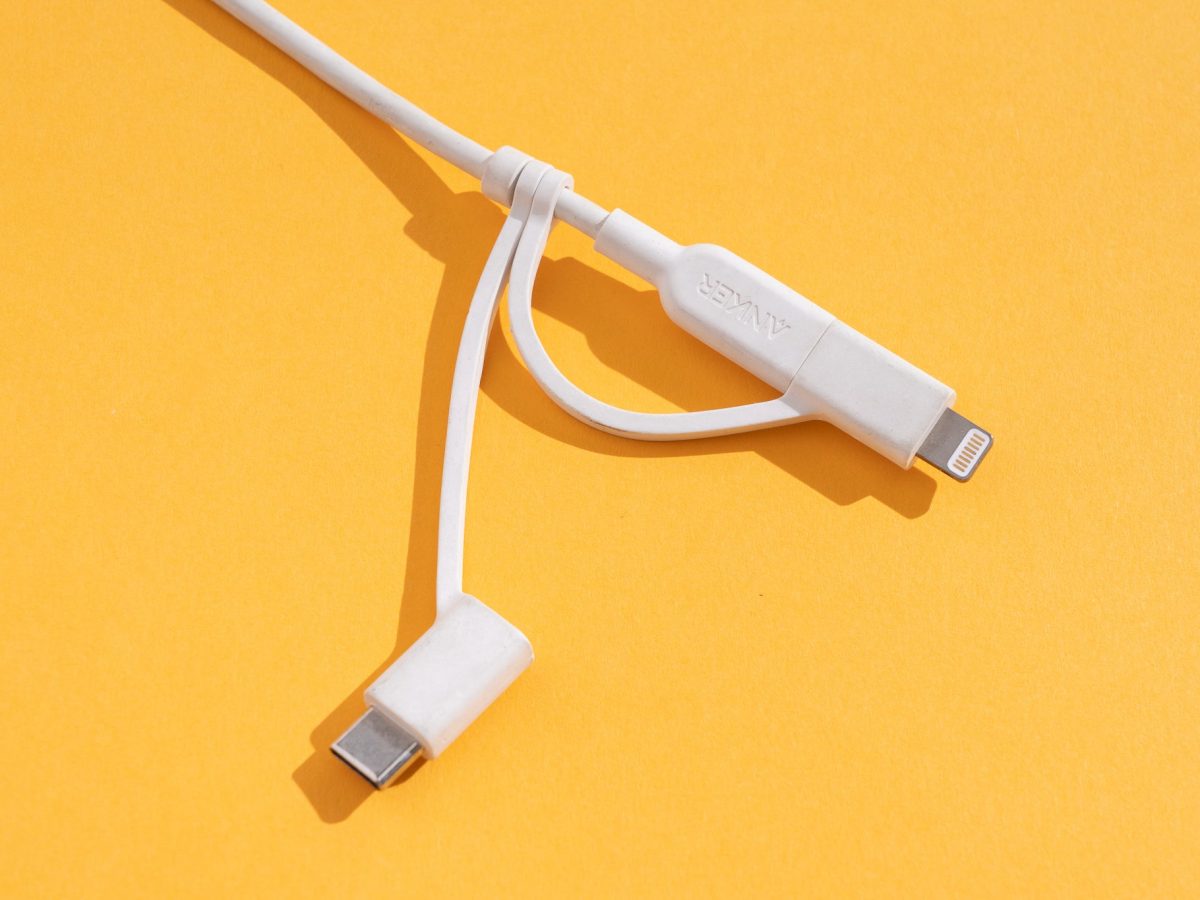
- Choose the Connection Method: Based on the available input ports on your AV receiver and the output options of your iPad Air 2, select the appropriate cable or adapter for the connection. Common options include a 3.5mm audio cable, a Lightning to HDMI adapter, or a Lightning to 3.5mm audio adapter.
- Connect the Devices: Plug one end of the selected cable or adapter into the audio output of your iPad Air 2 and the other end into the corresponding input port on your AV receiver. Ensure a secure and snug connection to prevent audio interruptions.
- Power On the Devices: Turn on both your iPad Air 2 and the AV receiver. Some AV receivers may require you to select the input source manually, while others automatically detect the connected device.
By following these steps, you can successfully establish a physical connection between your iPad Air 2 and the AV receiver, paving the way for seamless audio transmission. The choice of connection method may vary based on the specific models of your devices, but the fundamental process remains consistent across different setups.
Step 3: Select the Input Source on the AV Receiver
After connecting your iPad Air 2 to the AV receiver, the next crucial step is to select the appropriate input source on the AV receiver to receive the audio signal from your iPad. This step ensures that the AV receiver recognizes the connected device and directs the audio output accordingly. Here’s how to select the input source on the AV receiver:
- Access the AV Receiver’s Input Selection: Using the remote control or the front panel of the AV receiver, locate the input selection options. This may be labeled as “Input,” “Source,” or “Input Select” on the control interface.
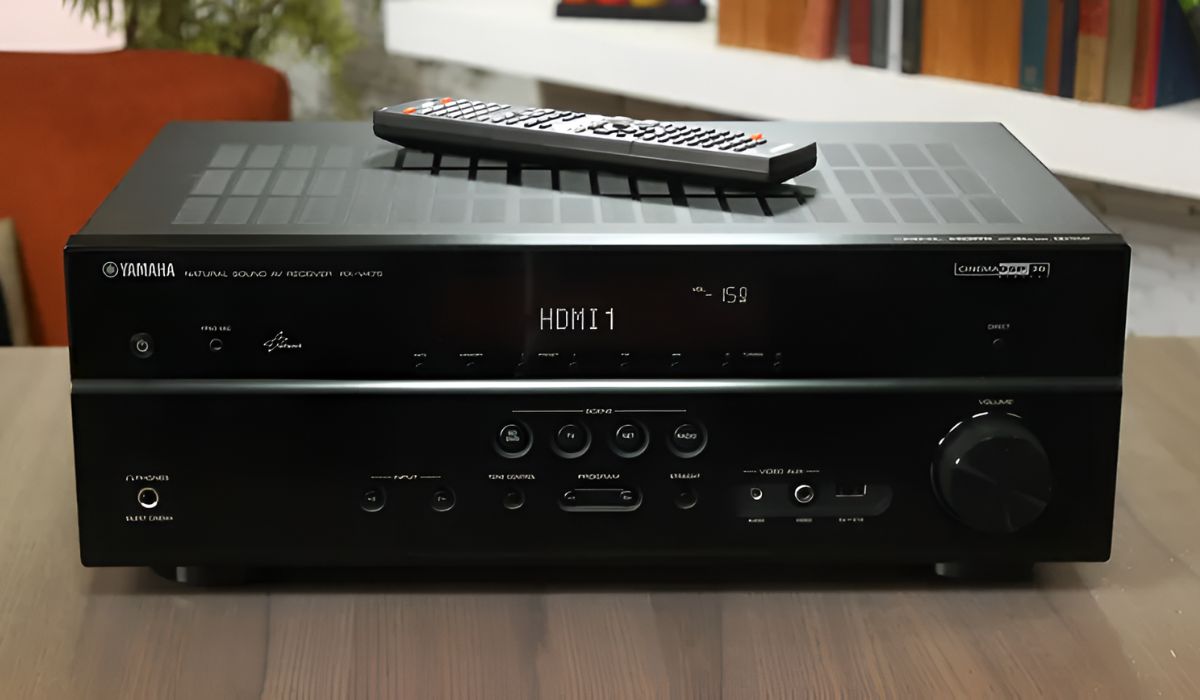
- Navigate to the Corresponding Input: Scroll through the available input sources on the AV receiver until you find the input where your iPad Air 2 is connected. Depending on the connection method, the input may be labeled as “HDMI,” “Aux,” “Analog,” or a specific input name corresponding to the connected port.
- Confirm the Selection: Once you’ve identified the input source where your iPad Air 2 is connected, press the corresponding selection button to confirm the choice. This action directs the AV receiver to receive the audio signal from your iPad Air 2.
- Verify Audio Reception: Check the display or indicator on the AV receiver to ensure that it recognizes the input source from your iPad Air 2. Additionally, you may hear a confirmation sound or see a visual indication that the audio signal is being received.
By selecting the correct input source on the AV receiver, you establish the pathway for audio transmission from your iPad Air 2 to the AV receiver. This critical step ensures that the audio output from your iPad Air 2 is channeled through the AV receiver, ready to be amplified and delivered through your audio setup.
Step 4: Play Music from iPad Air 2 through the AV Receiver
With the connection established and the input source selected on the AV receiver, it’s time to immerse yourself in the captivating sound of your favorite music streaming from your iPad Air 2 through the AV receiver. Whether you’re enjoying a curated playlist, a live concert recording, or the latest chart-topping hits, the audio quality and depth offered by the AV receiver can elevate your listening experience. Here’s how to play music from your iPad Air 2 through the AV receiver:
- Access the Music App: Navigate to the music app or streaming platform on your iPad Air 2. Choose the album, playlist, or track that you wish to play through the AV receiver.
- Adjust Volume Levels: Ensure that the volume on your iPad Air 2 is set to an appropriate level. The volume control on the iPad Air 2 will determine the audio signal strength sent to the AV receiver for amplification.
- Control Playback: Play, pause, skip, or repeat tracks as desired using the playback controls on the music app. The AV receiver will faithfully reproduce the audio signals received from your iPad Air 2, delivering an enhanced listening experience.
- Explore Audio Settings: Depending on the capabilities of your AV receiver, you may have access to audio enhancement features such as equalizers, surround sound modes, and audio presets. Experiment with these settings to tailor the audio output to your preferences and the characteristics of the music being played.
By following these steps, you can seamlessly stream music from your iPad Air 2 through the AV receiver, leveraging the full potential of your audio setup to enjoy an enriched sonic experience. The AV receiver serves as the gateway to delivering powerful, high-fidelity sound, allowing you to fully immerse yourself in the nuances and details of your favorite music.
Conclusion
Congratulations on successfully connecting and playing music from your iPad Air 2 through an AV receiver. By following the step-by-step process outlined in this guide, you’ve unlocked the potential for a truly immersive audio experience, allowing you to appreciate your music collection with enhanced clarity and depth. The seamless integration of your iPad Air 2 and the AV receiver has expanded the possibilities for enjoying music in your home, whether for personal listening or entertaining guests.
As you revel in the captivating sound emanating from your audio setup, remember that the connection and playback process can be tailored to your specific preferences and audio equipment capabilities. You may explore additional features offered by your AV receiver, such as multi-room audio, network streaming, or advanced audio processing, to further enrich your listening environment.
With the ability to stream music from your iPad Air 2 through the AV receiver, you have tapped into a world of sonic excellence, where every note and melody can be experienced with heightened fidelity and resonance. This newfound audio synergy between your iPad Air 2 and the AV receiver sets the stage for countless hours of musical enjoyment, enriching your daily routines and special moments alike.
Embrace the power of seamless audio connectivity and relish the transformative impact it brings to your music listening journey. Whether you’re delving into the intricacies of a symphony, grooving to the beats of your favorite tracks, or simply unwinding with soothing melodies, the combination of your iPad Air 2 and the AV receiver promises an audio adventure filled with richness and depth.