Introduction
Calibrating your DSLR camera is an essential step in achieving optimal image quality. Whether you are a professional photographer or an enthusiastic hobbyist, understanding and executing the calibration process can significantly enhance the precision and accuracy of your photographs. In the following sections, we will delve into the intricacies of DSLR camera calibration, exploring the tools required, the setup process, and the calibration procedure itself. By the end of this guide, you will possess the knowledge and confidence to calibrate your DSLR camera effectively, resulting in consistently impressive and true-to-life images.
Calibration is the process of adjusting the settings of your camera to ensure that it accurately captures colors, tones, and details. This is particularly crucial when working in environments with varying lighting conditions or when aiming to reproduce colors with utmost fidelity. Without proper calibration, images may appear distorted, colors may be inaccurate, and details may be lost. By calibrating your DSLR camera, you can mitigate these issues and produce photographs that faithfully represent the scene as perceived by the human eye.
The calibration process involves making precise adjustments to settings such as white balance, exposure, contrast, and color saturation. These adjustments are tailored to your specific camera model and lens combination, ensuring that the captured images align with your artistic vision. Additionally, calibration allows for consistency across multiple shoots, enabling seamless integration of images in post-processing and reducing the need for extensive editing to correct inaccuracies.
As we progress through this guide, you will gain insights into the intricacies of DSLR camera calibration, empowering you to unleash the full potential of your equipment. With a firm understanding of the calibration process and the tools required, you will be well-equipped to embark on this transformative journey towards achieving unparalleled image quality. Let's embark on this enlightening exploration of DSLR camera calibration, uncovering the nuances and techniques that will elevate your photography to new heights.
Understanding Calibration
Calibration, in the context of DSLR cameras, involves the meticulous adjustment of various settings to ensure that the captured images accurately represent the scene being photographed. This process is imperative for achieving consistent and faithful reproduction of colors, tones, and details, ultimately enhancing the overall image quality.
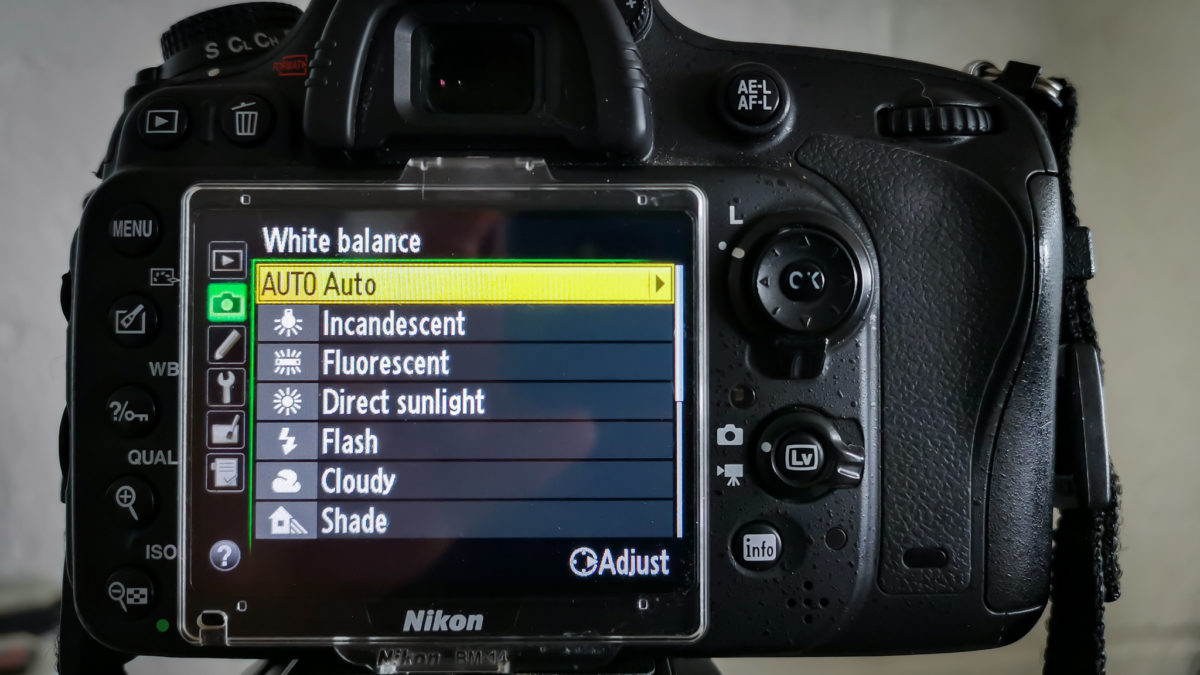
One of the primary aspects of calibration is white balance adjustment. White balance determines how the camera interprets and renders colors under different lighting conditions. By calibrating the white balance, photographers can ensure that whites appear truly white, and colors are accurately represented, regardless of whether the scene is illuminated by natural daylight, incandescent bulbs, or fluorescent lighting. This adjustment is crucial for maintaining color accuracy and preventing unwanted color casts in images.
Exposure calibration is another fundamental component of the process. Proper exposure ensures that the image is neither too bright nor too dark, preserving details in highlights and shadows. By calibrating the exposure settings, photographers can achieve well-balanced and accurately exposed images, minimizing the need for extensive post-processing adjustments to correct exposure-related issues.
Furthermore, calibration involves fine-tuning color saturation and contrast settings. These adjustments allow photographers to control the richness of colors and the level of distinction between tones, contributing to the overall visual impact of the photographs. By calibrating these parameters, photographers can achieve images that accurately reflect their creative vision, with vibrant colors and compelling contrasts.
Understanding calibration also entails recognizing the influence of lens characteristics on image rendition. Different lenses exhibit unique optical properties that can impact color rendition, sharpness, and distortion. By calibrating the camera to account for specific lens characteristics, photographers can optimize image quality and mitigate any inherent optical anomalies, ensuring consistent and predictable results.
By comprehending the intricacies of calibration and its influence on image quality, photographers can harness the full potential of their DSLR cameras. The subsequent sections will delve into the tools needed, the setup process, and the step-by-step calibration procedure, providing a comprehensive roadmap for achieving precise and reliable calibration results.
Tools Needed for Calibration
Calibrating your DSLR camera requires a few essential tools to ensure accurate and reliable results. These tools are instrumental in facilitating the adjustment of various settings and parameters to achieve optimal image quality.
Gray Card: A gray card serves as a reference for setting the correct white balance. It provides a neutral color reference under different lighting conditions, allowing photographers to calibrate the camera’s white balance settings accurately. By including the gray card in a test shot, photographers can easily adjust the white balance in post-processing to achieve true-to-life colors.
Color Calibration Chart: A color calibration chart, such as the X-Rite ColorChecker, is a valuable tool for calibrating color rendition and saturation. This chart contains a range of standardized color swatches, enabling photographers to assess and adjust the camera’s color reproduction accuracy. By capturing the color chart under the desired lighting conditions, photographers can fine-tune color settings to ensure faithful color rendition in their images.
Tripod: A sturdy tripod is essential for maintaining consistent framing and composition during the calibration process. It stabilizes the camera, minimizing variations in composition between calibration shots and ensuring precise adjustments without the influence of handheld movements. A tripod is particularly useful when performing calibration tests in controlled lighting environments.
Calibration Software: Utilizing calibration software, such as Datacolor SpyderCHECKR or X-Rite ColorChecker Passport, streamlines the calibration process by providing tools for analyzing and adjusting color, contrast, and exposure settings. These software solutions often include features for creating custom camera profiles, allowing photographers to tailor calibration settings to their specific camera and lens combinations.
Lighting Tools: Consistent and accurate lighting is crucial for reliable calibration. Using tools such as a color-accurate light source or a softbox can help create a controlled lighting environment for calibration tests. These tools ensure that the colors and tones captured during calibration accurately represent the intended visual characteristics of the scene.
By leveraging these essential tools, photographers can execute precise and effective DSLR camera calibration, resulting in images that faithfully depict the true colors, tones, and details of the scenes being photographed. In the subsequent sections, we will explore the setup process and the step-by-step calibration procedure, providing a comprehensive guide to achieving superior image quality through meticulous calibration.
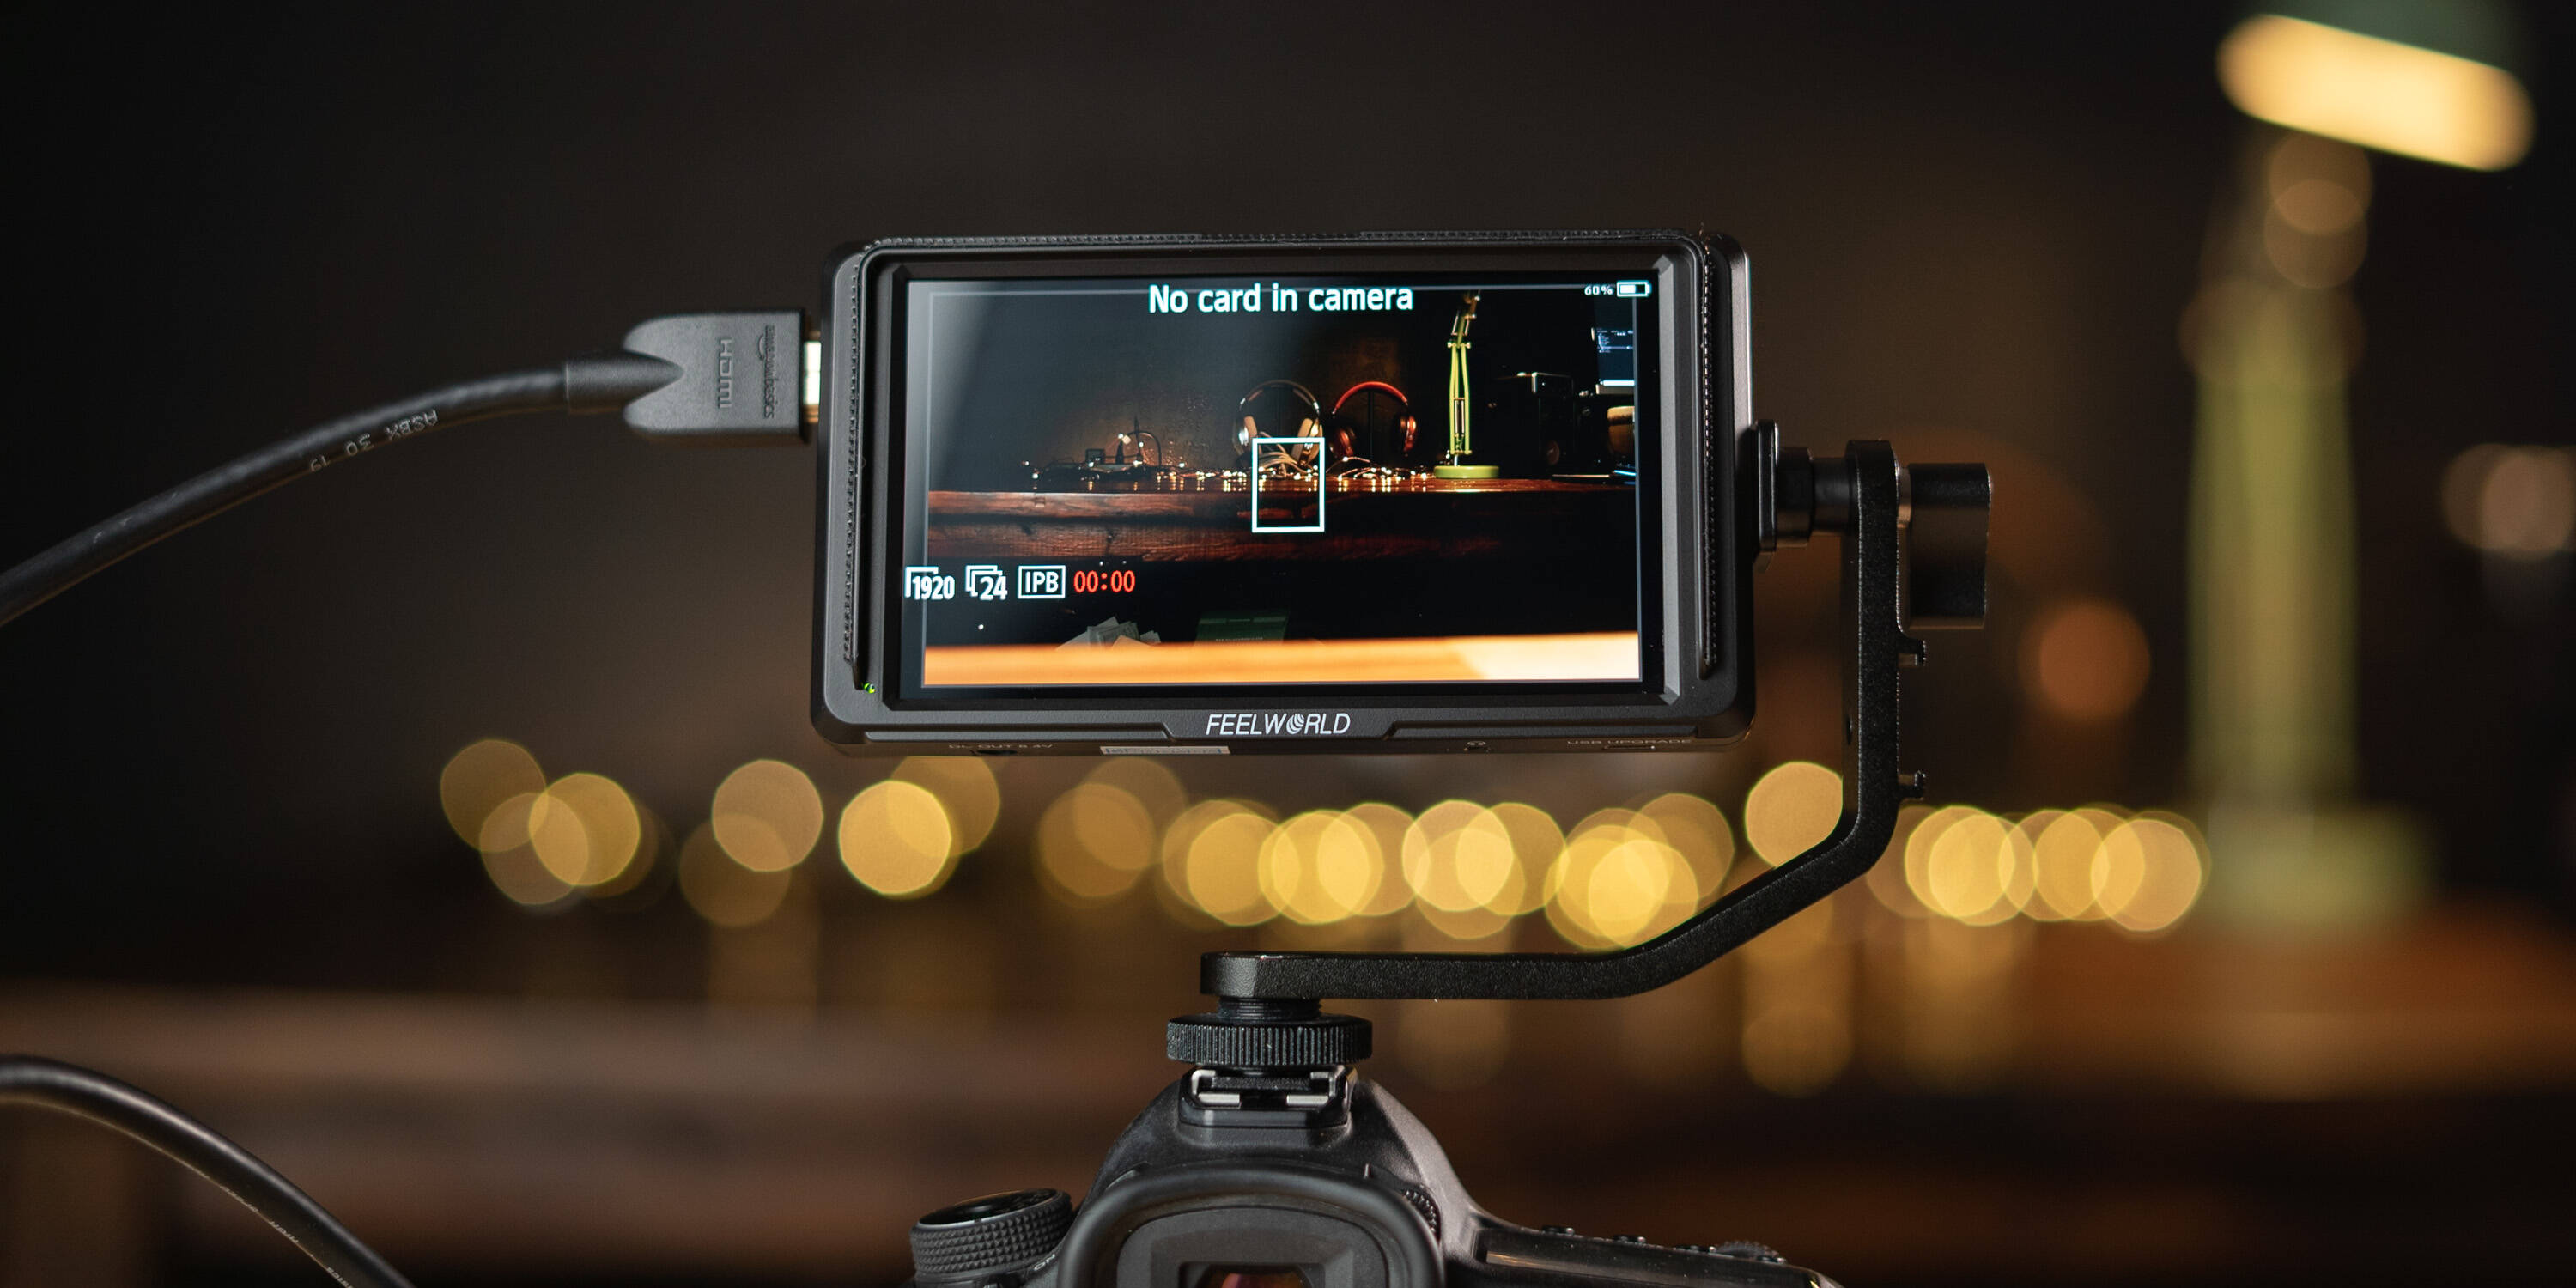
Setting Up Your Camera
Before initiating the calibration process, it is essential to set up your camera and create an environment conducive to precise adjustments. The following steps outline the necessary preparations for effectively calibrating your DSLR camera:
- Select a Controlled Environment: Choose a well-lit environment with consistent lighting conditions for the calibration process. Avoid mixed lighting sources, as they can introduce complexities when adjusting white balance and color settings. Additionally, ensure that the environment is free from distractions and reflective surfaces that could impact the accuracy of the calibration.
- Mount Your Camera on a Tripod: Securely mount your camera on a stable tripod to minimize variations in composition and framing during the calibration process. This ensures that the camera remains stationary, allowing for precise adjustments without the influence of handheld movements.
- Set the Desired Aperture and ISO: Choose an aperture setting that aligns with your typical shooting conditions. Additionally, set the ISO to the native value of your camera to maintain optimal image quality and reduce noise during the calibration process.
- Disable Image Stabilization: If your lens features image stabilization, consider disabling this feature during calibration to prevent any stabilization-related adjustments that could affect the calibration results. This ensures that the captured images accurately reflect the camera’s inherent characteristics without additional stabilization effects.
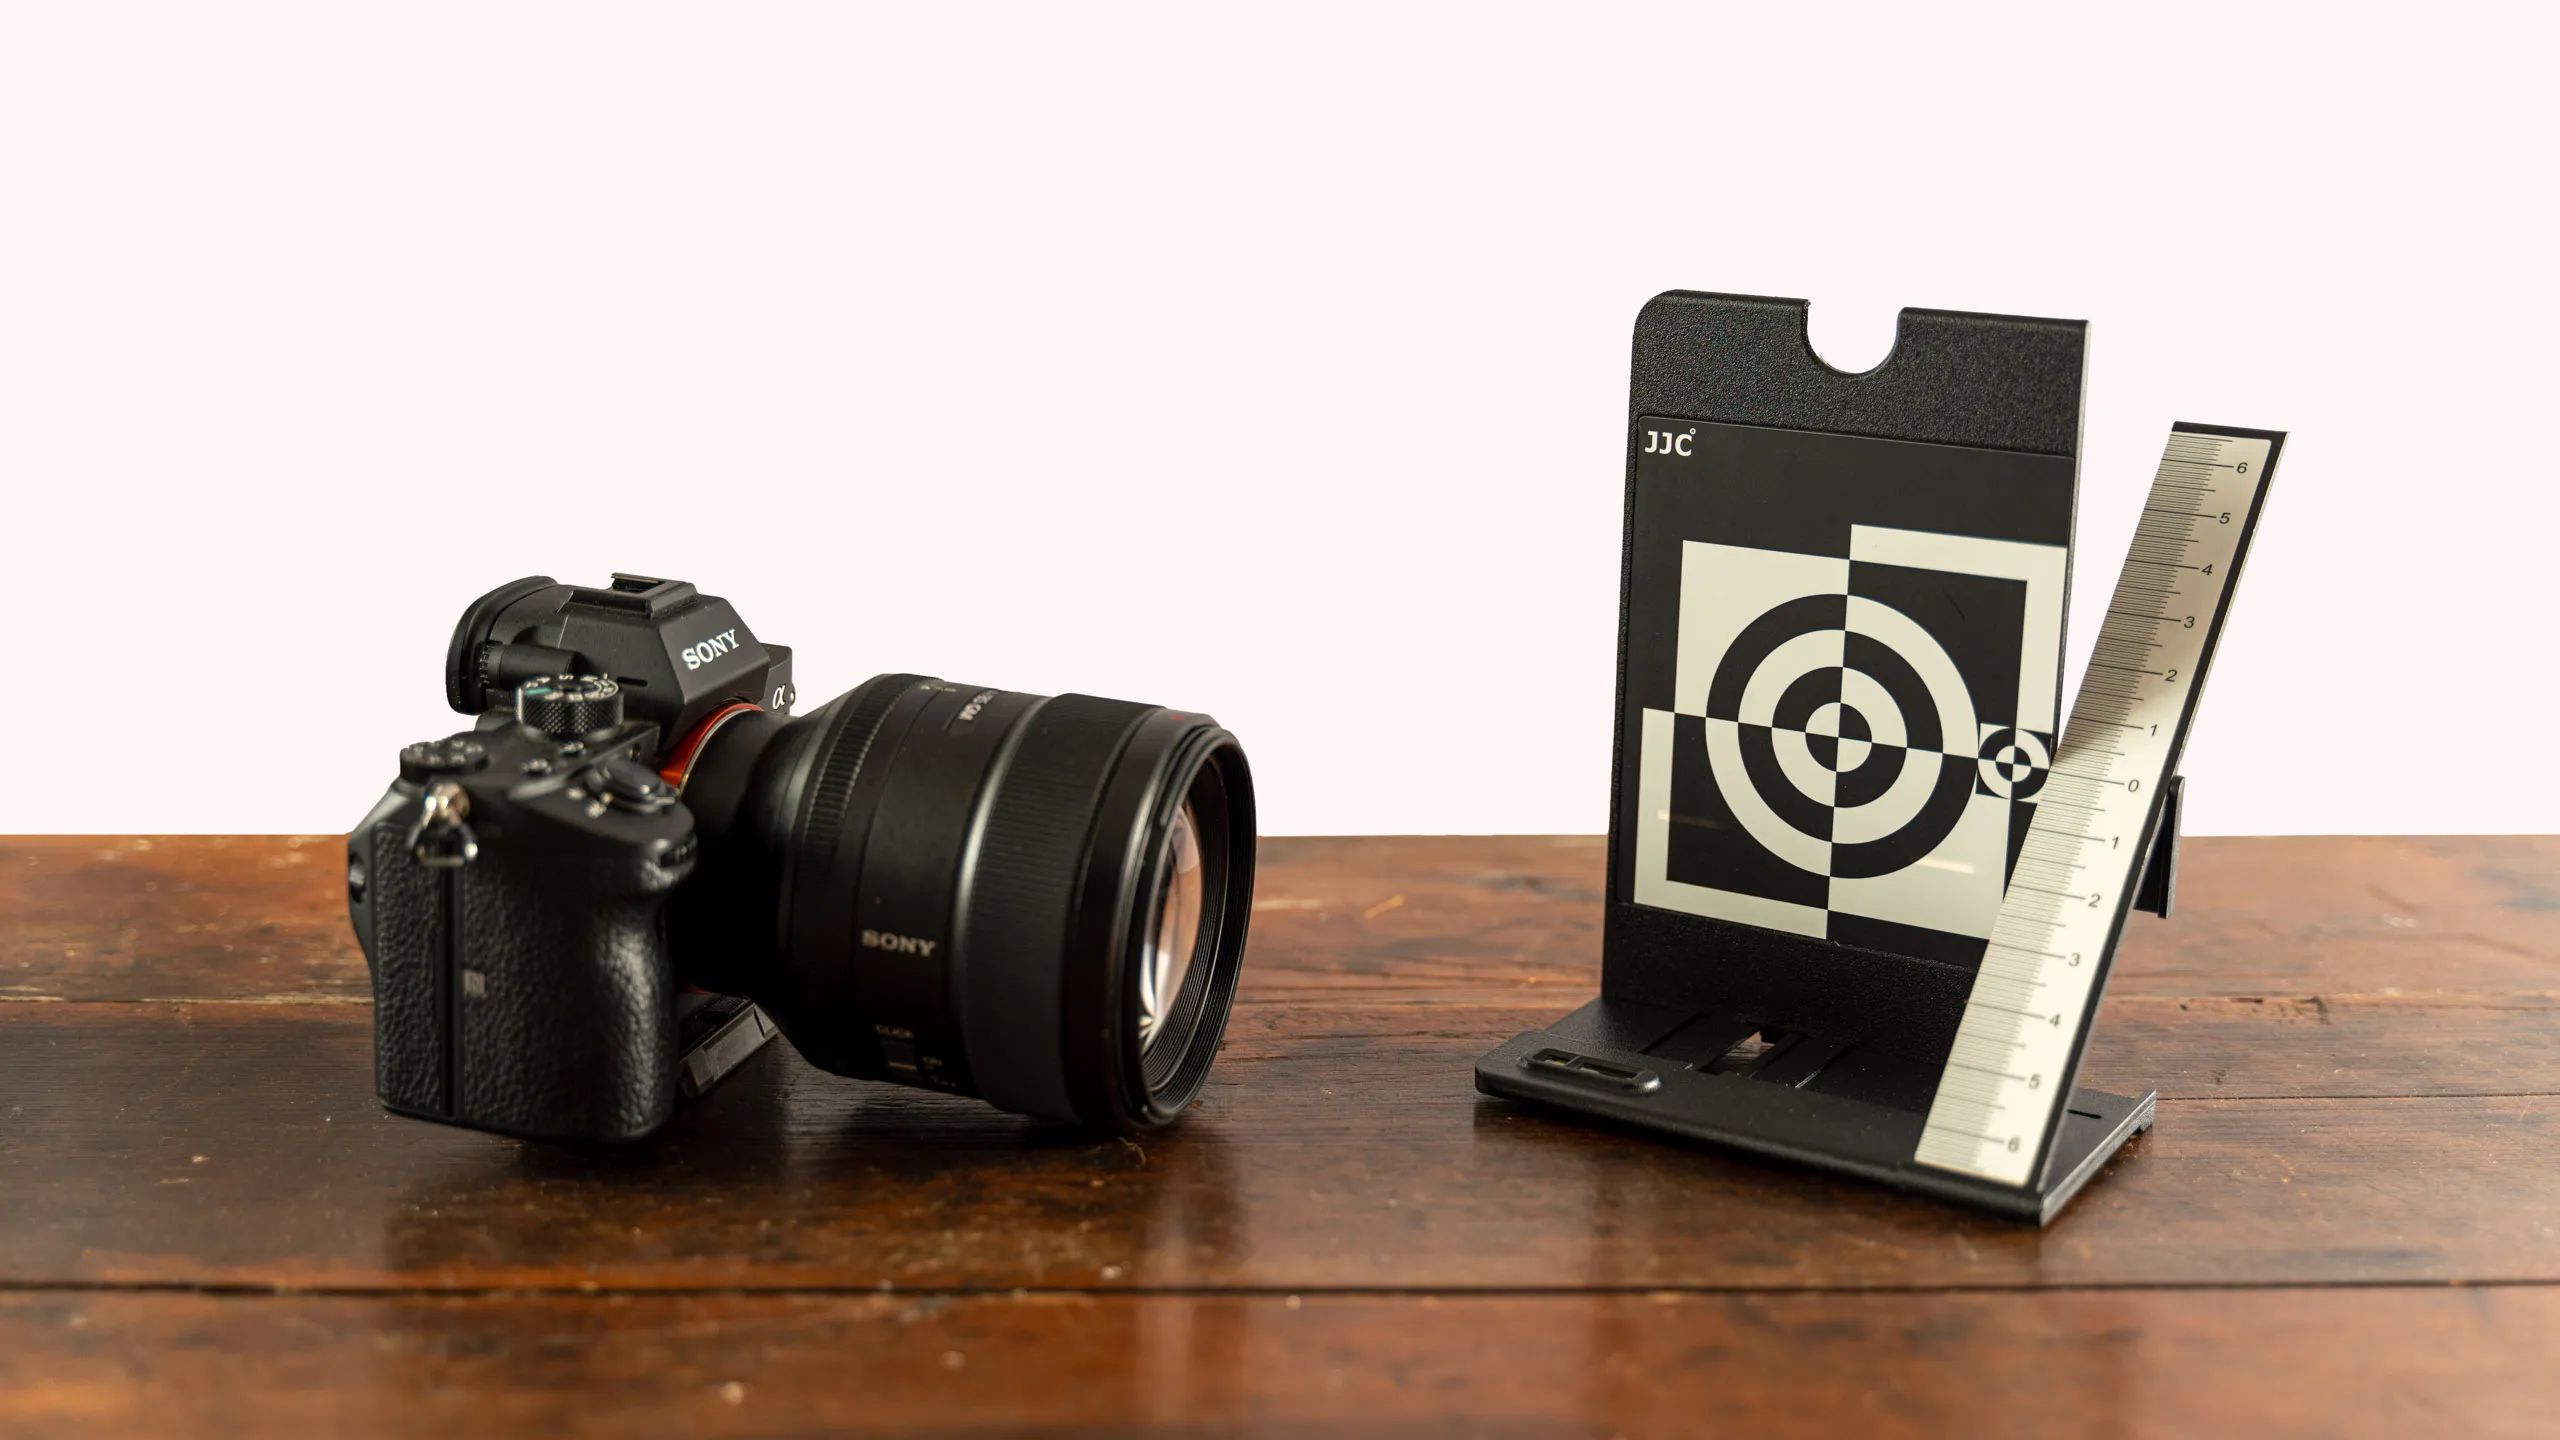
- Prepare the Gray Card and Color Calibration Chart: Position the gray card and color calibration chart in the scene, ensuring that they are well-illuminated and prominently visible within the frame. These reference tools will facilitate accurate adjustments to white balance and color settings during the calibration process.
By meticulously setting up your camera and the calibration environment, you establish the foundation for precise and reliable calibration adjustments. These preparations create an optimal testing environment, enabling you to focus on fine-tuning the camera’s settings to achieve accurate color rendition, optimal exposure, and faithful representation of the scene’s visual characteristics. With the camera in place and the environment primed for calibration, you are poised to embark on the step-by-step calibration process, as detailed in the subsequent sections.
Performing the Calibration
Performing the calibration of your DSLR camera involves a systematic approach to adjusting key settings and parameters to ensure accurate color rendition, optimal exposure, and faithful representation of the scene. The following steps outline the process of calibrating your camera:
- White Balance Calibration: Begin by capturing a reference image of the gray card under the prevailing lighting conditions. Use this image to set the custom white balance in your camera, ensuring that whites appear neutral and colors are accurately represented across the entire spectrum.
- Color Calibration: Capture an image of the color calibration chart, ensuring that it is well-illuminated and fills a significant portion of the frame. Use this image to fine-tune color settings, ensuring that the camera accurately reproduces the colors present in the chart with precision and fidelity.
- Exposure Adjustment: Capture a series of test images with varying exposure settings, ensuring that each image adequately represents the full range of tones in the scene. Analyze these images to determine the optimal exposure setting that preserves details in highlights and shadows without overexposure or underexposure.
- Contrast and Saturation Calibration: Adjust the camera’s contrast and saturation settings to achieve the desired richness of colors and tonal distinction. Capture test images with varying contrast and saturation levels to assess the impact on the visual characteristics of the scene, ultimately arriving at settings that align with your creative vision.
- Lens Calibration (Optional): If using multiple lenses, consider creating custom calibration profiles for each lens to account for their unique optical characteristics. This step ensures consistent and accurate calibration results across different lenses, mitigating any inherent optical anomalies specific to each lens.
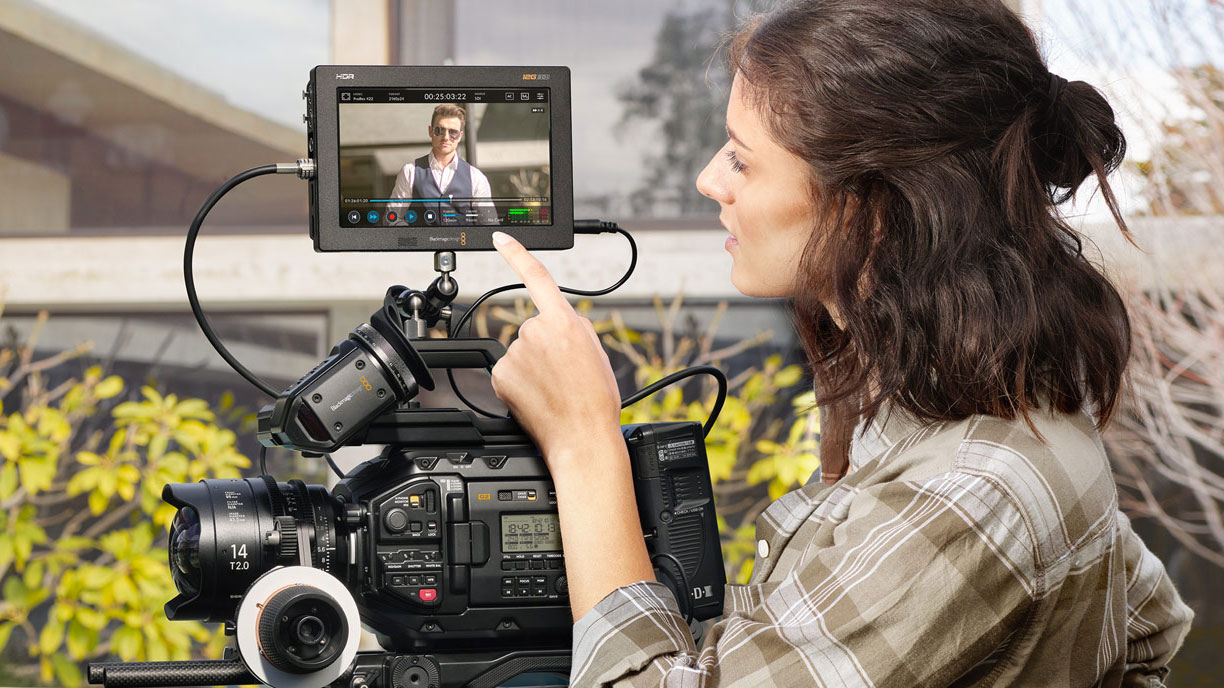
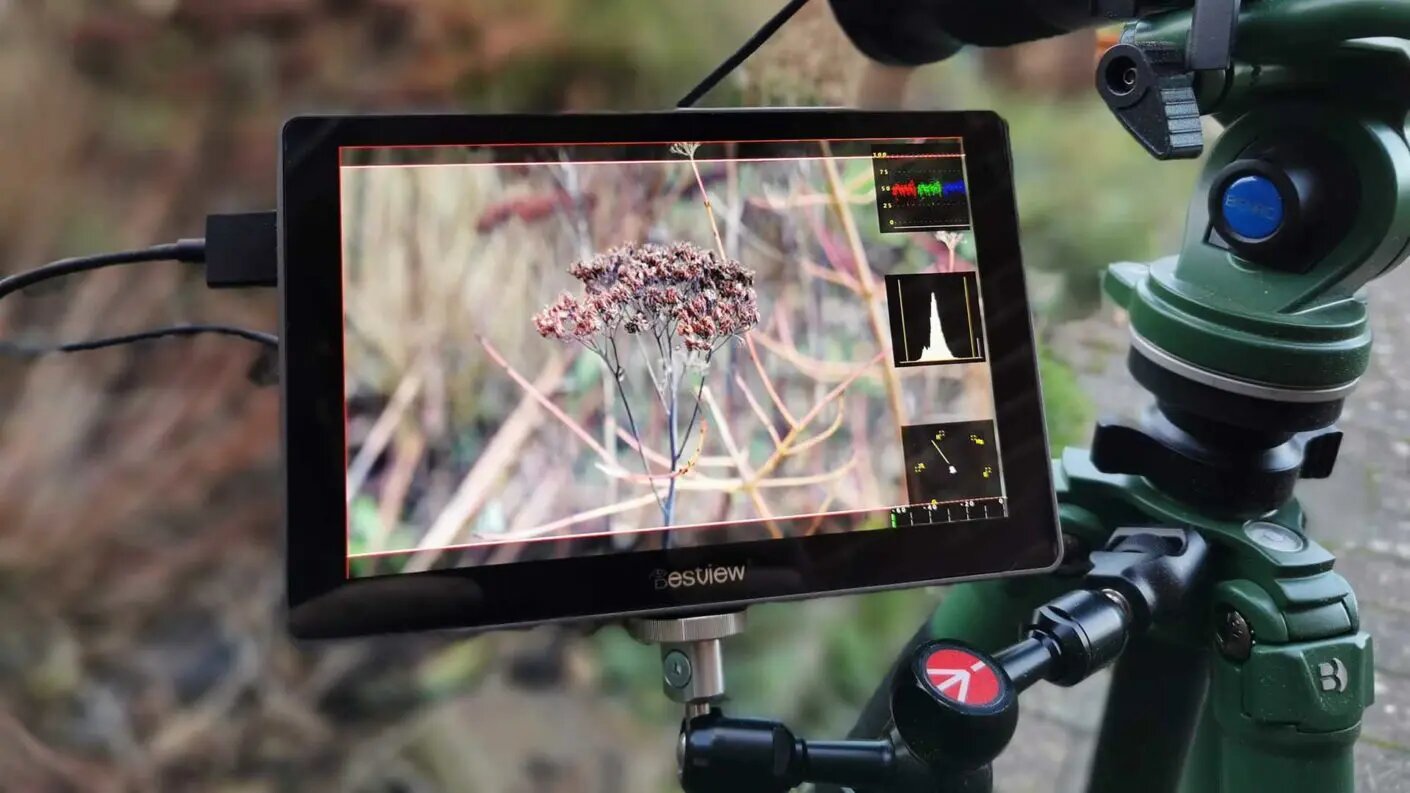
Throughout the calibration process, it is crucial to review the captured images on a calibrated monitor to accurately assess the impact of the adjustments. By meticulously analyzing the test images, you can fine-tune the camera settings to achieve accurate color rendition, optimal exposure, and faithful representation of the scene’s visual characteristics.
By following these systematic steps and carefully analyzing the calibration test images, you can achieve precise and reliable calibration results, enhancing the overall image quality and ensuring consistency across your photographic endeavors. The subsequent section will delve into the testing and adjustment of settings, providing insights into validating the calibration results and making any necessary refinements to achieve optimal image quality.
Testing and Adjusting Settings
Once the calibration process is complete, it is essential to test the adjusted settings and make any necessary refinements to ensure optimal image quality. The following steps outline the testing and adjustment phase:
- Capture Test Images: Photograph a variety of scenes, encompassing different lighting conditions and color palettes, to assess the performance of the calibrated settings in real-world scenarios. This comprehensive approach allows you to evaluate the accuracy of color rendition, exposure, and overall image quality across diverse shooting conditions.
- Review Images on a Calibrated Monitor: Analyze the test images on a calibrated monitor to accurately assess the impact of the calibrated settings. Pay close attention to color accuracy, tonal rendition, and overall image fidelity, identifying any areas that may require further adjustment.
- Refine Settings as Needed: Based on the analysis of the test images, refine the calibration settings as necessary to address any observed discrepancies or areas for improvement. This may involve fine-tuning white balance, color rendition, exposure, or contrast settings to achieve the desired image quality across a range of photographic scenarios.
- Evaluate Consistency: Assess the consistency of the calibrated settings across multiple shooting sessions and varied environmental conditions. Ensure that the calibrated settings consistently deliver accurate color reproduction, optimal exposure, and faithful representation of visual characteristics, thereby establishing a reliable foundation for your photography.
By rigorously testing the calibrated settings and making targeted adjustments based on real-world performance, you can refine the calibration results to achieve optimal image quality and consistency. This iterative approach ensures that the calibrated settings align with your creative vision and yield exceptional results across diverse photographic scenarios.
As you continue to refine and validate the calibrated settings through testing, you will establish a robust calibration profile tailored to your specific camera and lens combination, empowering you to consistently produce images of exceptional quality and fidelity. The meticulous testing and adjustment of settings serve as the cornerstone of achieving superior image quality through precise DSLR camera calibration.
Conclusion
Mastering the art of DSLR camera calibration empowers photographers to achieve unparalleled image quality and consistency. By understanding and executing the calibration process, photographers can elevate their work to new heights, capturing scenes with accuracy and fidelity. The journey of calibration begins with comprehending the intricacies of white balance, exposure, color rendition, and lens characteristics, all of which significantly impact the final image. The tools essential for calibration, including gray cards, color calibration charts, tripods, and calibration software, form the foundation for precise adjustments and reliable results.
Setting up the camera in a controlled environment and meticulously performing the calibration process are pivotal steps in achieving accurate color reproduction, optimal exposure, and faithful representation of visual characteristics. Through systematic adjustments and careful analysis of test images, photographers refine the camera settings to align with their creative vision, ultimately establishing a robust calibration profile tailored to their specific equipment.
Testing the calibrated settings in diverse shooting scenarios and making targeted refinements based on real-world performance ensure that the calibration results consistently deliver exceptional image quality. This iterative approach fosters a deep understanding of the camera’s capabilities and enables photographers to produce images with precision and reliability across a spectrum of photographic endeavors.
In essence, DSLR camera calibration is a transformative process that empowers photographers to unleash the full potential of their equipment, achieving images that faithfully represent the beauty and essence of the scenes they capture. By embracing the nuances of calibration and honing the art of precise adjustments, photographers embark on a journey towards consistently producing images of exceptional quality and visual impact.
As photographers continue to refine and validate their calibrated settings through rigorous testing, they establish a solid foundation for realizing their creative vision with clarity and authenticity. The art of DSLR camera calibration is a gateway to unlocking the true potential of photography, allowing photographers to capture moments with unparalleled accuracy and artistry.