Introduction
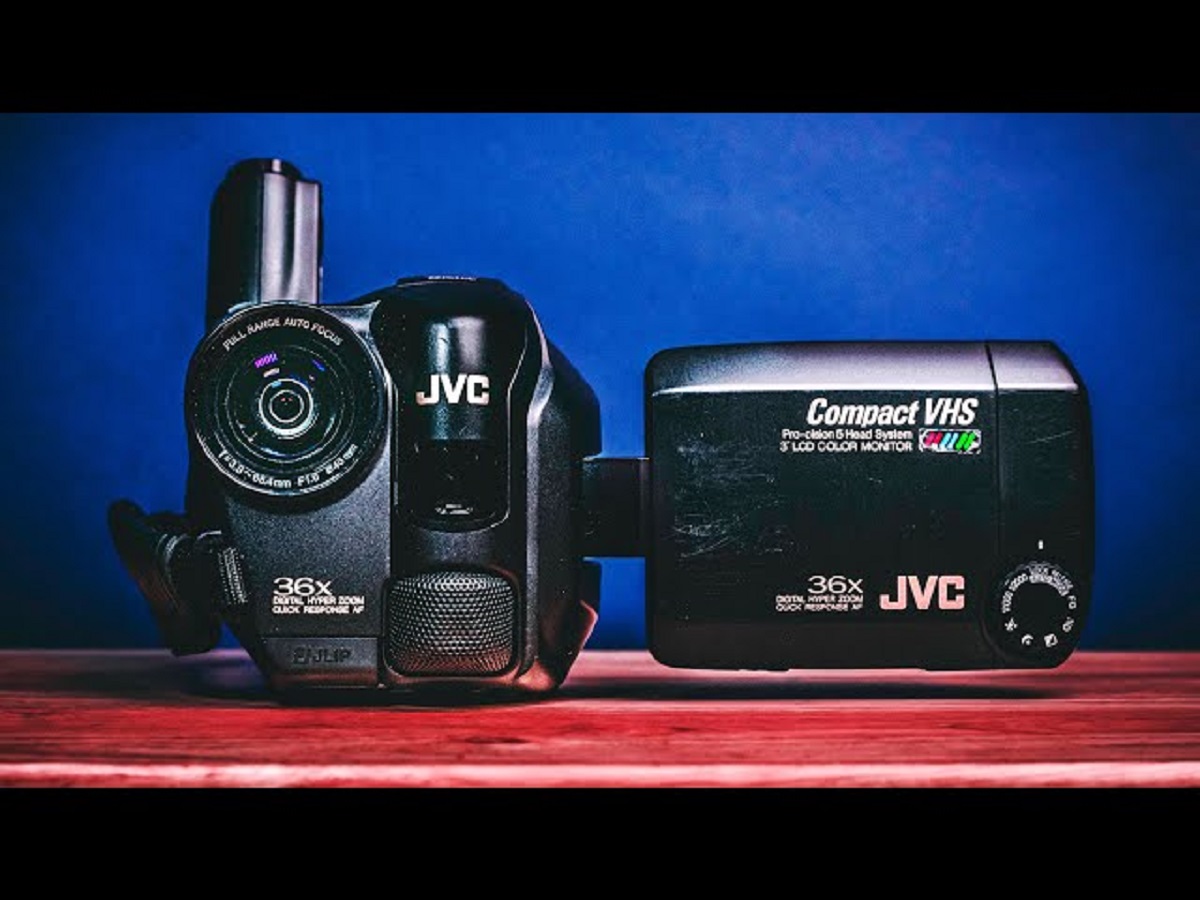
So, you have a JVC Compact VHS camcorder and you're ready to capture some memorable moments. Before you embark on your filming journey, it's crucial to ensure that your camcorder is sufficiently charged. A fully charged camcorder battery will allow you to record without interruptions and ensure that you don't miss any special moments. In this guide, we'll walk you through the simple and essential steps to charge your JVC Compact VHS camcorder, so you can be prepared to capture all the action.
Ensuring that your camcorder is charged is a fundamental aspect of being a videographer. Whether you're planning to document a family gathering, record a special event, or simply capture everyday moments, having a fully charged camcorder is essential. By following the steps outlined in this guide, you'll be equipped with the knowledge to keep your JVC Compact VHS camcorder powered up and ready for action.
Now, let's dive into the step-by-step process of charging your JVC Compact VHS camcorder. Whether you're a seasoned videographer or a novice user, these instructions will help you keep your camcorder ready for any filming endeavor. Let's get started with the first step: checking the battery level.
Step 1: Check the Battery Level
Before you begin the charging process, it’s important to assess the current battery level of your JVC Compact VHS camcorder. This initial step will provide you with valuable information about the remaining charge and help you determine the urgency of the charging process. Here’s how you can check the battery level:
- Power On: Turn on your JVC Compact VHS camcorder by pressing the designated power button or switch. The camcorder’s display screen should illuminate, indicating that it’s receiving power.
- Battery Indicator: Locate the battery indicator on the camcorder’s display screen. This indicator typically displays the remaining battery level, often represented by a series of bars or a percentage.
- Interpret the Reading: Assess the battery indicator to determine the current charge level. If the indicator shows a full charge, you may not need to immediately charge the camcorder. However, if the indicator displays a low charge or a flashing warning, it’s advisable to proceed with the charging process to avoid any disruptions during filming.
By checking the battery level before initiating the charging process, you can proactively address any potential power issues and ensure that your JVC Compact VHS camcorder is ready for use. Once you’ve assessed the battery level, you can proceed to the next step: connecting the charger.
Step 2: Connect the Charger
After assessing the battery level of your JVC Compact VHS camcorder, the next crucial step is to connect the charger. Properly connecting the charger ensures that the camcorder receives the necessary power to replenish its battery. Here’s a detailed guide on how to connect the charger to your camcorder:
- Locate the Charger: Retrieve the charger that is compatible with your JVC Compact VHS camcorder. The charger may consist of a power adapter and a cable specifically designed for your camcorder model.
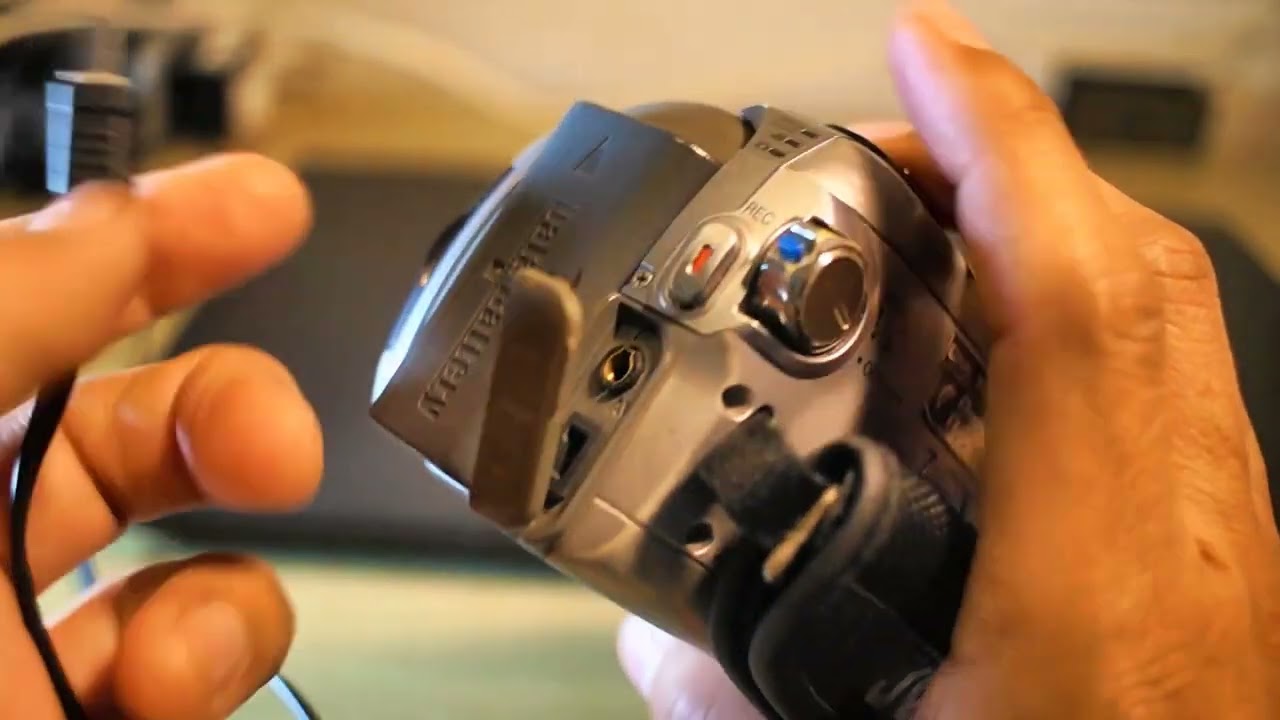
- Identify the Charging Port: On your JVC Compact VHS camcorder, locate the charging port where the charger will be connected. This port is typically situated on the camcorder’s body and is specifically designed to accommodate the charger’s connector.
- Align the Connector: Take the connector end of the charger cable and align it with the charging port on the camcorder. Ensure that the connector is oriented correctly to avoid forcing it into the port.
- Secure Connection: Gently insert the charger’s connector into the charging port, ensuring a secure and snug fit. Be mindful not to apply excessive force, as the connector should slide in smoothly without resistance.
- Power Source: Once the charger is securely connected to the camcorder, plug the power adapter into a suitable power source, such as a wall outlet. Verify that the power source is functional and provides the necessary electricity for the charging process.
By following these steps, you can effectively connect the charger to your JVC Compact VHS camcorder, setting the stage for the subsequent charging process. With the charger securely in place and connected to a power source, your camcorder is poised to receive the energy it needs to recharge its battery. Now, let’s move on to the next step: charging the camcorder.
Step 3: Charge the Camcorder
With the charger securely connected to your JVC Compact VHS camcorder, you are now ready to initiate the charging process. Charging your camcorder’s battery is a straightforward task, and by following these simple steps, you can ensure that your device is powered up and ready to capture memorable moments:
- Indicator Confirmation: Upon connecting the charger, the camcorder’s display screen may indicate that the charging process has commenced. Look for a visual indicator, such as a flashing light or an on-screen message, to confirm that the camcorder is actively receiving power.
- Charging Duration: Allow the camcorder to charge for the recommended duration as specified in the user manual or guidelines provided by the manufacturer. Typically, a full charge may take several hours, so it’s advisable to plan the charging process accordingly to ensure that the camcorder is ready when needed.
- Monitoring Progress: Periodically check the camcorder’s display screen or the charger’s indicator, if available, to monitor the progress of the charging process. Some camcorders feature a visual representation of the battery level as it charges, providing you with real-time feedback on the increasing charge level.
- Charging Indicator: Once the battery is sufficiently charged, the camcorder’s display screen or the charger’s indicator may signal the completion of the charging process. This indicator could be a solid light, a message on the screen, or a change in the battery level display, indicating that the camcorder is ready for use.
By following these steps, you can effectively charge your JVC Compact VHS camcorder, ensuring that it is equipped with the power it needs to capture your desired footage. With the charging process complete, you’re now prepared to disconnect the charger and unleash the full potential of your camcorder. Let’s proceed to the next step: disconnecting the charger.
Step 4: Disconnect the Charger
Once your JVC Compact VHS camcorder has been successfully charged, it’s essential to proceed with disconnecting the charger to ensure the safety of the device and its components. Properly disconnecting the charger is a crucial step in maintaining the longevity and functionality of your camcorder. Here’s a guide on how to safely disconnect the charger from your camcorder:
- Power Off: Before disconnecting the charger, power off your JVC Compact VHS camcorder to ensure that it is not actively drawing power from the charger during the disconnection process. This step helps prevent potential electrical issues and safeguards the camcorder’s internal components.
- Unplug the Power Adapter: Locate the power adapter that is connected to the charger and unplug it from the power source, such as a wall outlet. Ensure that the power adapter is safely removed from the electrical outlet to prevent any accidental disconnection or damage to the charger.
- Remove the Charger Connector: Gently detach the charger’s connector from the charging port on your camcorder. Exercise care and precision to avoid applying excessive force or causing any strain on the camcorder’s charging port or the charger’s connector.
- Stow the Charger: After disconnecting the charger, carefully stow the charger and its components in a safe and secure location. Properly organizing and storing the charger prevents misplacement and ensures that it is readily available for future use when needed.
By following these steps, you can safely disconnect the charger from your JVC Compact VHS camcorder, signaling the completion of the charging process. With the charger removed and the camcorder fully charged, you are now equipped to utilize your device for capturing precious moments and recording memorable events. With the charging process successfully concluded, your JVC Compact VHS camcorder is primed and ready for your next filming endeavor.
Conclusion
Charging your JVC Compact VHS camcorder is a fundamental aspect of preparing for any filming endeavor. By following the simple yet essential steps outlined in this guide, you can ensure that your camcorder remains powered up and ready to capture all the moments you wish to preserve. From checking the battery level to disconnecting the charger, each step plays a crucial role in maintaining the functionality and longevity of your device.
As a videographer, having a fully charged camcorder empowers you to document life’s precious moments without the worry of an unexpected power drain. Whether you’re planning to record family gatherings, special events, or everyday occurrences, a charged camcorder ensures that you can focus on capturing the action without interruptions.
By familiarizing yourself with the process of charging your JVC Compact VHS camcorder, you’ve taken a proactive step in optimizing your filming experience. Remember to periodically check the battery level, connect the charger securely, monitor the charging process, and safely disconnect the charger once the camcorder is fully charged.
With these steps mastered, you can embark on your filming adventures with confidence, knowing that your JVC Compact VHS camcorder is equipped with the power it needs to bring your vision to life. Whether you’re preserving cherished memories or creating captivating visual content, a charged camcorder is your reliable companion in the art of storytelling through video.
Now that you’ve completed the process of charging your JVC Compact VHS camcorder, it’s time to unleash your creativity and embark on your filming journey. With a fully charged camcorder at your disposal, you’re poised to capture the moments that matter most, preserving them for years to come.