Introduction
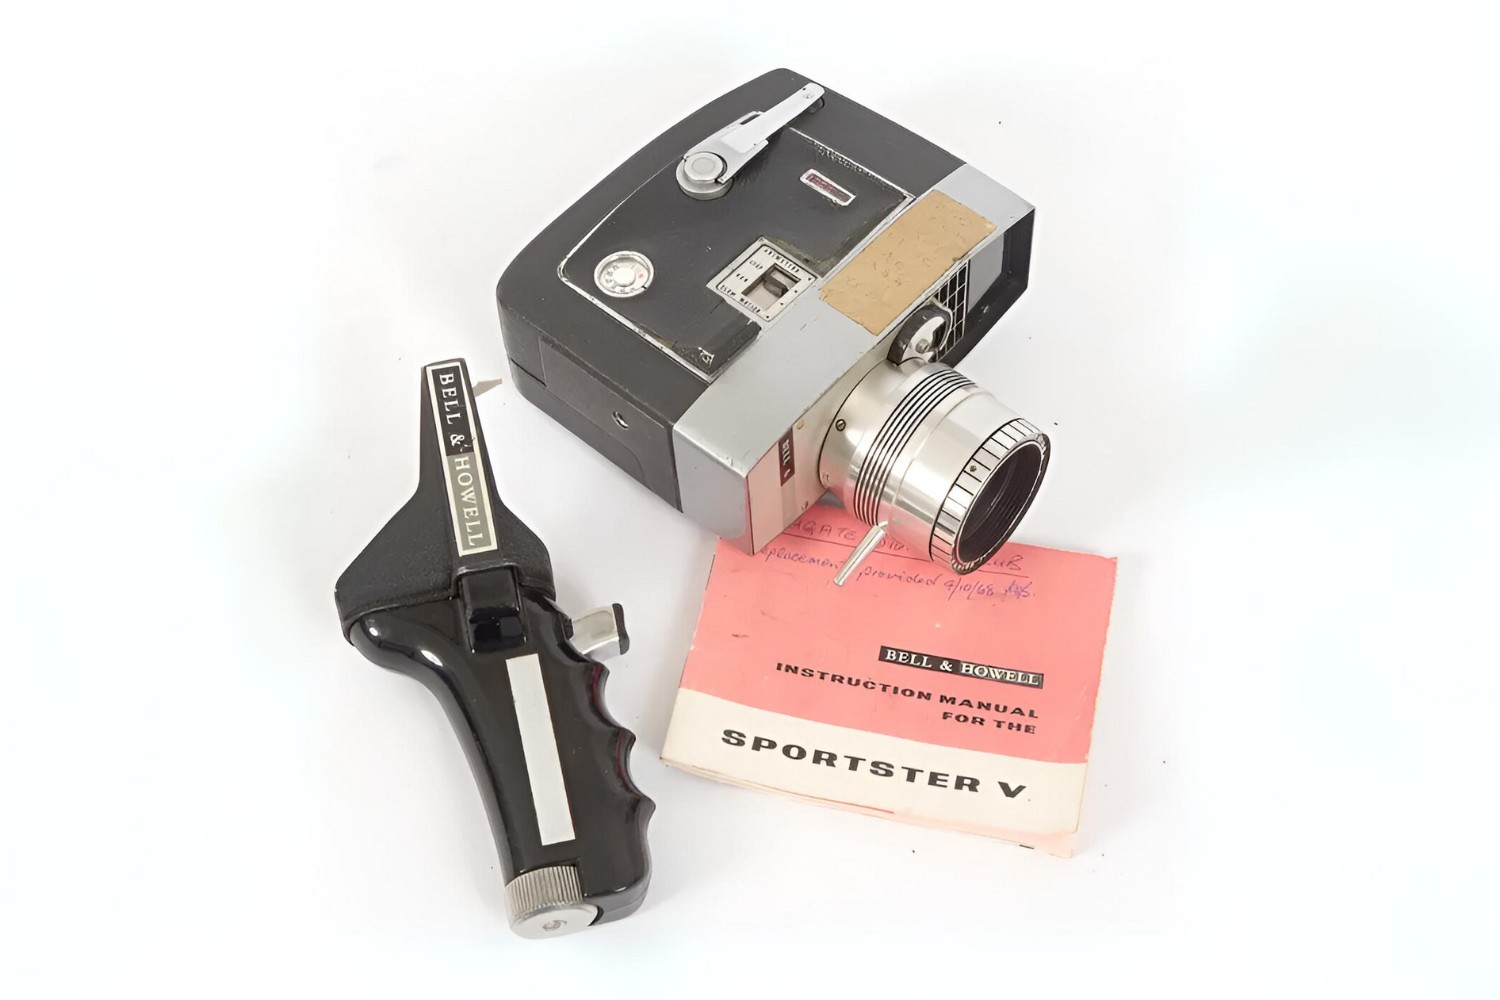
Welcome to the fascinating world of vintage technology! In this guide, we will delve into the intricacies of repairing a classic Bell & Howell camcorder from the 1950s. These iconic devices, known for their exceptional craftsmanship and enduring quality, have captured countless precious moments over the years. Whether you are a collector, a history enthusiast, or simply a curious individual with a passion for restoration, this comprehensive tutorial will equip you with the knowledge and skills needed to breathe new life into this timeless piece of cinematic history.
The Bell & Howell company has a rich legacy of producing top-of-the-line motion picture equipment, and their camcorders are no exception. By embarking on this repair journey, you are not only preserving a piece of technological heritage but also gaining valuable insights into the inner workings of vintage recording devices.
Throughout this guide, we will explore the step-by-step process of disassembling, cleaning, repairing, and reassembling the camcorder. Additionally, we will discuss the essential tools and materials required for this undertaking, as well as troubleshooting techniques to ensure that the restored camcorder operates at its full potential.
So, roll up your sleeves, gather your tools, and let's embark on a captivating journey through time as we unravel the secrets of the Bell & Howell camcorder from the 1950s. Let's revive the magic of vintage filmmaking and embark on a rewarding adventure in the world of classic technology.
Understanding the Bell & Howell Camcorder
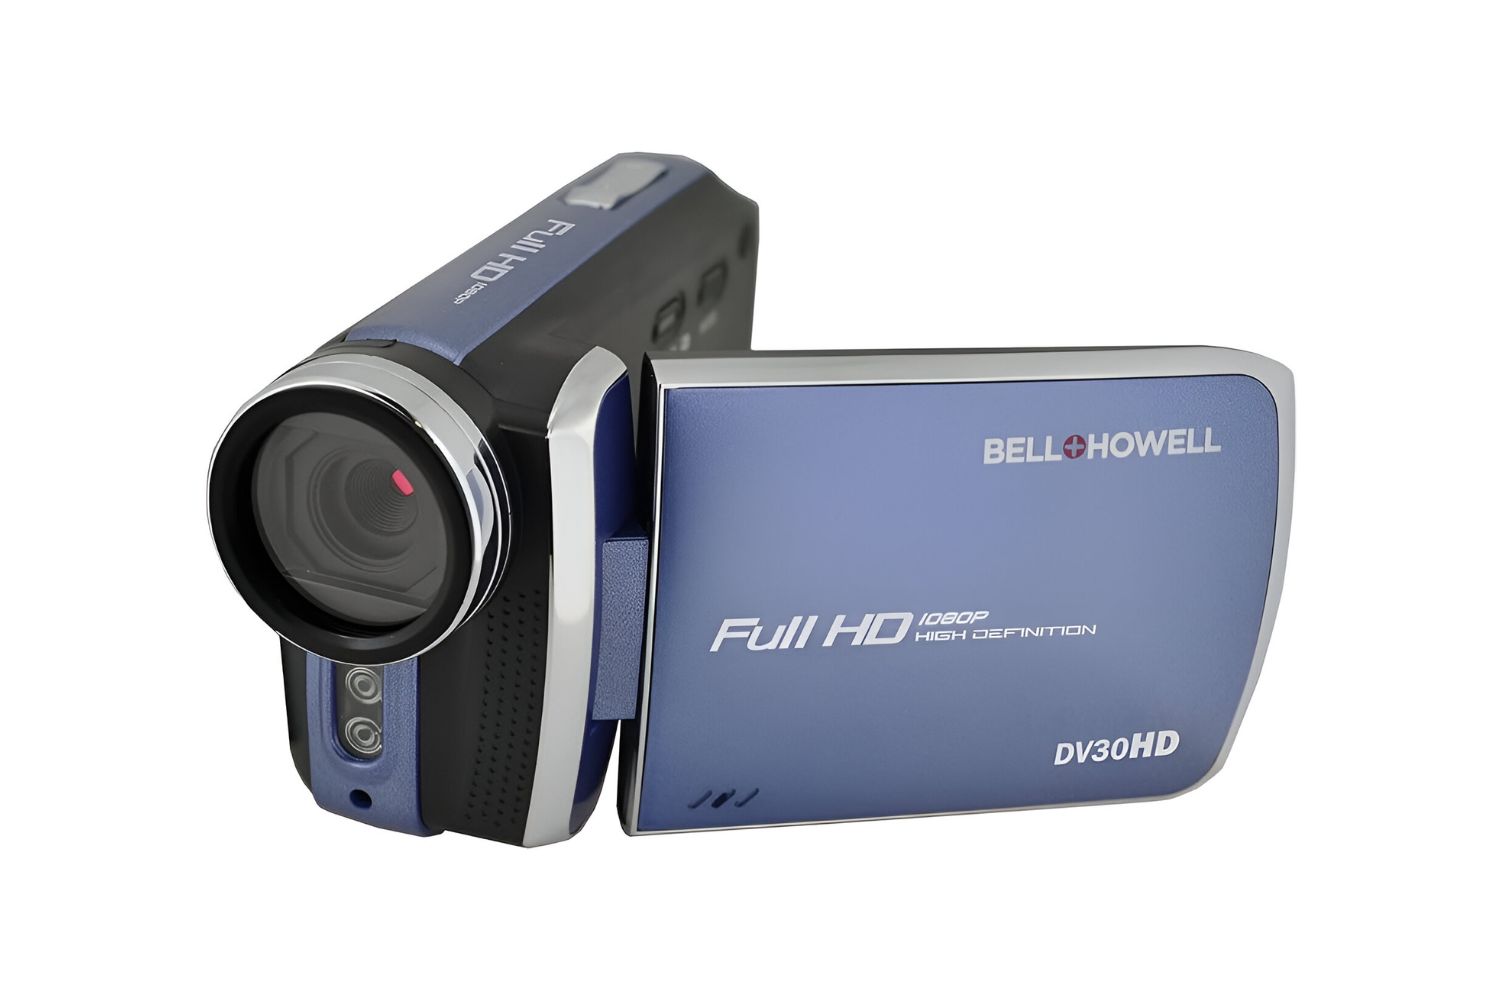
Before delving into the repair process, it is essential to familiarize yourself with the intricacies of the Bell & Howell camcorder. These iconic devices, renowned for their durable construction and exceptional performance, represent a significant milestone in the history of motion picture technology.
The Bell & Howell camcorder from the 1950s is a marvel of engineering, featuring a robust body crafted from high-quality materials such as metal and durable plastics. Its compact yet sturdy design reflects the meticulous attention to detail that was characteristic of Bell & Howell’s manufacturing standards.
Equipped with a precision-crafted lens and a reliable film transport mechanism, this camcorder was designed to deliver exceptional image quality and smooth operation. The intuitive control layout, though simplistic by modern standards, embodies the elegance and efficiency that defined Bell & Howell’s approach to camera design.
One of the defining features of the Bell & Howell camcorder is its mechanical simplicity, which contributed to its remarkable longevity. Understanding the inner workings of the camcorder, from its film loading mechanism to the intricacies of its viewfinder and exposure controls, is crucial for effectively diagnosing and addressing any issues that may arise during the repair process.
Furthermore, gaining insight into the historical context of this camcorder allows for a deeper appreciation of its significance. The 1950s marked a period of innovation and progress in the realm of motion picture technology, and the Bell & Howell camcorder encapsulates the essence of that era, serving as a testament to the ingenuity of its creators.
By comprehensively understanding the design, functionality, and historical importance of the Bell & Howell camcorder, you will be better equipped to approach its repair and restoration with the reverence and expertise it deserves. With this knowledge as our foundation, we are poised to embark on a captivating journey of preservation and revitalization.
Tools and Materials Needed
Embarking on the repair of a Bell & Howell camcorder from the 1950s requires the use of specific tools and materials to ensure a meticulous and successful restoration process. The following list outlines the essential items needed to undertake this endeavor:
- Screwdrivers: A set of precision screwdrivers, including flathead and Phillips head varieties, is indispensable for disassembling and reassembling the camcorder without causing damage to delicate components.
- Tweezers and Pliers: Fine-tipped tweezers and small pliers are essential for handling tiny screws, springs, and other intricate parts with precision and care.
- Lubricants: High-quality lubricants specifically formulated for vintage mechanical devices are vital for ensuring smooth operation and longevity of moving parts within the camcorder.
- Cleaning Supplies: Soft, lint-free cloths, cotton swabs, and isopropyl alcohol are indispensable for gently cleaning dust, dirt, and old lubricants from the internal and external surfaces of the camcorder.
- Replacement Parts: Depending on the condition of the camcorder, it may be necessary to source replacement parts such as gears, springs, or other components that show signs of wear or damage.
- Light Source: A reliable, adjustable light source, such as an LED desk lamp or a headlamp, is crucial for illuminating the intricate interior of the camcorder during the repair process.
- Magnifying Glass: A magnifying glass or a magnifying visor aids in examining small details and intricate mechanisms within the camcorder, enabling precise inspection and repair.
- Work Surface: A clean, well-lit work surface with ample space is essential for organizing disassembled parts, conducting repairs, and preventing loss of small components.
It is important to approach the repair process with patience and attention to detail, utilizing the aforementioned tools and materials to ensure the careful disassembly, meticulous cleaning, and precise reassembly of the camcorder. By equipping yourself with these essentials, you are prepared to embark on a transformative journey of restoration, breathing new life into this iconic piece of cinematic history.
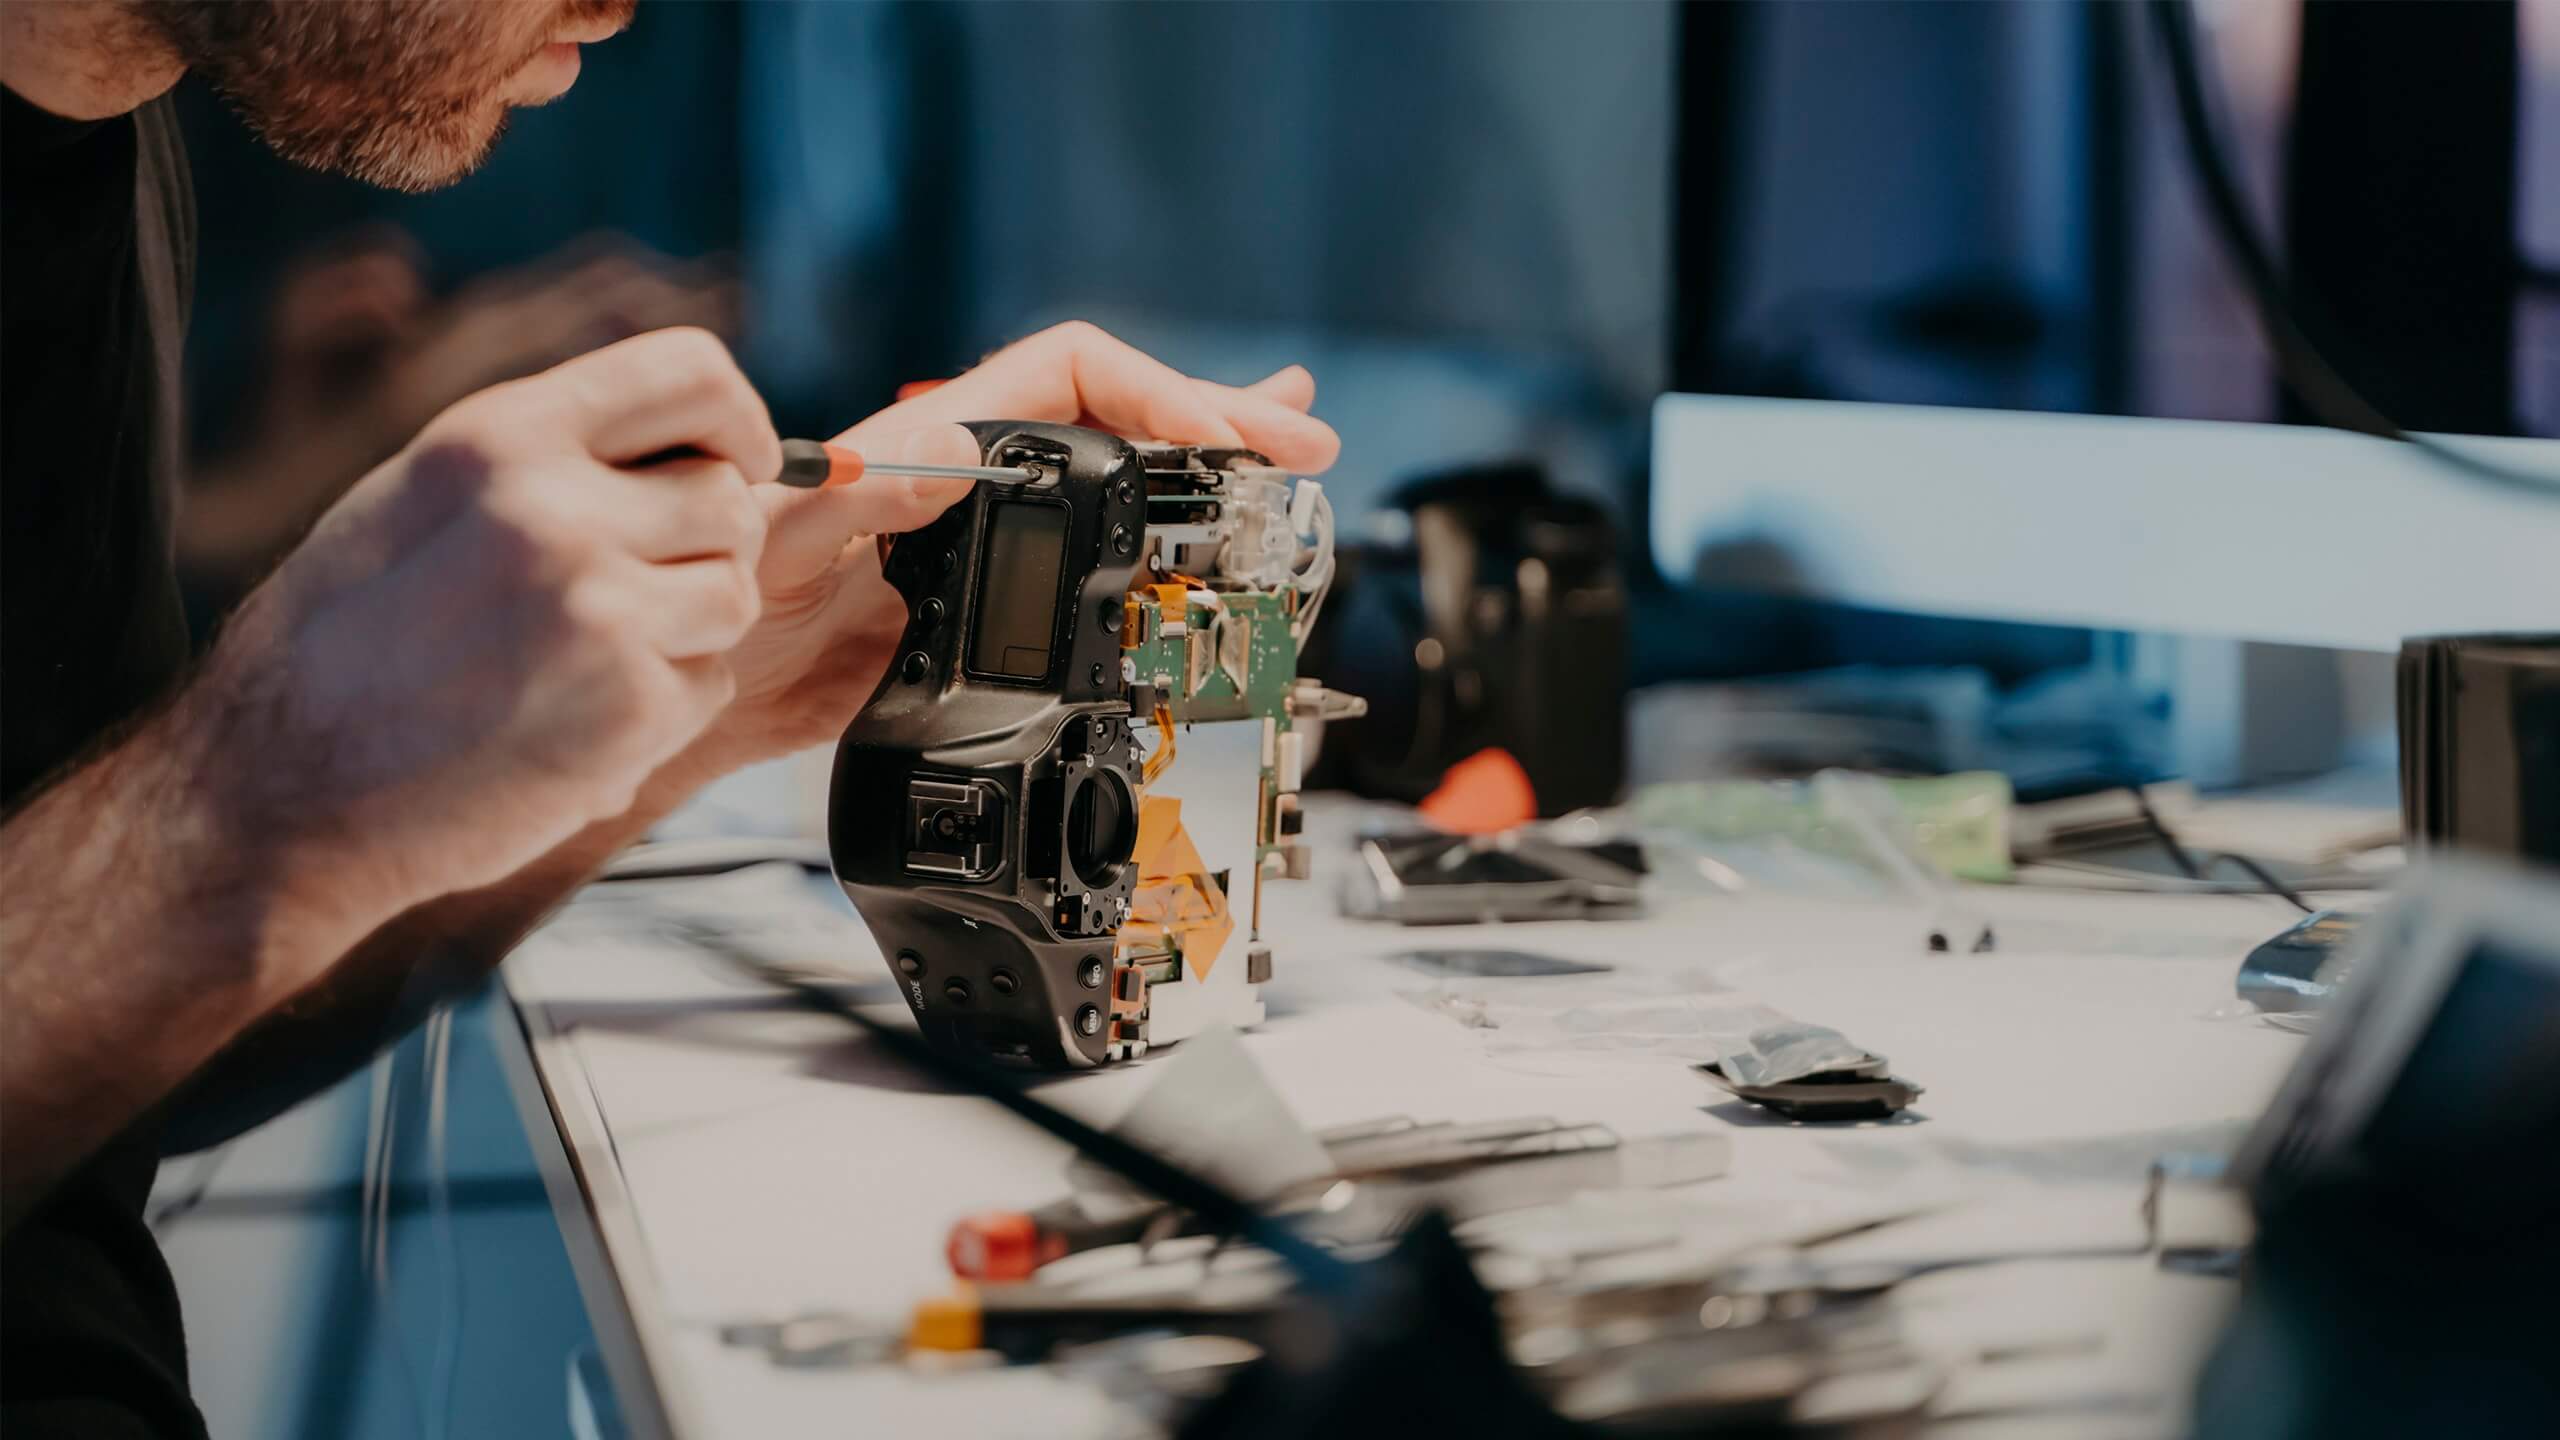
Disassembly of the Camcorder
The process of disassembling a Bell & Howell camcorder from the 1950s requires a methodical approach and careful attention to detail. Before commencing the disassembly, it is crucial to create a clean and organized workspace to prevent loss of small components and ensure a smooth reassembly process. Here are the essential steps to disassemble the camcorder:
- Documentation: Begin by documenting the initial state of the camcorder through photographs or detailed notes. This documentation will serve as a valuable reference during the reassembly phase.
- Removal of External Components: Start by removing the battery, film cartridge, and any external attachments, such as lens hoods or viewfinder covers, to access the internal components.
- Unscrewing the Casing: Using the appropriate screwdrivers, carefully remove the screws securing the outer casing of the camcorder. Keep the screws organized and labeled to ensure they are returned to their correct positions during reassembly.
- Separating the Casing: Gently separate the outer casing from the main body of the camcorder, taking care not to force or damage any delicate components or wiring.
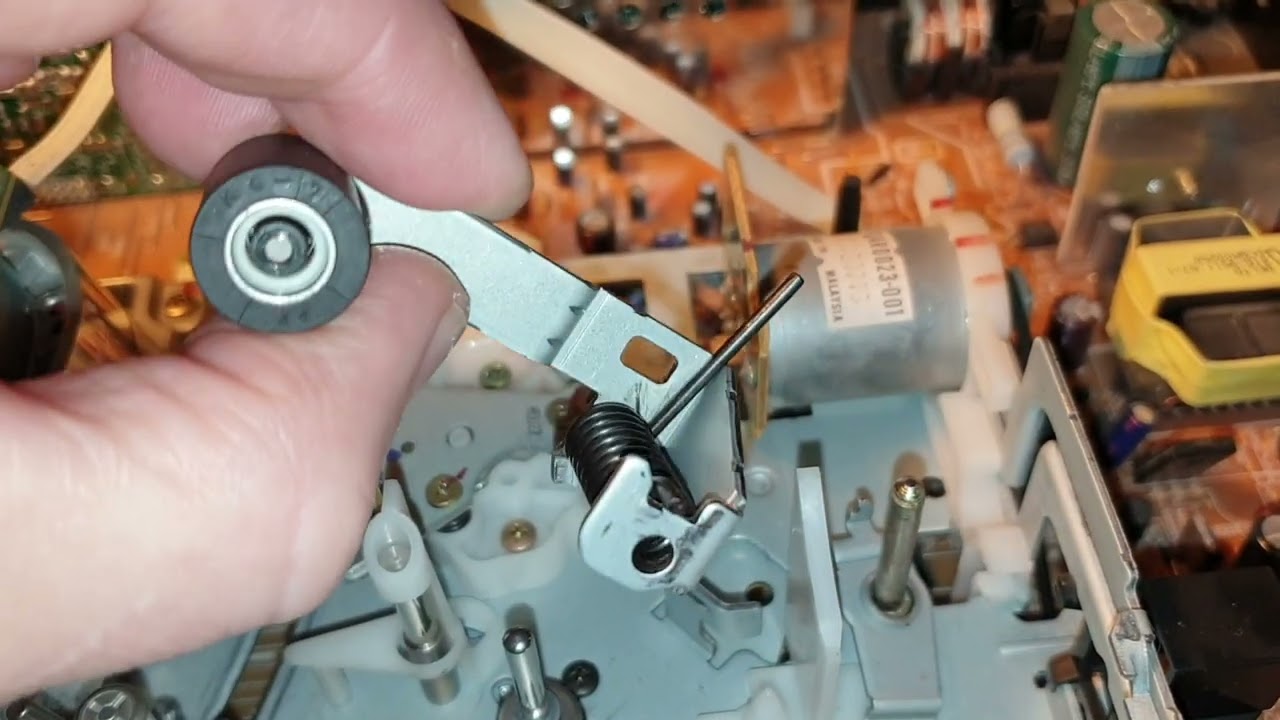
- Internal Component Removal: Once the casing is removed, systematically remove internal components such as the film transport mechanism, gears, and circuit boards, taking note of their placement and orientation.
- Cleaning and Inspection: As each component is removed, inspect it for signs of wear, damage, or corrosion. Clean the components using appropriate cleaning supplies and ensure they are thoroughly dry before reassembly.
- Organized Storage: Store the removed components in a segmented container or a labeled tray to prevent mixing and confusion during the cleaning and reassembly stages.
Disassembling the camcorder with precision and care is crucial for gaining a thorough understanding of its internal mechanisms and identifying any issues that require attention. By following these steps and maintaining meticulous organization throughout the disassembly process, you are laying the groundwork for a successful restoration journey.
Cleaning and Maintenance
Once the components of the Bell & Howell camcorder from the 1950s have been carefully disassembled, the next crucial phase involves thorough cleaning and maintenance to ensure optimal performance and longevity. The following steps outline the essential processes involved in cleaning and maintaining the camcorder:
- Component Cleaning: Utilizing soft, lint-free cloths, cotton swabs, and isopropyl alcohol, meticulously clean each disassembled component to remove dust, dirt, and old lubricants. Pay particular attention to intricate parts such as gears, springs, and the film transport mechanism.
- Lubrication: Apply high-quality lubricants sparingly to the appropriate components, ensuring smooth and precise operation. Carefully follow the manufacturer’s recommendations for the type and application of lubricants, taking care not to over-lubricate, which can attract dust and debris.
- Inspection and Repair: Thoroughly inspect each component for signs of wear, corrosion, or damage. Address any issues by repairing or replacing the affected parts to restore the camcorder to its optimal condition.
- Viewfinder and Lens Care: Clean the viewfinder optics and lens elements using lens cleaning solutions and microfiber cloths to ensure clear, unobstructed viewing and optimal image quality.
- Circuit Board Maintenance: Inspect the circuit boards for loose connections, corrosion, or damaged components. Carefully clean the boards using appropriate electronic cleaning solutions and inspect for any signs of deterioration.
- Exterior Cleaning: Clean the external surfaces of the camcorder using mild detergent solutions and soft cloths, taking care to remove any accumulated grime or residue without damaging the finish.
By meticulously cleaning and maintaining each component of the camcorder, you are not only ensuring its optimal functionality but also preserving its historical and aesthetic value. The careful application of cleaning and maintenance processes sets the stage for the successful reassembly and operation of this iconic piece of cinematic history.
Repairing or Replacing Parts
During the restoration of a Bell & Howell camcorder from the 1950s, it is common to encounter components that require repair or replacement due to wear, damage, or deterioration. The following steps outline the essential processes involved in repairing or replacing parts to ensure the camcorder’s optimal functionality:
- Assessment of Component Condition: Thoroughly evaluate each disassembled component to identify any signs of wear, damage, or corrosion. Pay particular attention to critical components such as gears, springs, and electrical connections.
- Repairing Mechanical Components: If feasible, repair worn or damaged mechanical components by carefully realigning, reshaping, or reinforcing them to restore their functionality. Utilize precision tools and techniques to ensure the integrity of the repaired components.
- Replacement of Worn Parts: For components that exhibit irreparable wear or damage, source high-quality replacement parts from reputable suppliers or salvage compatible parts from non-functional camcorders to maintain authenticity.
- Electrical Component Evaluation: Inspect the electrical components, including wiring, switches, and circuit boards, for signs of damage or deterioration. Repair or replace faulty electrical components to ensure reliable operation and safety.
- Testing and Calibration: After repairing or replacing components, carefully test and calibrate the camcorder’s mechanisms to ensure proper functionality and alignment. Make any necessary adjustments to achieve optimal performance.
- Quality Assurance: Prior to reassembly, conduct a thorough quality check to verify the integrity and functionality of all repaired or replaced components, ensuring that the camcorder is poised for successful reassembly and operation.
By meticulously assessing, repairing, and replacing worn or damaged components, you are not only restoring the functionality of the camcorder but also preserving its historical significance and craftsmanship. The careful attention to detail and commitment to quality repair processes are essential for ensuring that the Bell & Howell camcorder from the 1950s continues to captivate and inspire for generations to come.
Reassembly of the Camcorder
The reassembly phase of restoring a Bell & Howell camcorder from the 1950s is a critical stage that demands precision, patience, and meticulous attention to detail. Following the completion of cleaning, maintenance, and repair processes, the reassembly phase brings the carefully restored components together to breathe new life into this iconic piece of cinematic history. The following steps outline the essential processes involved in the reassembly of the camcorder:
- Reference Documentation: Refer to the initial documentation, including photographs and notes, created during the disassembly phase to guide the reassembly process and ensure accurate placement of components.
- Organized Component Layout: Lay out the cleaned and repaired components in a segmented container or a labeled tray, arranging them in the order of their reassembly to streamline the process and prevent confusion.
- Systematic Component Integration: Begin integrating the components back into the main body of the camcorder, following a systematic approach to ensure proper alignment and secure placement.
- Secure Fastening: Carefully reattach screws, fasteners, and electrical connections, ensuring that each component is securely fastened without over-tightening, which could cause damage.
- Lubrication and Calibration: Apply appropriate lubricants to the designated components, following manufacturer recommendations, and perform any necessary calibration to ensure smooth operation and optimal performance.
- Functional Testing: Conduct comprehensive functional tests at each stage of reassembly to verify the proper operation of the camcorder’s mechanisms, making any adjustments as needed.
- Final Quality Check: Upon completing the reassembly, perform a final quality check to ensure that all components are correctly positioned, secure, and functioning as intended.
By meticulously executing the reassembly process with precision and care, you are not only restoring the functionality of the camcorder but also preserving its historical and aesthetic value. The successful reassembly of the Bell & Howell camcorder from the 1950s marks a pivotal moment in the restoration journey, bringing this iconic piece of cinematic history back to life for future generations to appreciate and admire.
Testing and Troubleshooting
Upon completing the meticulous reassembly of the Bell & Howell camcorder from the 1950s, thorough testing and troubleshooting are essential to ensure that the restored device operates at its full potential. The following steps outline the crucial processes involved in testing and troubleshooting the camcorder:
- Power-On Test: Begin by powering on the camcorder and verifying that all electrical components, including the viewfinder, motor, and indicator lights, are functioning as expected.
- Film Transport Test: Load a test film cartridge and observe the smooth operation of the film transport mechanism, ensuring that the film advances correctly and the shutter functions accurately.
- Exposure and Focusing Test: Verify the functionality of the exposure controls and the accuracy of the focusing mechanism, ensuring that the camcorder captures clear and well-exposed images.
- Audio and Playback Test: If applicable, test the audio recording and playback capabilities of the camcorder, ensuring that the sound is clear and free from distortion or interference.
- Functional Calibration: Perform any necessary adjustments or calibrations to fine-tune the camcorder’s settings, ensuring optimal performance in various shooting conditions.
- Field Testing: Take the restored camcorder into real-world shooting scenarios to evaluate its performance in diverse lighting conditions and filming environments.
- Troubleshooting: If any issues arise during testing, systematically troubleshoot the camcorder, identifying and addressing any anomalies or malfunctions with precision and care.
Thorough testing and troubleshooting are essential for validating the successful restoration of the camcorder and addressing any potential issues that may arise. By meticulously testing and fine-tuning the functionality of the Bell & Howell camcorder, you are ensuring that this iconic piece of cinematic history is ready to capture timeless moments with the same precision and artistry for which it was originally renowned.
Conclusion
Embarking on the journey of repairing a vintage Bell & Howell camcorder from the 1950s is a testament to the enduring legacy of classic filmmaking technology. Throughout this comprehensive guide, we have explored the intricate processes of disassembling, cleaning, repairing, and reassembling this iconic piece of cinematic history. By meticulously approaching each phase of the restoration journey, we have not only revived the functionality of the camcorder but also preserved its historical and aesthetic significance for generations to come.
Understanding the inner workings and historical context of the Bell & Howell camcorder has provided invaluable insights into the craftsmanship and innovation of a bygone era. The meticulous attention to detail required in the disassembly, cleaning, and maintenance phases has not only restored the functionality of the camcorder but also honored its legacy as a symbol of timeless quality and precision.
The repair and replacement of worn or damaged components have breathed new life into this vintage device, ensuring that it continues to capture moments with the same precision and artistry for which it was originally renowned. The reassembly and rigorous testing processes have culminated in the successful restoration of the camcorder, ready to embark on a new chapter of capturing memories and preserving the magic of vintage filmmaking.
As we conclude this journey of restoration, we celebrate the resilience and enduring appeal of the Bell & Howell camcorder from the 1950s. By embracing the challenges and intricacies of repairing this iconic device, we have not only preserved a piece of technological history but also enriched our understanding of the craftsmanship and innovation that defined an era. The restored camcorder stands as a tribute to the artistry and ingenuity of its creators, inspiring future generations to appreciate and cherish the magic of classic filmmaking technology.