Introduction
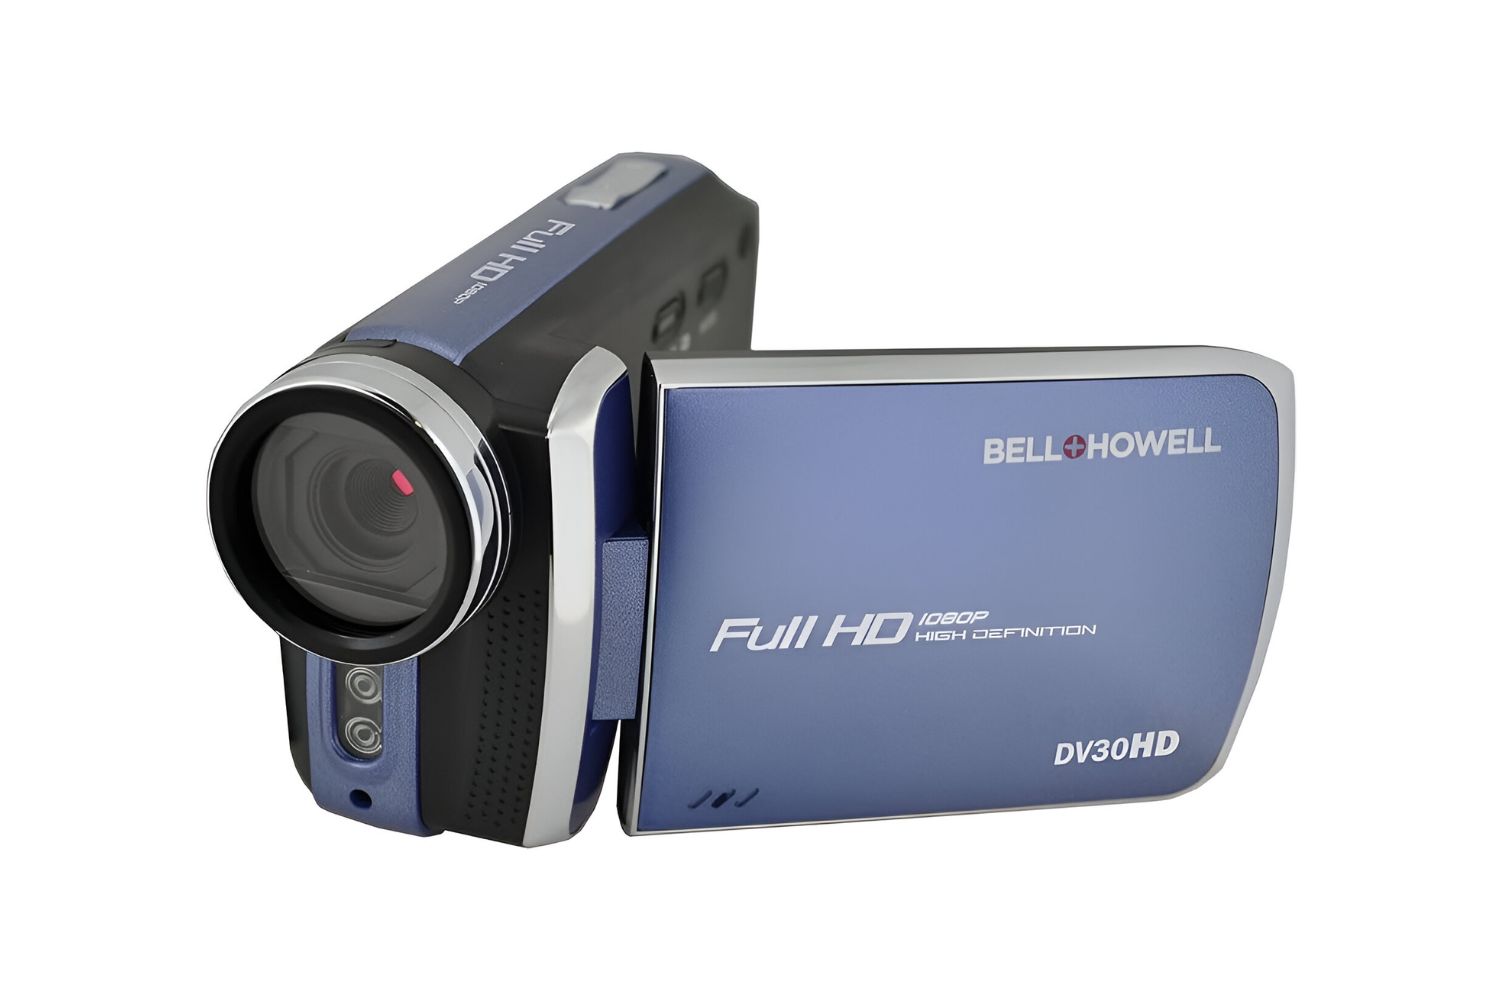
Welcome to the guide on changing the rechargeable battery in your Bell and Howell video doorbell. As a proud owner of this innovative security device, you understand the importance of maintaining its functionality. Over time, the battery in your video doorbell may need replacement to ensure uninterrupted surveillance of your property. In this comprehensive tutorial, you will learn the step-by-step process of replacing the rechargeable battery in your Bell and Howell video doorbell, allowing you to continue enjoying the peace of mind that comes with a reliable home security system.
The Bell and Howell video doorbell has revolutionized the way homeowners monitor their properties, providing a seamless and convenient way to keep an eye on their surroundings. As with any electronic device, regular maintenance is crucial to ensure optimal performance. By following the instructions in this guide, you will be equipped with the knowledge and skills to effortlessly replace the rechargeable battery in your video doorbell, prolonging its lifespan and preserving its effectiveness in safeguarding your home.
This guide is designed to empower you with the expertise needed to carry out this maintenance task confidently and efficiently. Whether you are a seasoned DIY enthusiast or a novice in home security maintenance, the clear and detailed steps provided here will enable you to complete the battery replacement process with ease. So, gather your tools and prepare to embark on this simple yet essential maintenance procedure for your Bell and Howell video doorbell. Let's ensure that your home security system continues to operate at its best by replacing the rechargeable battery effectively.
Step 1: Gather the necessary tools
Before you begin the process of changing the rechargeable battery in your Bell and Howell video doorbell, it’s essential to gather the required tools. Having the right equipment at hand will streamline the task and ensure a smooth transition from removing the old battery to installing the new one.
Here’s a list of the tools you will need:
- Phillips head screwdriver: This tool is necessary for removing the screws that secure the Bell and Howell video doorbell to its mount. Ensure that the screwdriver head is the appropriate size for the screws on your specific model.
- Replacement rechargeable battery: Acquire the correct type of rechargeable battery recommended for your Bell and Howell video doorbell. It’s crucial to use a compatible battery to maintain the device’s functionality.
- Work gloves: Protect your hands by wearing work gloves throughout the battery replacement process. This precaution will prevent accidental injury and shield your skin from any sharp edges or debris.
- Clean, dry cloth: Keep a cloth nearby to wipe any dust or dirt from the video doorbell and its components. Maintaining a clean working environment will help prevent any damage to the device during the battery replacement.
By ensuring that you have these tools readily available, you will be well-prepared to proceed with the subsequent steps in the battery replacement process. With these essentials at your disposal, you can approach the task confidently, knowing that you have everything necessary to complete the procedure efficiently and effectively.
Step 2: Remove the Bell and Howell Video Doorbell from Its Mount
Before you can access the rechargeable battery in your Bell and Howell video doorbell, you’ll need to remove the device from its mount. This step is essential for gaining clear and safe access to the battery compartment, ensuring that the replacement process can be carried out smoothly and without any obstructions. Here’s how to remove the video doorbell from its mount:
- Turn off the power: Begin by turning off the power supply to the video doorbell. This precautionary measure ensures that you can work on the device safely without the risk of electric shock. Locate the power source for your video doorbell and switch it off before proceeding.
- Use the screwdriver: With the power off, use the Phillips head screwdriver to carefully remove the screws that secure the video doorbell to its mount. Place the screws in a secure location to prevent them from getting lost during the removal process.
- Gently detach the device: Once the screws are removed, gently detach the video doorbell from its mount. Take care to handle the device with caution, avoiding any excessive force that could cause damage to the unit or its components.
- Set the device aside: After removing the video doorbell from its mount, place the device on a clean, flat surface. This will provide a stable and safe area for you to proceed with the battery replacement.
By following these steps, you will successfully remove the Bell and Howell video doorbell from its mount, setting the stage for the subsequent tasks involved in replacing the rechargeable battery. Ensuring that the device is safely detached from its mount is crucial for carrying out the maintenance procedure effectively and without any complications.
Step 3: Disconnect the Old Rechargeable Battery
Now that your Bell and Howell video doorbell is safely removed from its mount, the next step is to disconnect the old rechargeable battery from the device. This process requires attention to detail and careful handling to ensure that the battery is removed without causing any damage to the video doorbell. Here’s how to disconnect the old rechargeable battery:
- Locate the battery compartment: Identify the location of the battery compartment on your video doorbell. The specific design of the device may vary, but the battery compartment is typically accessible once the device is removed from its mount.
- Handle the battery with care: Before proceeding, it’s important to handle the old rechargeable battery with care. Avoid applying excessive pressure to the battery or causing any unnecessary strain on its connectors.
- Disconnect the battery: Depending on the model of your Bell and Howell video doorbell, you may need to use a small tool to disconnect the old rechargeable battery from its housing. Follow the manufacturer’s instructions for safely disconnecting the battery, ensuring that you do not damage any of the device’s internal components.
- Remove the battery: Once the battery is disconnected, carefully remove it from the battery compartment. Take note of the orientation of the old battery to ensure that the new replacement battery can be installed correctly.
- Set the old battery aside: After disconnecting and removing the old rechargeable battery, set it aside in a safe and secure location. Properly dispose of the old battery according to local regulations and guidelines for electronic waste disposal.
By following these steps, you will successfully disconnect the old rechargeable battery from your Bell and Howell video doorbell, paving the way for the installation of the new replacement battery. Handling the old battery with care and precision is essential to ensure that the device remains in optimal condition throughout the battery replacement process.
Step 4: Install the New Rechargeable Battery
With the old rechargeable battery safely disconnected from your Bell and Howell video doorbell, it’s time to proceed with the installation of the new replacement battery. This step is crucial for restoring the device’s power source and ensuring continued functionality. Follow these detailed steps to install the new rechargeable battery:
- Inspect the new battery: Before installation, carefully inspect the new rechargeable battery to ensure that it is free from any defects or damage. Verify that the specifications of the new battery match the requirements for your Bell and Howell video doorbell.
- Align the new battery: Position the new rechargeable battery in the battery compartment of the video doorbell, ensuring that it is aligned correctly with the connectors and the housing. Take care to orient the battery in the same manner as the old one was positioned.
- Connect the battery: Using the appropriate method specified by the manufacturer, connect the new rechargeable battery to the device, ensuring a secure and stable connection. Follow any specific instructions provided with the new battery to ensure proper installation.
- Secure the battery: Once the new battery is connected, secure it in place within the battery compartment according to the device’s design and any accompanying guidelines. Ensure that the battery is firmly positioned and does not have any loose connections.
- Perform a test: After installing the new rechargeable battery, perform a quick test to ensure that the device powers up and functions as expected. This test will confirm that the new battery is operating correctly and has been installed successfully.
By following these steps, you will effectively install the new rechargeable battery in your Bell and Howell video doorbell, restoring the device’s power source and preparing it for reattachment to its mount. Carefully handling and securing the new battery is essential to maintain the optimal performance of your video doorbell.
Step 5: Reattach the Bell and Howell Video Doorbell to Its Mount
With the new rechargeable battery successfully installed in your Bell and Howell video doorbell, the final step in the process is to reattach the device to its mount. This step is crucial for restoring the video doorbell to its operational position and ensuring that it continues to fulfill its security function effectively. Follow these steps to reattach the video doorbell to its mount:
- Position the device: Place the video doorbell in the correct position to align it with the mount. Ensure that the device is oriented properly and that the connectors align with the corresponding points on the mount.
- Secure the device: Use the Phillips head screwdriver to reinsert and tighten the screws that secure the video doorbell to its mount. Ensure that the device is firmly and securely attached, minimizing any potential movement or instability.
- Test the attachment: After reattaching the video doorbell to its mount, perform a brief test to ensure that the device remains securely in place and that the attachment is stable. Gently apply pressure to the device to confirm that it is fixed securely to the mount.
- Power on the device: Once the video doorbell is securely reattached, restore the power supply to the device. This step will reactivate the video doorbell and allow it to resume its surveillance function using the newly installed rechargeable battery.
- Verify functionality: After restoring power to the device, verify that the video doorbell functions as expected. Test its features, including motion detection and video capture, to ensure that the device is fully operational with the new rechargeable battery.
By following these steps, you will successfully reattach your Bell and Howell video doorbell to its mount, completing the process of replacing the rechargeable battery. Ensuring that the device is securely and correctly positioned is essential for maintaining its effectiveness in safeguarding your home.
Conclusion
Congratulations! You have successfully completed the process of changing the rechargeable battery in your Bell and Howell video doorbell. By following the step-by-step instructions provided in this guide, you have demonstrated the knowledge and skill required to maintain and optimize the functionality of your home security system. The meticulous approach to replacing the battery ensures that your video doorbell will continue to provide reliable surveillance and protection for your property.
By gathering the necessary tools and carefully removing the video doorbell from its mount, you set the stage for a seamless battery replacement process. Disconnecting the old rechargeable battery and installing the new one required precision and attention to detail, and your commitment to these steps ensures the continued effectiveness of your video doorbell. The final step of reattaching the device to its mount and verifying its functionality confirms that your Bell and Howell video doorbell is ready to resume its essential security role.
Remember that regular maintenance, such as battery replacement, is key to maximizing the longevity and performance of your home security devices. By staying proactive in maintaining your video doorbell, you contribute to the overall security and peace of mind for you and your family. As you enjoy the enhanced functionality of your freshly powered-up video doorbell, take pride in your ability to carry out this essential maintenance task with confidence and expertise.
With the knowledge gained from this guide, you are well-equipped to handle future maintenance needs and ensure that your Bell and Howell video doorbell remains a reliable guardian for your home. Your commitment to maintaining your home security system reflects your dedication to creating a safe and secure environment for those you care about.