Introduction
Welcome to the world of smart home security with the Visi Wi-Fi Video Doorbell from Sharper Image. The Visi doorbell is a cutting-edge device that allows you to monitor and control your front door right from your smartphone. With features like two-way audio, motion detection, and night vision, you’ll have complete peace of mind knowing who’s at your door, whether you’re at home or away.
Installing the Visi Wi-Fi Video Doorbell is a straightforward process that can be completed by anyone with basic DIY skills. In this step-by-step guide, we’ll walk you through the installation process, from unboxing the doorbell to connecting it to your Wi-Fi network. By following these instructions, you’ll have your Visi doorbell up and running in no time.
Before we dive into the installation process, it’s important to note that the Visi Wi-Fi Video Doorbell package includes all the necessary components, including the doorbell unit, mounting bracket, screws, chime unit, and a user manual. Make sure you have everything at hand before getting started.
Now, let’s begin the installation process and turn your front door into a smart entryway with the Visi Wi-Fi Video Doorbell.
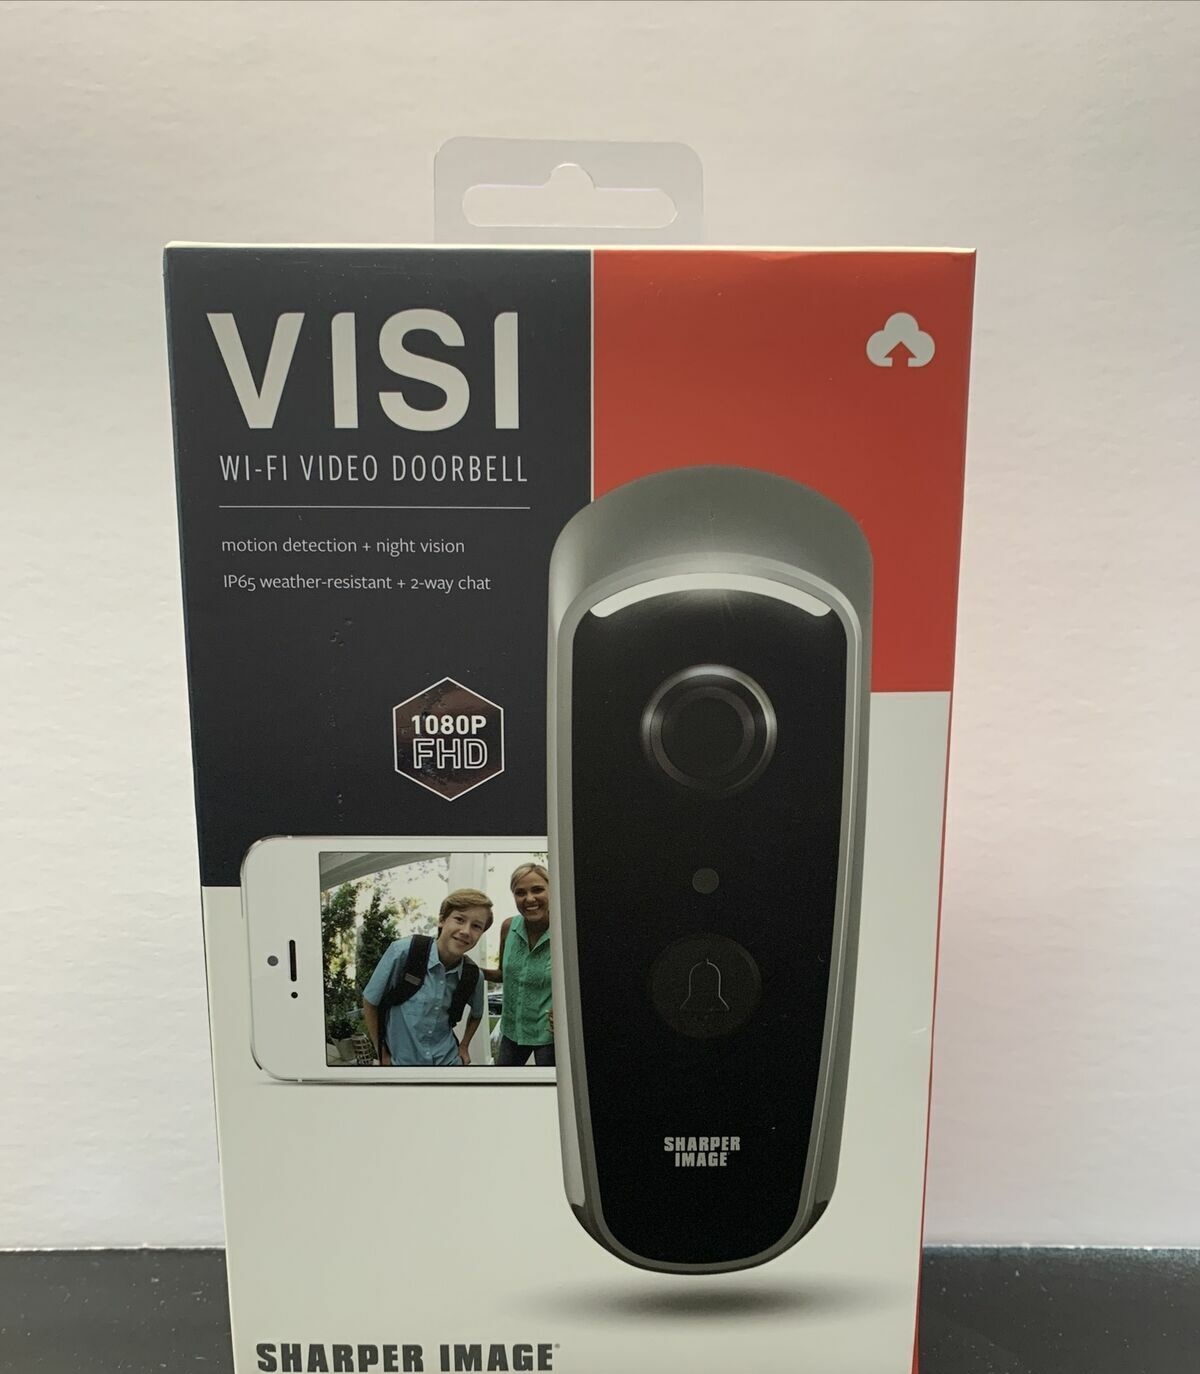
Step 1: Unpack the box and check the contents
The first step in installing the Visi Wi-Fi Video Doorbell is to unpack the box and ensure that all the necessary components are included. This will help you avoid any surprises or missing parts during the installation process.
Start by carefully opening the packaging and removing the Visi doorbell unit, the chime unit, the mounting bracket, screws, and the user manual. Take a moment to inspect each item and make sure there are no visible damages.
Next, refer to the user manual to familiarize yourself with the components and their functions. This will give you a better understanding of how the Visi Video Doorbell works and how the different parts come together during installation.
Check that you have all the necessary tools and equipment to complete the installation successfully. Typically, you’ll need a screwdriver, drill, level, and possibly a wire stripper if you plan on hardwiring the doorbell.
Make sure to also check if any batteries or power adapters are included in the package. Depending on the model, your Visi doorbell might require batteries or need to be connected to a power source.
Take a moment to inspect the quality and condition of the products. Look for any scratches, dents, or defects that may affect the functionality or appearance of the doorbell. If you notice any issues, contact the manufacturer’s customer support for assistance or a replacement.
Once you have confirmed that all components are present and in good condition, you’re ready to move on to the next step of the installation process.
Step 2: Choose the best location for the doorbell
Choosing the perfect location for your Visi Wi-Fi Video Doorbell is crucial to ensure optimal performance and security. The right placement will provide a clear view of your front door and allow for effective communication with visitors. Follow these guidelines to select the best location:
1. Front door visibility: The doorbell should be positioned at a height and angle that provides a clear view of anyone approaching your front door. Avoid obstructions such as plants or hanging decorations that may obstruct the camera’s field of view.
2. Accessibility: Ensure that the doorbell is easily accessible for visitors to press and for you to answer from inside your home. Choose a location that is within reach and conveniently located near your front door.
3. Wiring considerations: If you are planning to hardwire the Visi doorbell, make sure to select a location near an existing wired doorbell or power source. This will simplify the installation process and avoid the need for additional wiring.
4. Wi-Fi signal strength: Position the doorbell within range of your home’s Wi-Fi network to ensure a reliable connection. Test the Wi-Fi signal strength in the chosen location using a smartphone or device to ensure a strong and stable connection.
5. Weather protection: Consider the weather conditions in your area when selecting the doorbell’s location. Ideally, choose a spot that provides some protection from rain, snow, and direct sunlight to prolong the lifespan of the device.
6. Security considerations: Take into account the potential risks of vandalism or theft when choosing the installation location. Select a spot that is not easily accessible to strangers and offers some level of security.
Once you have identified the ideal location, mark the positions where you will need to drill holes for mounting. Double-check the alignment and make any necessary adjustments before proceeding to the installation process.
Step 3: Install the Chime unit
The chime unit is an essential component of the Visi Wi-Fi Video Doorbell system. It notifies you inside your home when someone presses the doorbell, ensuring that you never miss a visitor. Follow these steps to install the chime unit:
1. Choose a suitable location: Select an area inside your home where you can hear the chime easily. It is recommended to install it near a power outlet for convenience.
2. Plug in the chime unit: Connect the chime unit to a power outlet using the provided power adapter. Make sure the power source is compatible with the voltage requirements of the chime unit.
3. Test the chime: Once the chime unit is plugged in, test it by pressing the doorbell button. You should hear a chime sound indicating that the chime unit is functioning correctly.
4. Adjust the volume: Some chime units allow you to adjust the volume or select different chime sounds. Refer to the user manual for instructions on how to customize the chime settings according to your preferences.
5. Sync with the doorbell unit: If your specific chime model requires synchronization with the doorbell unit, follow the instructions provided in the user manual to establish the connection. This step is essential for the chime unit to receive signals from the doorbell when someone presses it.
Once you have completed the installation of the chime unit, you can move on to the next step of installing the Visi Wi-Fi Video Doorbell itself.
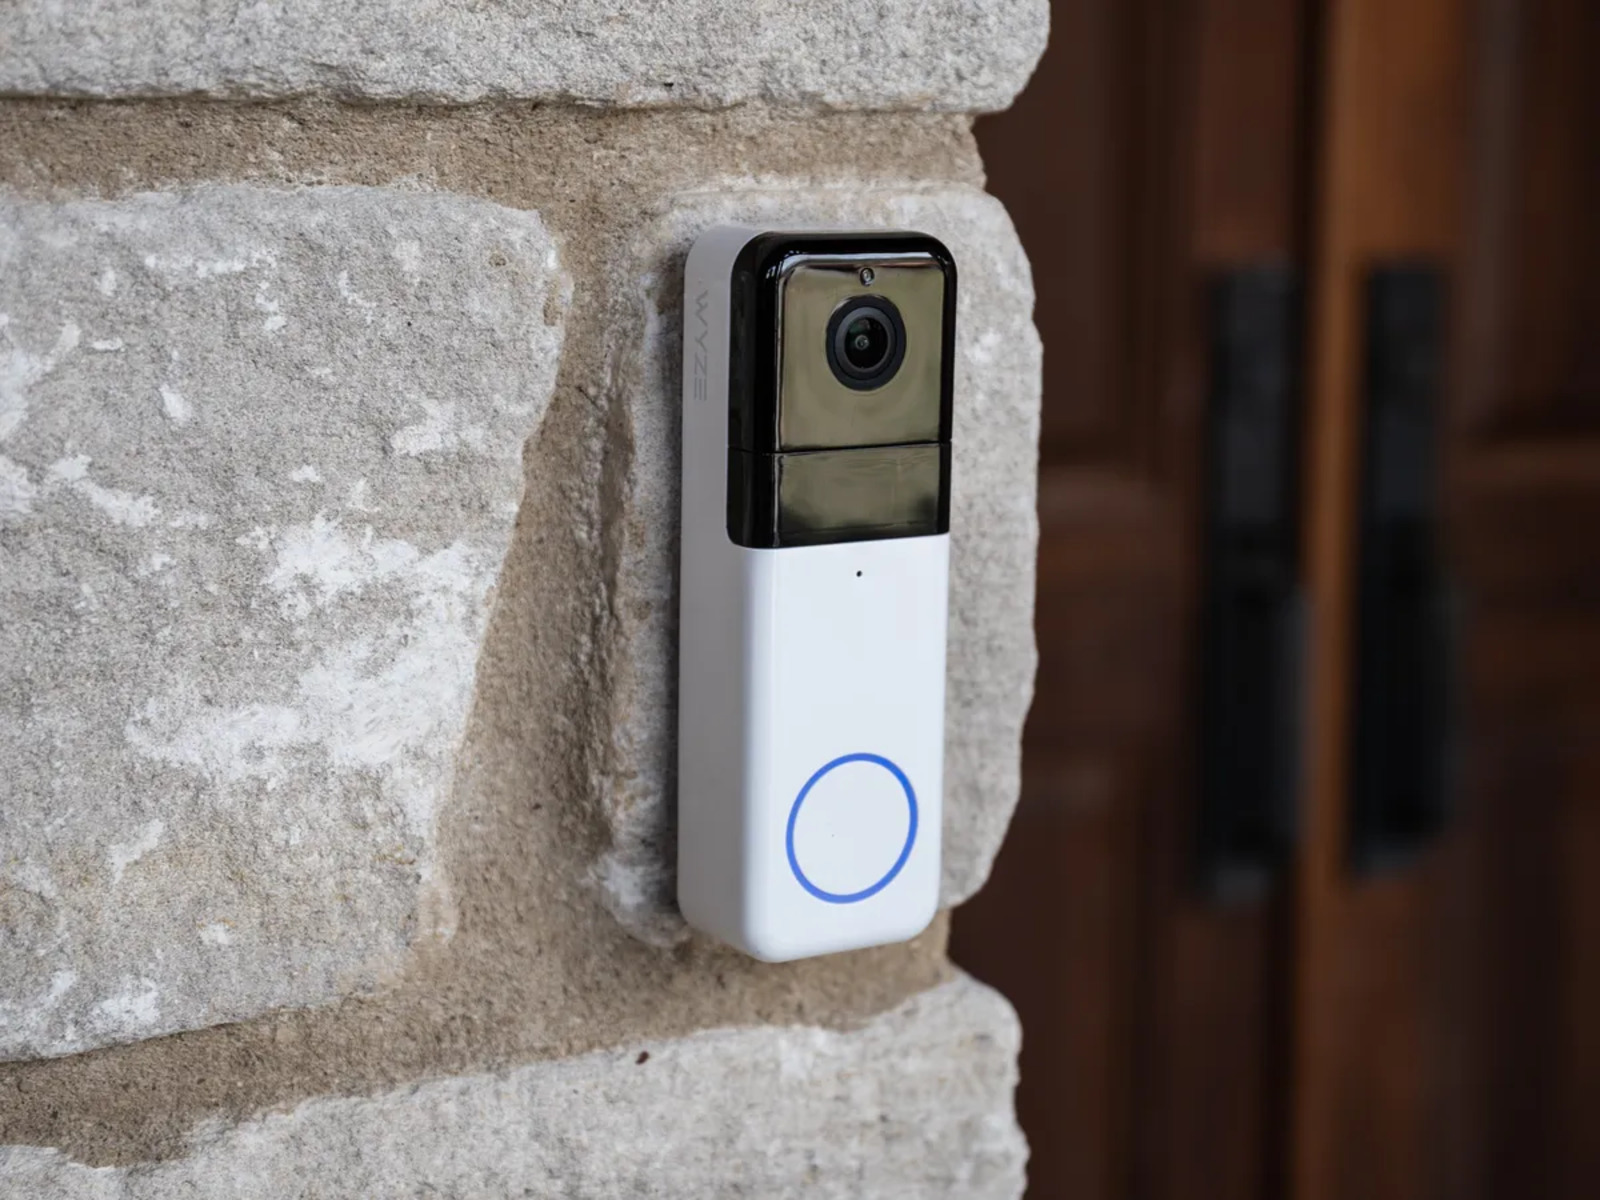
Step 4: Install the Video Doorbell
Installing the Visi Wi-Fi Video Doorbell is a straightforward process that involves mounting the device securely near your front door. Follow these steps to install the doorbell:
1. Prepare the mounting bracket: Attach the mounting bracket to the chosen location using the provided screws. Make sure it is level and securely fastened to the wall or door frame.
2. Connect the wiring (if applicable): If you are hardwiring the doorbell, follow the wiring instructions provided in the user manual. This typically involves connecting the wires from your existing doorbell or power source to the corresponding terminals on the Visi Video Doorbell.
3. Attach the doorbell unit: Line up the slots on the back of the Visi doorbell with the mounting bracket and slide it into place. Secure it with the provided screws to ensure it is properly mounted and held in position.
4. Adjust the doorbell angle: Once the doorbell unit is mounted, adjust the angle of the camera to ensure it captures the desired area. Loosen the adjustment screws on the back of the doorbell and tilt it up, down, or side to side as needed. Tighten the screws to lock the doorbell in place.
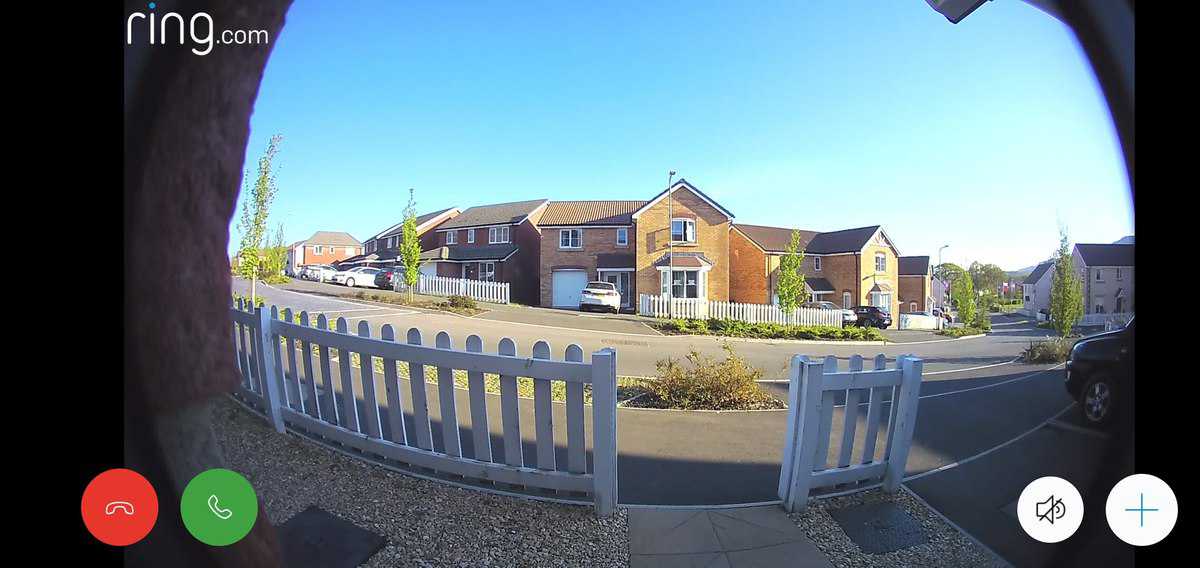
5. Test the doorbell functionality: Before finalizing the installation, test the doorbell to ensure all features are working correctly. Press the doorbell button and verify that it activates the video feed, audio communication, and motion detection (if applicable).
6. Consider additional security measures: If desired, you can further enhance the security of your Visi Video Doorbell by adding security screws to prevent unauthorized removal or tampering.
Once you have completed the installation of the Visi Wi-Fi Video Doorbell, move on to the next step of connecting it to your Wi-Fi network.
Step 5: Connect the doorbell to your Wi-Fi network
Connecting the Visi Wi-Fi Video Doorbell to your home’s Wi-Fi network is vital for remote access and control. Follow these steps to connect the doorbell to your Wi-Fi network:
1. Launch the Visi app: Make sure your smartphone is connected to your home’s Wi-Fi network. Download and install the Visi app from the App Store or Google Play Store. Open the app and sign in or create a new account if prompted.
2. Add a new device: In the Visi app, navigate to the device management or settings section and select “Add New Device.” Choose the option for adding a video doorbell and follow the on-screen instructions.
3. Enter Wi-Fi details: When prompted, enter your home’s Wi-Fi network name (SSID) and password. Make sure to input the correct details to establish a successful connection. The doorbell should detect and connect to your Wi-Fi network automatically.
4. Close the app and wait: Once you have entered the Wi-Fi details, exit the Visi app and give the doorbell a few moments to connect to your Wi-Fi network. The LED light on the doorbell will typically indicate when it is successfully connected.
5. Reopen the app and check connectivity: Launch the Visi app again and navigate to the device management section. Verify that the doorbell is listed and shows a status indicating that it is connected to the Wi-Fi network. This confirms that the connection was successful.
6. Test the remote access: To ensure remote access is working correctly, exit your home’s Wi-Fi network and use a cellular data connection or a separate Wi-Fi network to access the Visi app. Verify that you can view the doorbell’s live video feed and receive notifications when someone activates the doorbell.
Note: If you encounter any issues during the Wi-Fi connection process, refer to the user manual or contact Visi’s customer support for assistance. They will be able to troubleshoot and guide you through any potential connectivity problems.
Once you have successfully connected the Visi Video Doorbell to your Wi-Fi network, you can proceed to the next step of downloading and setting up the Visi app.
Step 6: Download and set up the Visi app
The Visi app is the central control center for your Visi Wi-Fi Video Doorbell. It allows you to customize settings, receive notifications, and access the live video feed from your doorbell. Follow these steps to download and set up the Visi app:
1. App store download: Depending on your smartphone’s operating system, go to the App Store (for iOS devices) or the Google Play Store (for Android devices) on your smartphone. Search for “Visi” in the search bar.
2. Install the app: Once you have located the Visi app, tap on the “Install” or “Get” button to download and install the app onto your smartphone. Alternatively, if you have previously installed the app, make sure it is up to date by selecting the “Update” option.
3. Open the app: Once the Visi app is installed, locate the app icon on your smartphone’s home screen or app drawer and tap on it to open the app.
4. Create an account (if applicable): If you are using the Visi app for the first time, you may need to create a new account. Follow the on-screen prompts to provide the required information, such as your email address and password. If you already have an account, sign in using your existing login credentials.
5. Grant necessary permissions: To ensure that the Visi app functions properly, it may require certain permissions on your smartphone, such as access to your camera, microphone, and push notifications. Allow these permissions as requested by the app.
6. Add your Video Doorbell: Once you have logged in to the Visi app, navigate to the device management section or settings to add your Video Doorbell to the app. Follow the on-screen instructions to pair the app with your doorbell by scanning the QR code or entering the device’s unique ID.
7. Customize settings: Once your Video Doorbell is successfully added, you’ll have the option to customize various settings, including motion detection sensitivity, notification preferences, and recording options. Explore the app’s settings to tailor it to your preferences.
Now that you have installed and set up the Visi app, you are ready to start enjoying the full functionality of your Visi Wi-Fi Video Doorbell.
Step 7: Customize your doorbell settings
Customizing your Visi Wi-Fi Video Doorbell settings allows you to personalize the functionality and notifications according to your preferences. Follow these steps to customize your doorbell settings:
1. Open the Visi app: Launch the Visi app on your smartphone and log in to your account if you are not already logged in.
2. Access device settings: Navigate to the device management or settings section of the Visi app to access the specific settings for your Video Doorbell.
3. Adjust motion detection: Fine-tune the motion detection settings to your desired sensitivity level. Some doorbells offer adjustable motion zones, allowing you to focus on specific areas or exclude certain areas from triggering motion alerts.
4. Set notification preferences: Choose how and when you want to receive notifications from your Video Doorbell. You can opt to receive push notifications, emails, or both. Customize the settings based on your availability and preferences.
5. Enable or disable features: Depending on your doorbell model, you may have additional features such as two-way audio, night vision, or integrations with other smart home devices. Enable or disable these features as desired.
6. Set recording options: Determine the recording options for your doorbell. You may choose continuous recording, event-triggered recording, or a combination of both. Select the appropriate storage options, such as cloud storage or a local SD card, based on your needs.
7. Test and verify settings: After making adjustments to your doorbell settings, perform thorough testing to ensure that the changes are working as intended. Verify motion detection capabilities, audio communication, and video quality to ensure proper functionality.
8. Make periodic adjustments: As your needs or preferences change over time, revisit the settings and make any necessary adjustments. Stay informed about firmware updates for your doorbell and the Visi app to benefit from the latest features and improvements.
By customizing your Visi Video Doorbell settings, you can optimize its performance and tailor it to suit your specific requirements, ensuring a seamless and personalized user experience.
Conclusion
Congratulations! You have successfully installed and set up your Visi Wi-Fi Video Doorbell from Sharper Image. With its advanced features such as two-way audio, motion detection, and remote access through the Visi app, you now have a powerful device that enhances the security and convenience of your home’s entryway.
Throughout the installation process, you learned how to unpack and check the contents of the box, select the best location for the doorbell, install the chime unit, mount the doorbell itself, connect it to your Wi-Fi network, download and set up the Visi app, and customize your doorbell settings.
Now that your Visi doorbell is up and running, you can enjoy the peace of mind that comes with knowing you can monitor and control your front door from anywhere. Be sure to familiarize yourself with the various features of the Visi app, such as adjusting motion detection settings, setting notification preferences, and exploring any additional integrations it may have with other smart home devices.
Remember to periodically check and update your doorbell’s settings to ensure it continues to meet your evolving needs. Regular maintenance, such as cleaning the camera lens and checking for firmware updates, will help maintain optimal performance over time.
If you encounter any difficulties during the installation process or have questions about the operation of your Visi doorbell, consult the user manual or reach out to Sharper Image’s customer support for assistance. They will be happy to help you resolve any issues and maximize the benefits of your Visi Wi-Fi Video Doorbell.
With your Visi Wi-Fi Video Doorbell installed, you can answer your doorbell from anywhere, keep an eye on package deliveries, and enhance the security of your home. Enjoy the convenience and peace of mind that the Visi doorbell provides!