Introduction
Understanding the Basics of Camcorders and OBS
So, you"ve taken the plunge into the exciting world of content creation and live streaming. Whether you"re a budding vlogger, a passionate gamer, or an aspiring filmmaker, having a high-quality setup is essential for captivating your audience. One crucial component of this setup is the integration of a camcorder with OBS (Open Broadcaster Software), a popular open-source platform for live streaming and recording.
In this guide, we"ll walk you through the process of setting up a camcorder for OBS, from selecting the right camcorder to configuring the necessary settings. By the end of this tutorial, you"ll have the knowledge and confidence to seamlessly incorporate a camcorder into your live streaming arsenal, elevating the production value of your content and engaging your viewers in a whole new way.
Now, let"s embark on this journey to unlock the potential of your camcorder and harness the power of OBS to bring your creative vision to life.
Choosing the Right Camcorder
When it comes to integrating a camcorder with OBS, selecting the right device is the first crucial step. The camcorder you choose should align with your specific streaming needs and budget while delivering the desired video quality. Here are some key factors to consider when making this important decision:
- Resolution: Opt for a camcorder with a minimum resolution of 1080p to ensure high-definition video output. This ensures that your viewers can enjoy a clear and detailed visual experience.
- Low-Light Performance: If you anticipate streaming in various lighting conditions, prioritize a camcorder with excellent low-light performance to maintain video quality in challenging environments.
- External Audio Support: Consider whether the camcorder supports external microphones or audio input, as clear and high-quality audio is just as important as sharp video.
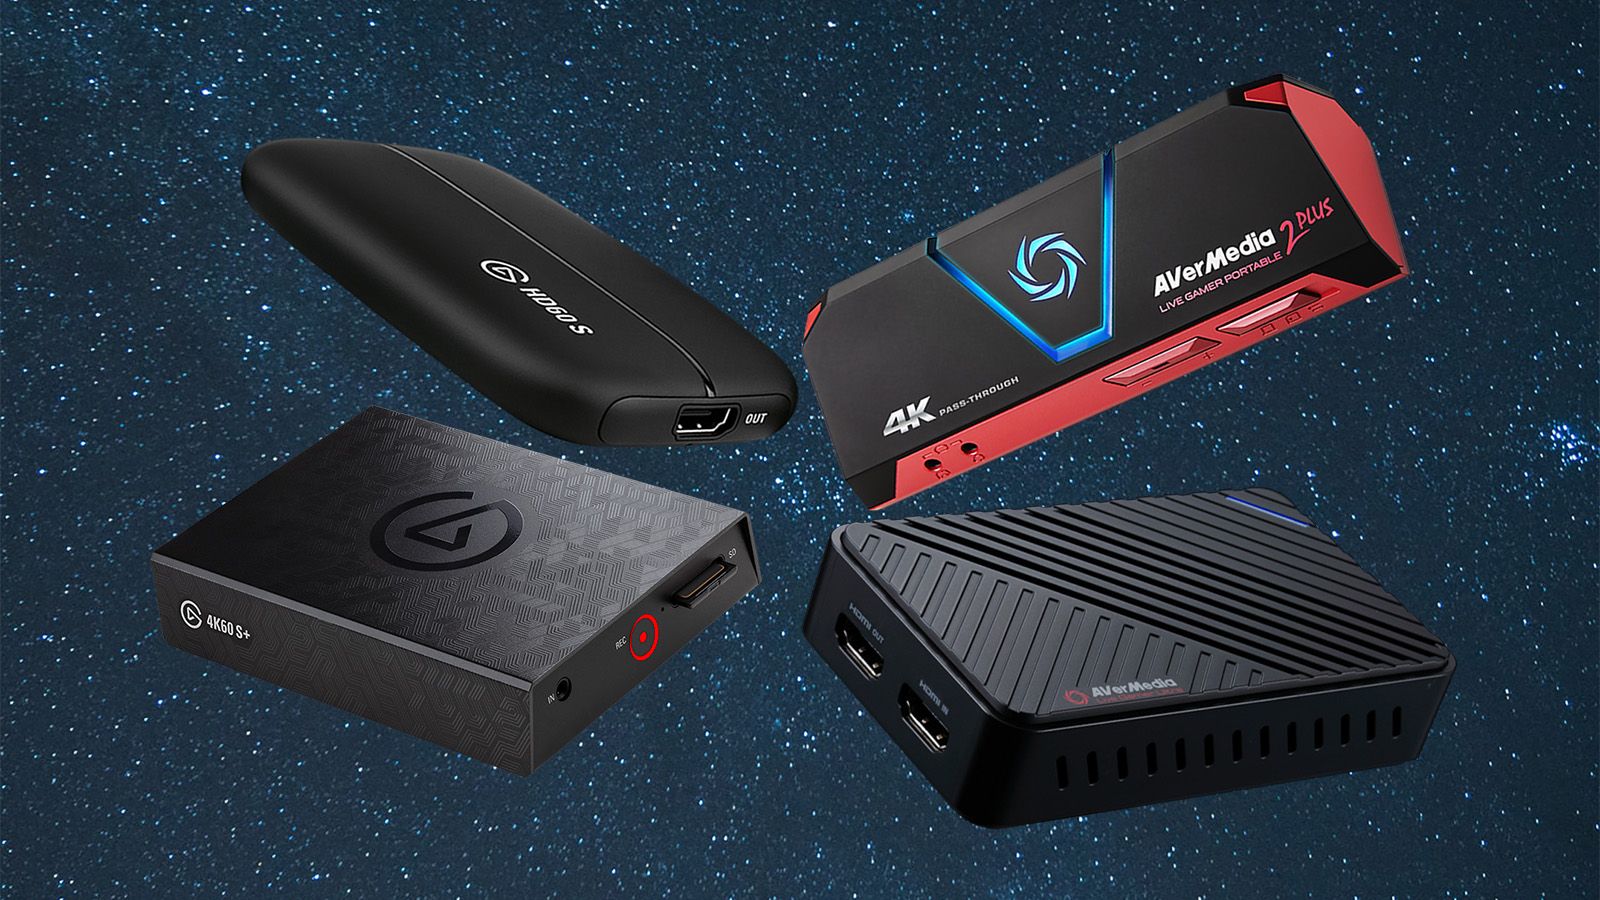
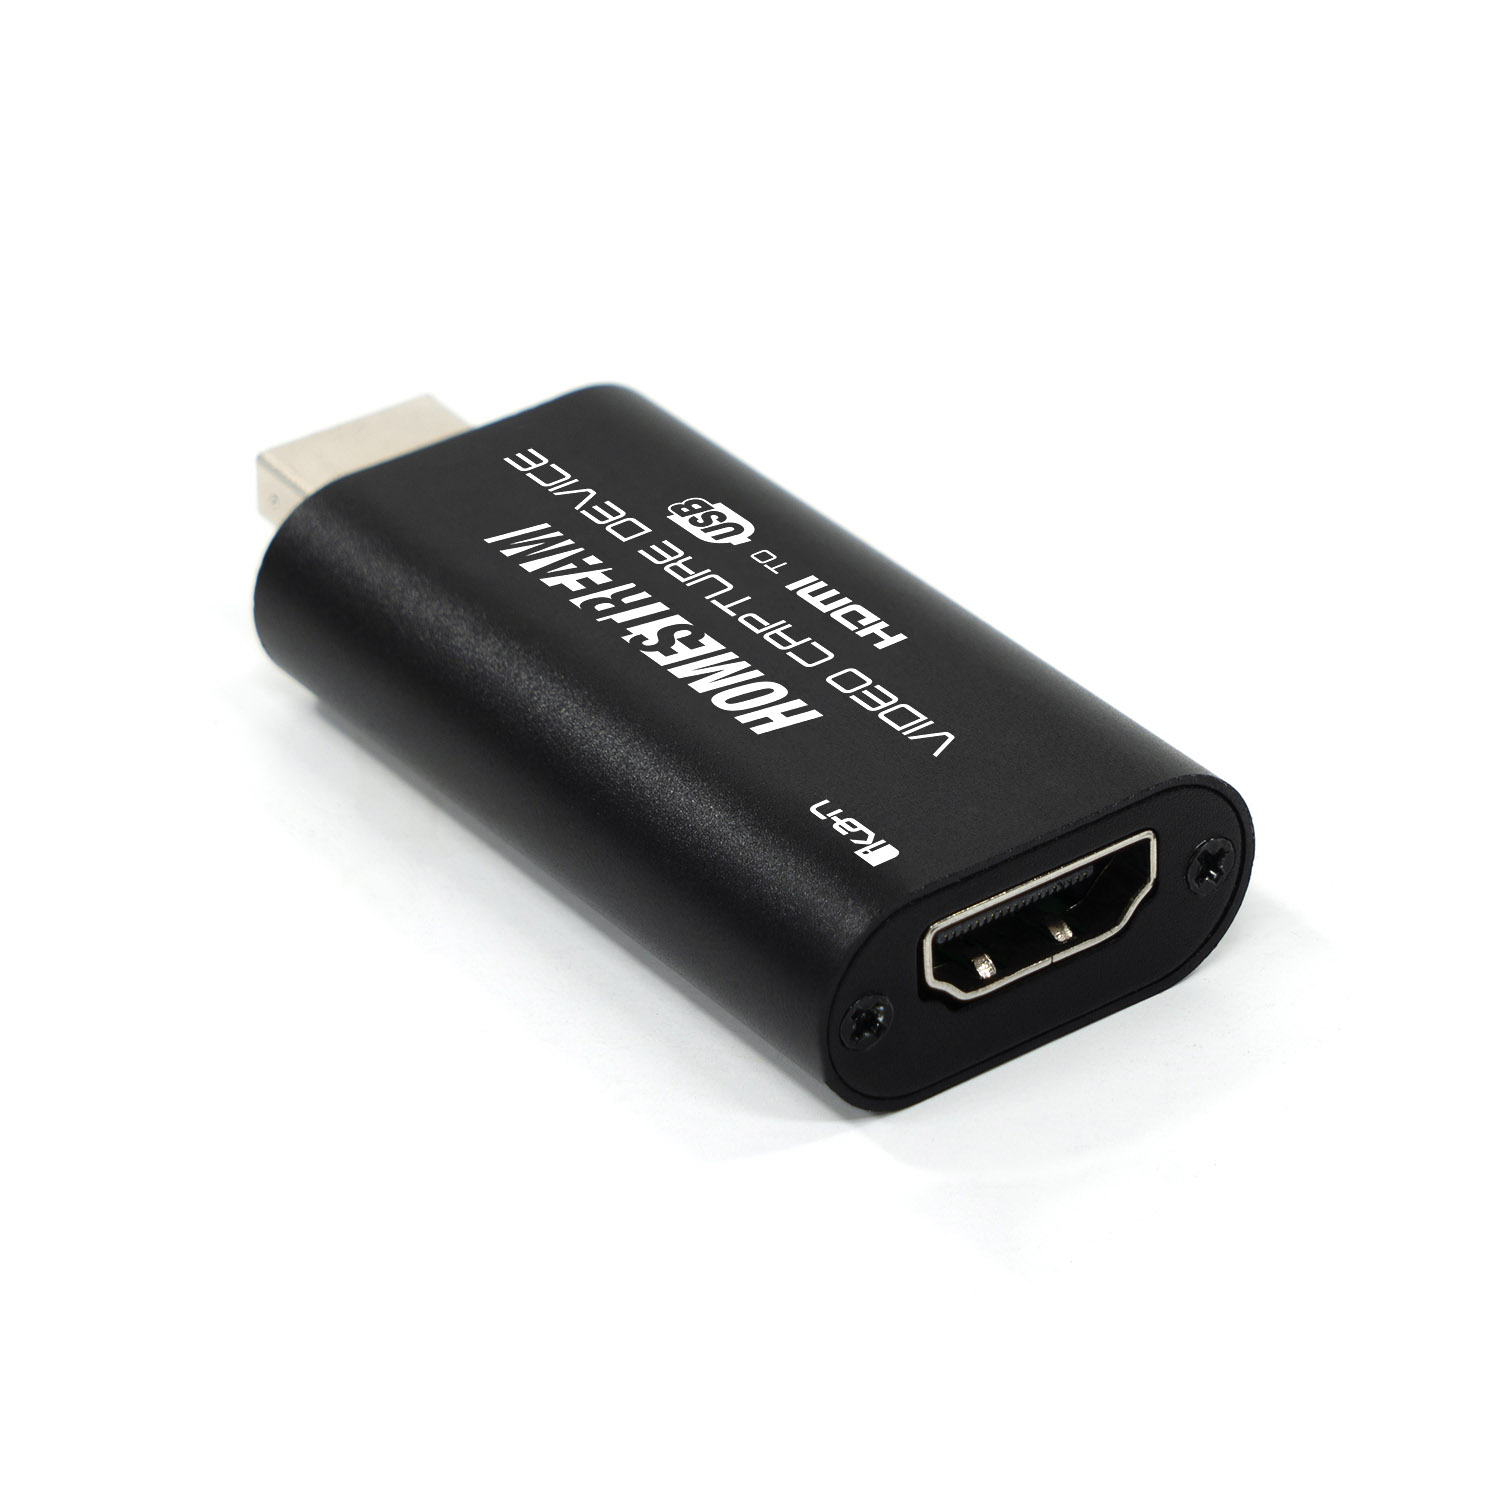
- Connectivity: Look for a camcorder with HDMI or USB output capabilities to facilitate seamless connection to your computer for live streaming purposes.
- Zoom and Focus Control: Depending on your content, having precise control over zoom and focus can significantly enhance the visual appeal of your streams.
- Price and Budget: Evaluate your budget and explore camcorder options that strike a balance between affordability and the features you require for your streaming setup.
By carefully considering these factors, you can narrow down your options and choose a camcorder that not only meets your streaming requirements but also aligns with your long-term content creation goals.
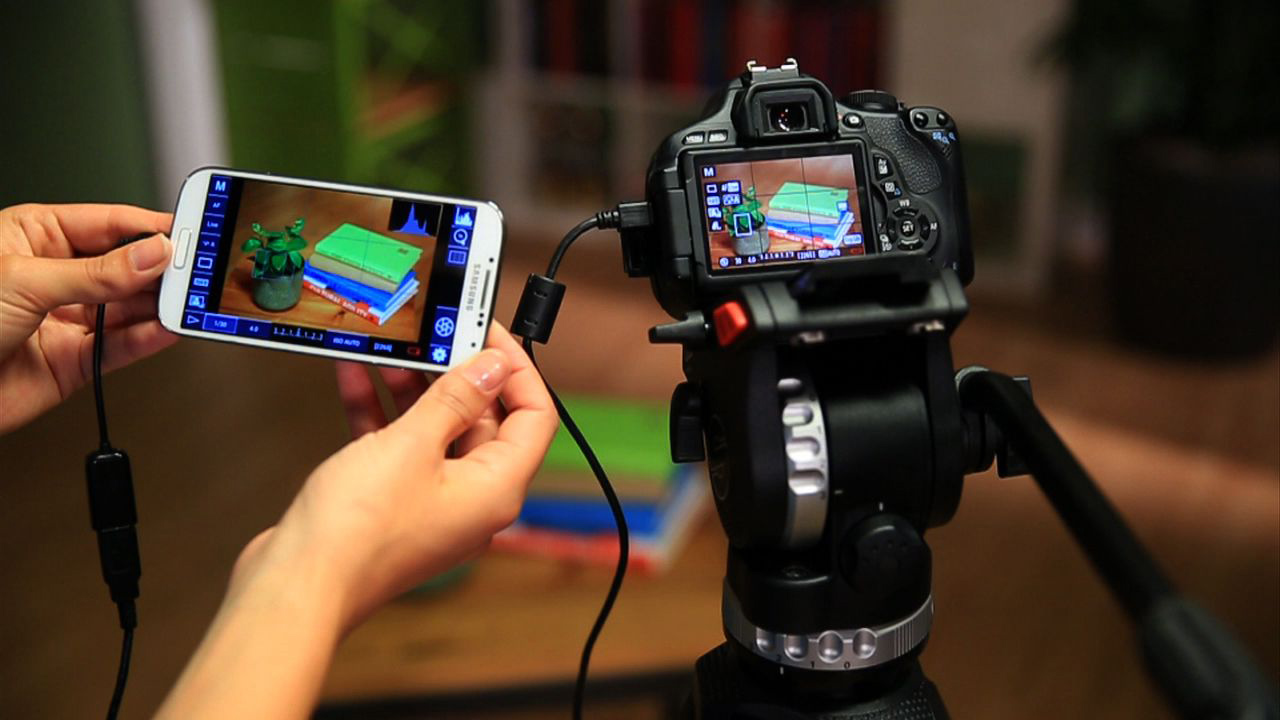
Connecting the Camcorder to Your Computer
Once you have selected the ideal camcorder for your streaming needs, the next step is to establish a seamless connection between the camcorder and your computer. This connection is crucial for integrating the camcorder as a video input source in OBS. Here’s a step-by-step guide to help you set up the connection:
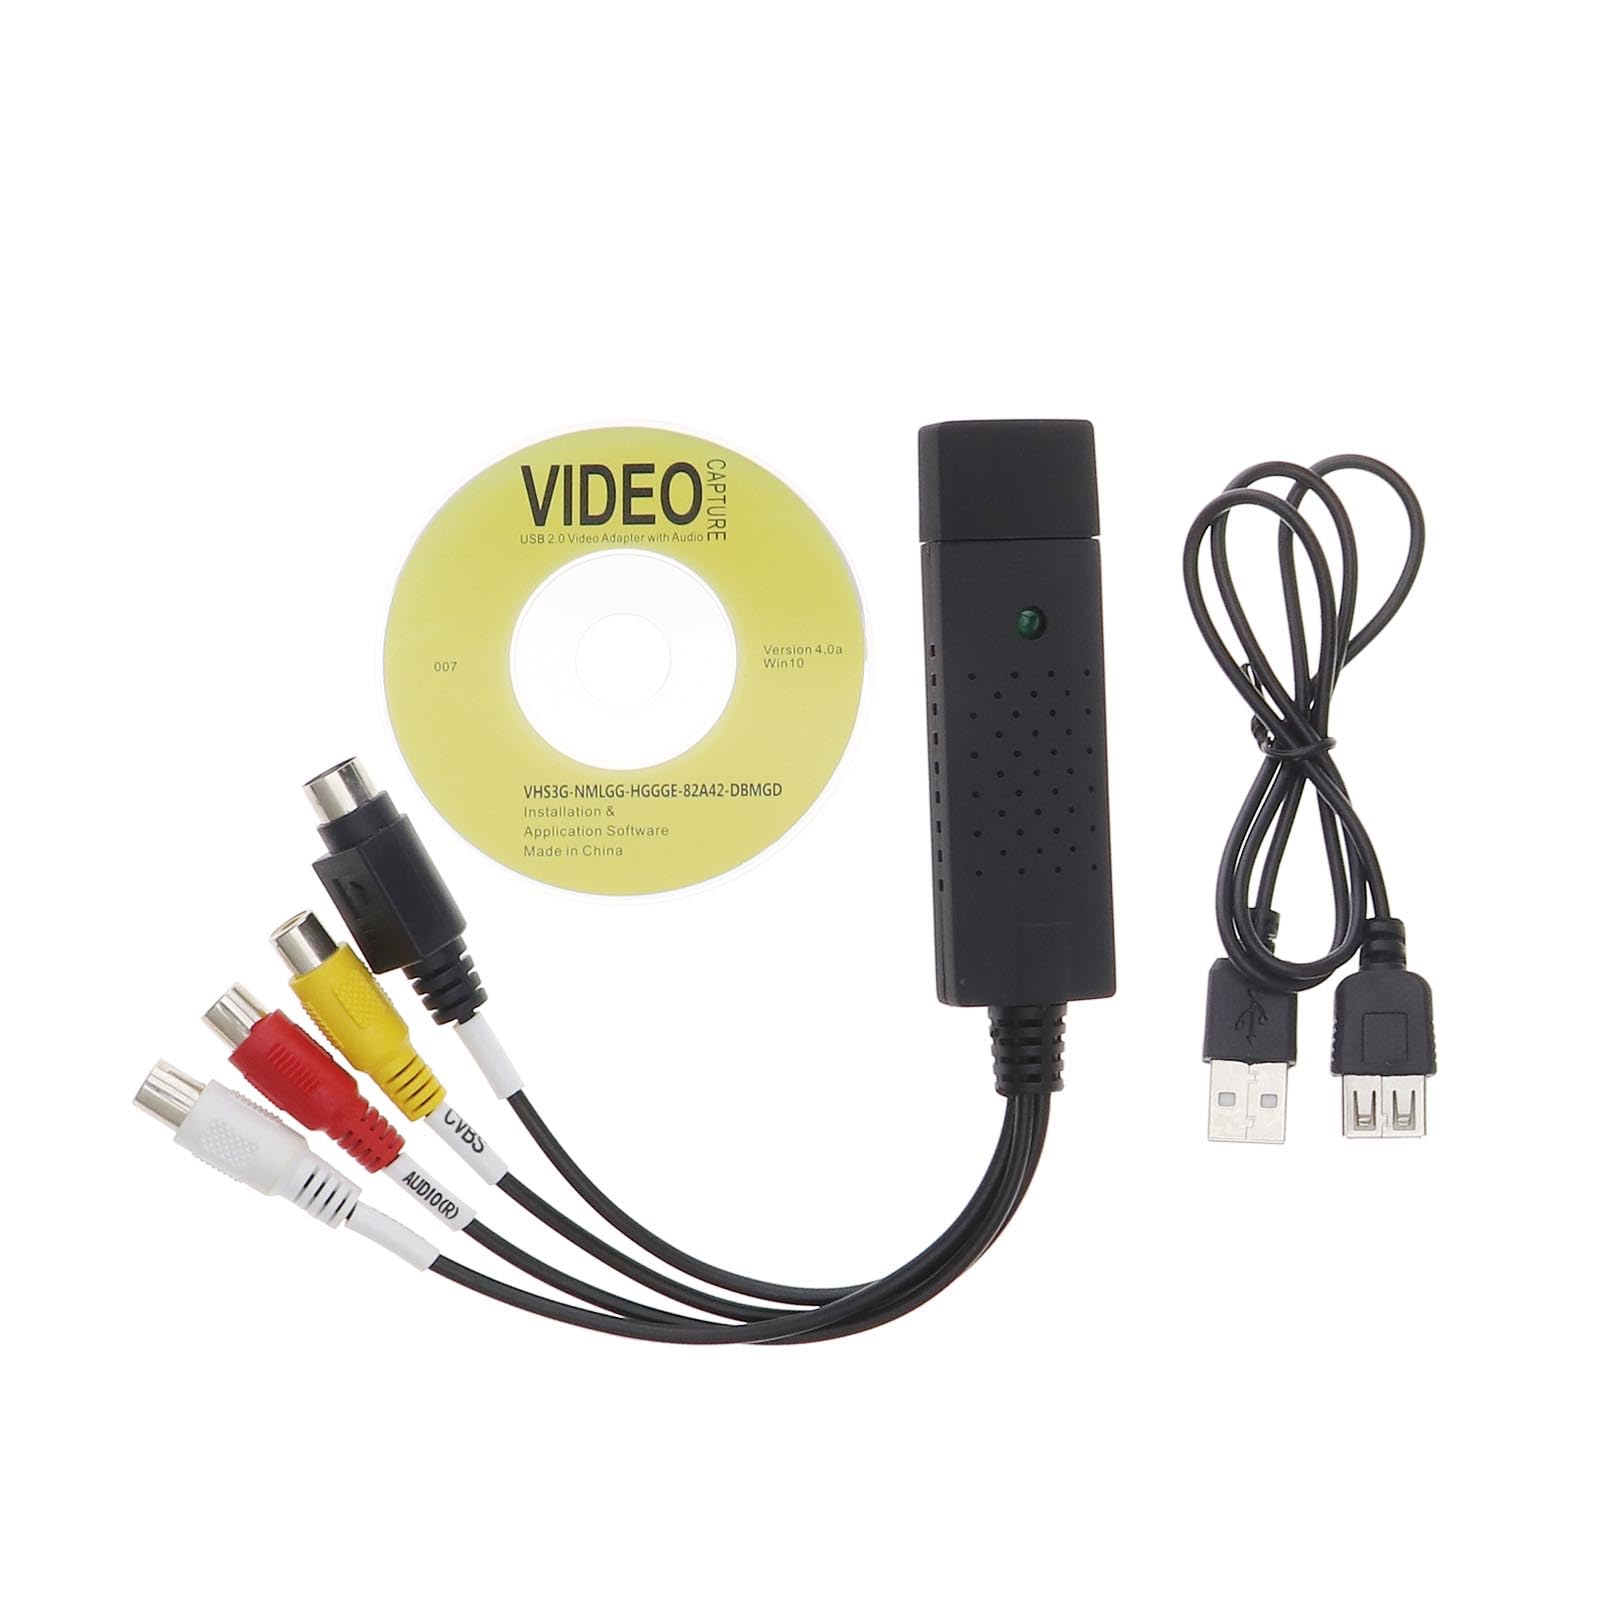
- Check the Camcorder Outputs: Identify the output ports on your camcorder, such as HDMI, USB, or AV outputs. Ensure that the camcorder is equipped with the necessary output options for connecting to your computer.
- Choose the Right Cable: Depending on the available outputs on your camcorder and the input options on your computer, select the appropriate cable for the connection. For example, if your camcorder has an HDMI output and your computer has an HDMI input, use an HDMI cable for the connection.
- Connect to Your Computer: Plug one end of the selected cable into the corresponding output port on your camcorder and the other end into the compatible input port on your computer. This establishes the physical connection between the two devices.
- Power On the Camcorder: Ensure that the camcorder is powered on and set to the appropriate mode for video output. Some camcorders may require specific settings to enable video transmission through the output port.
- Recognize the Camcorder as a Device: Once connected, your computer should recognize the camcorder as a video input device. You may need to install drivers or software provided by the camcorder manufacturer to facilitate this recognition.
By following these steps, you can establish a reliable connection between your camcorder and computer, laying the foundation for integrating the camcorder into your live streaming setup with OBS.
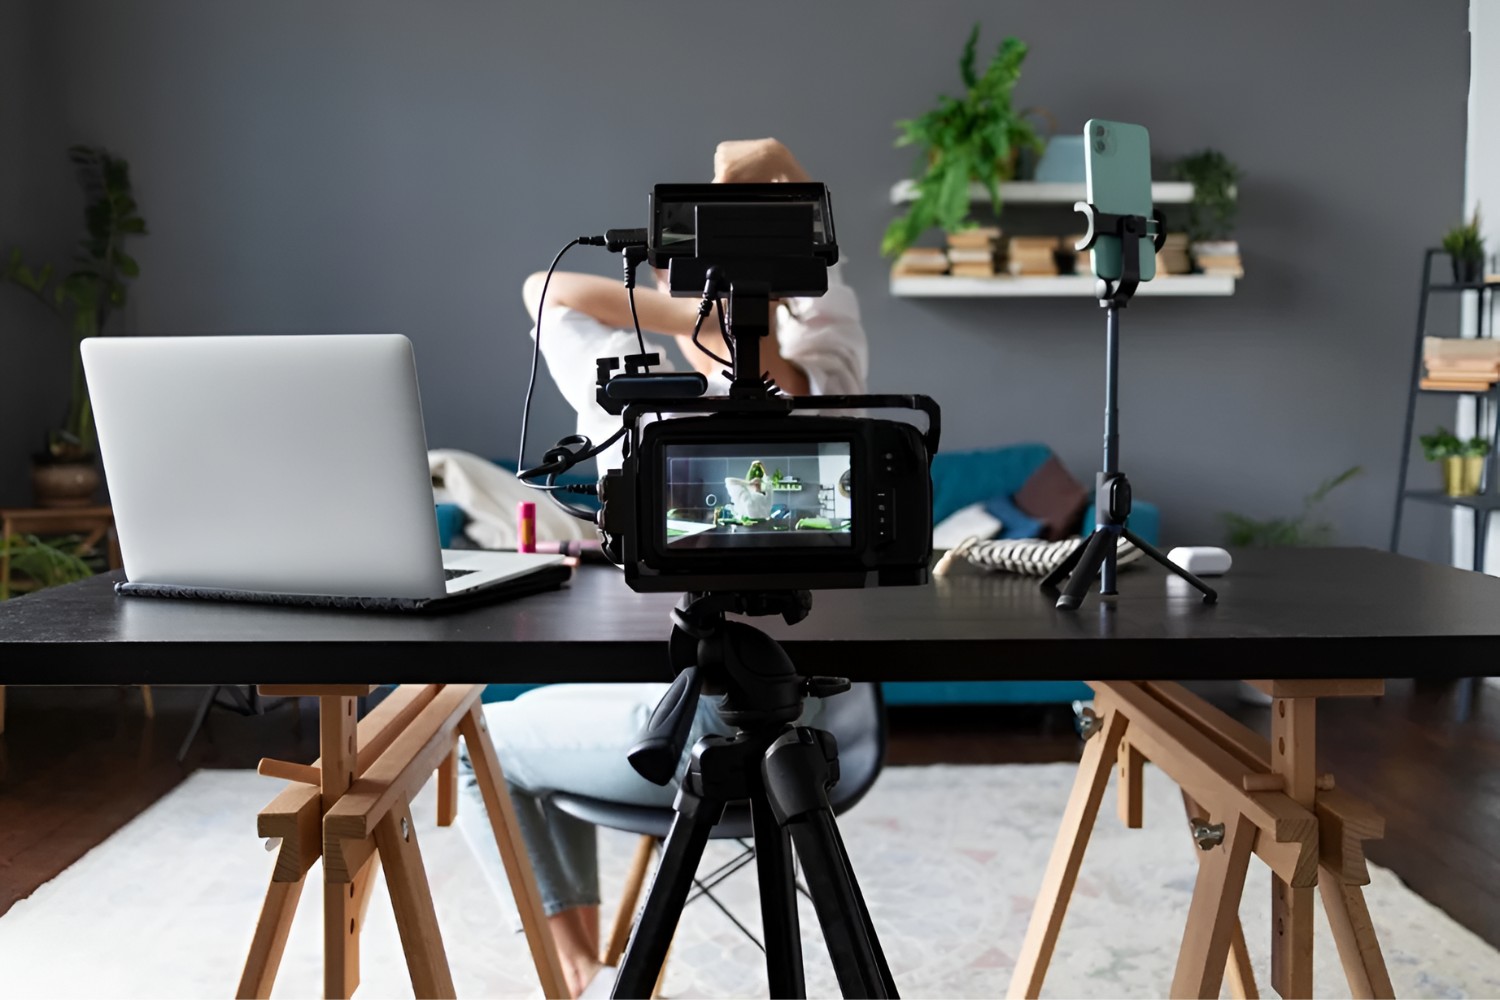
Configuring OBS for Camcorder Input
With the physical connection between your camcorder and computer in place, it’s time to configure OBS to recognize and utilize the camcorder as a video input source. OBS provides a user-friendly interface for managing various video and audio sources, making the integration process straightforward. Follow these steps to set up your camcorder as an input device in OBS:
- Open OBS: Launch the OBS software on your computer to access the main interface.
- Access the Sources Section: Within OBS, navigate to the “Sources” panel, where you can manage different input sources for your live streams and recordings.
- Add a Video Capture Device: Click on the “+” icon within the “Sources” panel and select “Video Capture Device” from the dropdown menu. This action prompts OBS to create a new input source for your camcorder.
- Name the Device: After adding the video capture device, you can assign a name to it for easy identification. This step helps you keep track of multiple input sources if you have a complex setup.
- Select the Camcorder: In the settings for the newly added video capture device, choose your camcorder from the list of available video devices. OBS should detect the camcorder if the physical connection is established correctly.
- Adjust Video Settings: Depending on your preferences and the capabilities of your camcorder, you can fine-tune video settings such as resolution, frame rate, and audio input within the OBS interface to optimize the camcorder’s performance.
- Preview and Test: Utilize the preview feature in OBS to ensure that the camcorder input is functioning as expected. Make any necessary adjustments to the settings to achieve the desired video and audio quality.
By following these steps, you can seamlessly integrate your camcorder as a video input source in OBS, empowering you to leverage its capabilities for engaging live streams and high-quality recordings.
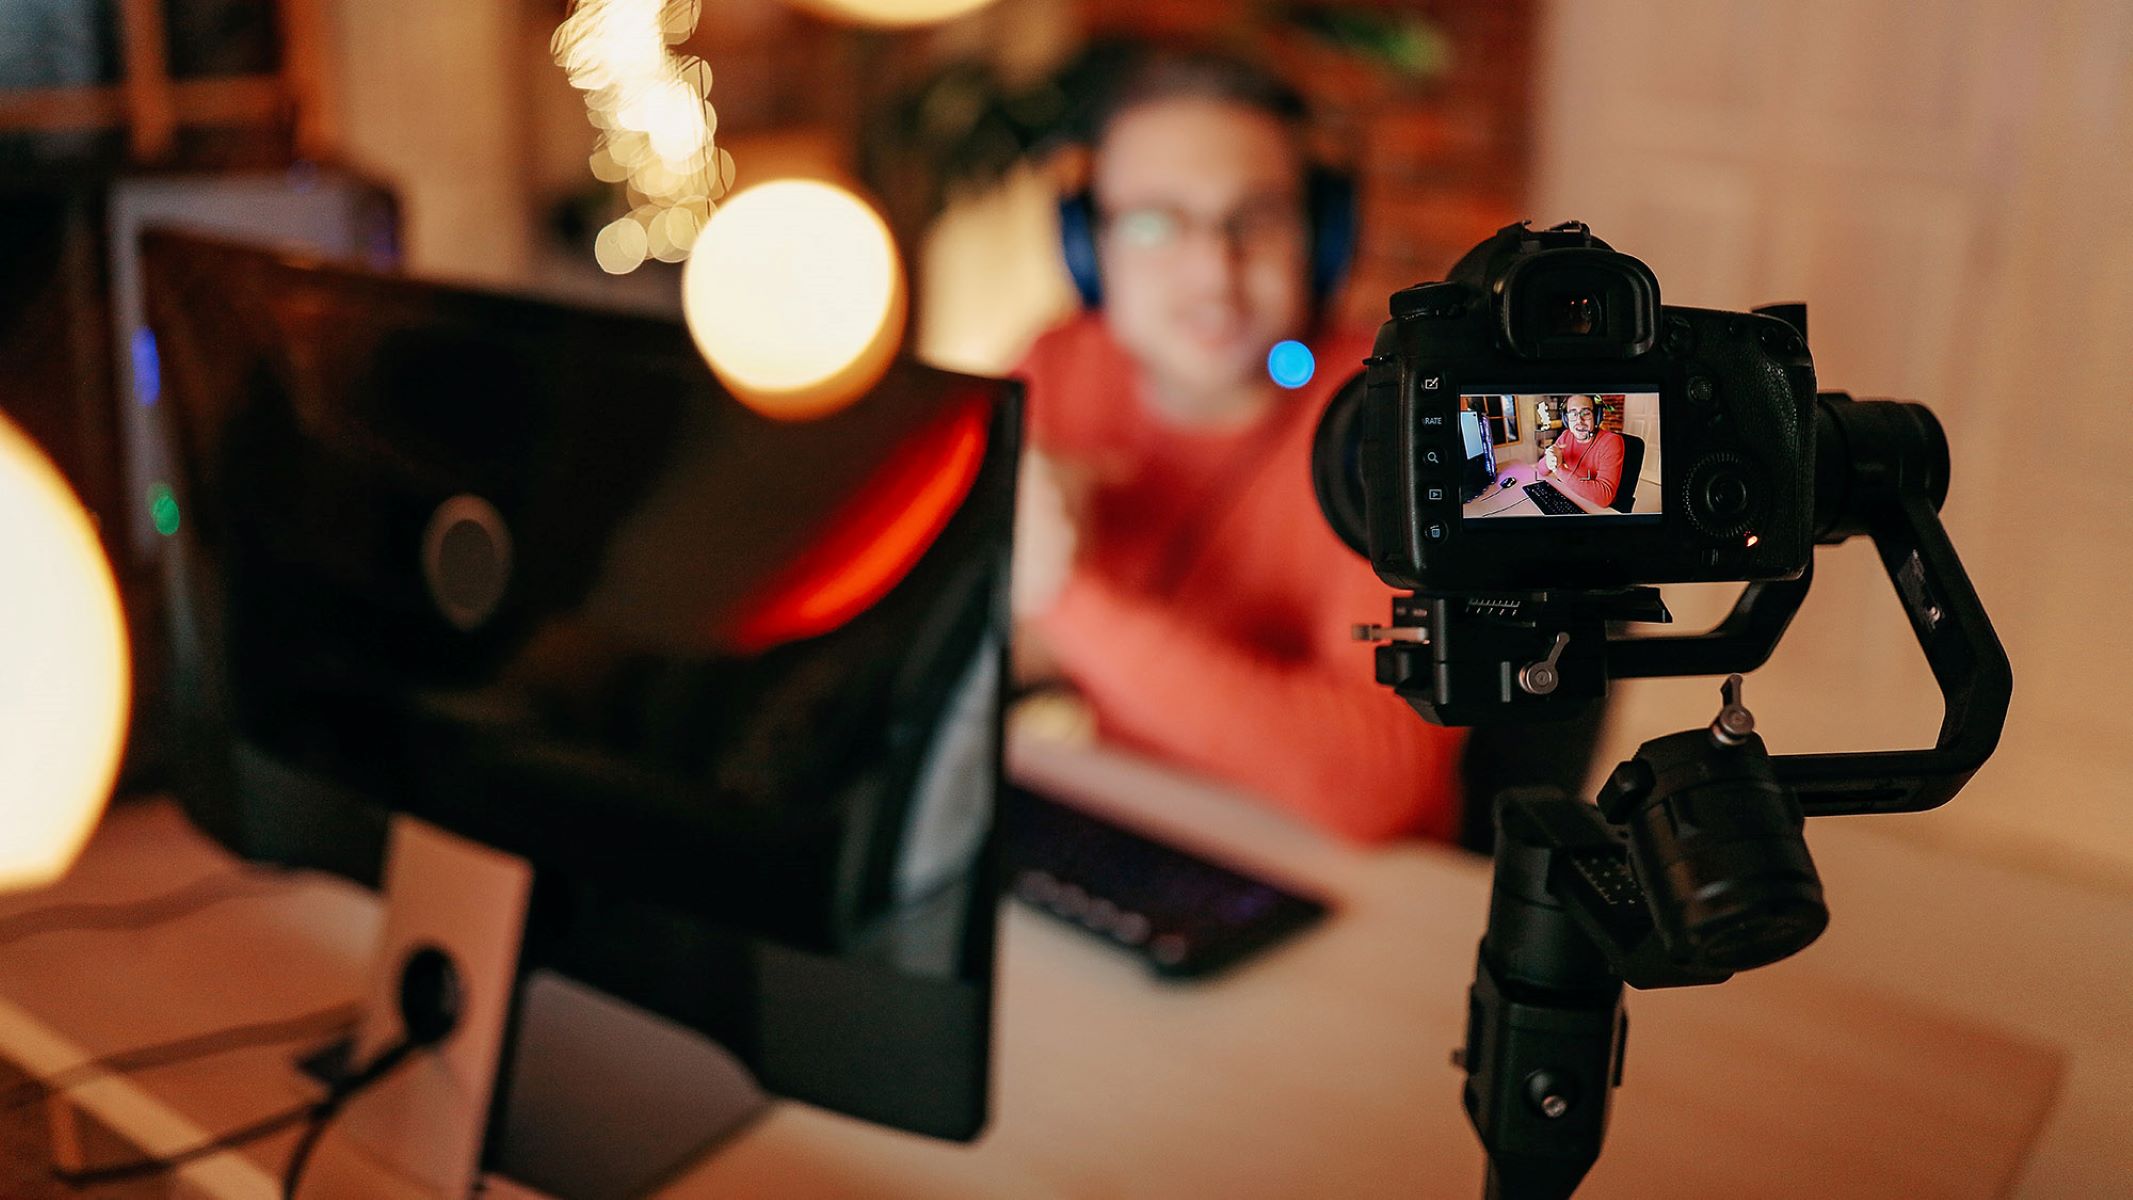
Adjusting Camcorder Settings for Streaming
Once the physical connection and software configuration are in place, it’s essential to optimize the camcorder settings specifically for streaming purposes. By fine-tuning the camcorder’s settings, you can ensure that your live streams exhibit the best possible video and audio quality. Here are the key settings to consider when preparing your camcorder for streaming:
- Resolution and Frame Rate: Access the camcorder’s settings menu to adjust the resolution and frame rate to align with your streaming preferences. Opt for a resolution of 1080p or higher for crisp, high-definition video, and select a suitable frame rate to capture smooth motion.
- Focus and Exposure: Utilize the camcorder’s manual focus and exposure controls to achieve the desired visual clarity. Adjust these settings based on the lighting conditions in your streaming environment to maintain optimal image quality.
- Audio Input and Levels: If your camcorder supports external microphones or audio input, configure the audio settings to capture clear and balanced sound. Adjust the audio levels to prevent distortion and ensure that your voice or other audio sources are captured accurately.
- White Balance and Color Correction: Fine-tune the white balance and color settings to accurately represent the colors in your streaming environment. This adjustment enhances the overall visual appeal of your streams and maintains color accuracy.
- Stabilization and Zoom: If applicable, enable any stabilization features to minimize camera shake during your streams. Additionally, set the zoom level to achieve the desired framing for your content without compromising video quality.
- Recording Format: Check and select the appropriate recording format for your streams, ensuring compatibility with OBS and the desired output quality. Consider formats such as MP4 or MOV for efficient streaming and post-streaming editing if required.
By carefully adjusting these camcorder settings, you can elevate the visual and audio quality of your live streams, creating an immersive and professional viewing experience for your audience. Regularly review and refine these settings based on the evolving needs of your streaming content to maintain a high standard of production value.