Introduction
Are you ready to elevate your live streaming game by connecting your camcorder to your PC? Live streaming with a camcorder offers superior video quality and advanced features, making it a popular choice for content creators, vloggers, and businesses. By harnessing the power of your camcorder and PC, you can produce professional-looking live streams that captivate your audience.
In this comprehensive guide, we will walk you through the step-by-step process of connecting your camcorder to your PC for live streaming. Whether you're a seasoned live streamer or a newcomer to the world of online broadcasting, this guide will equip you with the knowledge and skills to seamlessly integrate your camcorder into your live streaming setup.
By following these steps, you will unlock the full potential of your camcorder and harness the capabilities of your PC to deliver high-quality, engaging live streams. Let's dive into the details and get you on the path to creating captivating live content that stands out in the digital landscape.
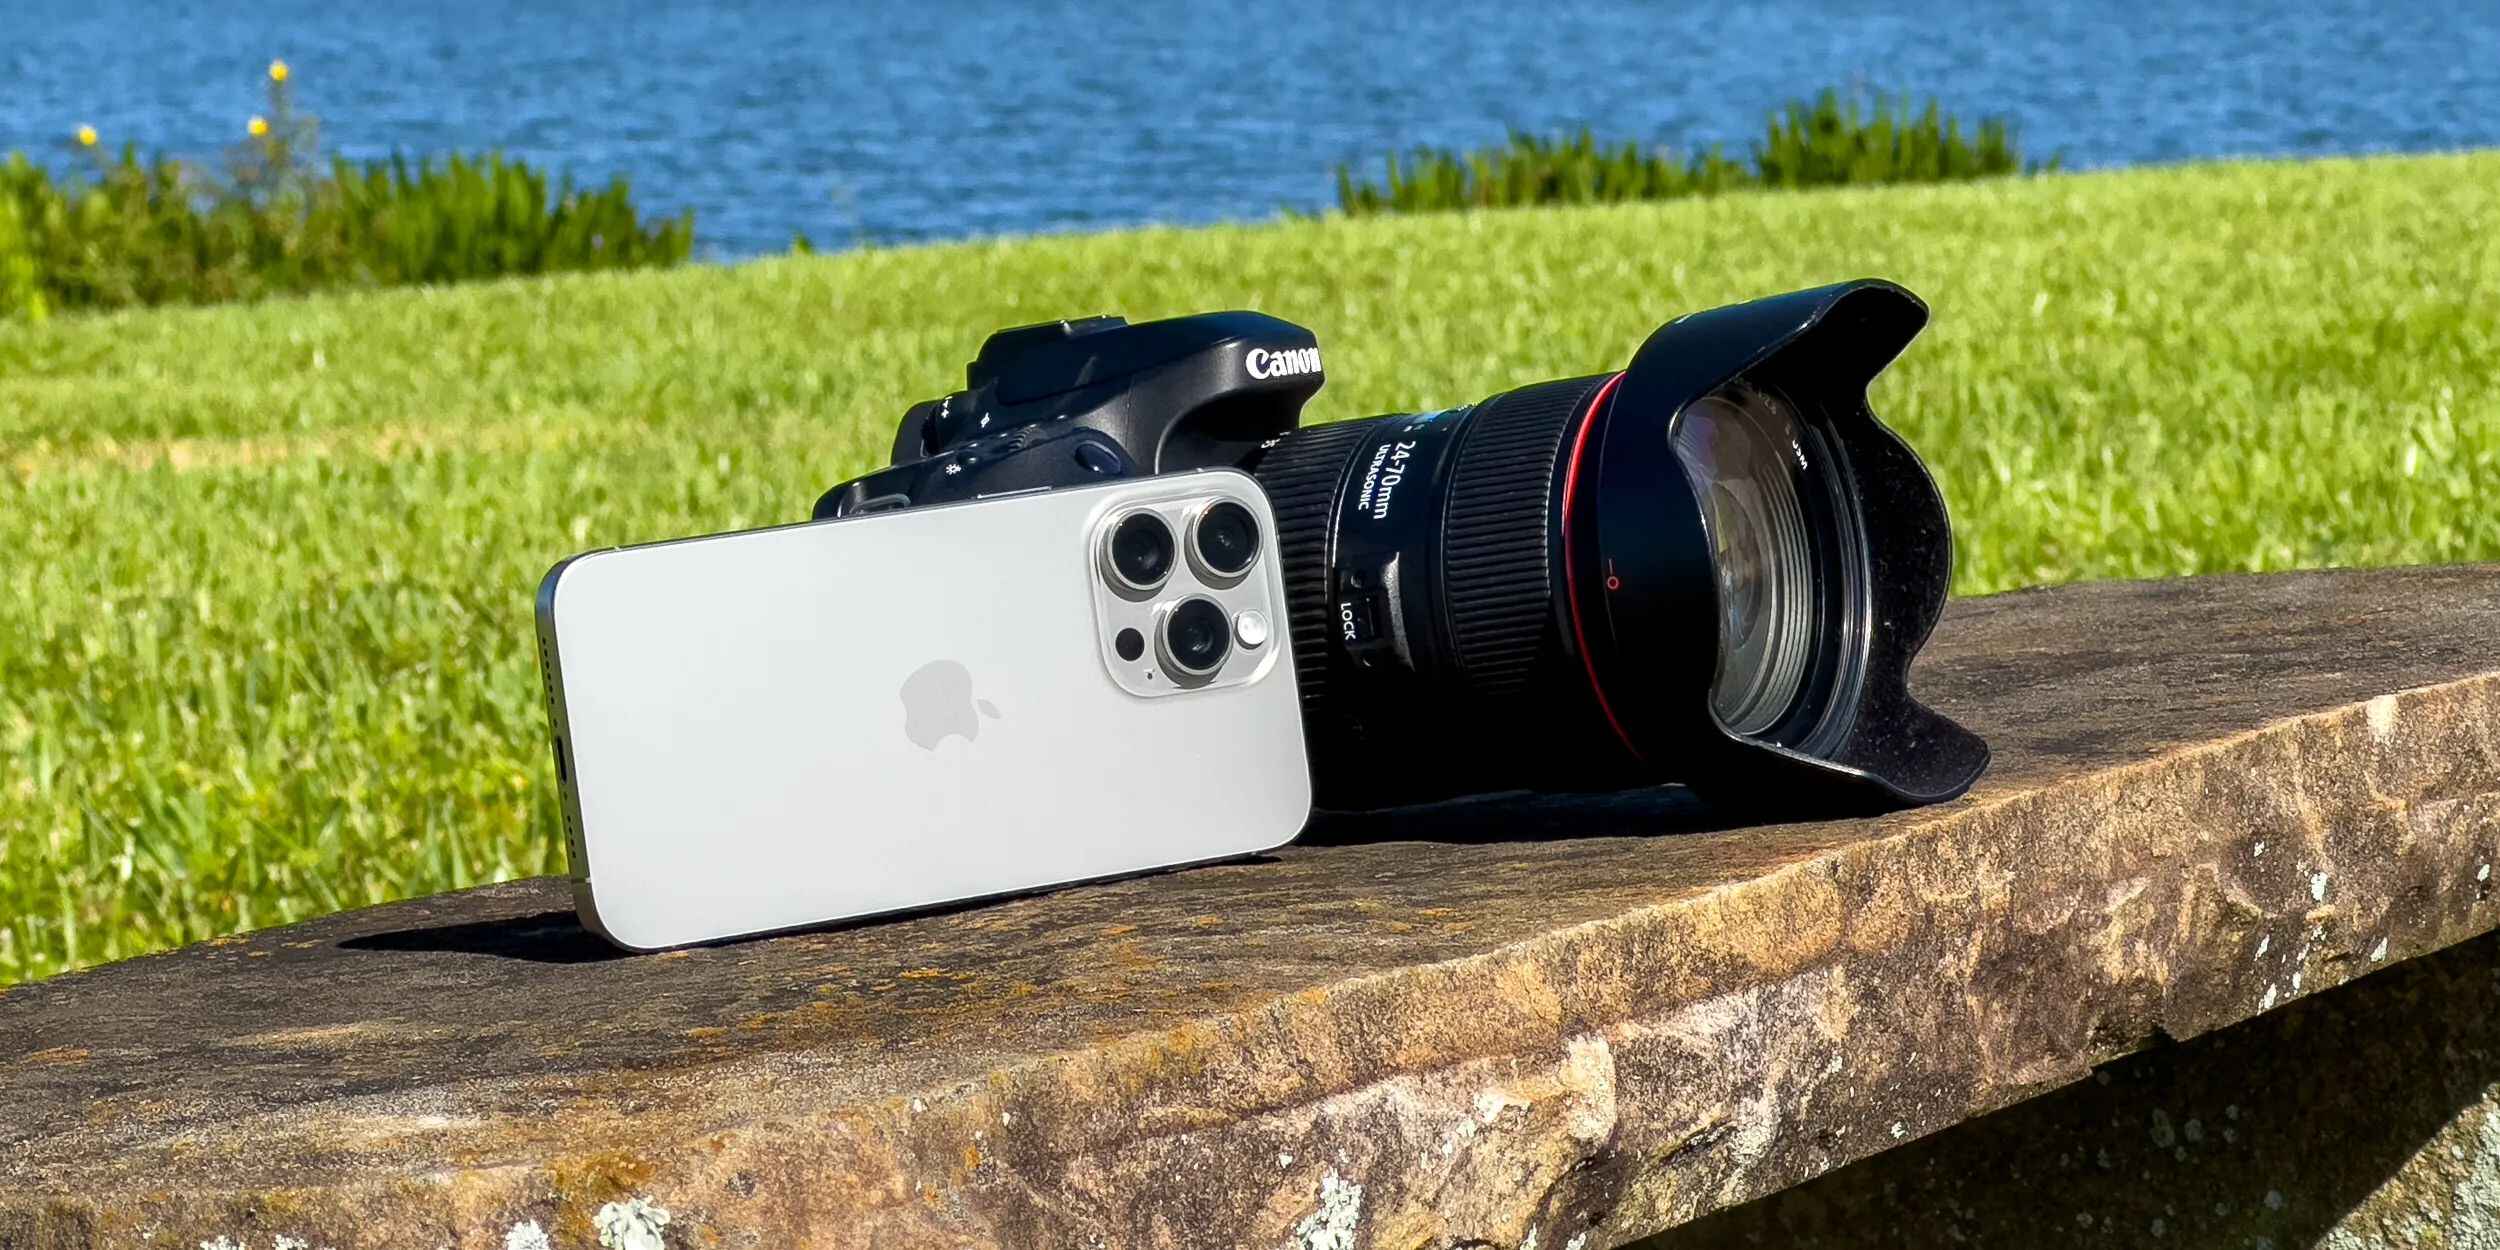
Step 1: Check your camcorder and PC compatibility
Before embarking on the process of connecting your camcorder to your PC for live streaming, it’s crucial to ensure that both your camcorder and PC are compatible and equipped with the necessary features. Compatibility issues can hinder the seamless integration of your devices, potentially leading to subpar live streaming experiences. Here’s how to check the compatibility of your camcorder and PC:
- Camcorder Specifications: Review the specifications of your camcorder to determine if it supports live streaming functionality. Look for features such as HDMI or USB output, which are essential for connecting the camcorder to your PC for live streaming. Additionally, check if the camcorder is compatible with live streaming software, as certain models may have specific requirements.
- PC Requirements: Assess the capabilities of your PC to ensure it meets the requirements for live streaming with a camcorder. Verify that your PC has the necessary ports, such as HDMI or USB, to establish a connection with the camcorder. Furthermore, confirm that your PC’s hardware specifications, including processing power and RAM, are sufficient to handle live streaming tasks without performance issues.
- Operating System Compatibility: Check if your PC’s operating system is compatible with the live streaming software you intend to use. Some live streaming applications are tailored for specific operating systems, so it’s important to verify compatibility to avoid software-related complications during the setup process.
By conducting a thorough compatibility check, you can preemptively address any potential obstacles that may arise during the connection and setup process. This proactive approach sets the stage for a smooth and successful integration of your camcorder and PC for live streaming.
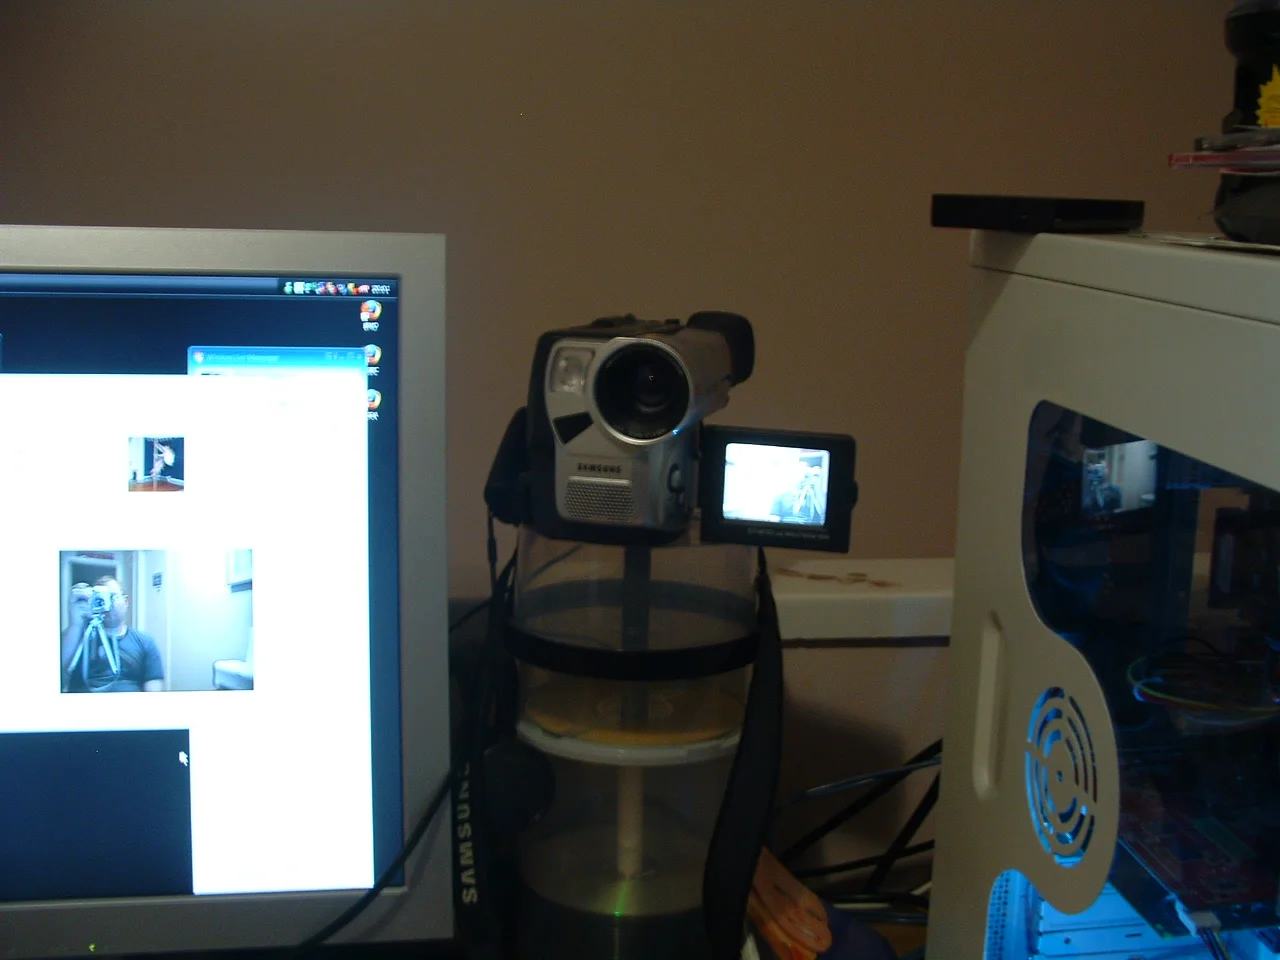
Step 2: Connect your camcorder to your PC
Once you’ve confirmed the compatibility of your camcorder and PC, it’s time to establish the physical connection between the two devices. This crucial step sets the foundation for transmitting high-quality video and audio from your camcorder to your PC for live streaming. Follow these detailed instructions to ensure a secure and reliable connection:
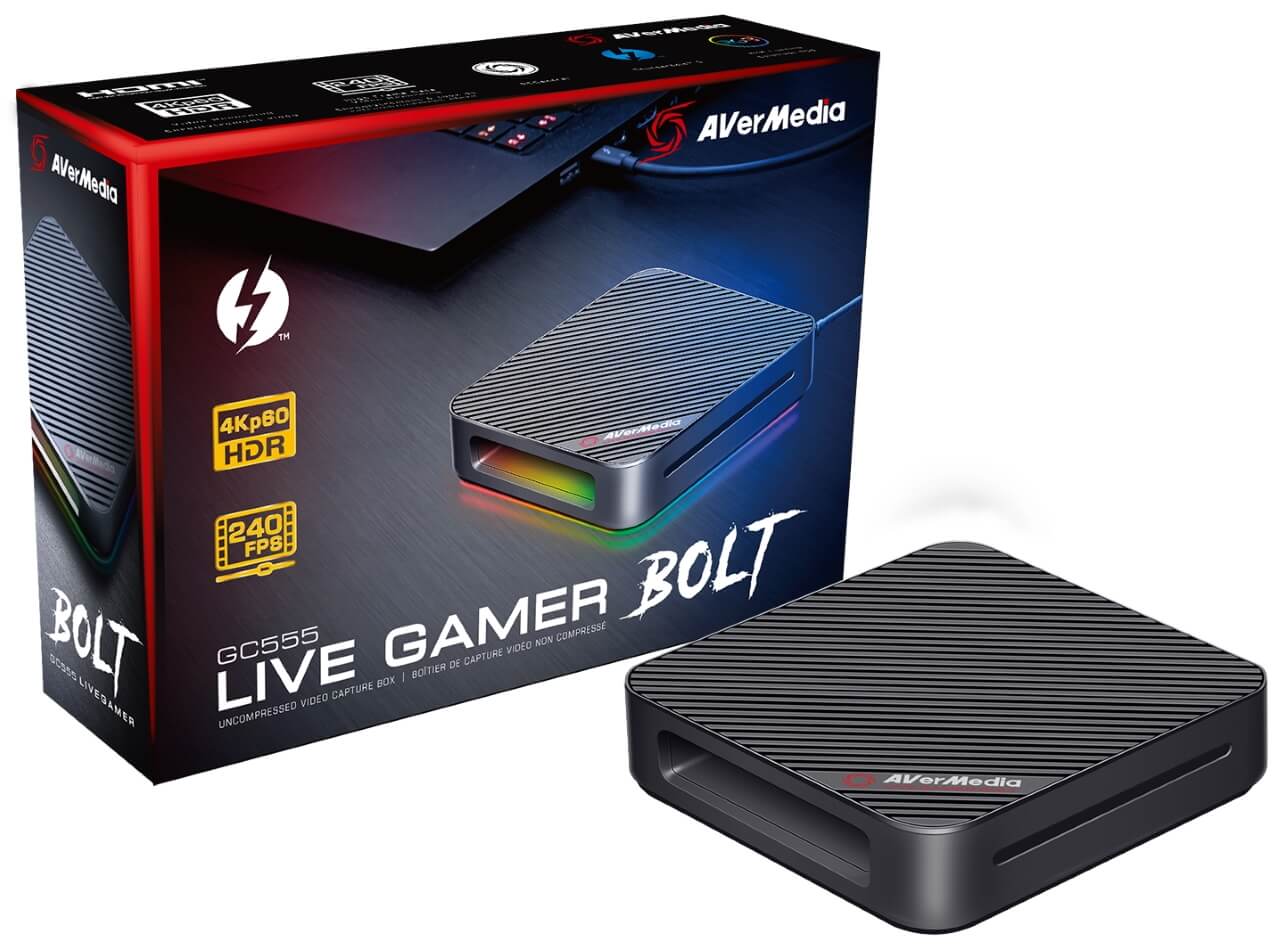
- Identify the Output Port: Locate the output port on your camcorder, which is typically an HDMI or USB port. Depending on the model of your camcorder, the location of the output port may vary, so refer to the user manual for specific guidance.
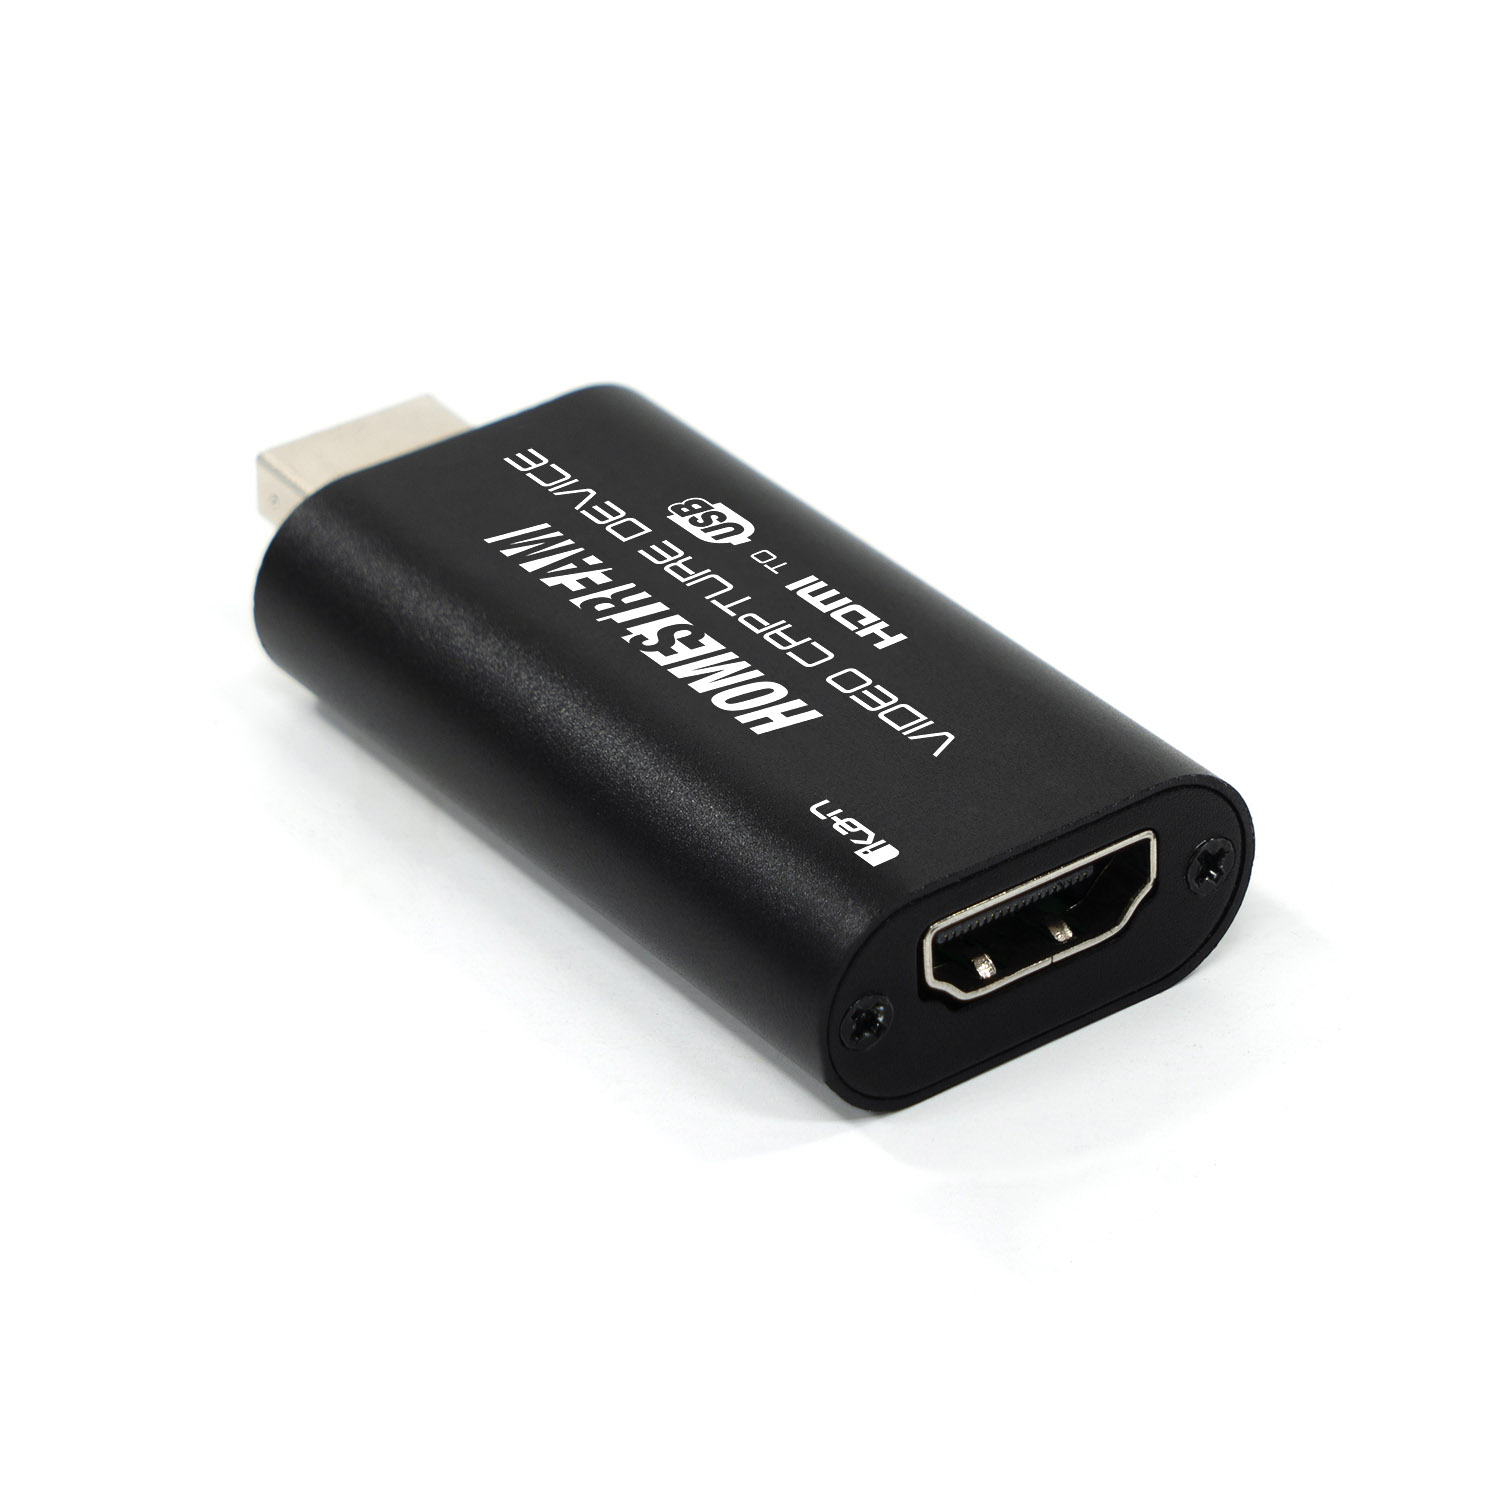
- Choose the Connection Type: Determine the appropriate connection type based on the available ports on your PC. If your camcorder features an HDMI output and your PC has an HDMI input, use an HDMI cable to establish a direct connection. Alternatively, if your camcorder has a USB output, connect it to a USB port on your PC using a compatible USB cable.
- Power on the Camcorder: Turn on your camcorder and ensure that it is set to the correct mode for live streaming. Some camcorders have dedicated live streaming modes or settings that optimize the output for seamless transmission to a PC.
- Configure PC Settings: On your PC, configure the input settings to recognize the connected camcorder. Depending on your operating system, you may need to access the device manager or system preferences to identify and enable the camcorder as a recognized input device.
- Test the Connection: Verify the connection by launching your preferred live streaming software and checking if the camcorder’s video feed is successfully detected. Make any necessary adjustments to the settings to ensure the video and audio signals are being transmitted accurately.
By meticulously following these steps, you can establish a robust and stable connection between your camcorder and PC, laying the groundwork for a seamless live streaming experience. The successful connection paves the way for the next phase of setting up live streaming software to bring your content to life on digital platforms.
Step 3: Set up live streaming software
With your camcorder successfully connected to your PC, the next pivotal step in the live streaming process involves setting up the appropriate live streaming software. This software serves as the central hub for managing your live stream, configuring audio and video settings, and broadcasting your content to online platforms. Follow these essential steps to set up your live streaming software:
- Choose a Suitable Software: Select a reputable live streaming software that aligns with your streaming goals and technical requirements. Popular options include OBS Studio, Streamlabs OBS, XSplit, and vMix, each offering unique features and customization options.
- Download and Install: Visit the official website of your chosen live streaming software and download the latest version compatible with your PC’s operating system. Follow the installation instructions to complete the setup process, ensuring that the software is correctly installed and ready for configuration.
- Configure Video and Audio Inputs: Access the settings within the live streaming software to configure the video and audio inputs from your connected camcorder. Specify the camcorder as the primary video source and configure the audio settings to capture high-quality sound from the camcorder’s built-in microphone or an external audio source.
- Optimize Streaming Settings: Fine-tune the streaming settings based on your desired output quality and the platform you intend to stream to. Adjust parameters such as video resolution, bitrate, and frame rate to optimize the visual clarity and smoothness of your live stream, ensuring an engaging viewing experience for your audience.
- Test the Stream: Before initiating the live stream, conduct a test to verify that the software is successfully receiving video and audio signals from your camcorder. Use the software’s preview mode to assess the visual and audio quality, making any necessary adjustments to enhance the overall presentation.
By meticulously configuring your chosen live streaming software, you can harness the full potential of your camcorder’s capabilities and tailor the streaming settings to meet your specific content creation objectives. The seamless integration of the software with your camcorder and PC sets the stage for an impactful and professional live streaming experience.
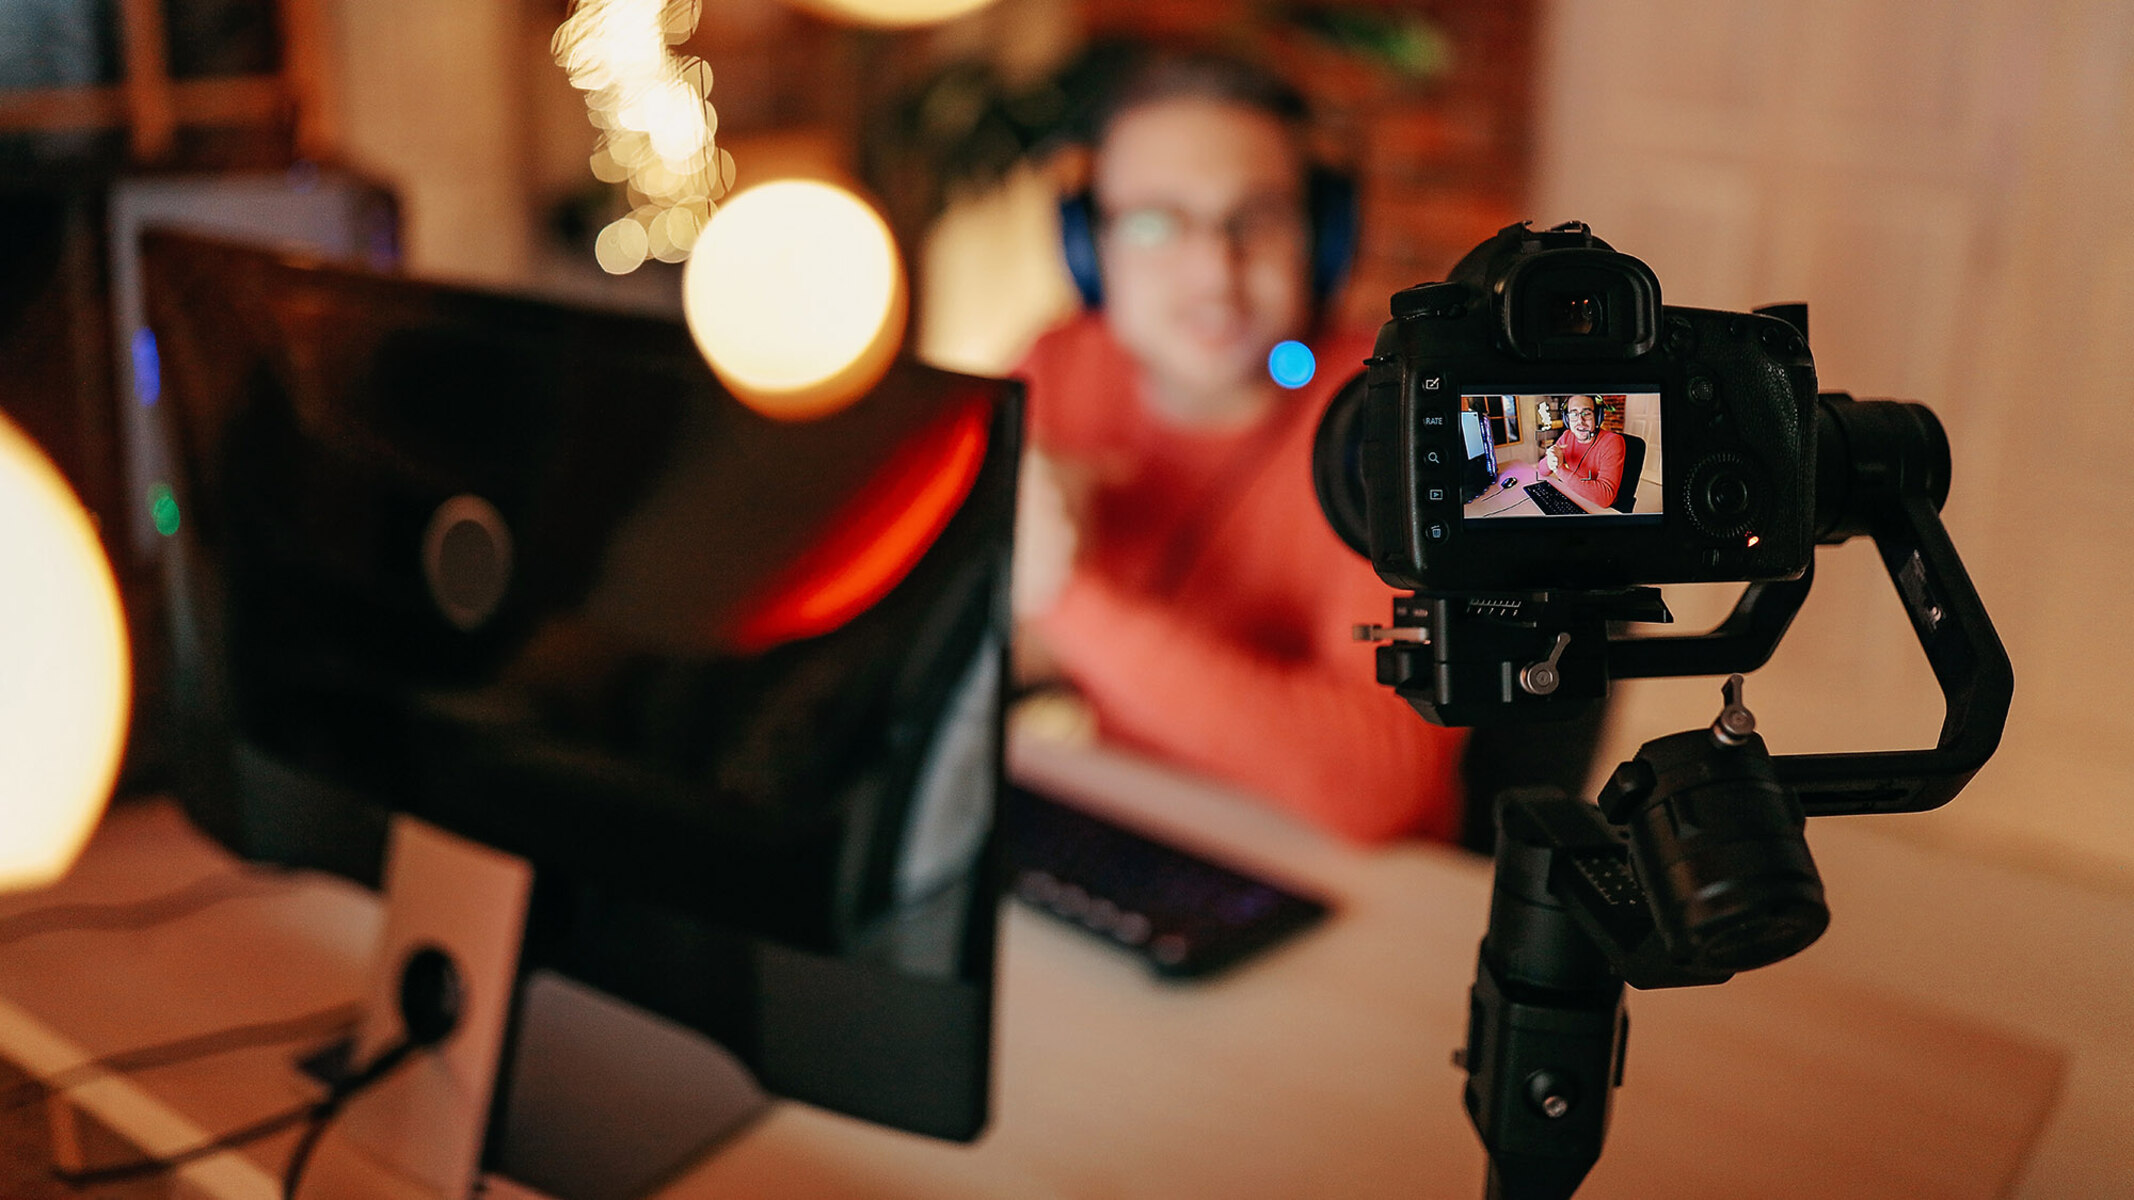
Step 4: Start live streaming
After successfully connecting your camcorder to your PC and setting up the live streaming software, you’re now poised to embark on your live streaming journey. This final step involves initiating the live stream, engaging with your audience, and delivering compelling content that resonates with viewers. Follow these key actions to commence your live stream with confidence:
- Prepare Your Content: Plan and organize the content you intend to present during the live stream. Whether it’s a tutorial, a product showcase, a live event, or a creative performance, having a clear outline of your content will help you maintain a cohesive and engaging presentation throughout the stream.
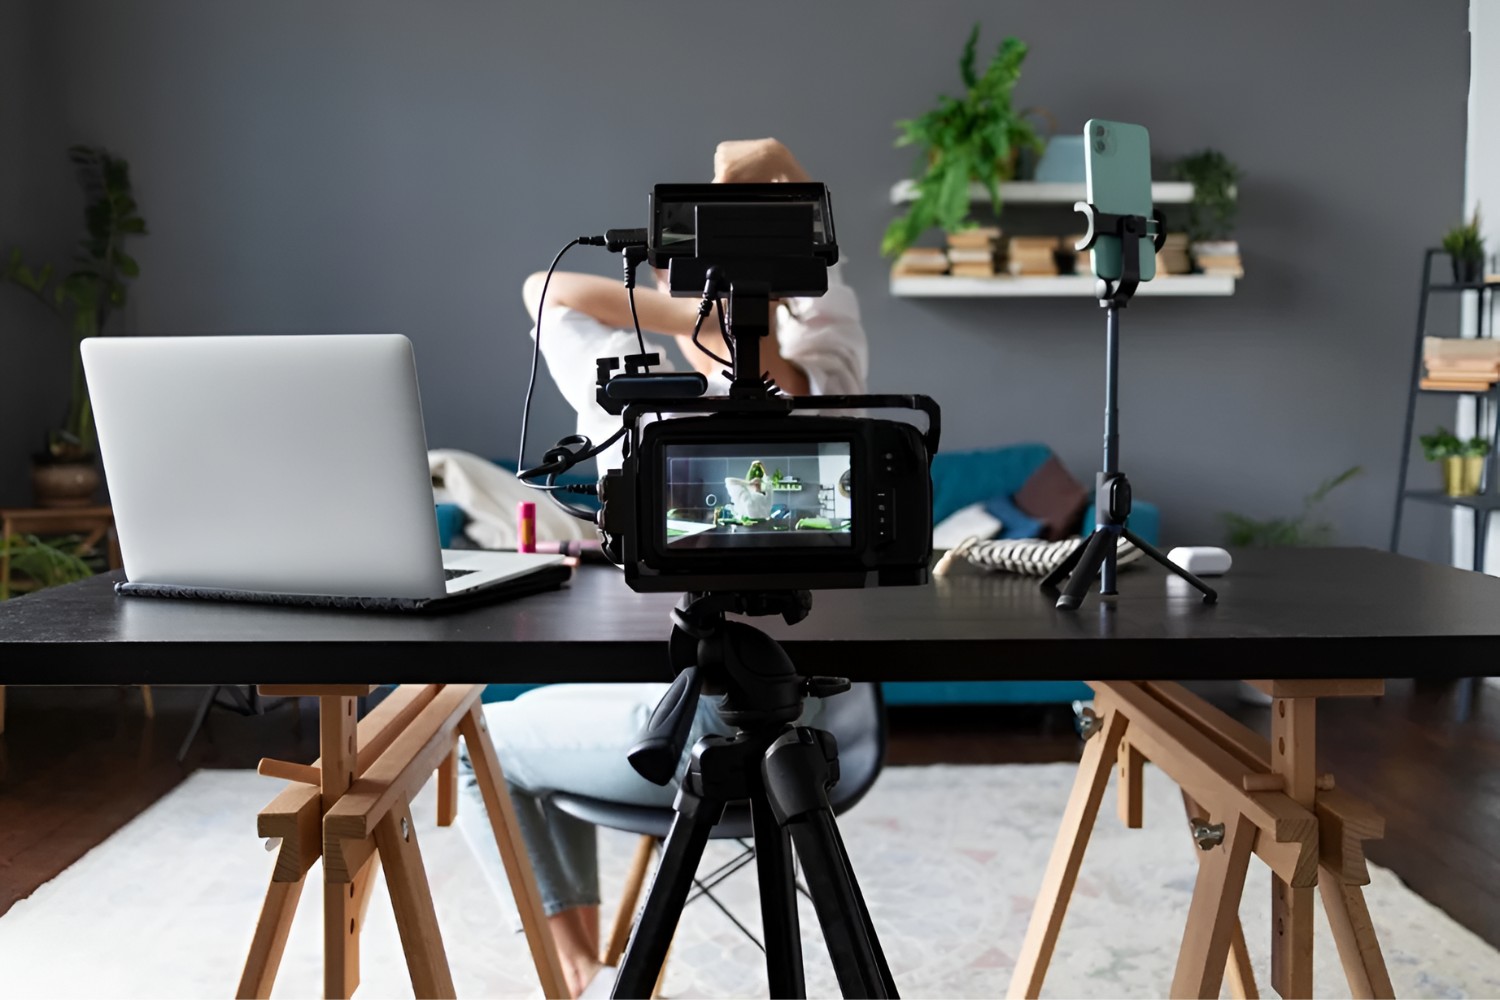
- Set the Scene: Arrange your filming environment to create an aesthetically pleasing and well-lit setting for your live stream. Consider factors such as background aesthetics, lighting, and sound quality to ensure a visually appealing and professional-looking stream.
- Initiate the Stream: Within the live streaming software, initiate the live stream by configuring the streaming destination, which could be a platform such as YouTube, Twitch, Facebook Live, or a custom RTMP server. Enter the necessary stream key or URL provided by the platform to establish the connection and prepare to go live.
- Engage with Your Audience: Interact with your viewers by responding to comments, questions, and feedback during the live stream. Encourage audience participation and create a welcoming atmosphere that fosters meaningful connections with your viewers.
- Monitor Stream Health: Keep an eye on the live stream’s performance metrics within the software, including video and audio quality, stream stability, and viewer engagement. Address any technical issues promptly to ensure a smooth and uninterrupted streaming experience for your audience.
By following these steps, you can confidently initiate and manage your live stream, leveraging the power of your camcorder and PC to deliver captivating and immersive content to your audience. Embrace the opportunity to showcase your creativity, expertise, or unique offerings through the dynamic medium of live streaming, and connect with viewers in real time to build a loyal and engaged community.
Conclusion
Congratulations! You’ve successfully navigated the process of connecting your camcorder to your PC for live streaming, unlocking a world of creative possibilities and engaging live content creation. By following the step-by-step guide outlined in this comprehensive resource, you’ve gained the knowledge and skills to seamlessly integrate your camcorder into your live streaming setup, setting the stage for captivating and professional-quality broadcasts.
Through careful consideration of camcorder and PC compatibility, meticulous connection establishment, software configuration, and the initiation of your live stream, you’ve harnessed the power of modern technology to share your unique perspectives, talents, and expertise with a global audience. The fusion of your camcorder and PC has empowered you to elevate your live streaming endeavors, delivering visually stunning and immersive content that resonates with viewers across various online platforms.
As you continue your live streaming journey, remember to explore the diverse features and capabilities of your camcorder and live streaming software, experimenting with different content formats, visual styles, and interactive elements to captivate and engage your audience. Embrace the dynamic nature of live streaming as a medium for real-time connection and community building, leveraging your creativity and expertise to leave a lasting impression on your viewers.
With the foundational knowledge and practical insights gained from this guide, you’re well-equipped to embark on a fulfilling and rewarding live streaming experience, sharing your passions, knowledge, and creativity with the world. Embrace the art of live streaming as a powerful platform for storytelling, education, entertainment, and meaningful connections, and let your unique voice shine through in the digital realm.