Introduction
Setting up Kontakt with a MIDI keyboard allows you to harness the full potential of this powerful music production software. By integrating a MIDI keyboard with Kontakt, you can take advantage of its extensive library of sampled instruments to create rich, expressive music with a natural feel. Whether you're a seasoned musician or just starting out, this guide will walk you through the process of getting your MIDI keyboard up and running with Kontakt in no time.
Kontakt, developed by Native Instruments, is a widely used software sampler that offers a vast array of sounds and instruments. It provides a platform for musicians, composers, and producers to access high-quality virtual instruments and create music across various genres. With the ability to customize and manipulate sounds, Kontakt is a go-to tool for many music professionals.
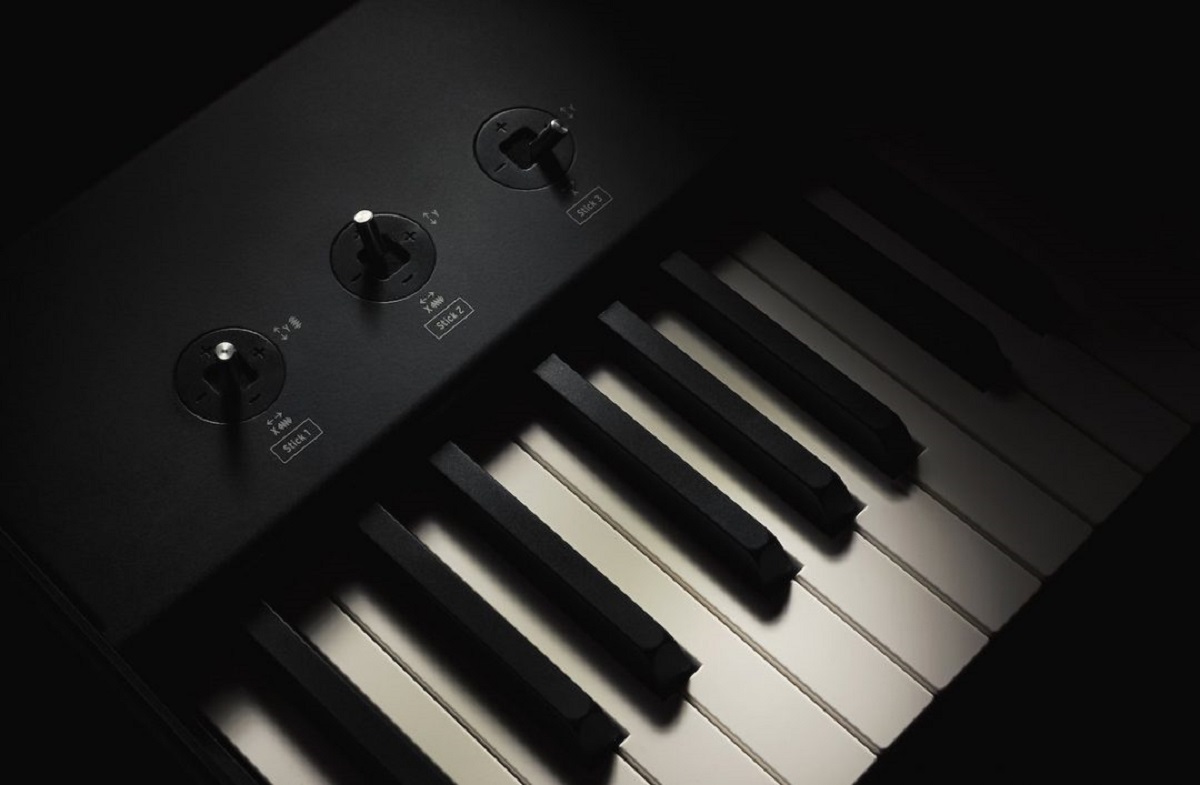
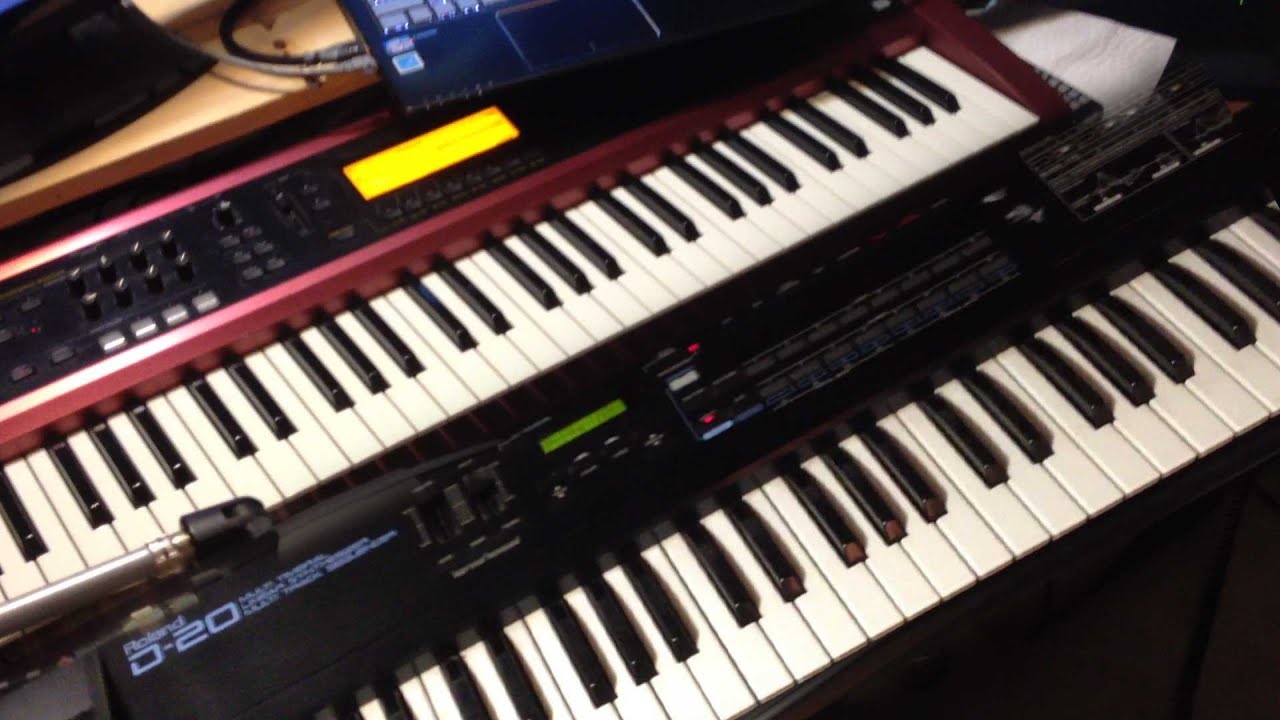
A MIDI keyboard, on the other hand, is an essential piece of equipment for music production and performance. It allows you to input musical notes, control parameters, and trigger sounds within a digital audio workstation (DAW) or software instrument like Kontakt. When combined with Kontakt, a MIDI keyboard becomes a versatile tool for playing, recording, and producing music with a tactile and expressive interface.
In this guide, we'll cover the essential steps to set up Kontakt with your MIDI keyboard, ensuring that you can seamlessly integrate the two and start making music with ease. Whether you're a composer looking to explore new sonic possibilities, a producer aiming to enhance your workflow, or a performer seeking a dynamic live setup, this tutorial will equip you with the knowledge to optimize your music-making experience. Let's dive into the steps required to establish a seamless connection between Kontakt and your MIDI keyboard.
Step 1: Install Kontakt
Before setting up Kontakt with your MIDI keyboard, you need to ensure that Kontakt is properly installed on your computer. If you haven’t already installed Kontakt, follow these steps:
- Acquire the Kontakt Software: Purchase and download the Kontakt software from the official Native Instruments website or an authorized retailer. Ensure that you obtain the correct version compatible with your operating system.
- Install the Software: Once the software is downloaded, run the installer program and follow the on-screen instructions to complete the installation process. Make sure to select the appropriate installation path and options according to your preferences.
- Activate Kontakt: After installation, activate Kontakt using the provided serial number or activation code. This step is crucial to unlock the full functionality of the software and access its extensive library of instruments and features.
- Update Kontakt (if necessary): Check for any available updates for Kontakt to ensure that you have the latest version installed. Updating the software can provide bug fixes, performance improvements, and compatibility with the latest operating systems and hardware.
Once Kontakt is successfully installed and activated on your system, you are ready to proceed with connecting and configuring your MIDI keyboard to work seamlessly with the software. This foundational step sets the stage for integrating Kontakt into your music production workflow, unlocking its potential to inspire and elevate your creative endeavors.
Step 2: Connect Your MIDI Keyboard
Connecting your MIDI keyboard to your computer is a crucial step in the setup process. Follow these steps to establish a physical connection between your MIDI keyboard and your computer:
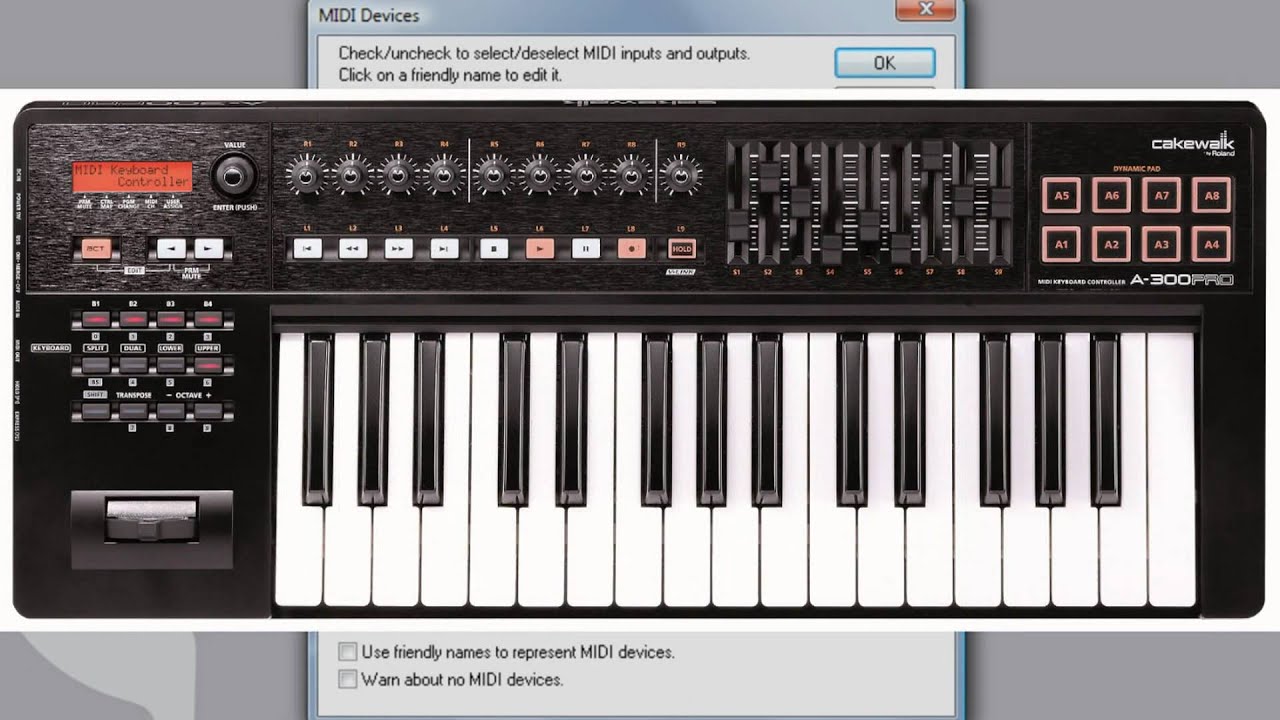
- Locate MIDI Ports: Identify the MIDI ports on your MIDI keyboard and computer. Most MIDI keyboards feature MIDI OUT and sometimes MIDI IN ports, while your computer may have USB ports for direct MIDI connectivity. Additionally, some MIDI keyboards offer USB MIDI connectivity, eliminating the need for traditional MIDI cables.
- Choose Connection Method: Depending on the available ports on your MIDI keyboard and computer, determine the appropriate connection method. If your MIDI keyboard supports USB MIDI, connect it directly to a USB port on your computer using a standard USB cable. For keyboards with traditional MIDI ports, use MIDI cables to connect the MIDI OUT port on the keyboard to the MIDI IN port on your audio interface or MIDI interface, which is then connected to your computer via USB.
- Power On Your MIDI Keyboard: Ensure that your MIDI keyboard is powered on either by connecting it to a power source or using its built-in power supply, if applicable. Some MIDI keyboards can be powered via USB, simplifying the setup process.
- Install MIDI Drivers (if necessary): If your MIDI keyboard requires specific drivers to communicate with your computer, install these drivers from the manufacturer’s website. This step is essential for enabling seamless communication between your MIDI keyboard and your music production software, including Kontakt.
- Verify Connection: Once the physical connections are in place and any required drivers are installed, verify that your computer recognizes the MIDI keyboard. Check your computer’s device manager or MIDI settings to ensure that the MIDI keyboard is detected and ready for use.
By successfully connecting your MIDI keyboard to your computer, you establish the foundation for integrating it with Kontakt and leveraging its expressive capabilities to craft musical compositions with precision and artistry.
Step 3: Configure Kontakt to Recognize Your MIDI Keyboard
Once your MIDI keyboard is physically connected to your computer, the next step involves configuring Kontakt to recognize and interact with your MIDI keyboard seamlessly. Follow these essential steps to set up Kontakt for optimal integration with your MIDI controller:
- Open Kontakt in Your DAW: Launch your digital audio workstation (DAW) or open Kontakt as a standalone application. Ensure that Kontakt is set up as a plugin within your DAW if you intend to use it in conjunction with other instruments and effects.
- Access Kontakt’s Preferences: Navigate to Kontakt’s preferences or settings menu within your DAW. This is where you can configure various aspects of Kontakt’s functionality, including MIDI input settings.
- Assign MIDI Input: In Kontakt’s preferences, locate the MIDI input section and select your MIDI keyboard from the available input devices. This step ensures that Kontakt receives MIDI data from your keyboard, allowing you to play and control its instruments using the MIDI controller.
- Enable MIDI Learn (Optional): If you wish to assign specific parameters within Kontakt to be controlled by your MIDI keyboard’s knobs, sliders, or other controls, enable MIDI Learn mode. This feature allows you to map MIDI messages from your keyboard to various parameters within Kontakt for real-time manipulation.
- Configure MIDI Channels (if necessary): Depending on your MIDI keyboard’s capabilities and your intended use of Kontakt’s multi-timbral features, configure the MIDI channels within Kontakt to correspond with your MIDI keyboard’s output channels. This step is crucial for utilizing multiple sounds and instruments simultaneously with your MIDI keyboard.
- Test MIDI Input: With the MIDI input settings configured, test the connection between your MIDI keyboard and Kontakt. Play notes on your MIDI keyboard and ensure that Kontakt accurately receives and responds to the MIDI data, triggering the corresponding sounds and instruments within the software.
By following these steps, you establish a seamless communication channel between your MIDI keyboard and Kontakt, enabling you to leverage the expressive capabilities of your MIDI controller to interact with Kontakt’s extensive library of sampled instruments and sounds.
Step 4: Test Your Setup
After completing the configuration of Kontakt with your MIDI keyboard, it’s crucial to test the setup to ensure that everything is functioning as expected. This step allows you to verify the seamless integration of your MIDI keyboard with Kontakt and confirm that you can play, control, and record music effectively. Follow these steps to test your setup:
- Select an Instrument: Within Kontakt, choose an instrument from its extensive library to test with your MIDI keyboard. Select a sound that resonates with your musical style and preferences, whether it’s a classic piano, lush strings, dynamic drums, or any other instrument available in Kontakt’s collection.
- Play Notes: Use your MIDI keyboard to play notes and chords, triggering the selected instrument within Kontakt. Ensure that the MIDI input from your keyboard accurately triggers the corresponding sounds in Kontakt, allowing you to play and express your musical ideas seamlessly.
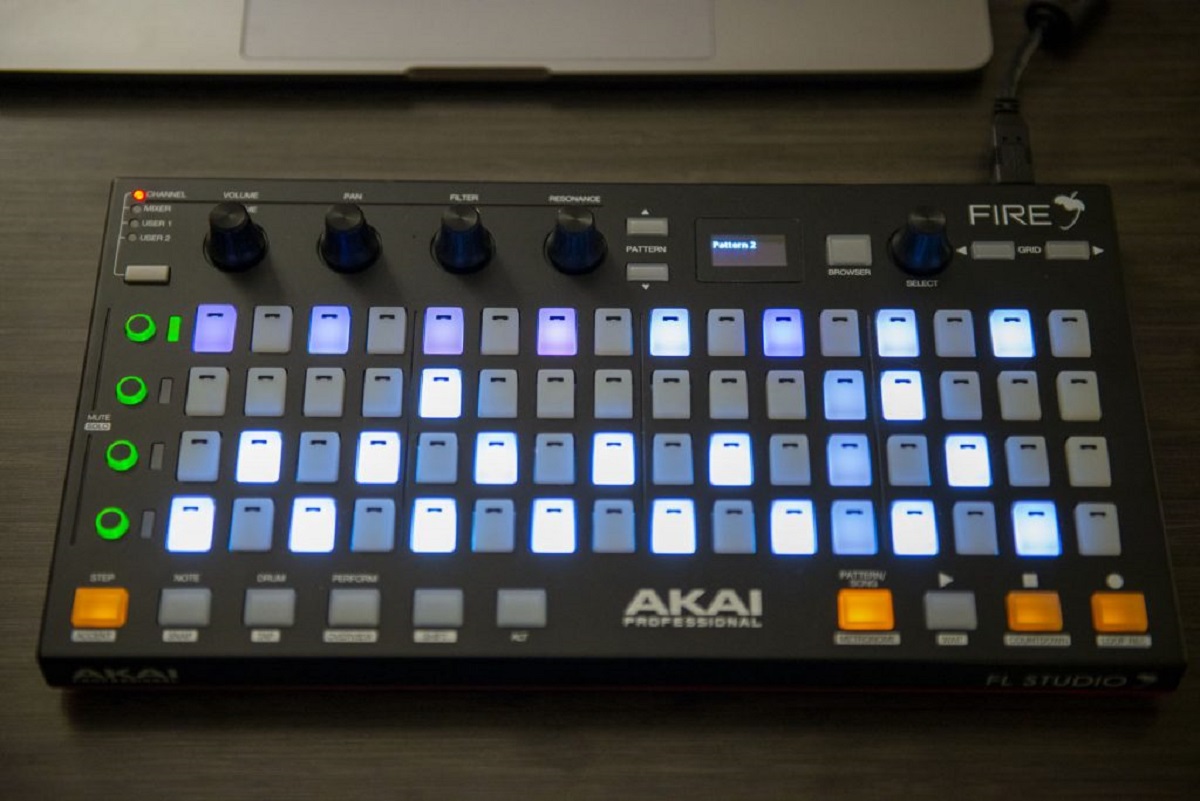
- Test MIDI Controls (if applicable): If your MIDI keyboard features assignable controls such as knobs, sliders, or pads, test their functionality within Kontakt. Verify that you can manipulate parameters, such as volume, modulation, or effects, using the MIDI controls on your keyboard, providing a tactile and expressive interface for shaping your sounds.
- Record MIDI Data: Record a short musical passage or melody using your MIDI keyboard and Kontakt. Check that the recorded MIDI data accurately captures your performance and can be played back within your DAW or Kontakt’s internal sequencer, allowing for further editing and refinement of your musical ideas.
- Explore Articulations and Expressive Techniques: Experiment with various articulations, dynamic layers, and expressive techniques available in Kontakt’s instruments. Use your MIDI keyboard to explore the nuances of each instrument, from subtle phrasing and velocity-sensitive playing to intricate articulations, showcasing the expressive capabilities of your MIDI controller within Kontakt.
By thoroughly testing your setup, you can ensure that your MIDI keyboard seamlessly integrates with Kontakt, providing a responsive and expressive platform for creating music across diverse genres and styles. This step allows you to familiarize yourself with the capabilities of your MIDI keyboard within Kontakt and sets the stage for unleashing your creativity in music production and performance.
Conclusion
Setting up Kontakt with a MIDI keyboard opens up a world of creative possibilities for music production, composition, and performance. By following the steps outlined in this guide, you have successfully established a seamless connection between your MIDI keyboard and Kontakt, enabling you to harness the expressive capabilities of your MIDI controller within Kontakt’s extensive library of sampled instruments and sounds.
With Kontakt’s versatile functionality and your MIDI keyboard’s tactile interface, you can now explore a wide range of musical genres, from orchestral arrangements and electronic compositions to intricate soundscapes and dynamic live performances. The integration of your MIDI keyboard with Kontakt empowers you to play, record, and manipulate music with precision and artistry, leveraging the expressive nuances of your performances to craft compelling musical experiences.
As you continue your musical journey with Kontakt and your MIDI keyboard, consider exploring advanced features, experimenting with different instrument libraries, and delving into the realm of MIDI mapping and automation to further enhance your creative workflow. Additionally, integrating Kontakt and your MIDI keyboard into your music production setup can inspire new musical ideas and streamline your workflow, allowing for seamless collaboration with other musicians and producers.
Whether you’re a seasoned musician, a budding composer, or an aspiring producer, the synergy between Kontakt and your MIDI keyboard offers a versatile platform for realizing your musical vision. Embrace the expressive capabilities of your MIDI controller, delve into Kontakt’s expansive sonic palette, and let your creativity flourish as you embark on a musical journey enriched by the seamless integration of your MIDI keyboard with Kontakt.
With the foundation laid for a harmonious relationship between your MIDI keyboard and Kontakt, you are poised to embark on a musical odyssey filled with innovation, expression, and boundless creativity.


