Introduction
Setting and adjusting the neck on an acoustic guitar is an essential skill for any guitarist. The neck plays a crucial role in determining the playability and tone of the instrument. If the neck is not properly adjusted, it can result in fret buzzing, high action, or intonation issues.
Fortunately, with a few simple tools and some basic knowledge, you can easily adjust the neck of your acoustic guitar to ensure optimal performance. In this guide, we will take you through the step-by-step process of setting and adjusting the neck on an acoustic guitar.
Whether you are a seasoned guitarist looking to fine-tune your instrument or a beginner wanting to learn how to maintain and optimize the playability of your guitar, this article will provide you with the necessary information and guidance.
Before we dive into the detailed steps, it’s important to note that adjusting the neck of your acoustic guitar should be done with caution. If you are not comfortable or confident in performing these adjustments yourself, it is always recommended to seek the assistance of a professional guitar technician.
Now, let’s gather the necessary tools and get started with the process of adjusting the neck on your acoustic guitar.
Tools Needed
Before you begin adjusting the neck on your acoustic guitar, it’s important to gather the necessary tools. Having the right tools will make the process easier and more efficient. Here are the essential tools you will need:
- Truss rod wrench: This specialized wrench allows you to adjust the truss rod, which is the key component in neck adjustments. Make sure you have the correct size of wrench for your guitar.
- Action gauge: An action gauge is used to measure the string height or action at various points along the neck. This will help you determine if the action needs adjustment.
- Capo: A capo is useful for temporarily raising the pitch of the strings, allowing you to access the lower frets more easily during the adjustment process.
- String height ruler: A ruler or straight edge with measurements in millimeters or inches will help you determine the string height or action at each fret.
- Feeler gauges: Feeler gauges are used to measure the neck relief or the amount of bow in the neck. These thin strips of metal can be inserted between the string and the frets to gauge the amount of clearance.
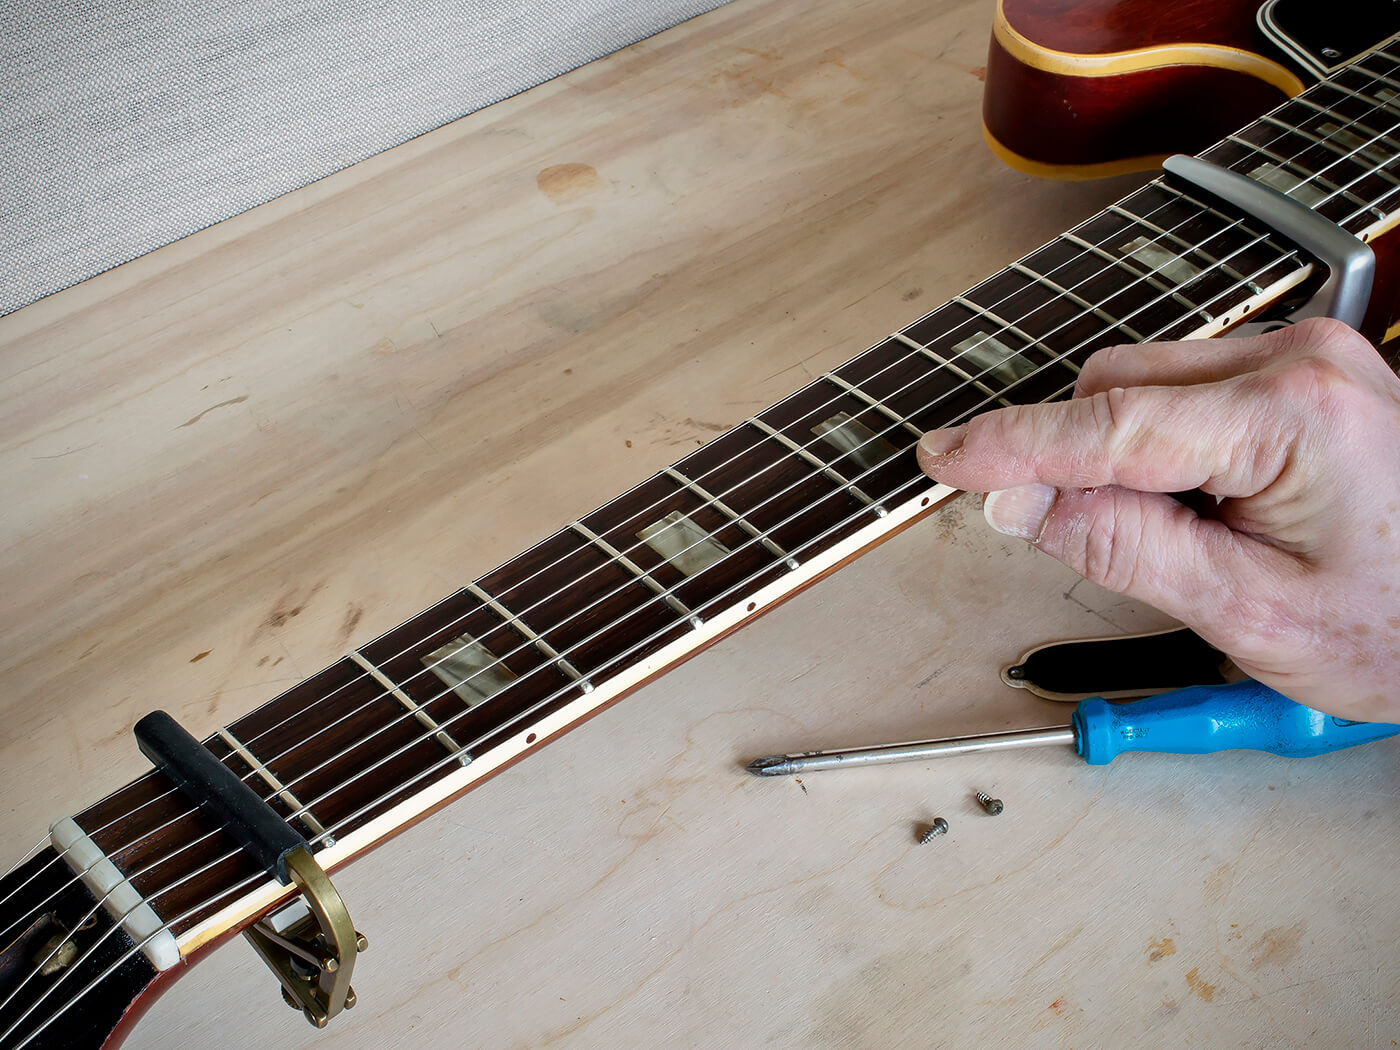
- Screwdriver: Depending on the type of guitar you have, you may need a screwdriver to access and adjust the truss rod or other components of the neck.
Having these tools on hand will ensure that you have everything you need to make precise and accurate adjustments to the neck of your acoustic guitar.
Now that you have gathered the necessary tools, let’s move on to the step-by-step process of checking and adjusting the neck relief on your guitar.
Step 1: Check the Neck Relief
Before making any adjustments to the neck of your acoustic guitar, it’s important to check the neck relief. Neck relief refers to the slight concave bow of the neck, which helps maintain proper string height and playability.
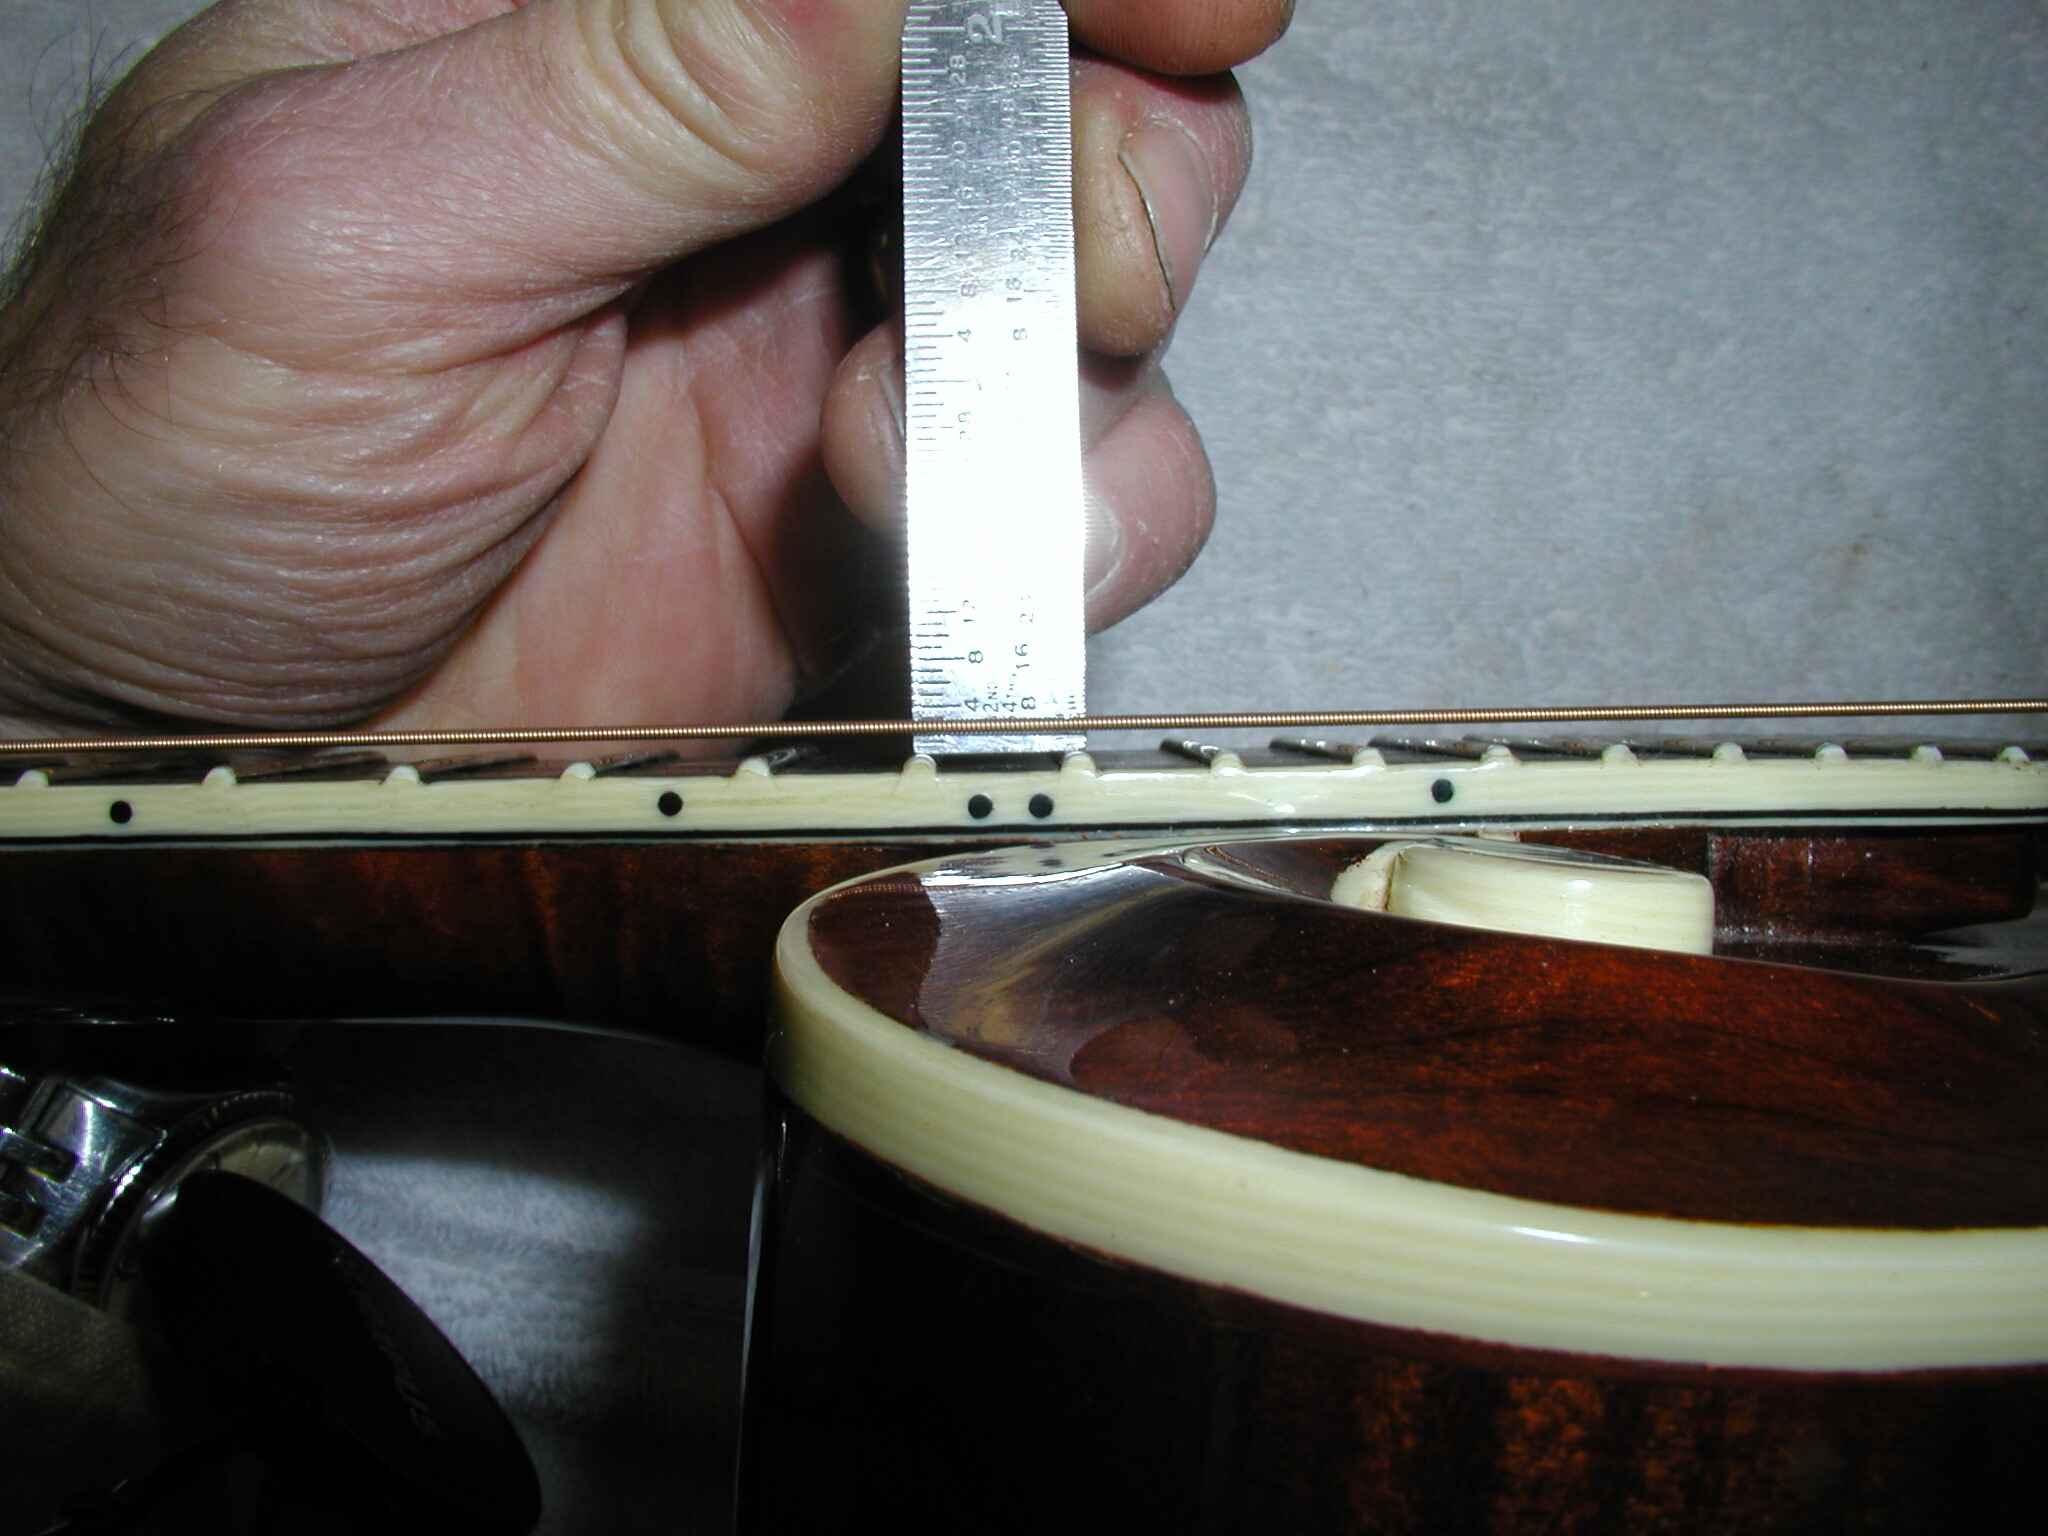
To check the neck relief, you can follow these steps:
- Tune the guitar: Start by tuning your guitar to its standard tuning or the tuning you commonly use.
- Press the first and last frets: Hold down the first fret on the low E string and the last fret where the neck joins the body. Alternatively, you can use a capo on the first fret and press down on the last fret.
- Observe the mid-fret: Look at the mid-point between the first and last fret. You can do this by pressing down on the string at the 7th, 8th, or 9th fret.
- Check for clearance: With the string pressed down at the mid-fret, observe the gap between the string and the top of the frets. There should be a slight clearance between the string and the frets, typically around 0.010 to 0.015 inches or 0.25 to 0.38 millimeters.
If the gap is too large, and the string is far away from the frets, the neck has excessive relief. If there is no gap at all, and the string is buzzing against the frets, the neck has backbow or is too straight.
By checking the neck relief, you can determine if any adjustments are needed. In the next step, we will learn how to loosen the truss rod to make these adjustments.
Step 2: Loosen the Truss Rod
After checking the neck relief and determining that adjustments are needed, the next step is to loosen the truss rod. The truss rod is a metal rod inside the neck of the guitar that allows you to control the amount of bow in the neck.
To loosen the truss rod, follow these steps:
- Locate the truss rod adjustment point: The truss rod adjustment point is typically located on the headstock of the guitar, at the base of the neck. It may be covered by a plastic or metal plate.
- Use the correct tool: Depending on the guitar, you will need the appropriate truss rod wrench to fit the adjustment point. Insert the wrench into the adjustment point and ensure a firm grip.
- Loosen the truss rod: Gently turn the wrench counterclockwise to loosen the truss rod. Use small increments, as a little adjustment can go a long way. It’s crucial not to force the wrench or over-tighten the truss rod, as this can cause damage to the neck.
- Check the neck relief: After each adjustment, it’s important to recheck the neck relief using the method described in step 1. Continue loosening the truss rod until the desired amount of relief is achieved.
Loosening the truss rod allows the neck to bow slightly, reducing the amount of forward pressure on the strings. This adjustment can help decrease fret buzz or lower the action if the neck had excessive relief.
Once you have loosened the truss rod to the proper amount, you can move on to the next step, where we will learn how to make adjustments to the truss rod to fine-tune the neck relief.
Step 3: Adjusting the Truss Rod
With the truss rod loosened to the appropriate level, you can now proceed to adjust it to achieve the desired neck relief. Remember, small adjustments are key to avoid causing damage to the neck or altering the playability of the guitar.
Follow these steps to adjust the truss rod:
- Let the guitar stabilize: After loosening the truss rod, allow the guitar to rest for a few hours or overnight. This will allow the neck to adjust to the new tension before making any further adjustments.
- Recheck the neck relief: Before making any adjustments, recheck the neck relief as described in Step 1. This will help you determine if additional adjustments are necessary.
- Make small adjustments: Using the truss rod wrench, gently turn it clockwise or counterclockwise in very small increments, typically an eighth or a quarter of a turn at a time. Make sure to do this gradually and evenly to avoid any sudden changes in the neck’s curvature.
- Check for optimal relief: After each adjustment, recheck the neck relief and gauge the playability of the guitar. The goal is to achieve a slight amount of neck relief for optimal performance and playability.
Remember that the amount of neck relief can differ depending on personal preference, playing style, and the overall condition of the guitar. It’s best to make incremental adjustments and frequently evaluate the playability of the instrument until you achieve the desired neck relief.
With the truss rod properly adjusted, you can move on to the next step, where we will check and adjust the action of the guitar.
Step 4: Check the Neck Relief Again
After adjusting the truss rod, it’s important to recheck the neck relief to ensure that it is at the desired level. This step is essential in fine-tuning the playability and overall performance of your acoustic guitar.
To check the neck relief again, follow these steps:
- Let the guitar settle: Once you have made adjustments to the truss rod, allow the guitar to settle for a few hours or overnight. This will give the neck and strings time to adjust to the new tension.
- Tune the guitar: Before checking the neck relief, make sure to tune the guitar to its desired pitch.
- Hold down the first and last frets: Similar to Step 1, hold down the first fret on the low E string and the last fret where the neck joins the body. Alternatively, you can use a capo on the first fret and press down on the last fret.
- Observe the mid-fret: Look at the mid-point between the first and last fret. You can do this by pressing down on the string at the 7th, 8th, or 9th fret.
- Check for the desired clearance: With the string pressed down at the mid-fret, observe the gap between the string and the top of the frets. The goal is to have a slight clearance, typically around 0.010 to 0.015 inches or 0.25 to 0.38 millimeters.
If the neck relief is still not at the desired level, you may need to make further adjustments to the truss rod. Repeat the process of adjusting the truss rod in small increments, allowing the guitar to settle and rechecking the neck relief until it meets your preferences.
Checking the neck relief multiple times ensures that you achieve optimal playability and eliminates any potential issues such as fret buzz or high action. By taking the time to fine-tune the neck relief, you’ll be rewarded with a guitar that is comfortable to play and produces great sound.
Now that the neck relief has been checked and adjusted, let’s move on to the next step to adjust the action of your acoustic guitar.
Step 5: Adjusting the Action
After achieving the desired neck relief, the next step in the process is to adjust the action of your acoustic guitar. The action refers to the height of the strings above the fretboard, which directly affects the playability and ease of fretting notes.
Follow these steps to adjust the action of your guitar:
- Identify the saddle: The saddle is a small piece located at the bridge of the guitar that holds the strings in place. It can usually be adjusted for height.
- Inspect the saddle: Take a close look at the saddle and determine if it needs adjustment. If the action is too high, the saddle needs to be lowered. If the action is too low or you’re experiencing string buzz, the saddle needs to be raised.
- Make adjustments: To lower the saddle, use a small file to carefully file down the bottom surface. Start with a few light strokes and check the action frequently to avoid removing too much material. To raise the saddle, you can use pre-made shims or add a piece of material, such as a small strip of paper or thin cardboard, beneath the saddle.
- Check the action: After making adjustments to the saddle, it’s essential to check the action at various points along the neck. Use an action gauge or ruler to measure the height of the strings above the 12th fret. The recommended action for most acoustic guitars is around 3/32 inch (2.4 mm) on the bass side and 2/32 inch (1.6 mm) on the treble side.
- Fine-tune as needed: If the action is still not to your liking, you can make further adjustments to the saddle by repeating the process of filing or adding shims. Remember to check the action frequently to avoid going too far in either direction.
By adjusting the action, you can ensure that your guitar is comfortable to play and produces the desired tone and volume. It’s important to find the balance between low action for ease of playing and avoiding excessive string buzz.
Once you are satisfied with the action, proceed to the next step, where we will check the string height or action across the entire length of the fretboard.
Step 6: Checking the String Height
Checking the string height, also known as the action, is crucial in ensuring that your acoustic guitar is properly set up and comfortable to play. The string height affects the playability, tone, and overall performance of the instrument.
Here’s how you can check the string height across the entire length of the fretboard:
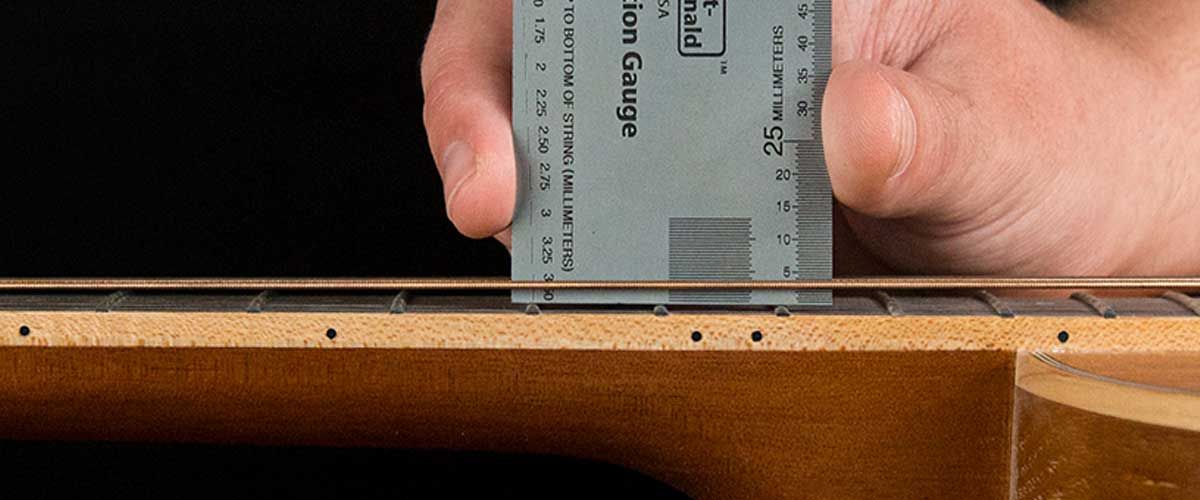
- Use an action gauge or ruler: Obtain an action gauge or ruler with millimeter or inch measurements. These tools will help you accurately measure the distance between the bottom of the strings and the top of the frets.
- Position the gauge: Starting at the 1st fret, place the action gauge or ruler perpendicular to the fretboard, aligned with the bottom of the strings. Ensure that the strings are pressed down at the highest point of the neck, usually around the 12th or 14th fret.
- Measure the string height: Observe the clearance between the bottom of the strings and the top of the frets at various points along the neck, such as the 1st, 5th, 9th, and 12th frets. Compare the measurements to the recommended action height for your playing style and guitar type. Adjust as needed.
- Make necessary adjustments: To lower the action, you can file the slots of the nut and saddle, which can be done with a nut or saddle file. Be careful to remove material evenly to maintain proper string spacing. To raise the action, you may need to replace the nut or saddle with a taller one or add shims beneath them.
- Ensure consistency: It’s important to maintain consistent string height across all strings. This will help avoid any imbalances in playability and ensure even string response.
By checking the string height and making necessary adjustments, you can optimize the playability of your acoustic guitar. Remember to strike a balance between low action for ease of playing and avoiding excessive string buzz or fretting-out.
Once you are satisfied with the string height, proceed to the final step, where we will fine-tune the action and make any necessary last adjustments.
Step 7: Fine-Tuning the Action
In the final step of setting and adjusting the neck on an acoustic guitar, it’s time to fine-tune the action for optimal playability and comfort. This step involves making any necessary last adjustments to ensure that the guitar meets your preferences and desired playing style.
Follow these steps to fine-tune the action of your acoustic guitar:
- Playability evaluation: Take some time to play the guitar and evaluate its playability. Pay attention to any areas where the action feels uncomfortable or the strings feel too high or too low.
- Addressing high spots or buzzing: If you encounter any specific areas where the action is too high or low, you can make targeted adjustments to those problem spots. This can involve filing down high frets, addressing uneven frets, or adjusting individual saddle heights.
- Consider personal preference: Fine-tuning the action also involves considering your personal preference as a player. Some guitarists prefer slightly higher action for more sustain and a fuller tone, while others prefer lower action for fast and easy playing. Adjust the action to your desired comfort level.
- Regular string changes: It’s important to note that the action of your guitar can change over time due to various factors, including string tension and humidity. Regularly changing your strings and monitoring the action will help maintain consistent playability.
As you fine-tune the action, remember to strike a balance between playability, string clearance, and tonal preferences. Making slight adjustments and evaluating the playability throughout the process will help you achieve the desired result.
Once you are satisfied with the action, take the time to play your guitar and assess its overall performance. If you still encounter any issues, it’s advisable to seek the assistance of a professional guitar technician to address any complex or intricate adjustments.
By following these steps and taking the time to set and adjust the neck on your acoustic guitar, you can ensure that it performs optimally and provides you with the best playing experience possible.
Conclusion
Setting and adjusting the neck on an acoustic guitar is a vital skill that every guitarist should learn. It not only improves the playability and comfort of the instrument but also enhances its overall tone and performance.
In this guide, we have covered the step-by-step process of setting and adjusting the neck on an acoustic guitar. We started by checking the neck relief, loosening the truss rod, and making adjustments to achieve the desired neck relief. We then moved on to adjusting the action and checking the string height. Finally, we concluded by fine-tuning the action to ensure optimal playability.
Throughout the process, it’s essential to exercise caution and make incremental adjustments to avoid causing damage to the guitar. If you are uncertain or uncomfortable performing these adjustments yourself, it’s wise to seek the assistance of a professional guitar technician.
Remember that every guitar is unique, and personal preference plays a significant role in setting and adjusting the neck. Experimentation and careful evaluation of playability will help you achieve the perfect balance for your playing style and preferences.
By dedicating time and attention to setting and adjusting the neck of your acoustic guitar, you can optimize its performance, enjoy a comfortable playing experience, and unlock its full potential as a musical tool.
So grab your tools, follow the steps outlined in this guide, and embark on the journey of fine-tuning the neck of your acoustic guitar. Happy playing!