Introduction
Introduction
Are you an aspiring musician looking to record your electric guitar riffs on your PC? Perhaps you're a seasoned player seeking to capture your latest composition in all its glory. Whatever your musical aspirations may be, recording your electric guitar on a PC using the Rocksmith cable can be a game-changer. With the right equipment and software, you can unleash your creativity and produce high-quality recordings without breaking the bank.
In this comprehensive guide, we'll walk you through the essential steps to record your electric guitar on your PC using the Rocksmith cable. From setting up your equipment to fine-tuning your recording settings, we've got you covered. Whether you're a novice or a tech-savvy guitarist, this guide will equip you with the knowledge and confidence to embark on your recording journey.
So, grab your electric guitar, dust off your Rocksmith cable, and get ready to dive into the world of PC-based guitar recording. Let's unleash the power of technology to capture the raw energy and soulful melodies of your electric guitar performances. By the end of this guide, you'll be well on your way to creating professional-sounding recordings right from the comfort of your own home. Get ready to amplify your music and make your mark in the digital realm.
Getting the Right Equipment
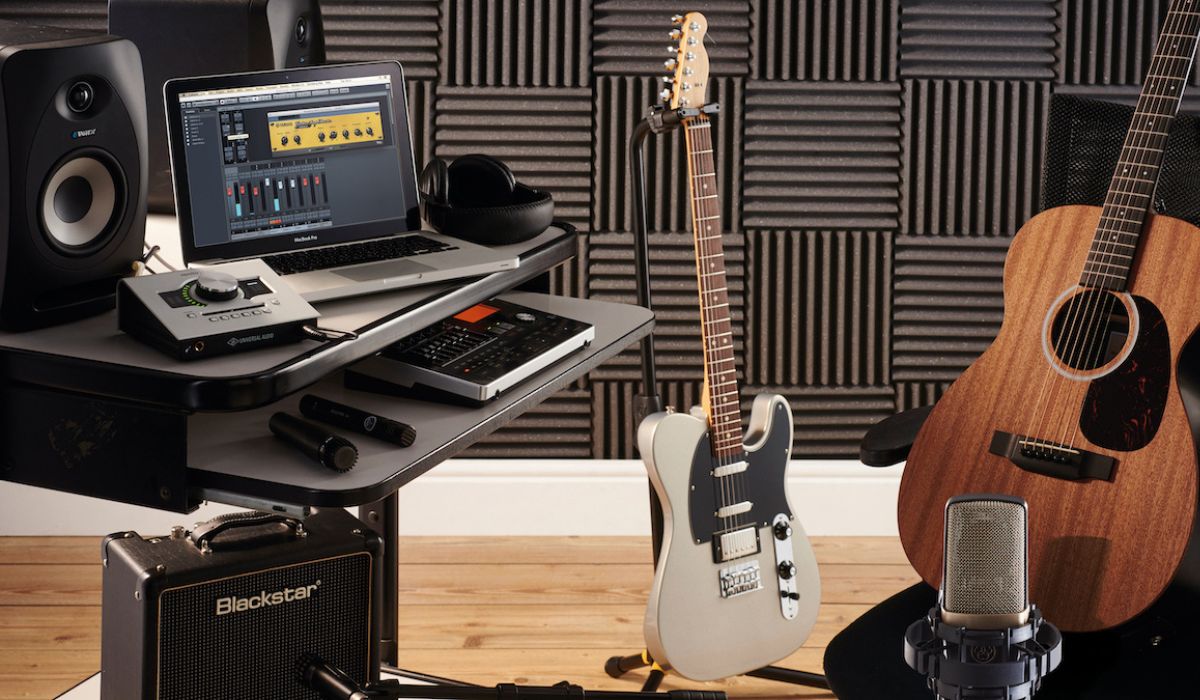
Before diving into the world of electric guitar recording on your PC, it’s essential to ensure that you have the right equipment at your disposal. Here’s what you’ll need to get started:
- Electric Guitar: Naturally, the first piece of equipment you’ll need is your trusty electric guitar. Whether you prefer the classic sound of a Stratocaster or the aggressive punch of a Les Paul, make sure your guitar is in top-notch condition and ready to rock.
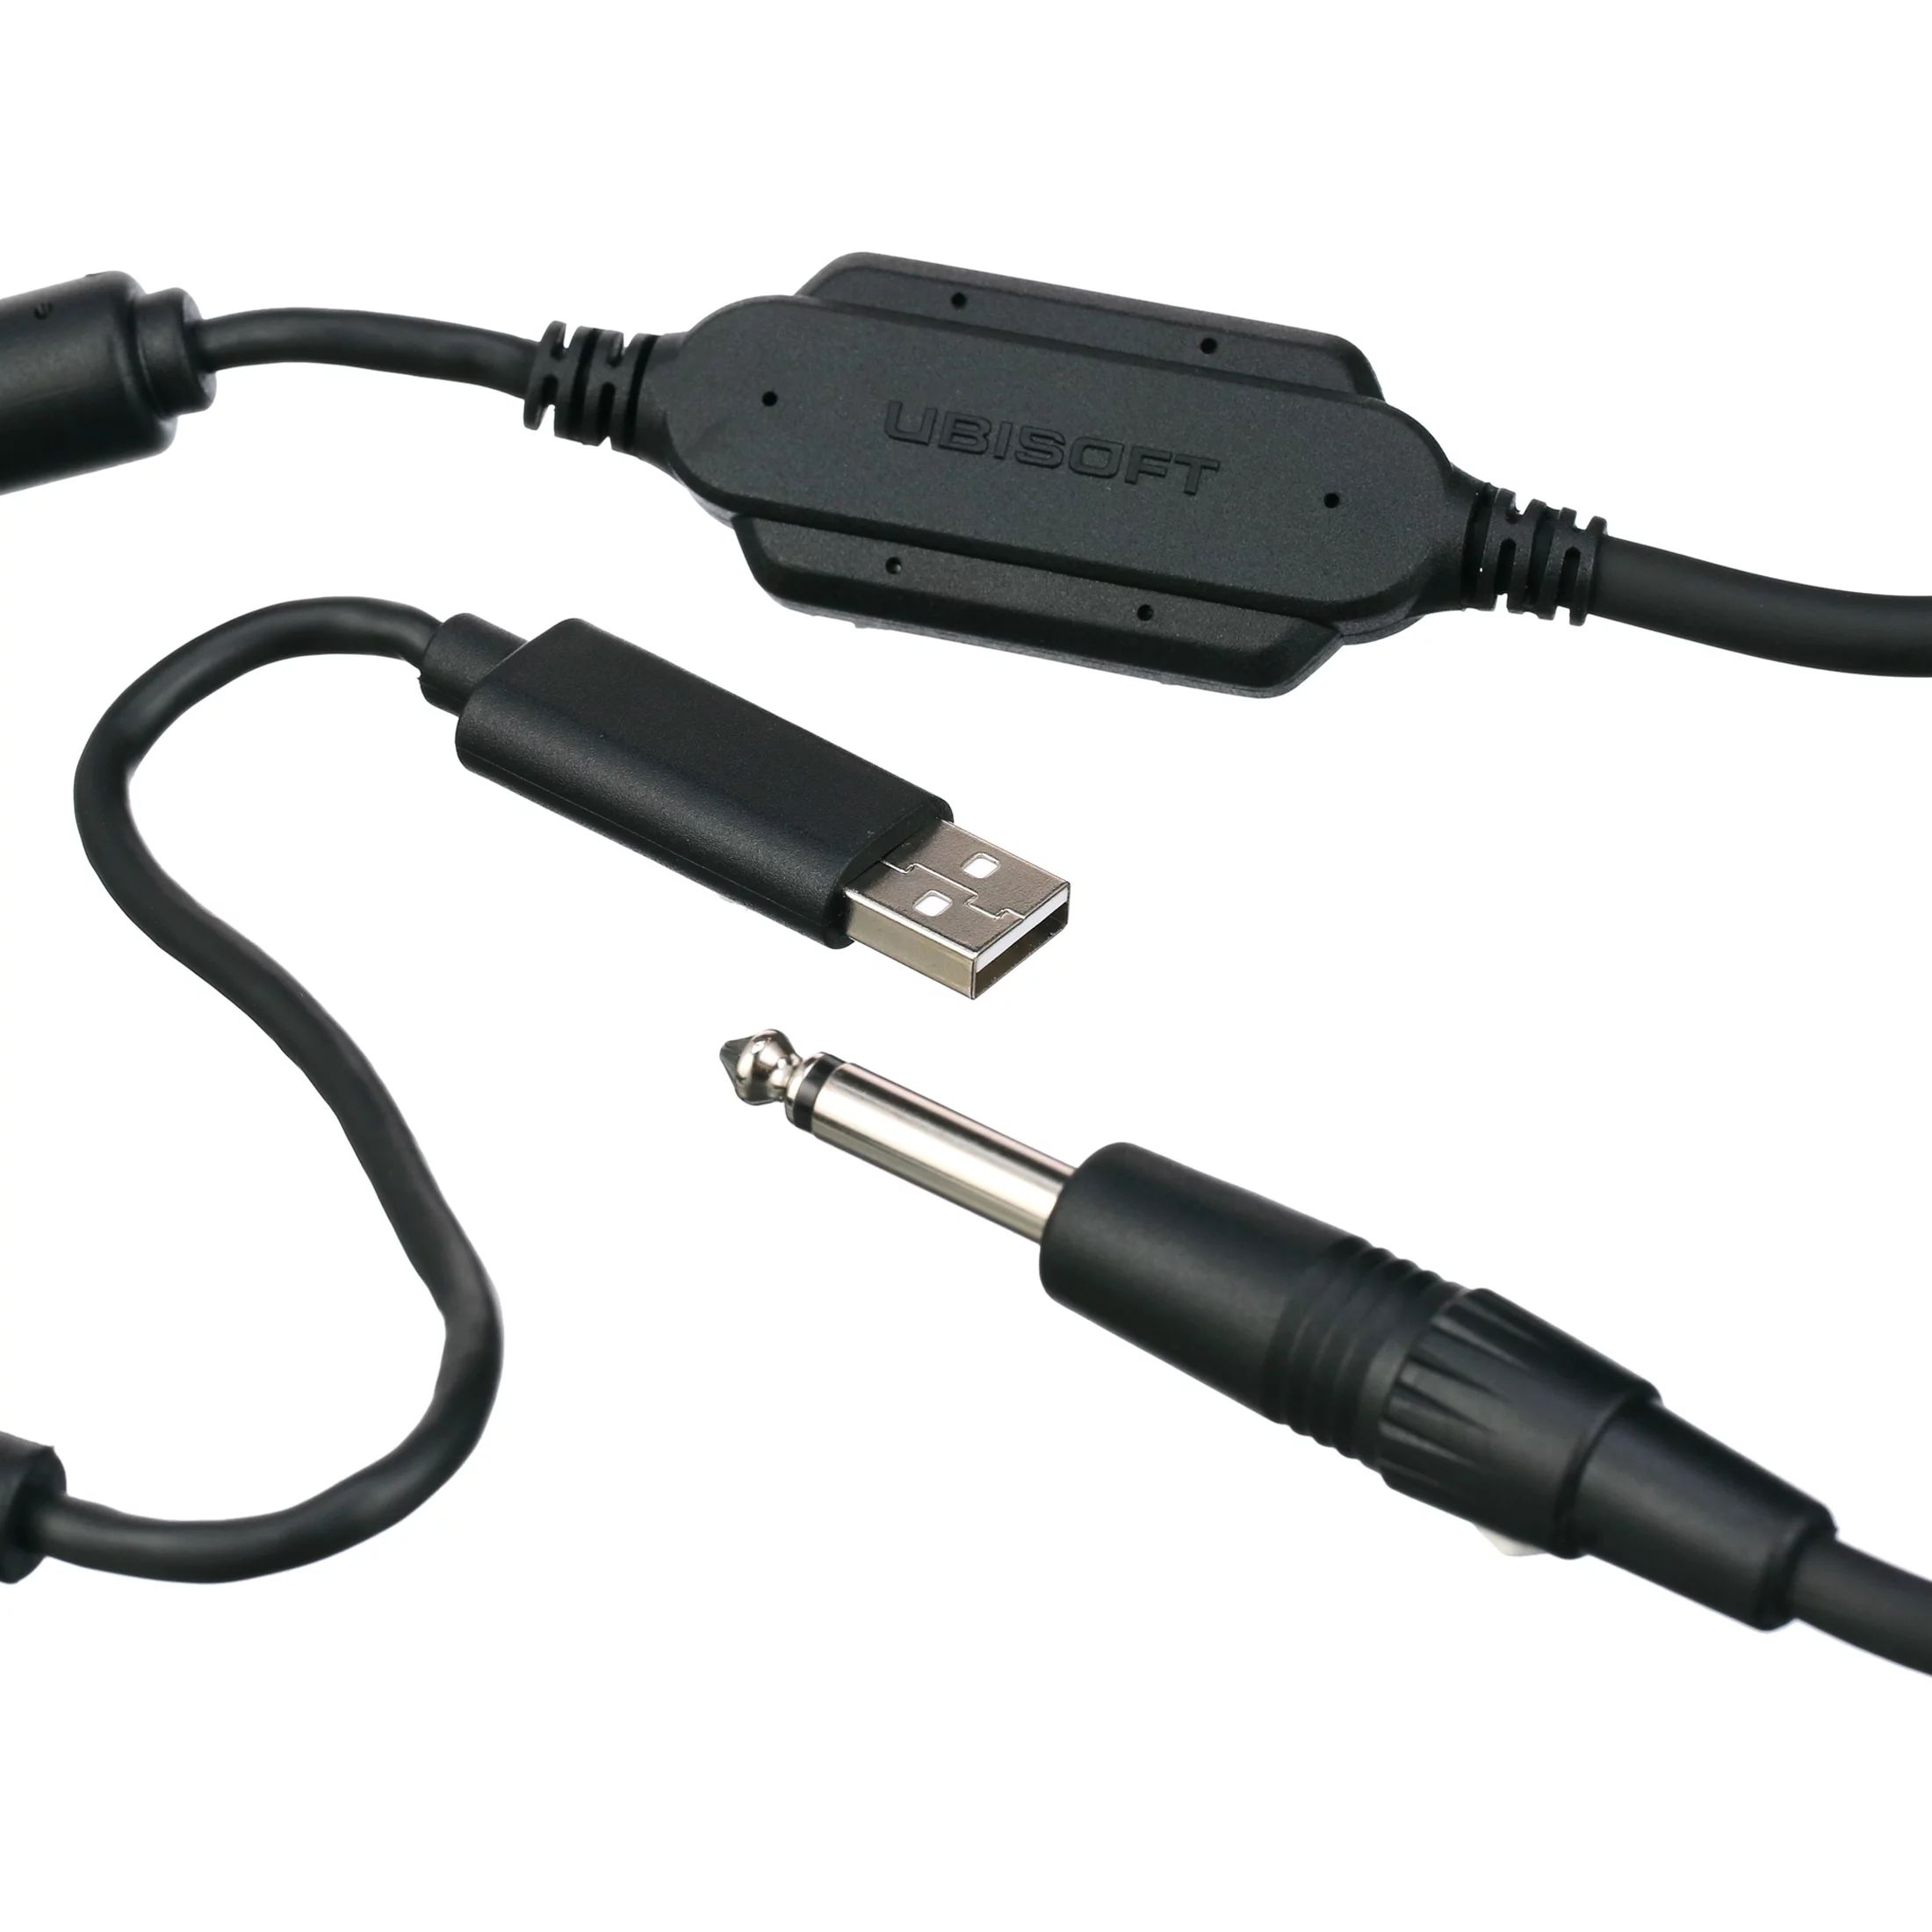
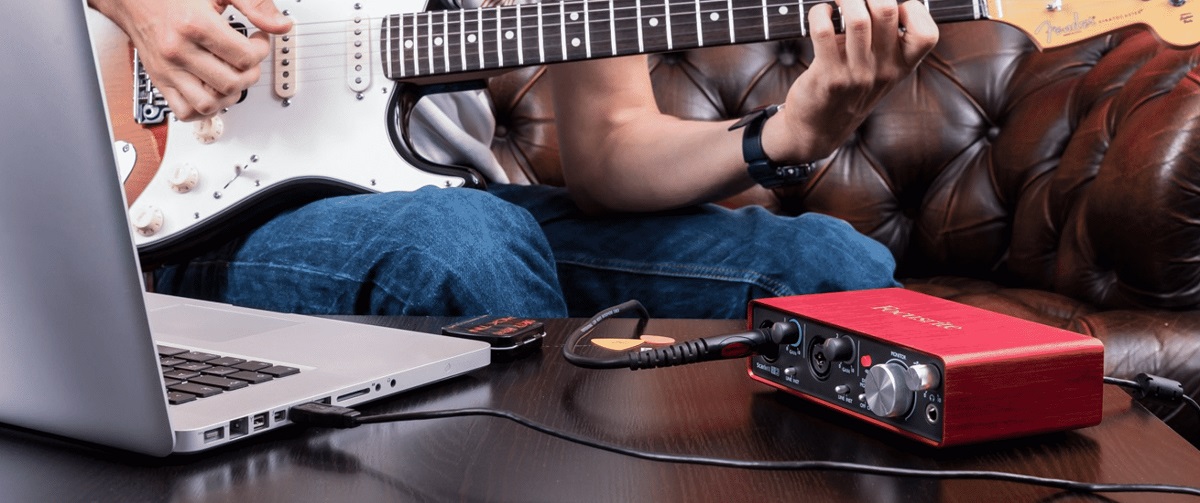
- Rocksmith Cable: The Rocksmith Real Tone Cable is a crucial component for connecting your electric guitar to your PC. This specialized cable is designed to deliver high-fidelity audio directly from your guitar to your computer, making it an indispensable tool for recording.
- PC or Laptop: Ensure that you have a reliable PC or laptop with ample processing power and storage space. While modern computers are generally equipped to handle audio recording, having a dedicated sound card or audio interface can further enhance the quality of your recordings.
- Recording Software: Choose a suitable recording software that is compatible with your PC and offers the features you need. Whether you opt for a professional digital audio workstation (DAW) or a user-friendly recording program, selecting the right software is crucial for achieving your desired sound.
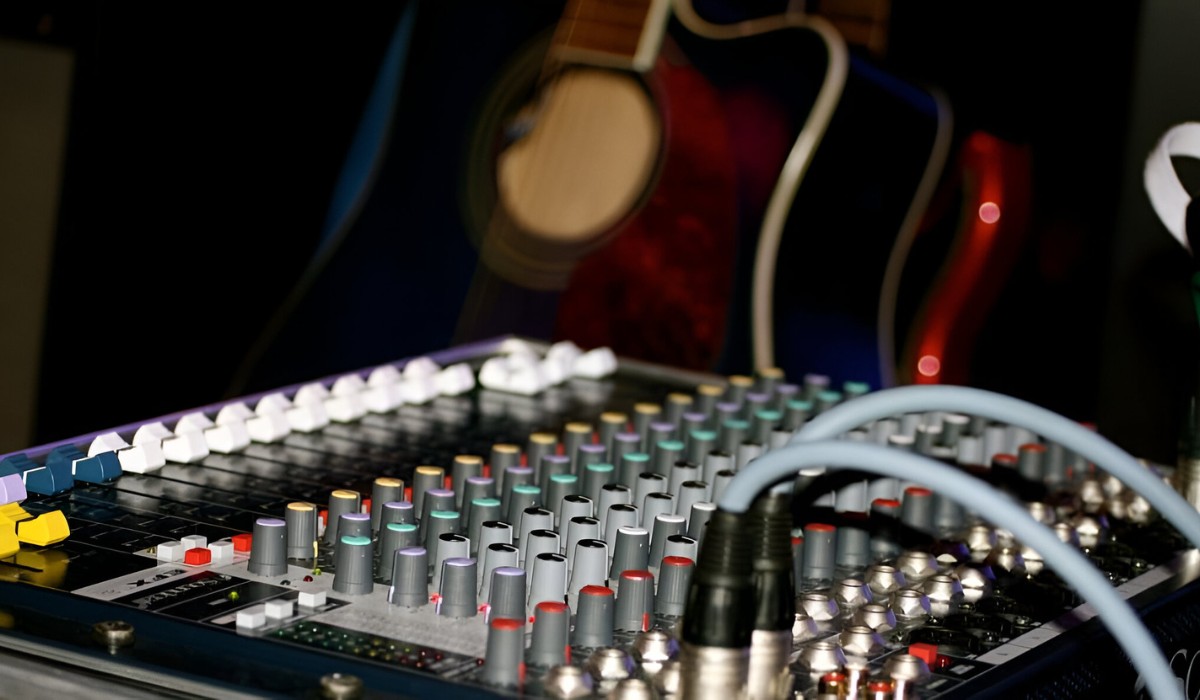
- Headphones or Studio Monitors: To monitor your recordings and ensure accurate playback, invest in a pair of high-quality headphones or studio monitors. These will allow you to hear the nuances of your guitar performance and make informed decisions during the recording process.
By assembling the right combination of equipment, you’ll lay a solid foundation for capturing the essence of your electric guitar playing with precision and clarity. With these essential tools in place, you’re ready to move on to the next steps of setting up your PC for recording.
Setting Up Your PC
Once you have gathered the necessary equipment, the next step is to prepare your PC for recording your electric guitar. Here’s how to set up your computer for optimal performance:
- Update Your Operating System: Before diving into the recording process, ensure that your operating system is up to date. Installing the latest updates and drivers can help prevent compatibility issues and improve the overall stability of your PC.
- Optimize Your System Settings: Adjust the power settings on your computer to prioritize performance over energy conservation. This can help prevent audio dropouts and ensure a smooth recording experience.
- Configure Audio Settings: Access the audio settings on your PC and select the appropriate input and output devices. Ensure that your Rocksmith cable is recognized as the input source for your electric guitar, and configure the output to your headphones or studio monitors for monitoring purposes.
- Install Recording Software: If you haven’t already done so, install the recording software of your choice on your PC. Follow the installation instructions provided by the software manufacturer and ensure that the program is properly configured to work with your audio interface or Rocksmith cable.
- Test Your Setup: Before proceeding with recording, conduct a test to ensure that your electric guitar is successfully transmitting audio to your PC. Strum a few chords and verify that the sound is being captured by your recording software without any issues.
By meticulously setting up your PC for recording, you can minimize technical hurdles and focus on unleashing your creativity through your electric guitar performances. With your system primed and ready, you’re now prepared to connect the Rocksmith cable and delve into the world of digital guitar recording.
Connecting the Rocksmith Cable
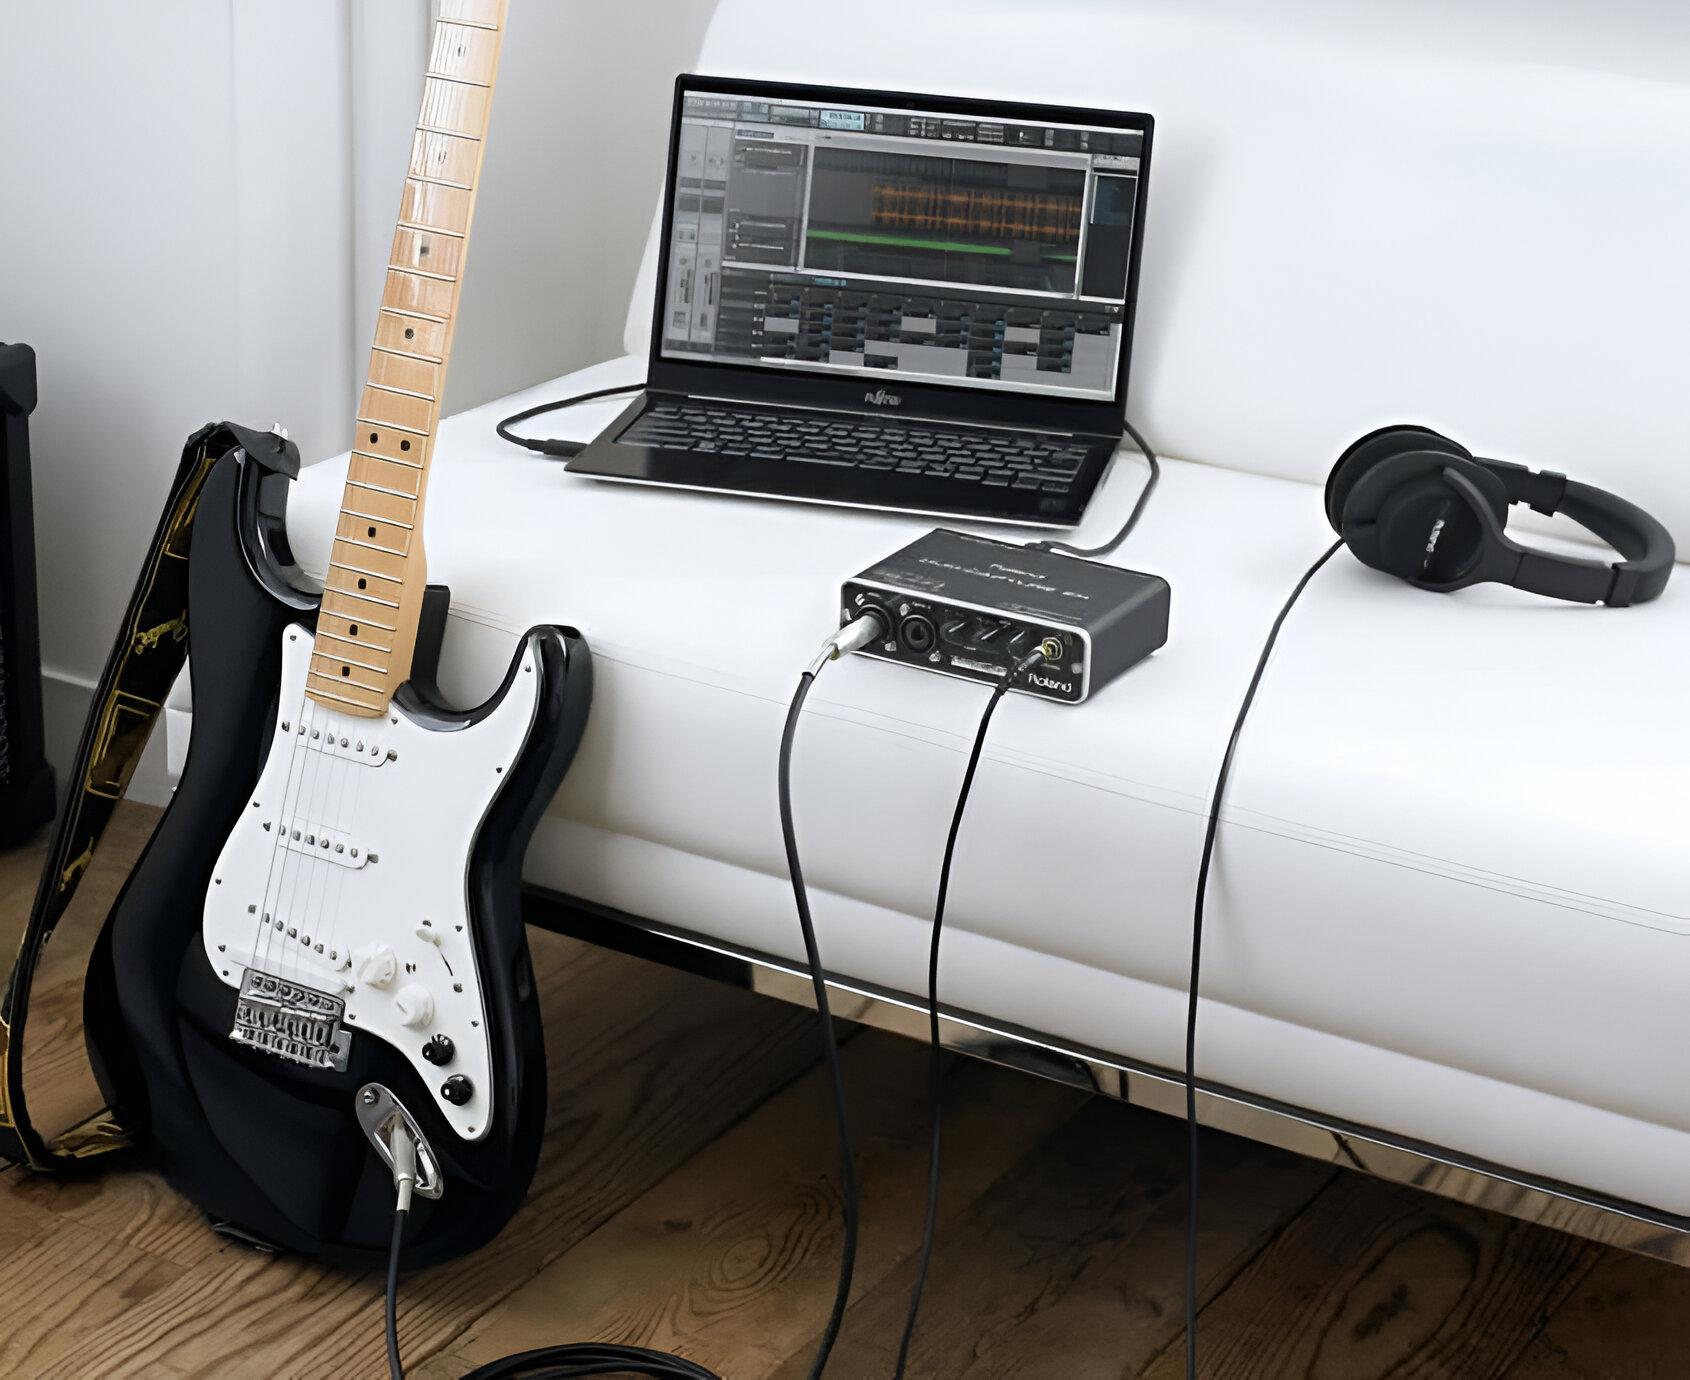
With your PC set up and ready to go, it’s time to connect the Rocksmith cable to facilitate the seamless transmission of your electric guitar’s signal. Follow these steps to ensure a secure and efficient connection:
- Locate the USB End: The Rocksmith cable features a USB connector that plugs directly into a USB port on your computer. Identify an available USB port and insert the USB end of the cable securely.
- Connect the 1/4″ Jack: The other end of the Rocksmith cable is equipped with a 1/4″ jack, which is designed to be plugged into the output jack of your electric guitar. Ensure that the jack is firmly inserted into the guitar’s output, establishing a stable connection for signal transmission.
- Adjust Cable Positioning: Once both ends of the Rocksmith cable are connected, take a moment to ensure that the cable is positioned in a way that minimizes strain on the connections. Avoid placing excessive tension on the cable, as this can lead to signal interference or hardware damage.
- Verify Connection Recognition: Check your computer to confirm that the Rocksmith cable is recognized as an input device. Access the audio settings on your PC and ensure that the cable is listed as an available input source for recording.
By carefully connecting the Rocksmith cable to your electric guitar and PC, you establish a direct audio pathway that enables your computer to capture the nuances of your guitar playing. With the physical connections in place, you’re now poised to explore the software side of the recording process and select the ideal recording software for your creative endeavors.
Choosing the Right Software
When it comes to recording your electric guitar on your PC, selecting the right software is pivotal in achieving the desired sound quality and creative flexibility. Here are essential considerations for choosing the ideal recording software:
- Compatibility: Ensure that the recording software you choose is compatible with your operating system and hardware. Whether you’re using Windows, macOS, or Linux, verify that the software is designed to run seamlessly on your PC.
- Features and Functionality: Assess the features offered by the recording software, such as multi-track recording, built-in effects, amp simulations, and audio editing capabilities. The software should provide the tools you need to capture and refine your electric guitar performances with precision.
- User Interface: Consider the user-friendliness of the software’s interface. A well-designed and intuitive interface can streamline your recording process, allowing you to focus on your music without grappling with complex controls and menus.
- Flexibility and Customization: Look for software that offers flexibility in terms of signal routing, effects integration, and customization options. The ability to tailor the recording environment to suit your unique preferences can significantly enhance your creative workflow.
- Community and Support: Research the user community and support resources associated with the recording software. Active user forums, comprehensive documentation, and responsive customer support can be invaluable assets when seeking assistance or exploring new recording techniques.
By carefully evaluating these factors, you can make an informed decision when choosing the recording software that best aligns with your creative vision and technical requirements. Whether you opt for a feature-rich digital audio workstation (DAW) or a streamlined recording program, the right software will serve as your trusted companion in capturing the essence of your electric guitar performances with precision and artistry.
Adjusting Your Recording Settings
Once you’ve chosen the recording software that suits your needs, it’s crucial to fine-tune the recording settings to ensure optimal capture of your electric guitar’s sonic nuances. Here’s how you can adjust the recording settings for a seamless and high-quality recording experience:
- Input Levels: Set the input levels for your electric guitar to achieve an optimal balance between signal strength and clarity. Avoid setting the input levels too high, as this can result in distortion, while excessively low levels may lead to a weak and indistinct recording.
- Buffer Size: Adjust the buffer size in the recording software to optimize the latency and responsiveness of your audio interface. Finding the right buffer size can minimize audio latency during recording and playback, enhancing the real-time monitoring experience.
- Sample Rate and Bit Depth: Select the appropriate sample rate and bit depth for your recordings. Higher sample rates and bit depths can yield greater audio fidelity, but they may also demand more processing power and storage space on your PC.
- Monitoring Options: Configure the monitoring options in your recording software to facilitate real-time monitoring of your electric guitar performance. Whether you prefer direct monitoring through your audio interface or software-based monitoring with effects, ensure that the monitoring setup aligns with your preferences.
- Effects and Processing: Explore the available effects and processing tools within the recording software. Experiment with amp simulations, pedal effects, and equalization to sculpt the tone of your electric guitar and imbue your recordings with character and depth.
By meticulously adjusting the recording settings, you can tailor the recording environment to suit your artistic vision and technical requirements. This attention to detail will empower you to capture the full spectrum of your electric guitar’s sonic palette and unleash your creativity with confidence.
Recording Your Electric Guitar
With your equipment set up, the Rocksmith cable connected, and your recording settings adjusted, you’re now poised to embark on the exhilarating journey of capturing your electric guitar performances on your PC. Here’s a step-by-step guide to recording your electric guitar with precision and artistry:
- Prepare Your Performance: Before hitting the record button, take a moment to ensure that your electric guitar is tuned and ready for the performance. Clear any distractions from your recording space and position yourself comfortably for an uninterrupted playing experience.
- Engage Real-Time Monitoring: Activate the real-time monitoring feature in your recording software to hear your electric guitar’s signal as it is captured by your PC. This allows you to monitor your performance and make real-time adjustments to your playing technique and tone.
- Set Recording Levels: Verify that the recording levels are optimized for capturing the dynamics of your electric guitar performance. Keep an eye on the input meters in your recording software to ensure that the signal remains within the desired range without clipping or distortion.
- Capture Multiple Takes: Don’t hesitate to record multiple takes of your performance to explore different nuances and variations. This approach can provide you with a range of options during the mixing and editing phase, allowing you to select the most compelling segments for your final recording.
- Experiment with Tone and Effects: Utilize the available amp simulations, effects, and processing tools to sculpt the tone of your electric guitar. Experiment with different settings to discover the sonic textures that best complement your musical vision.
- Review and Refine: After recording your performance, take the time to review the takes and identify sections that may benefit from refinement. Fine-tune your playing, experiment with additional layers or overdubs, and explore creative possibilities to elevate your recording.
By embracing the recording process with an open mind and a spirit of exploration, you can harness the power of technology to immortalize your electric guitar performances with authenticity and emotion. With each recording session, you’ll refine your skills, uncover new sonic landscapes, and bring your musical aspirations to life in the digital realm.
Tips for Better Recording
As you embark on the journey of recording your electric guitar on your PC, consider the following tips to enhance the quality and creativity of your recordings:
- Room Acoustics: Pay attention to the acoustics of your recording space. Minimize ambient noise and consider acoustic treatment to create an environment conducive to capturing the pure essence of your electric guitar’s sound.
- Performance Dynamics: Focus on conveying expressive dynamics in your playing. Explore the interplay between soft, intimate passages and powerful, emotive moments to imbue your recordings with depth and emotion.
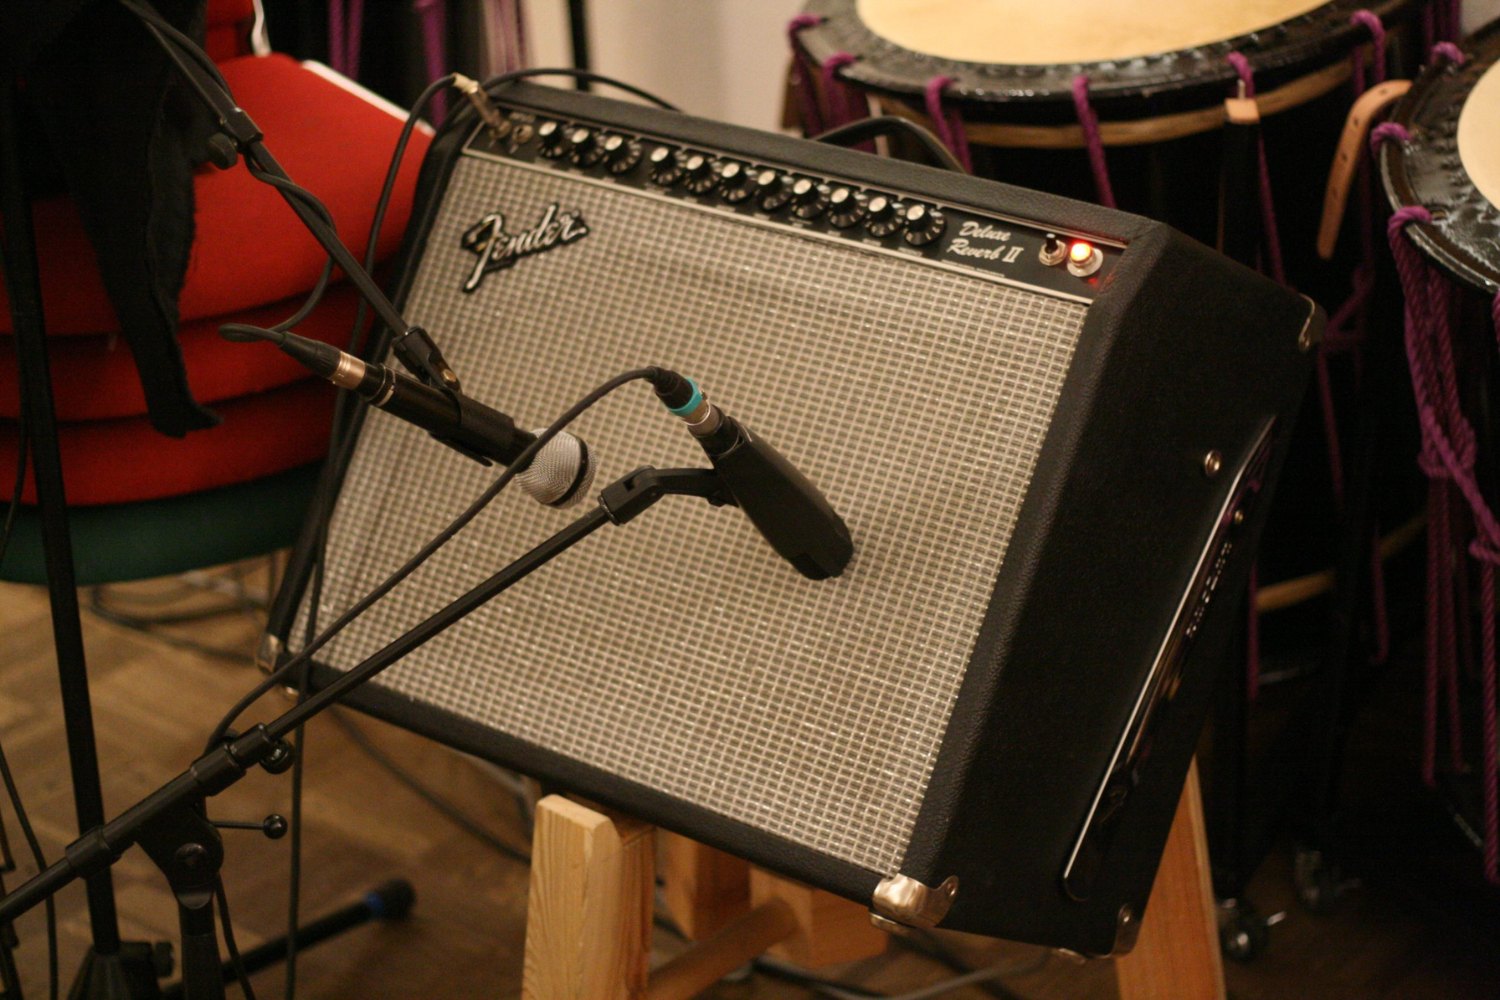
- Experiment with Mic Placement: If you’re using a microphone in conjunction with your Rocksmith cable, experiment with different mic placements to capture the nuances of your amplifier’s sound. Positioning the microphone closer to the speaker cone can yield a more focused and direct tone, while moving it farther away may impart a sense of air and spaciousness to the sound.
- Take Breaks: Allow yourself time for breaks during recording sessions. Stepping away from the recording environment and returning with a fresh perspective can lead to renewed creativity and heightened focus on your musical objectives.
- Collaborate and Seek Feedback: Consider collaborating with fellow musicians or seeking feedback from trusted ears. External perspectives can offer valuable insights and inspire new approaches to your recording process.
- Embrace Imperfections: Embrace the imperfections in your recordings as part of the human and emotive essence of music. Authenticity often lies in the subtle idiosyncrasies and imperfections that make each performance unique.
By integrating these tips into your recording approach, you’ll not only elevate the technical quality of your recordings but also infuse them with a profound sense of artistry and emotional resonance. Embrace the recording process as a journey of exploration and self-expression, and allow your electric guitar’s voice to resonate with clarity and passion through the digital medium.
Conclusion
Congratulations on delving into the captivating realm of recording your electric guitar on your PC using the Rocksmith cable. By following the essential steps outlined in this guide, you’ve equipped yourself with the knowledge and tools to unleash your creativity and capture the sonic tapestry of your electric guitar performances with precision and artistry.
From obtaining the right equipment to fine-tuning your recording settings and exploring tips for better recording, you’ve embarked on a transformative journey that blends musical passion with technological innovation. As you continue to refine your recording skills and explore new sonic horizons, remember to embrace the process with an open mind and a spirit of exploration.
Each recording session presents an opportunity to express your musical identity, convey emotive narratives, and push the boundaries of sonic creativity. Whether you’re crafting soul-stirring solos, crafting intricate riffs, or composing melodic tapestries, your electric guitar recordings serve as a testament to your artistic vision and technical prowess.
As you venture forth on your recording endeavors, remember that the true essence of music lies in the authenticity and emotion conveyed through each note and chord. Embrace the imperfections, celebrate the nuances, and allow your recordings to resonate with the raw energy and soulful melodies that define your musical journey.
With the power of technology at your fingertips, you have the ability to amplify your music, share your sonic stories, and make an indelible mark in the digital realm. Your electric guitar recordings serve as a testament to your creative spirit and unwavering dedication to the art of music.
So, pick up your electric guitar, plug in the Rocksmith cable, and let the digital canvas of your PC become the stage for your sonic expressions. With each recording, you breathe life into your musical aspirations and leave an enduring imprint on the digital landscape of music.