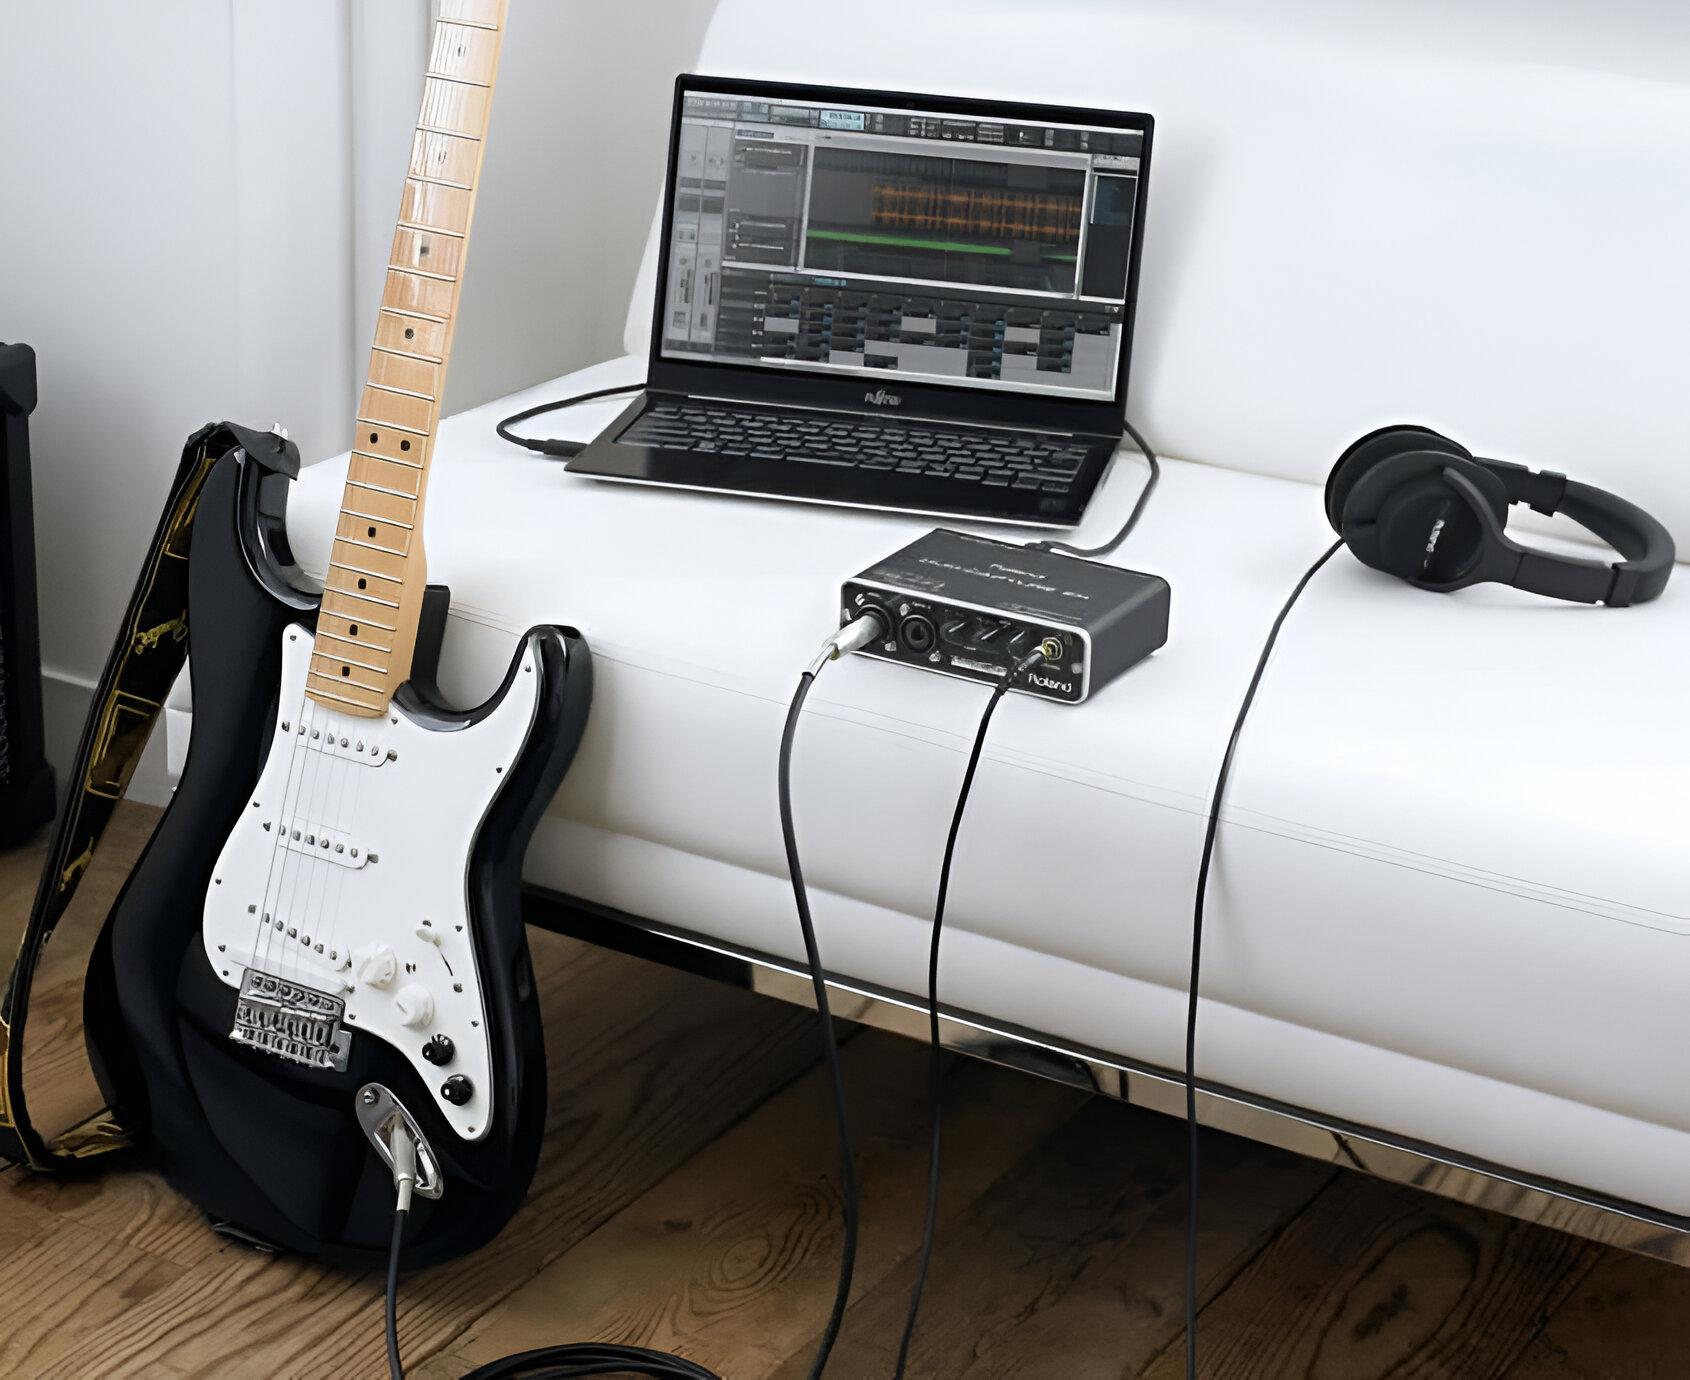
To connect an electric guitar to FL Studio, you need an audio interface, a 1/4-inch instrument cable, and the correct driver setup to capture your instrument's sound with low latency. This process allows you to record directly into FL Studio and shape your tone with effects and amp simulations.
What you need to connect an electric guitar to FL Studio
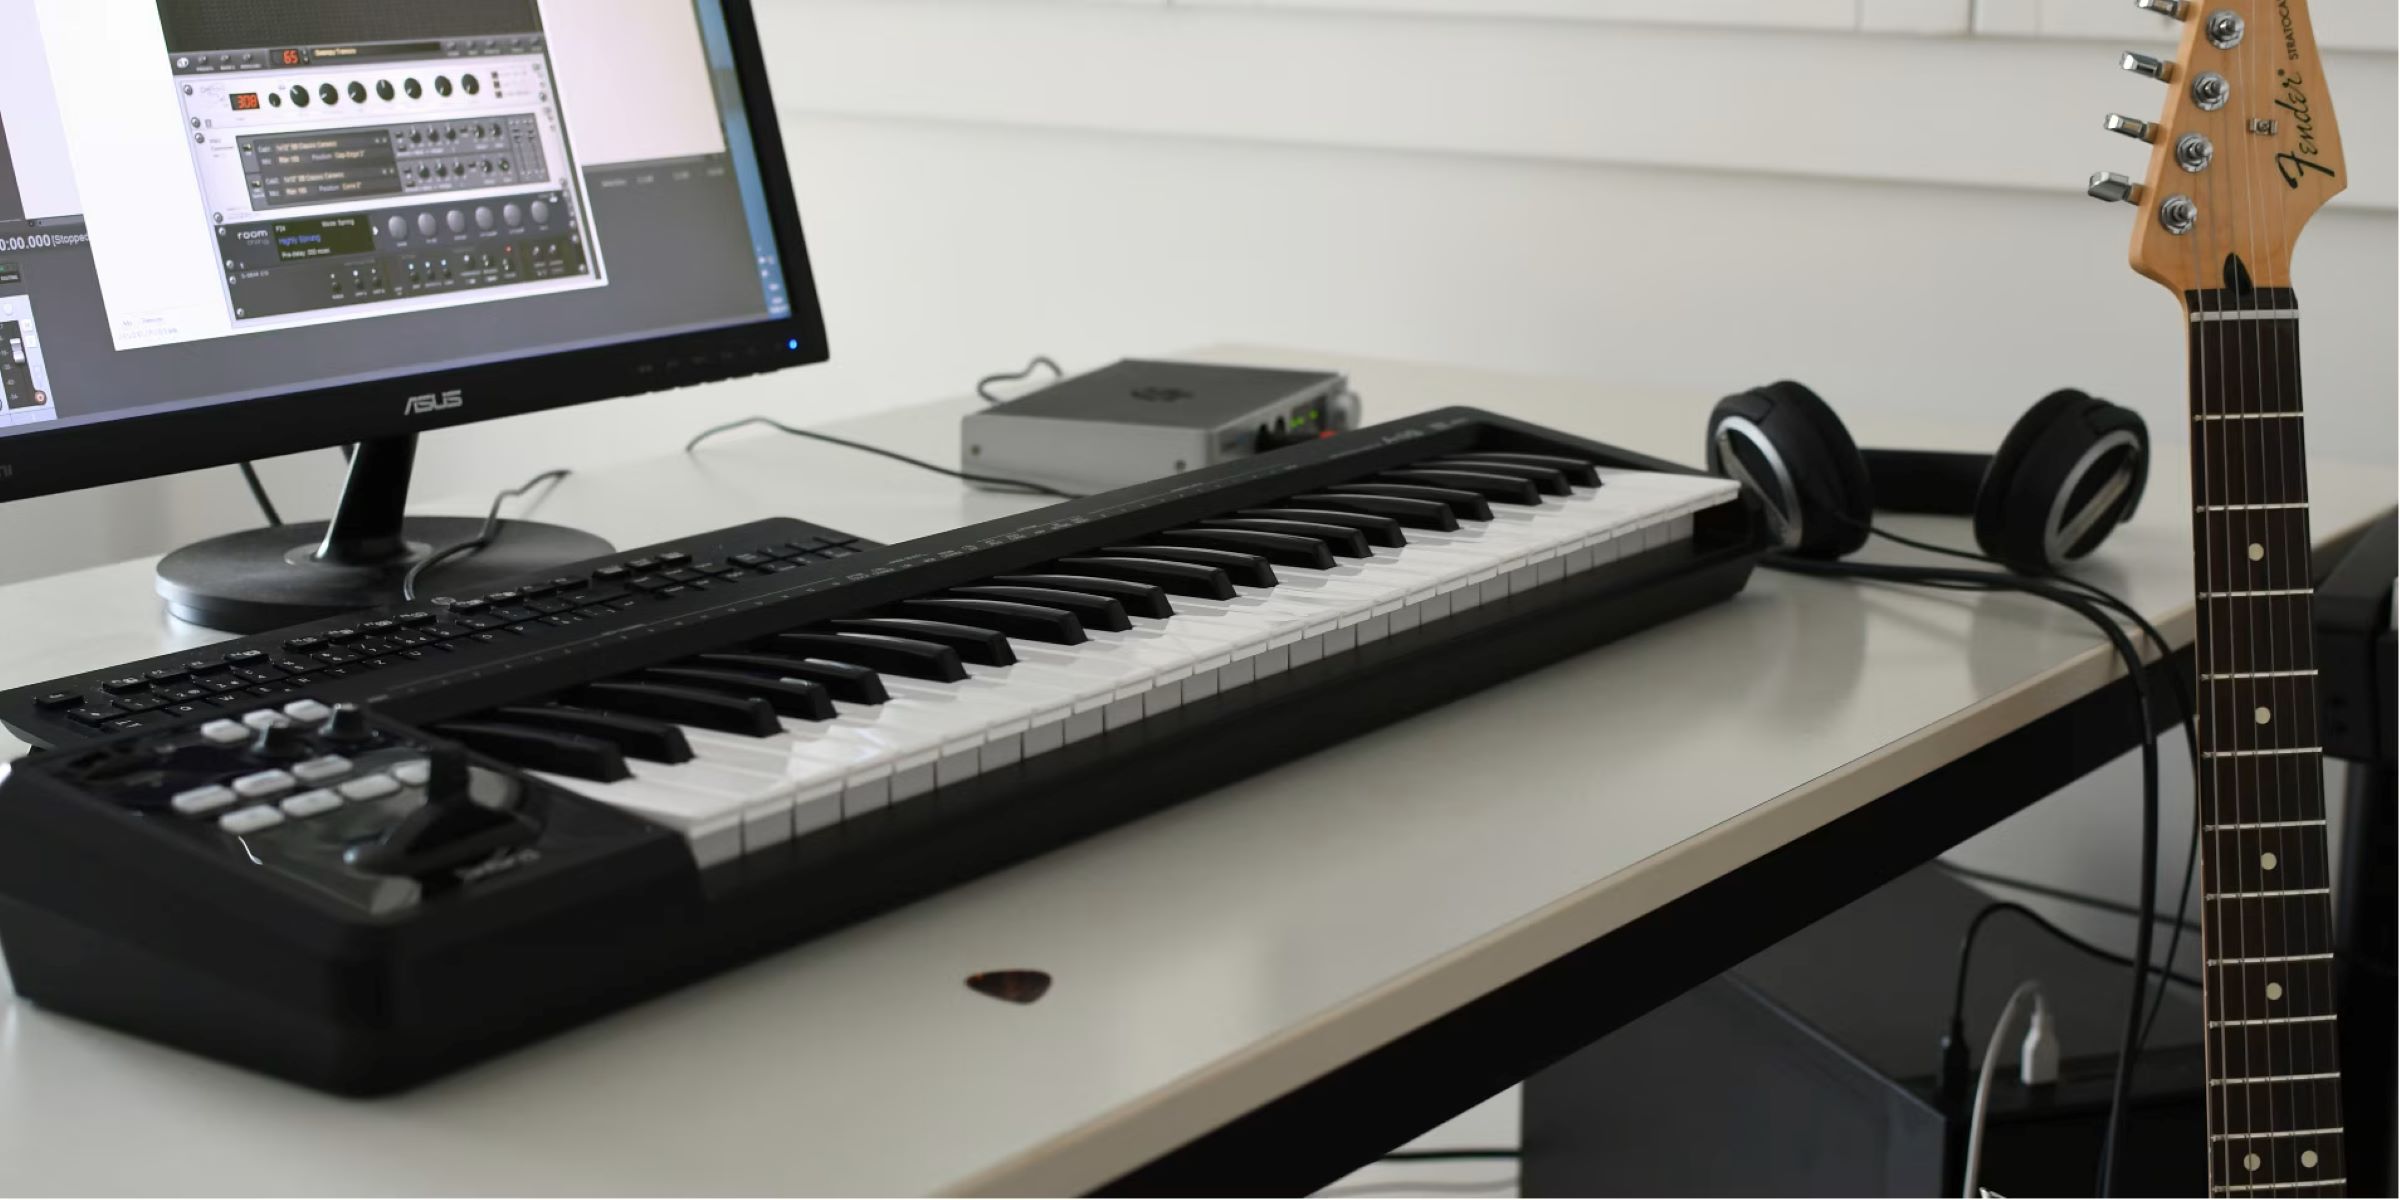
You will need an electric guitar, an audio interface, a 1/4-inch instrument cable, and a computer running FL Studio. The audio interface converts your guitar's analog signal into a digital signal your computer can process. This guide walks through the hardware setup and software configuration so you can record and edit guitar tracks in FL Studio.
Step 1: Install and set up your audio interface
- Connect your audio interface to your computer using a USB or Thunderbolt cable.
- Power on the audio interface.
- Install the manufacturer's drivers for your audio interface on your computer.
Proper driver installation ensures FL Studio recognizes the interface. After installing drivers, open FL Studio and press F10 to open the System Settings. Alternatively, choose "Audio settings" from the Options menu. Click the Audio Tab. In the Input / output section, use the drop-down menu to select your audio interface driver. If your audio device has a custom-supplied ASIO/Core Audio driver, use that instead. For Windows, ASIO drivers are a prerequisite for audio recording. If you don't hear sound, open the FL Studio ASIO driver by clicking "Show ASIO panel" and select your audio playback device in the Output menu.
Step 2: Connect your guitar to the audio interface
- Plug one end of a 1/4-inch instrument cable into your electric guitar's output jack.
- Adjust the input gain knob on your audio interface so the signal peaks at a healthy level without clipping.
This physical connection transmits your guitar's signal to the interface. A quick sound check, strumming a few chords while monitoring input levels, confirms the signal is clear and at the correct level.
Step 3: Configure FL Studio's audio settings for recording
- Press F10 to open the System Settings, then click the Audio Tab.
- Select the ASIO driver for your audio interface from the drop-down menu in the Input / output section.
- In the Mixer settings, set the sample rate to 44100 Hz (or alternatively 48000 Hz).
- Ensure Interpolation is set to "24-point sinc" or lower.
- Enable input monitoring so you can hear your guitar through your headphones or monitors in real time.
To achieve lower CPU load and shorter buffer lengths, ASIO modes are recommended over the Primary Sound Driver. If you have multiple audio devices, use the drop-down menu to swap between them, as only one audio device driver can be used at a time.
Step 4: Add effects and amp simulations to your guitar
Load FL Studio's built-in effects like reverb, delay, distortion, and amp simulator plugins onto the mixer track assigned to your guitar. These tools let you shape your tone from clean and crisp to gritty and distorted. Adjust parameters such as gain, EQ, and cabinet simulation to craft the sound you want. Experimenting with these plugins gives you a wide array of tonal options without needing external hardware.
Step 5: Record and edit your guitar tracks
- Arm a mixer track for recording by selecting the correct input channel.
- Record multiple takes of your performance.
- Use editing tools like comping to combine the best parts of each take, quantization to tighten timing, and EQ to balance frequencies.
FL Studio supports recording audio from microphones, guitars, and synthesizers. After recording, you can refine dynamics with automation, apply time-stretching, and mix your guitar tracks with other elements to achieve a polished result.