Introduction
Welcome to the world of music production! If you’re an acoustic guitar enthusiast looking to experiment with different sounds and styles, you’ve come to the right place. In this article, we’ll explore how to make an acoustic guitar sound electric using the popular audio editing software, Audacity.
Converting your acoustic guitar to an electric sound can open up a world of possibilities and allow you to explore genres like rock, blues, and funk. With Audacity’s extensive range of effects and editing tools, you can transform your acoustic recordings into convincing electric guitar tones.
Whether you want to record electric guitar-like tracks or play live with an amplified sound, this article will guide you through the step-by-step process of achieving that electric guitar sound using nothing more than your acoustic guitar and Audacity.
Before we dive in, let’s briefly discuss Audacity. Audacity is a free, open-source audio editing software available for Windows, Mac, and Linux. It offers a user-friendly interface and a wide range of features, making it a popular choice for musicians, podcasters, and home recording enthusiasts.
Now that we have everything we need, let’s get started by downloading and installing Audacity.
Converting an Acoustic Guitar to an Electric Sound
Converting an acoustic guitar to sound like an electric guitar involves using various effects and techniques to emulate the distinct characteristics of an electric guitar’s sound. While it’s not possible to completely replicate the exact sound of an electric guitar, with some adjustments, you can get pretty close.
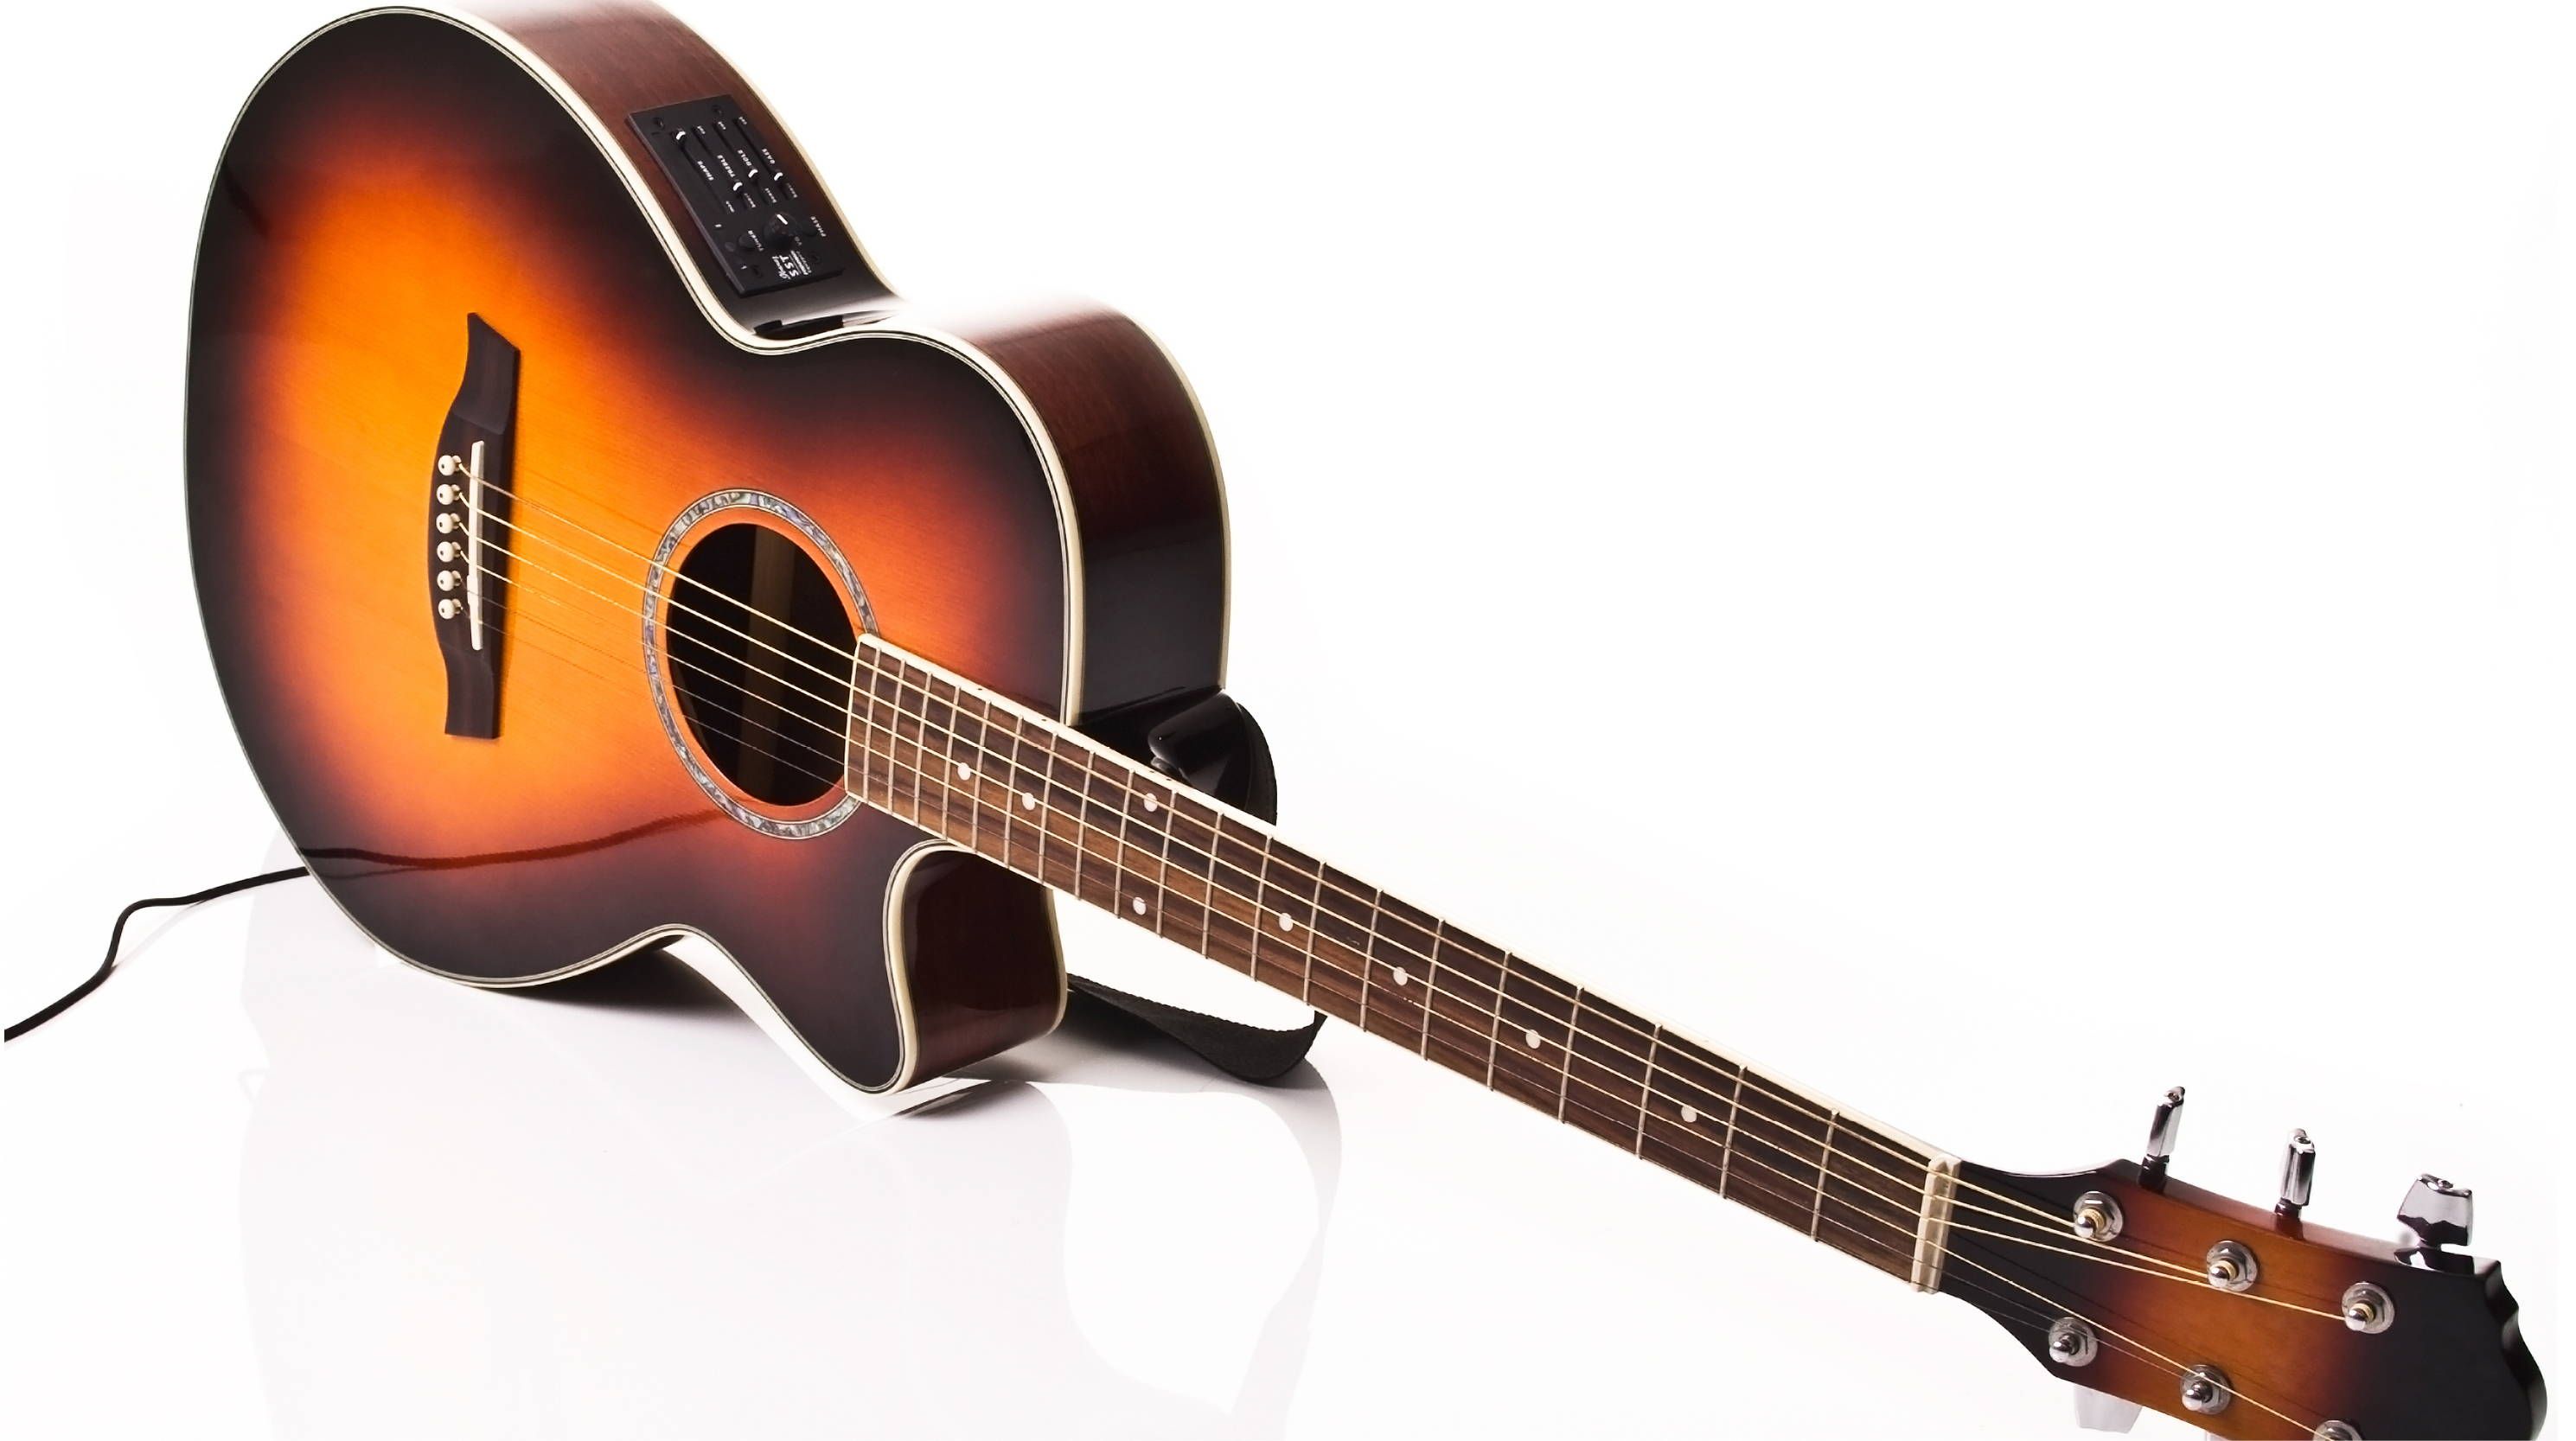
The first step in the conversion process is to ensure that your acoustic guitar is properly set up and equipped with the necessary accessories. Consider installing an acoustic guitar pickup, which will allow you to amplify the sound of your guitar and apply effects more effectively. There are different types of pickups available, such as soundhole pickups, piezo pickups, and under-saddle pickups. Choose one that suits your needs and budget.
Additionally, using lighter gauge strings on your acoustic guitar can help achieve a more electric guitar-like sound. Electric guitar strings are typically thinner and have a different tone compared to acoustic guitar strings. Experiment with different string gauges to find the perfect balance between playability and the desired electric sound.
Once your guitar is set up, you can start the conversion process in Audacity. Import your acoustic guitar recording into Audacity by going to File > Import > Audio. At this stage, it’s crucial to ensure that your recording is clean and free from any background noise or unwanted artifacts to achieve the best possible results.
Now that your recording is loaded into Audacity, you can begin applying effects to create an electric guitar sound. Audacity offers a range of built-in effects that can help transform your acoustic recording, including amplification, distortion, equalization, and reverb.
By applying amplification and distortion effects, you can simulate the enhanced volume and crunchiness typically associated with electric guitars. Start by using the Amplify effect to boost the overall volume of your recording. This will help achieve a more powerful and aggressive sound that is characteristic of electric guitar tones.
Next, experiment with different distortion effects to add grit and overdrive to your acoustic guitar sound. Audacity provides several distortion effects, such as the GVerb, Overdrive, and Distortion effects. Adjust the settings to achieve the desired level of distortion, keeping in mind the specific genre or sound you’re aiming for.
Adjusting the equalization of your recording is another crucial step in the conversion process. Electric guitars often have a more pronounced midrange and less emphasis on the bass frequencies compared to acoustic guitars. Use Audacity’s Equalization effect to tweak the frequencies and bring out the desired characteristics of an electric guitar sound.
Lastly, consider adding some reverb to your recording to give it a sense of space and depth, mimicking the natural reverberation often present in electric guitar recordings. Audacity provides various reverb effects, so experiment with different settings to find the right balance.
Remember, achieving a realistic electric guitar sound with your acoustic guitar in Audacity requires patience, experimentation, and a keen ear for detail. Fine-tune the effects and settings until you’re satisfied with the result.
Now that you have a basic understanding of the conversion process, let’s move on to the practical steps of downloading and installing Audacity.
Downloading and Installing Audacity
To begin the process of making your acoustic guitar sound electric in Audacity, you’ll need to download and install the software. Follow these simple steps:
- Visit the official Audacity website at https://www.audacityteam.org/.
- Navigate to the “Downloads” section of the website.
- Choose the appropriate version of Audacity for your operating system (Windows, Mac, or Linux).
- Click on the download link and save the installer file to your computer.
- Once the download is complete, locate the installer file and run it.
- Follow the on-screen instructions to install Audacity on your computer.
- After the installation is complete, launch Audacity.
Congratulations! You now have Audacity installed and ready to use for transforming your acoustic guitar sound.
Audacity’s user-friendly interface makes it easy to navigate and access all its features. Take some time to familiarize yourself with the various menus, buttons, and tools available in Audacity.
Before you start working with your acoustic guitar recordings, make sure you have a high-quality audio interface or microphone connected to your computer. This will ensure accurate recording and playback, allowing you to make precise edits and adjustments as you convert your acoustic guitar sound. Additionally, consider using headphones or studio monitors to monitor your audio accurately.
Now that you have Audacity up and running, it’s time to import your acoustic guitar recording and start the process of making it sound electric. In the next section, we will explore how to import and edit your acoustic guitar recording in Audacity.
Importing and Editing the Acoustic Guitar Recording
With Audacity installed on your computer, it’s time to import your acoustic guitar recording and begin the editing process. Follow these steps to get started:
- Launch Audacity if it’s not already open.
- Go to “File” in the menu bar and select “Import” > “Audio”.
- Navigate to the folder where your acoustic guitar recording is located and select it.
- Click “Open” to import the audio file into Audacity.
Once your acoustic guitar recording is imported, you’ll see the waveform displayed in Audacity’s main window. Take a moment to listen to the recording and familiarize yourself with its sound.
Now that the recording is loaded, you can start editing it to achieve the desired electric guitar sound. Here are some key editing techniques and tools to consider:
- Trimming: Use the selection tool to trim any unwanted sections of the recording, such as silence or background noise. This will help create a cleaner and more focused sound.
- Fade In/Fade Out: Apply fade-in and fade-out effects at the beginning and end of the recording to smooth out any abrupt transitions and create a more natural sound.
- Cutting and Pasting: If there are specific sections of the recording that you want to remove or rearrange, use the cutting and pasting tools to achieve the desired arrangement.
- Time Stretching: Audacity offers a time stretching feature that allows you to adjust the tempo and duration of your recording without affecting the pitch. This can be useful for achieving different styles and tempos associated with electric guitar playing.
- Pitch Correction: If your recording is slightly out of tune, use Audacity’s pitch correction tools to bring it back in tune. This will help create a more polished and professional-sounding result.
Experiment with these editing techniques to refine your acoustic guitar recording and prepare it for the application of electric guitar effects. Remember to save your progress regularly to avoid losing any changes you make.
Now that your acoustic guitar recording is edited and primed for effect application, let’s move on to the exciting part – applying effects to create an electric guitar sound.
Applying Effects to Create an Electric Sound
Now that you have imported and edited your acoustic guitar recording in Audacity, it’s time to dive into applying effects to transform it into an electric guitar sound. Audacity offers a wide range of effects to experiment with, allowing you to shape your acoustic guitar tone to mimic the characteristics of an electric guitar.
Here are some key effects to consider when creating an electric sound:
- Amplification: Start by applying the Amplify effect to boost the overall volume of your recording. Electric guitars are typically louder and punchier than acoustic guitars, so increasing the volume can help emulate that characteristic sound.
- Distortion: Apply distortion effects such as Overdrive or Distortion to add grit and crunch to your acoustic guitar sound. Experiment with different levels of distortion to achieve the desired level of intensity, keeping in mind the genre or style you’re aiming for.
- Equalization: Adjusting the equalization of your recording can make a significant difference in achieving an electric guitar sound. Electric guitar tones often have a more pronounced midrange and less emphasis on the bass frequencies. Use Audacity’s Equalization effect to shape the frequency response of your acoustic guitar recording accordingly.
- Reverb: Adding a touch of reverb can help create a sense of space and depth, enhancing the realism of your electric guitar sound. Experiment with different reverb settings to find the right amount and type of reverb that complements your desired sound.
- Delay: Applying a delay effect can help simulate the echo or feedback often associated with electric guitar playing. Experiment with different delay timings and feedback levels to achieve the desired effect.
Remember, the key to achieving a convincing electric sound is experimentation. Play around with the effects, adjust the settings, and listen critically to the changes in your acoustic guitar recording. Fine-tune the effects until you achieve the desired tone and feel.
Audacity allows you to apply multiple effects to your recording, so don’t be afraid to combine different effects and settings to create unique electric guitar sounds. Trust your ears and let your creativity guide you.
Once you’re satisfied with the applied effects and the transformed sound of your acoustic guitar, it’s time to move on to fine-tuning the details to achieve a more realistic electric guitar sound.
Using Amplification and Distortion Effects
When it comes to making an acoustic guitar sound electric, two crucial effects to utilize are amplification and distortion. These effects help to emulate the volume and crunchiness typically associated with electric guitar tones. By applying these effects effectively, you can transform your acoustic guitar sound into an electrifying experience.
The first step is to apply amplification to your acoustic guitar recording. Electric guitars are inherently louder than acoustics, so increasing the volume of your recording is essential. In Audacity, you can use the Amplify effect to boost the overall volume. Be cautious not to amplify too much, as it may result in distortion or clipping. Adjust the amplification level according to your desired sound, making sure it enhances the power and presence without compromising the quality of the audio.
Once you have appropriately amplified the recording, it’s time to add the distortion effect. Distortion is a crucial element in creating the characteristic crunch and drive of electric guitar sounds. Audacity offers various distortion effects such as Overdrive, GVerb, and Distortion. Experiment with different distortion options to find the one that best suits your desired style and genre.
Start by applying a moderate level of distortion and gradually increase it until you achieve the desired level of grit and intensity. Be mindful of maintaining clarity and avoiding excessive distortion that can muddy the sound. It’s important to strike the right balance between distortion and maintaining the dynamics of the recording.
In addition to the intensity of the distortion, you can also experiment with the tone controls available in Audacity. Adjusting the tone knobs, such as bass, mid, and treble, can help further shape the sound and mimic the tonal characteristics of specific electric guitar models. Electric guitars often emphasize the midrange frequencies while maintaining a balanced bass and treble response.
As you apply amplification and distortion effects, take breaks to critically listen to the results. Consider comparing your transformed acoustic guitar sound to reference tracks of electric guitars. This will help you fine-tune the effects and ensure you’re moving in the right direction.
Remember, the goal is not to perfectly replicate the sound of an electric guitar, but rather to create a convincing electric-like tone using your acoustic instrument. Use the amplification and distortion effects to enhance the power, presence, and crunchiness of your acoustic guitar and bring it closer to the distinct sound of electric guitars.
Once you’ve achieved a satisfying balance of amplification and distortion, you can continue refining the sound by adjusting equalization, reverb, and exploring other effects to create a more realistic electric guitar sound.
Adjusting Equalization and Reverb
As you continue to shape your acoustic guitar sound to mimic the characteristics of an electric guitar, adjusting the equalization (EQ) and adding reverb are vital steps in achieving a more authentic electric guitar sound. These effects help add depth, color, and tonal character to your recordings.
Start by focusing on equalization. Electric guitar tones often have a distinct frequency response, with a more pronounced midrange and less emphasis on the bass frequencies compared to acoustic guitars. In Audacity, you can use the Equalization effect to tweak the frequencies and bring out the desired characteristics of an electric guitar sound.
Begin by identifying the midrange frequencies and adjusting them accordingly. Boosting the midrange frequencies can help bring forward the natural presence and bite associated with electric guitars. However, be careful not to overdo it as it can result in harshness or muddiness. On the other hand, attenuating the bass frequencies slightly can help differentiate the tone from an acoustic sound.
Additionally, you may want to experiment with the treble frequencies to add sparkle and clarity to your recordings. Adjusting the treble can enhance the articulation and brightness of the sound, making it more reminiscent of electric guitar tones.
Next, consider adding reverb to your recording. Reverb simulates the natural acoustic environment and adds a sense of space to your sound. Electric guitars are often recorded in studios or concert venues with various levels of reverberation. In Audacity, you can use the Reverb effect to emulate this ambiance.
Start by selecting an appropriate room size or type of reverb. Experiment with different reverb settings to find one that complements the style and genre you’re aiming for. A plate reverb can add a refined, smooth texture, while a hall reverb can create a more expansive and spacious sound.
Adjust the decay time and mix level of the reverb effect to your preference. A longer decay time will result in a more prolonged, atmospheric reverb, while a shorter decay time will provide a tighter, more focused sound. Keep in mind that the mix level should be balanced so that the reverb enhances the sound without overpowering it.
As you adjust the equalization and reverb, frequently listen to your recording in the context of the desired sound you’re aiming for. Compare it to reference tracks of electric guitars to gauge its authenticity. Make fine-tuned adjustments, taking note of how the changes affect the overall tonal character and vibe of the recording.
Remember, the equalization and reverb effects can greatly enhance the realism of your transformed acoustic guitar sound into an electric-like tone. Be patient, trust your ears, and continue to experiment until you’re satisfied with the result.
Once you’re happy with the equalization and reverb adjustments, it’s time to fine-tune the settings and make any necessary tweaks to achieve the most realistic electric guitar sound possible.
Fine-tuning for a Realistic Electric Guitar Sound
Now that you have adjusted the amplification, distortion, equalization, and reverb effects on your acoustic guitar recording, it’s time to fine-tune for a truly authentic and realistic electric guitar sound. This stage involves paying attention to the finer details and making subtle adjustments to achieve the desired result.
Here are some important factors to consider when fine-tuning your electric guitar sound:
- Dynamics: Pay attention to the dynamics of your playing. Electric guitars often exhibit dynamic response, meaning they can produce varying levels of volume and intensity depending on how hard you play. Experiment with your playing technique to capture the nuances and intricacies of electric guitar expression.
- Pickup Position: If your acoustic guitar is equipped with magnetic pickups, you can experiment with the pickup selector switch to change the sonic characteristics. Each pickup position on an electric guitar offers a unique tone, so try different combinations to achieve the desired sound.
- Palm Muting: To enhance the authenticity of your electric guitar sound, incorporate palm muting techniques into your playing. Palm muting involves lightly resting the side of your palm on the strings near the bridge, resulting in a muted, percussive sound. Practice and experiment with palm muting techniques to add an extra layer of realism to your recordings.
- Playing Style: Consider the playing styles typically associated with electric guitars, such as palm-muted power chords, bending notes, and vibrato. Adapt your playing style to match the characteristics and techniques commonly used on electric guitars to create a more convincing sound.
- Amp Simulation: If desired, you can further enhance your electric guitar sound by using amp simulation plugins or effects. These plugins emulate the characteristics of different guitar amplifiers and speaker cabinets. Experiment with different amp simulations to tailor the tonal qualities to your liking.
Continuously evaluate and compare your modified acoustic guitar sound to reference tracks of electric guitars. Listen for any areas that may need further adjustments or improvements. Make subtle changes to the effects and settings until you achieve a result that closely resembles the electric guitar sound you’re aiming for.
It’s worth noting that achieving a completely indistinguishable electric guitar sound from an acoustic instrument might not be possible. However, with careful fine-tuning and attention to detail, you can get remarkably close and create a convincing electric sound using your acoustic guitar.
Remember, the journey to an authentic electric guitar sound is a creative process. Trust your ears, embrace experimentation, and enjoy the freedom to explore new sonic possibilities with your modified acoustic guitar.
Once you’re satisfied with the fine-tuning of your electric guitar sound, it’s time to export your final result and share it with the world. In the next section, we’ll explore how to export your transformed acoustic guitar recording from Audacity.
Exporting the Final Result
After fine-tuning your acoustic guitar recording to achieve a realistic electric guitar sound, it’s time to export your final result from Audacity. Exporting allows you to save your transformed recording as a standalone audio file that can be easily shared, uploaded, or incorporated into your music production projects.
Follow these steps to export your final result:
- Ensure that your modified acoustic guitar recording is selected in Audacity.
- Go to the “File” menu and select “Export” > “Export as [your preferred audio format, such as MP3 or WAV]”.
- Choose a location on your computer where you want to save the exported file.
- Give your file a meaningful name that reflects the content and sound you’ve achieved.
- Specify the desired format and quality settings for your exported file. Generally, 320kbps (kilobits per second) is considered to be a high-quality MP3 format.
- Click “Save” to begin the export process.
- Wait for Audacity to process and convert your recording into the selected audio format.
- Once the export is complete, navigate to the saved location to find your exported file.
Congratulations! You have successfully exported the final result of your transformed acoustic guitar recording.
At this point, you can listen to your exported file to ensure it sounds as desired. Take the opportunity to test it on different listening devices and systems to ensure compatibility and assess the overall impact of the electric guitar sound you have created.
With your exported file ready, you can now share your transformed acoustic guitar recording with others, upload it to music platforms, or incorporate it into your music production projects. Feel proud of the creativity and effort you’ve put into achieving a realistic electric guitar sound.
Remember, this process is not restricted to a single acoustic guitar recording. Feel free to experiment with different effects, settings, and techniques on various recordings to explore different electric guitar tones and styles.
Now that you have successfully exported your final result, take a moment to appreciate the journey you’ve embarked on and the incredible versatility of your acoustic guitar.
Conclusion
Transforming an acoustic guitar sound into the electrifying tones of an electric guitar is an exciting process that allows you to explore new musical possibilities. With the help of Audacity and a little creativity, you can achieve remarkable results right from the comfort of your own home. Throughout this article, we’ve covered the essential steps to make your acoustic guitar sound electric using Audacity.
Starting with the conversion process, we discussed the importance of proper setup and accessories to optimize your acoustic guitar for an electric sound. We then guided you through the process of downloading and installing Audacity, the powerful audio editing software that will serve as your tool for this transformation.
Importing your acoustic guitar recording into Audacity and editing it served as the foundation for applying effects. We explored the intricacies of amplification and distortion, essential for achieving the volume and grit associated with electric guitars. Additionally, we discussed adjusting equalization and adding reverb to shape the tonal characteristics and add depth to your recordings.
During the fine-tuning process, we emphasized the importance of dynamics, pickup positions, playing styles, and amp simulations to refine the realism of your electric guitar sound. Finally, we covered the steps to export your final result as a standalone audio file.
Remember, the process of making an acoustic guitar sound electric is a creative journey that requires experimentation and a keen ear for detail. Trust your instincts and take the time to refine your sound until you achieve the desired result.
Now that you have the knowledge and tools, unleash your creativity and explore the boundaries of your acoustic guitar’s sound. Whether you want to create electric guitar-like tracks or experiment with new genres and styles, Audacity offers you the freedom to shape your sound to your vision.
So, grab your acoustic guitar, fire up Audacity, and let your imagination run wild. Transform your acoustic sound into a mesmerizing electric experience that will captivate listeners and inspire your musical journey!


