Introduction
Introduction
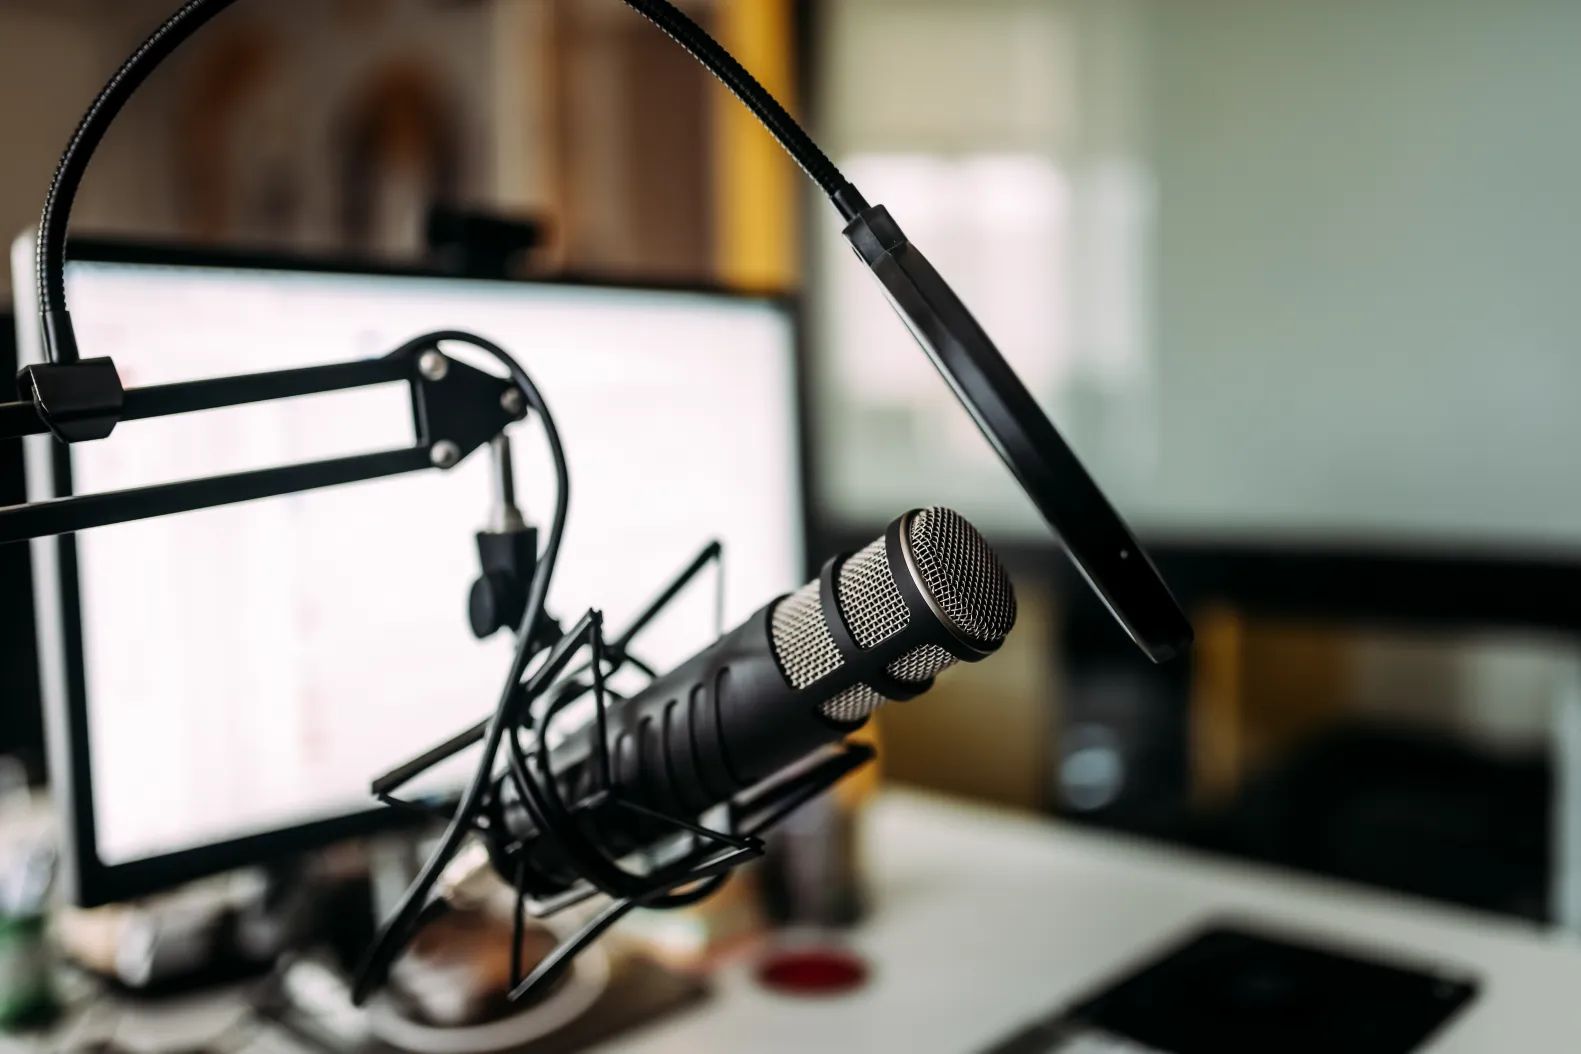
So, you've got a USB microphone and want to start recording audio in Edison. Whether you're a podcaster, musician, or content creator, capturing high-quality audio is essential. With the right setup and recording techniques, you can produce professional-sounding audio right from your home studio.
In this guide, we'll walk you through the process of setting up your USB microphone in Edison, adjusting recording settings for optimal sound quality, recording your audio, and editing and exporting the final product. By the end of this tutorial, you'll be well-equipped to harness the power of your USB microphone and create captivating audio recordings with ease.
Before we dive into the technical details, it's important to note that the quality of your audio recordings depends not only on your equipment but also on your recording environment. Finding a quiet space, minimizing background noise, and using acoustic treatment can significantly enhance the overall sound quality of your recordings.
Now, let's embark on this journey to unleash the full potential of your USB microphone in Edison. Get ready to elevate your audio recording game and bring your creative projects to life with pristine sound.
Setting up the USB Microphone in Edison
Setting up the USB Microphone in Edison
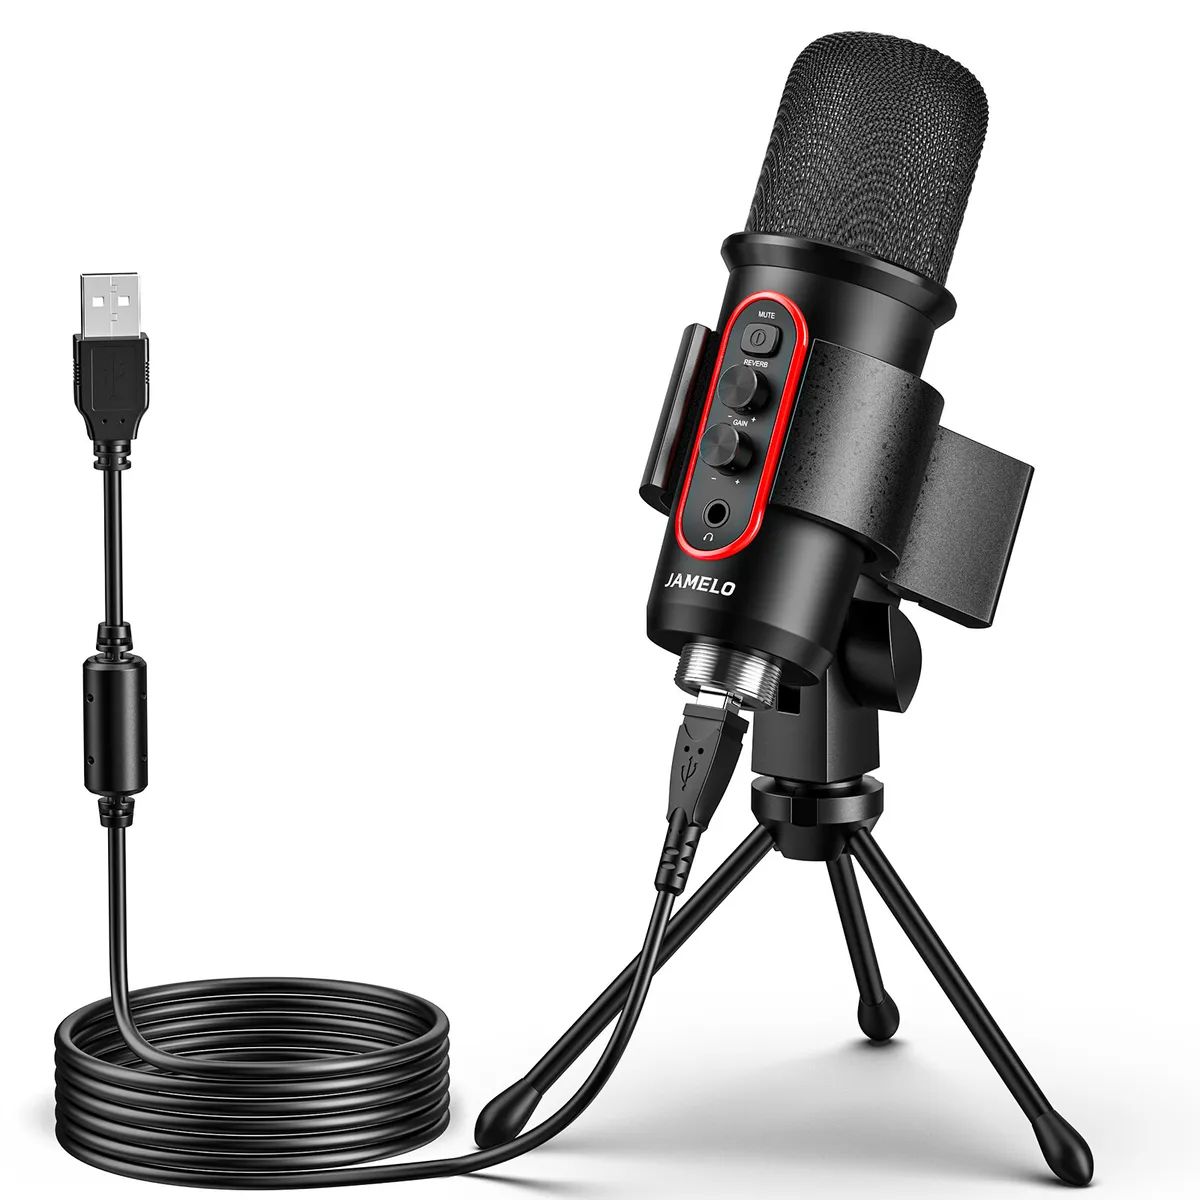
Before you can start recording audio in Edison using your USB microphone, you need to ensure that the device is correctly set up and recognized by the software. Follow these steps to seamlessly integrate your USB microphone with Edison:
-
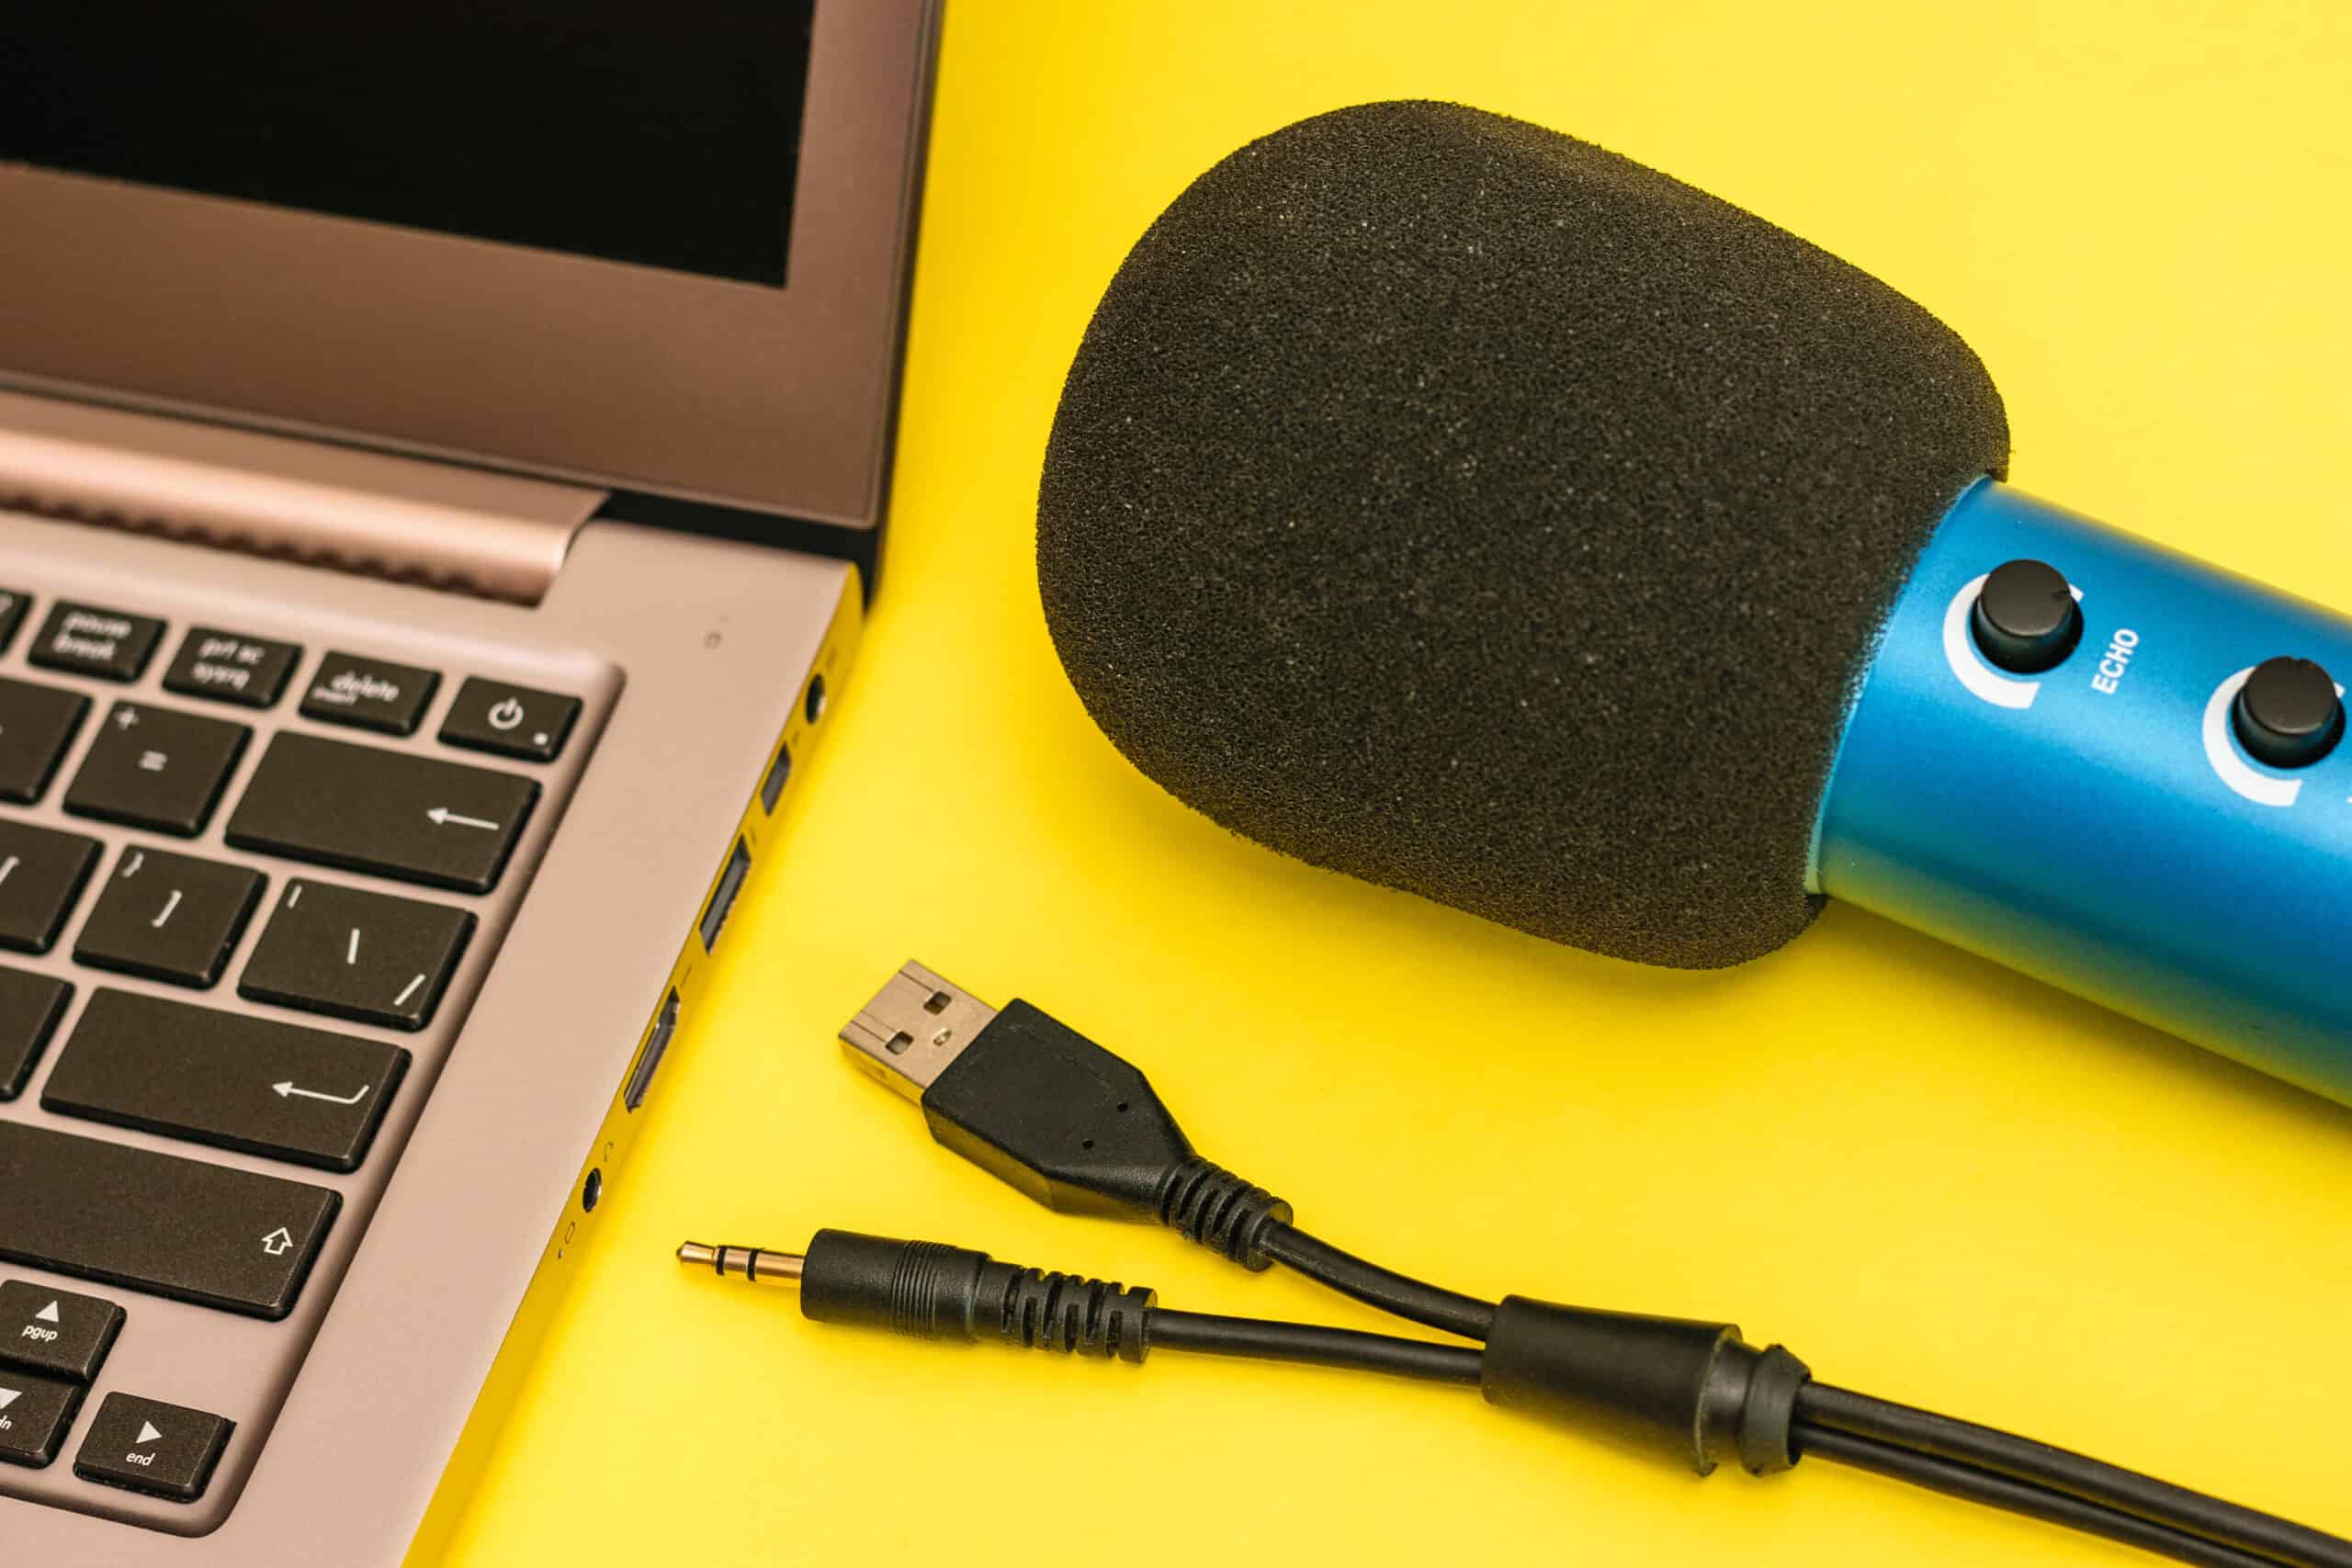
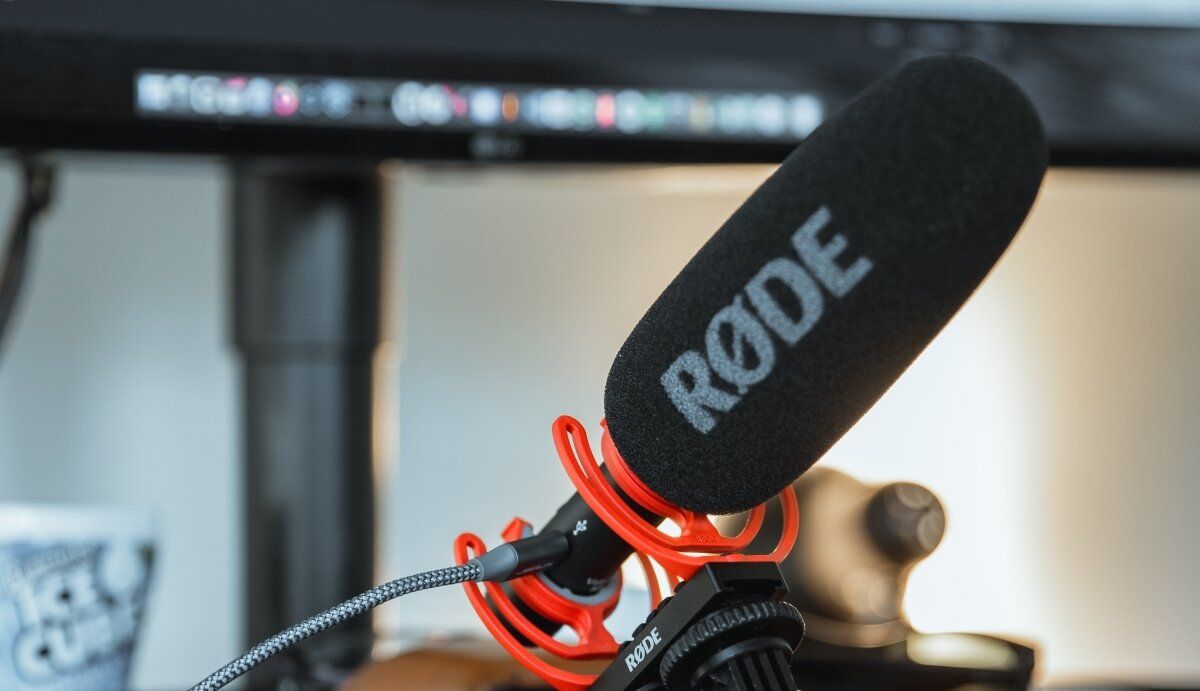
Connect the USB Microphone: Plug the USB microphone into an available USB port on your computer. Ensure that the connection is secure and that the device is powered on.
-
Launch Edison: Open the Edison recording software on your computer. If you don’t have Edison installed, download and install it from the official website.
-
Select Input Device: In Edison, navigate to the settings or preferences menu to select your USB microphone as the input device. This step ensures that Edison recognizes the microphone as the primary audio input source.
-
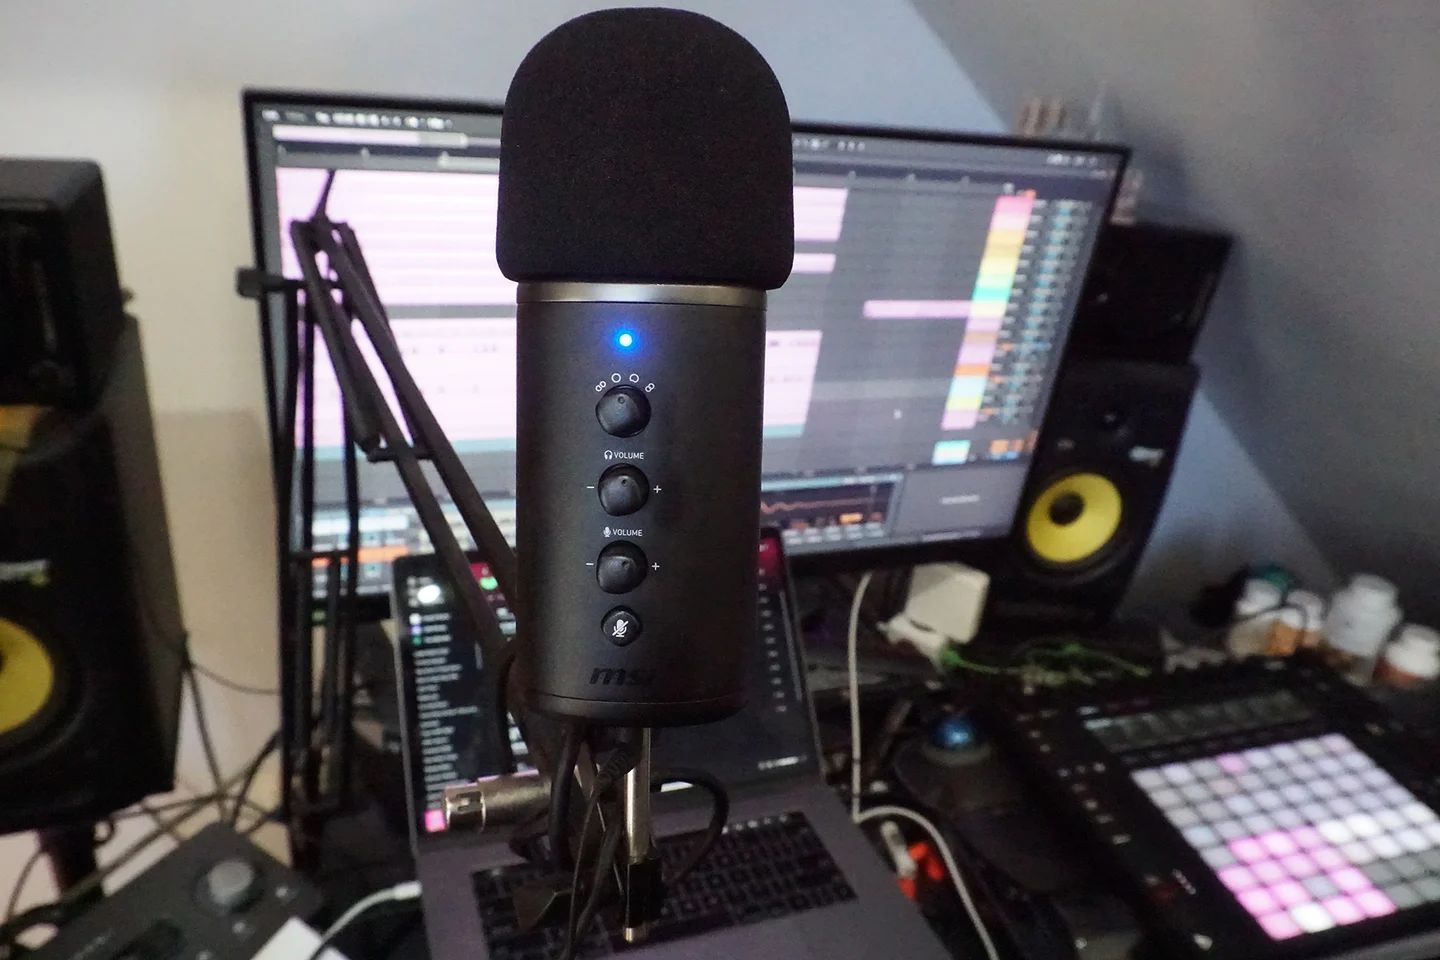
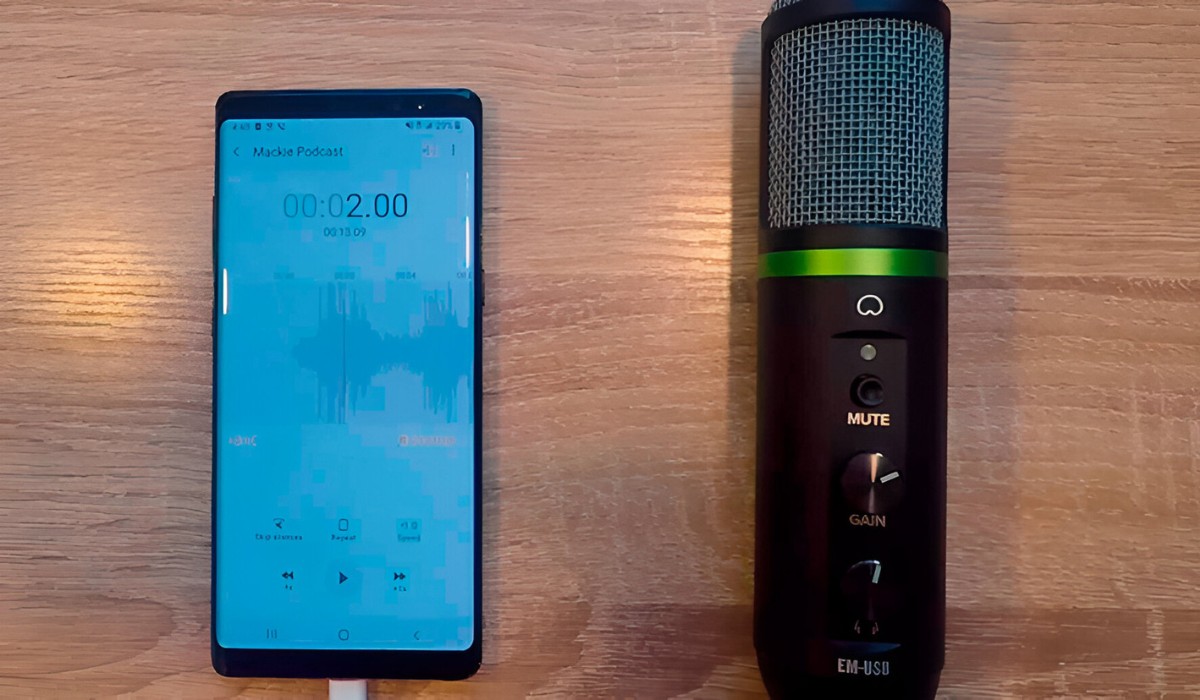
Check Levels: Test the microphone levels within Edison to ensure that the input signal is being received properly. Adjust the input gain on the microphone, if available, to achieve an optimal recording level without clipping or distortion.
By following these steps, you can seamlessly set up your USB microphone in Edison, paving the way for high-quality audio recordings. Once the microphone is successfully integrated with the software, you’re ready to fine-tune the recording settings to capture pristine audio.
Adjusting Recording Settings
Adjusting Recording Settings
After setting up your USB microphone in Edison, it’s crucial to optimize the recording settings to achieve the best possible audio quality. Here’s how you can adjust the recording settings for optimal performance:
- Sample Rate and Bit Depth: Access the recording settings in Edison to configure the sample rate and bit depth. For high-quality audio recordings, a sample rate of 44.1 kHz and a bit depth of 16-bit are standard settings. However, if you’re aiming for professional studio-quality recordings, consider using a higher sample rate and bit depth, such as 48 kHz and 24-bit, respectively.
- Buffer Size: Adjust the buffer size to minimize latency during recording. A smaller buffer size reduces the delay between the input signal and its playback, allowing for more responsive monitoring while recording. Experiment with different buffer sizes to find the optimal balance between low latency and system stability.
- Input Gain and Levels: Fine-tune the input gain on your USB microphone to achieve an optimal recording level. Avoid setting the input gain too high, as it may result in clipping and distortion. Monitor the input levels within Edison and adjust the gain accordingly to ensure a clean and distortion-free signal.
- Monitoring Options: Explore the monitoring options within Edison to enable real-time monitoring of the recorded audio. Depending on your preference, you can choose to monitor the input signal directly from the microphone or monitor the processed signal with applied effects and processing.
By carefully adjusting these recording settings, you can tailor the audio capture process to suit your specific recording requirements. Whether you’re tracking vocals, instruments, or podcasts, optimizing the recording settings is essential for achieving professional-grade audio recordings with your USB microphone in Edison.
Recording Audio
Recording Audio
With your USB microphone set up and the recording settings adjusted in Edison, you’re ready to embark on the exciting process of capturing audio. Whether you’re laying down vocals, recording instruments, or conducting a podcast interview, Edison provides a user-friendly platform for seamless audio recording. Here’s how you can initiate the recording process:
- Create a New Project: Within Edison, create a new project or session for your recording. Organizing your recordings into separate projects allows for efficient file management and easy access to individual audio tracks.
- Select Input Source: Ensure that your USB microphone is selected as the input source for the recording session. Double-check the input settings to confirm that the microphone is receiving the audio signal.
- Set Recording Levels: Before initiating the recording, monitor the input levels to ensure that the audio signal is within an optimal range. Avoid recording at excessively high levels, as this can lead to distortion and compromised audio quality.
- Initiate Recording: Once the setup is in place and the levels are checked, press the record button in Edison to commence the recording. As the audio is captured, monitor the levels and performance to ensure a smooth recording process.
- Pause and Resume: Edison allows for seamless pausing and resuming of recordings, providing flexibility during the session. If interruptions occur or if you need to take a break, utilize the pause function to temporarily halt the recording without losing progress.
By following these steps, you can confidently record audio using your USB microphone in Edison. The intuitive interface and robust recording capabilities of Edison empower you to capture pristine audio with ease, allowing your creative vision to come to life through high-fidelity recordings.
Editing and Exporting the Recorded Audio
Editing and Exporting the Recorded Audio
Once you’ve completed the audio recording using your USB microphone in Edison, the next phase involves editing and exporting the recorded audio to finalize your project. Edison offers a range of editing tools and export options to refine and share your audio recordings effectively. Here’s a guide to the editing and exporting process:
- Trimming and Arranging: Within Edison’s interface, utilize the editing tools to trim the recorded audio, remove unwanted sections, and arrange the content as per your creative vision. The ability to precisely edit the audio ensures that the final recording meets your exact specifications.
- Applying Effects and Processing: Enhance the recorded audio by applying effects and processing within Edison. Whether it’s adding reverb, compression, EQ, or other audio enhancements, the software provides a comprehensive suite of tools to elevate the sonic characteristics of your recordings.
- Exporting Options: Explore the various export options offered by Edison. You can export the recorded audio in different formats, such as WAV, MP3, or other popular audio file types. Additionally, consider the export settings, including sample rate, bit depth, and file size, to ensure compatibility with your intended playback and distribution platforms.
- Naming and Metadata: Before exporting the audio, assign a meaningful name to the file and include relevant metadata, such as artist name, track title, and other details. This metadata provides essential information about the recording and contributes to its organization and accessibility.
- Finalize and Export: Once the editing and enhancements are complete, proceed to export the edited audio from Edison. Review the export settings one last time to confirm that the file format and specifications align with your requirements.
By leveraging the editing and export capabilities of Edison, you can refine your audio recordings to achieve a polished and professional outcome. Whether you’re creating music, podcasts, voiceovers, or any other audio content, the editing and exporting features of Edison empower you to deliver impactful and engaging recordings to your audience.