Introduction
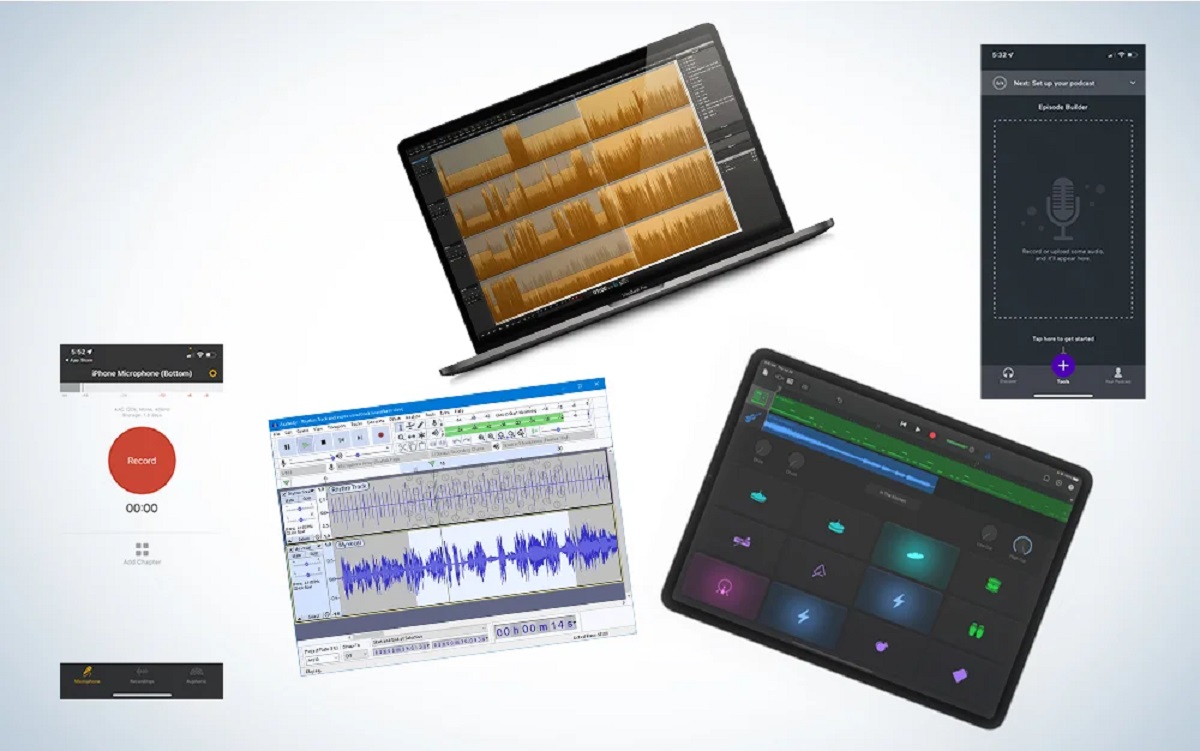
Are you ready to take your music production to the next level? Connecting a USB microphone to FL Studio can significantly enhance your recording capabilities and streamline your workflow. With the growing popularity of USB microphones for home recording, integrating them into your digital audio workstation (DAW) like FL Studio opens up a world of creative possibilities.
In this comprehensive guide, we will walk you through the process of connecting your USB microphone to FL Studio, ensuring that you can harness its full potential for recording vocals, instruments, podcasts, and more. Whether you're a seasoned producer or just starting out, understanding how to seamlessly integrate your USB microphone with FL Studio is essential for achieving professional-quality recordings.
By following the steps outlined in this tutorial, you'll be able to set up your USB microphone, configure FL Studio to recognize and optimize its performance, and conduct a successful test to ensure everything is working as intended. With the right techniques and a solid understanding of the process, you'll be well on your way to capturing pristine audio with your USB microphone in FL Studio.
So, grab your USB microphone, fire up FL Studio, and let's dive into the exciting world of USB microphone integration for unparalleled recording experiences. Whether you're a musician, podcaster, or content creator, this guide will equip you with the knowledge and skills to make the most of your USB microphone within the FL Studio environment. Let's get started!
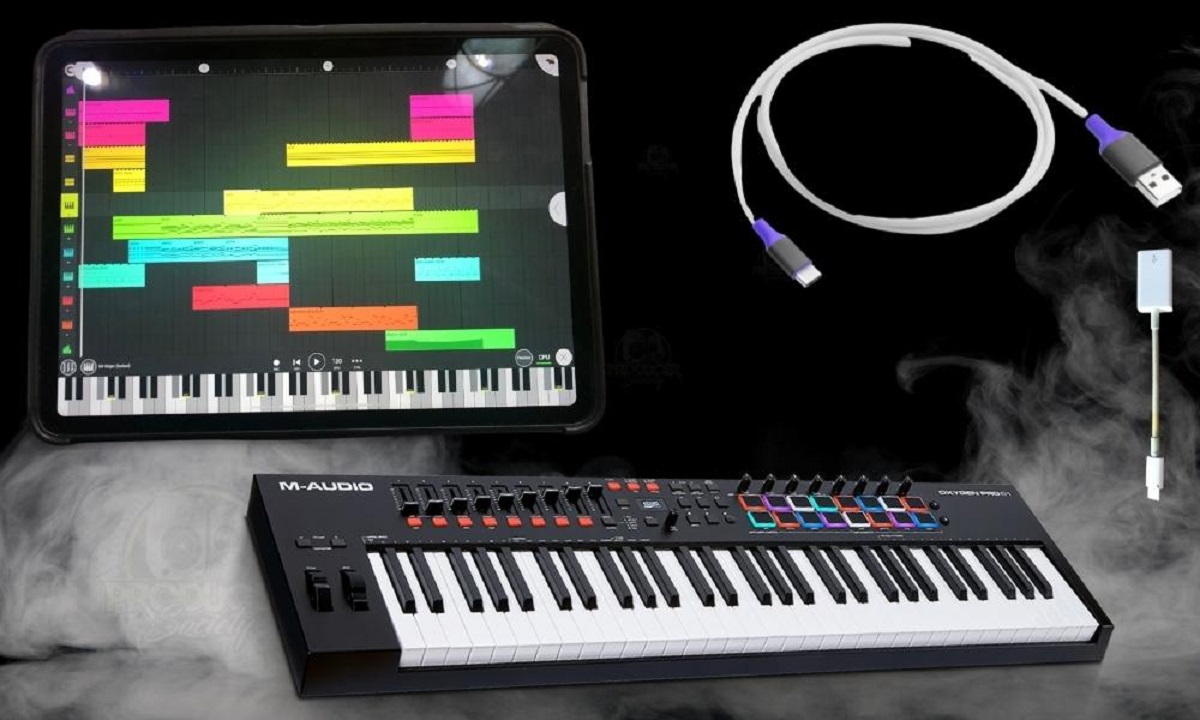
Step 1: Setting up your USB microphone
Before you can start using your USB microphone with FL Studio, it’s crucial to ensure that the hardware setup is optimized for seamless integration. Follow these steps to set up your USB microphone for use with FL Studio:
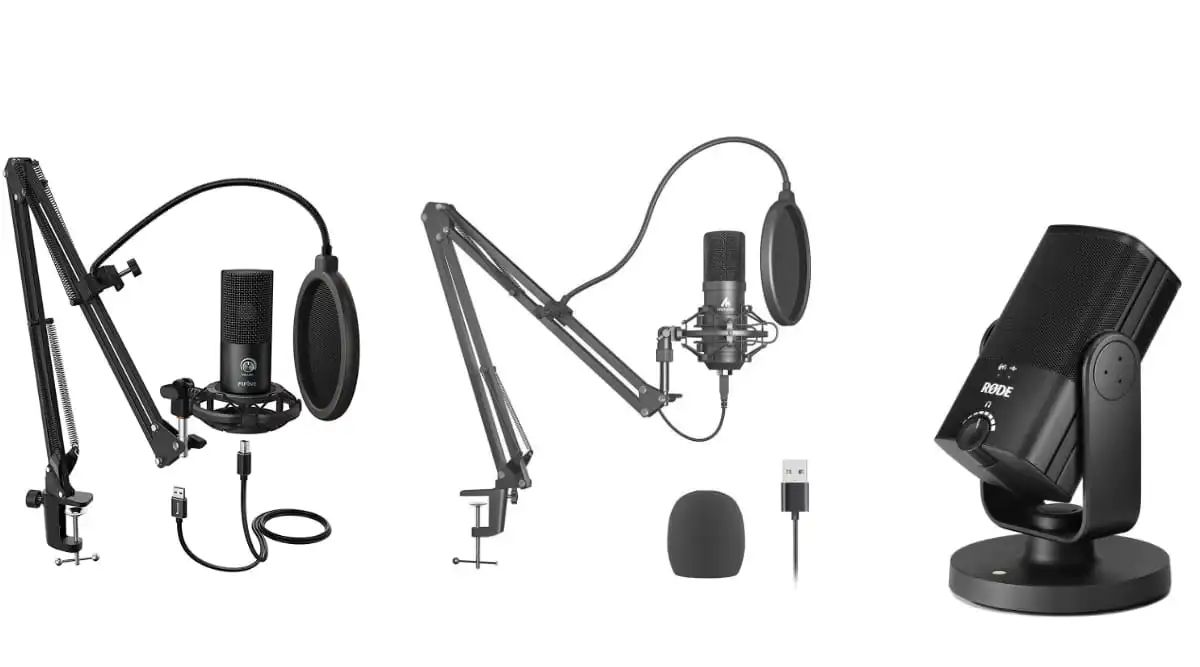
- Choose the right USB microphone: Select a high-quality USB microphone that suits your recording needs. Whether you’re capturing vocals, instruments, or podcasts, the microphone’s specifications and features should align with your intended use.
- Connect the USB microphone: Plug the USB microphone into an available USB port on your computer. Ensure that the connection is secure and that the microphone is recognized by your operating system.
- Install any necessary drivers: In some cases, USB microphones may require specific drivers to function optimally. Check the manufacturer’s instructions and install any required drivers or software to enable full compatibility with your computer.
- Position the microphone: Set up the USB microphone in an appropriate location for recording. Whether using a desktop stand, boom arm, or shock mount, position the microphone to capture the best possible audio for your intended application.
- Adjust microphone settings: Depending on the microphone model, you may have adjustable settings such as gain control, polar patterns, or headphone monitoring. Familiarize yourself with these settings and configure the microphone according to your recording environment and preferences.
By carefully setting up your USB microphone, you’ll establish a solid foundation for its integration with FL Studio. The proper selection, connection, and configuration of the microphone are essential for achieving optimal recording results within the DAW.
With your USB microphone successfully set up, you’re now ready to move on to the next step: configuring FL Studio to recognize and utilize the microphone for your recording endeavors. This seamless integration will empower you to capture pristine audio and unleash your creative potential within the FL Studio environment.
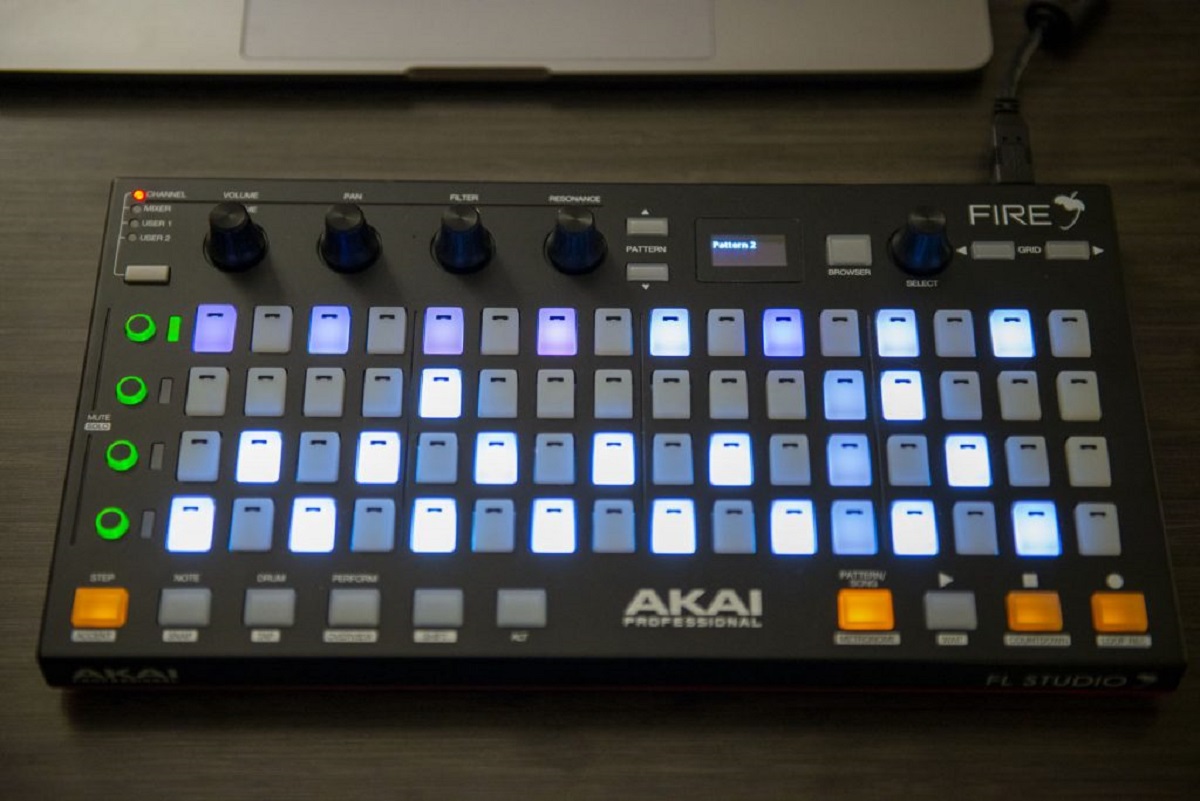
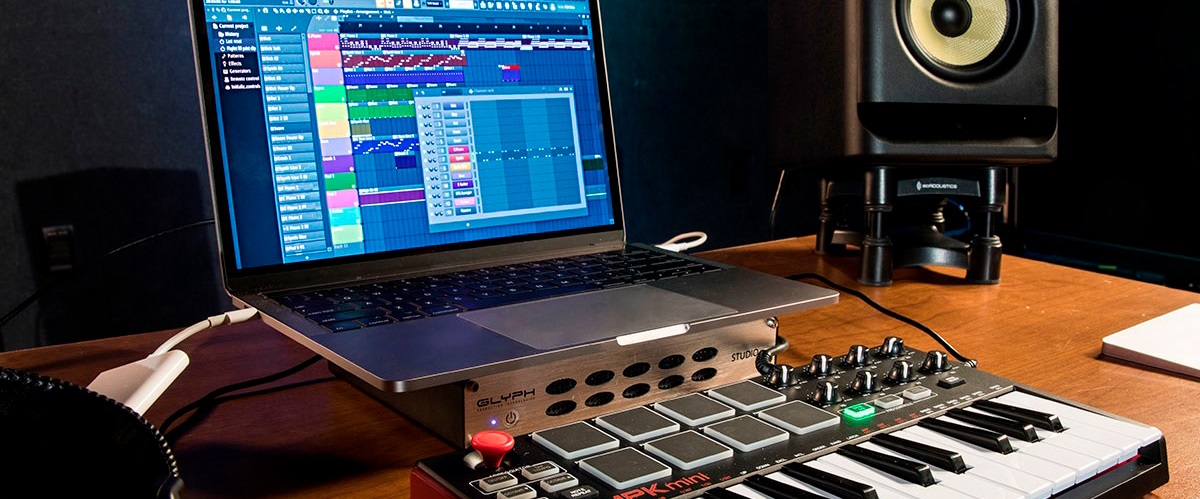
Step 2: Configuring FL Studio for the USB microphone
Now that your USB microphone is set up and ready to go, it’s time to ensure that FL Studio recognizes and optimally utilizes the microphone for recording purposes. Follow these steps to configure FL Studio for seamless integration with your USB microphone:
- Open FL Studio: Launch FL Studio on your computer and ensure that the software is fully operational.
- Access the audio settings: Navigate to FL Studio’s audio settings by clicking on the “Options” menu and selecting “Audio Settings.” This will allow you to configure the input and output settings for your USB microphone.
- Select the USB microphone as the input device: Within the audio settings, choose your USB microphone from the available input devices. Ensure that the microphone is set as the primary input for recording within FL Studio.
- Adjust the input settings: Fine-tune the input settings for the USB microphone, including the input channel, sample rate, and buffer size. These settings can impact the latency and overall performance of the microphone within FL Studio.
- Enable monitoring: If desired, enable input monitoring to hear the live audio signal from the USB microphone while recording. This can be useful for adjusting microphone placement and ensuring optimal audio capture.
- Test the microphone input: Verify that FL Studio is successfully receiving input from the USB microphone. Use the built-in level meters or a test recording to confirm that the microphone is functioning as expected within the software.
By configuring FL Studio to recognize and accommodate your USB microphone, you’re paving the way for seamless recording and production workflows. The proper adjustment of audio settings and input configurations ensures that FL Studio harnesses the full potential of your USB microphone, allowing you to capture pristine audio with ease.
With FL Studio now configured to accommodate your USB microphone, it’s time to move on to the next step: testing the microphone within FL Studio to ensure that everything is functioning as intended. This crucial step will provide confirmation that your USB microphone is fully integrated and ready for recording within the FL Studio environment.
Step 3: Testing the USB microphone in FL Studio
With your USB microphone set up and FL Studio configured to recognize it, the final step involves testing the microphone within the software to ensure seamless functionality and optimal performance. Follow these steps to conduct a comprehensive test of your USB microphone in FL Studio:
- Create a new audio track: Within FL Studio, create a new audio track designated for recording with your USB microphone. This ensures that you have a dedicated channel for capturing audio input from the microphone.
- Arm the audio track for recording: Arm the newly created audio track for recording, ensuring that it’s ready to receive input from your USB microphone. This step prepares the track to capture audio from the microphone during the test.
- Monitor the microphone input: As you speak or generate audio with your connected USB microphone, monitor the input levels within FL Studio. Ensure that the level meters display the incoming audio signal, indicating that the microphone is successfully sending audio to the software.
- Conduct a test recording: Initiate a brief test recording using the armed audio track and your USB microphone. Speak or perform into the microphone to capture a sample of audio within FL Studio. This test recording allows you to assess the quality and clarity of the audio captured by the microphone.
- Review and playback the test recording: After recording a sample of audio, review the test recording within FL Studio. Listen to the playback to evaluate the sound quality, clarity, and overall performance of the USB microphone within the software. This step provides valuable insight into the microphone’s functionality and its integration with FL Studio.
By conducting a thorough test of your USB microphone within FL Studio, you can confirm that the microphone is seamlessly integrated and capable of delivering exceptional audio quality for your recording projects. This final step ensures that your USB microphone is fully operational within the FL Studio environment, empowering you to capture professional-grade audio with confidence.
Conclusion
Congratulations! You’ve successfully navigated the process of connecting your USB microphone to FL Studio, unlocking a world of creative possibilities for recording and production. By following the steps outlined in this guide, you’ve established a seamless integration between your USB microphone and FL Studio, paving the way for professional-quality audio capture and production within the software.
With your USB microphone set up, FL Studio configured, and a successful test recording completed, you’re now equipped to embark on a journey of musical expression, vocal performance, podcast creation, and more. The integration of your USB microphone with FL Studio empowers you to capture pristine audio with ease, providing a versatile tool for realizing your creative vision.
As you continue to explore the capabilities of your USB microphone within FL Studio, consider experimenting with different recording techniques, microphone placements, and audio processing options to further enhance your productions. Whether you’re a musician, podcaster, content creator, or audio enthusiast, the seamless integration of your USB microphone with FL Studio opens up a wealth of opportunities for expressing your unique sound and voice.
Remember to regularly check for software updates, driver enhancements, and new features within FL Studio and your USB microphone’s ecosystem to stay abreast of the latest advancements in recording technology. By staying informed and adaptable, you can continually refine your recording setup and elevate the quality of your audio productions.
Armed with the knowledge and skills gained from this guide, you’re well-positioned to harness the full potential of your USB microphone within FL Studio, creating captivating recordings and compositions that resonate with your audience. Embrace the creative journey that lies ahead, and let your USB microphone and FL Studio serve as invaluable tools for bringing your musical and audio endeavors to life.