Introduction
Welcome to the world of immersive audio and cinematic experiences! Setting up a surround sound system in your home can take your entertainment to a whole new level. Whether you love watching movies, playing video games, or listening to music, a surround sound system can bring sound to life by creating a realistic and immersive audio environment.
In this guide, we will walk you through the step-by-step process of setting up a surround sound system in your home. From determining the placement of your speakers to calibrating the system for optimal audio performance, we will cover everything you need to know to create your very own mini home theater.
Before we dive into the technical details, let’s briefly go over the components you will need to set up a surround sound system. The key elements include a surround sound receiver, speakers, a TV or projector, and various audio and video sources such as a Blu-ray player, gaming console, or streaming device.
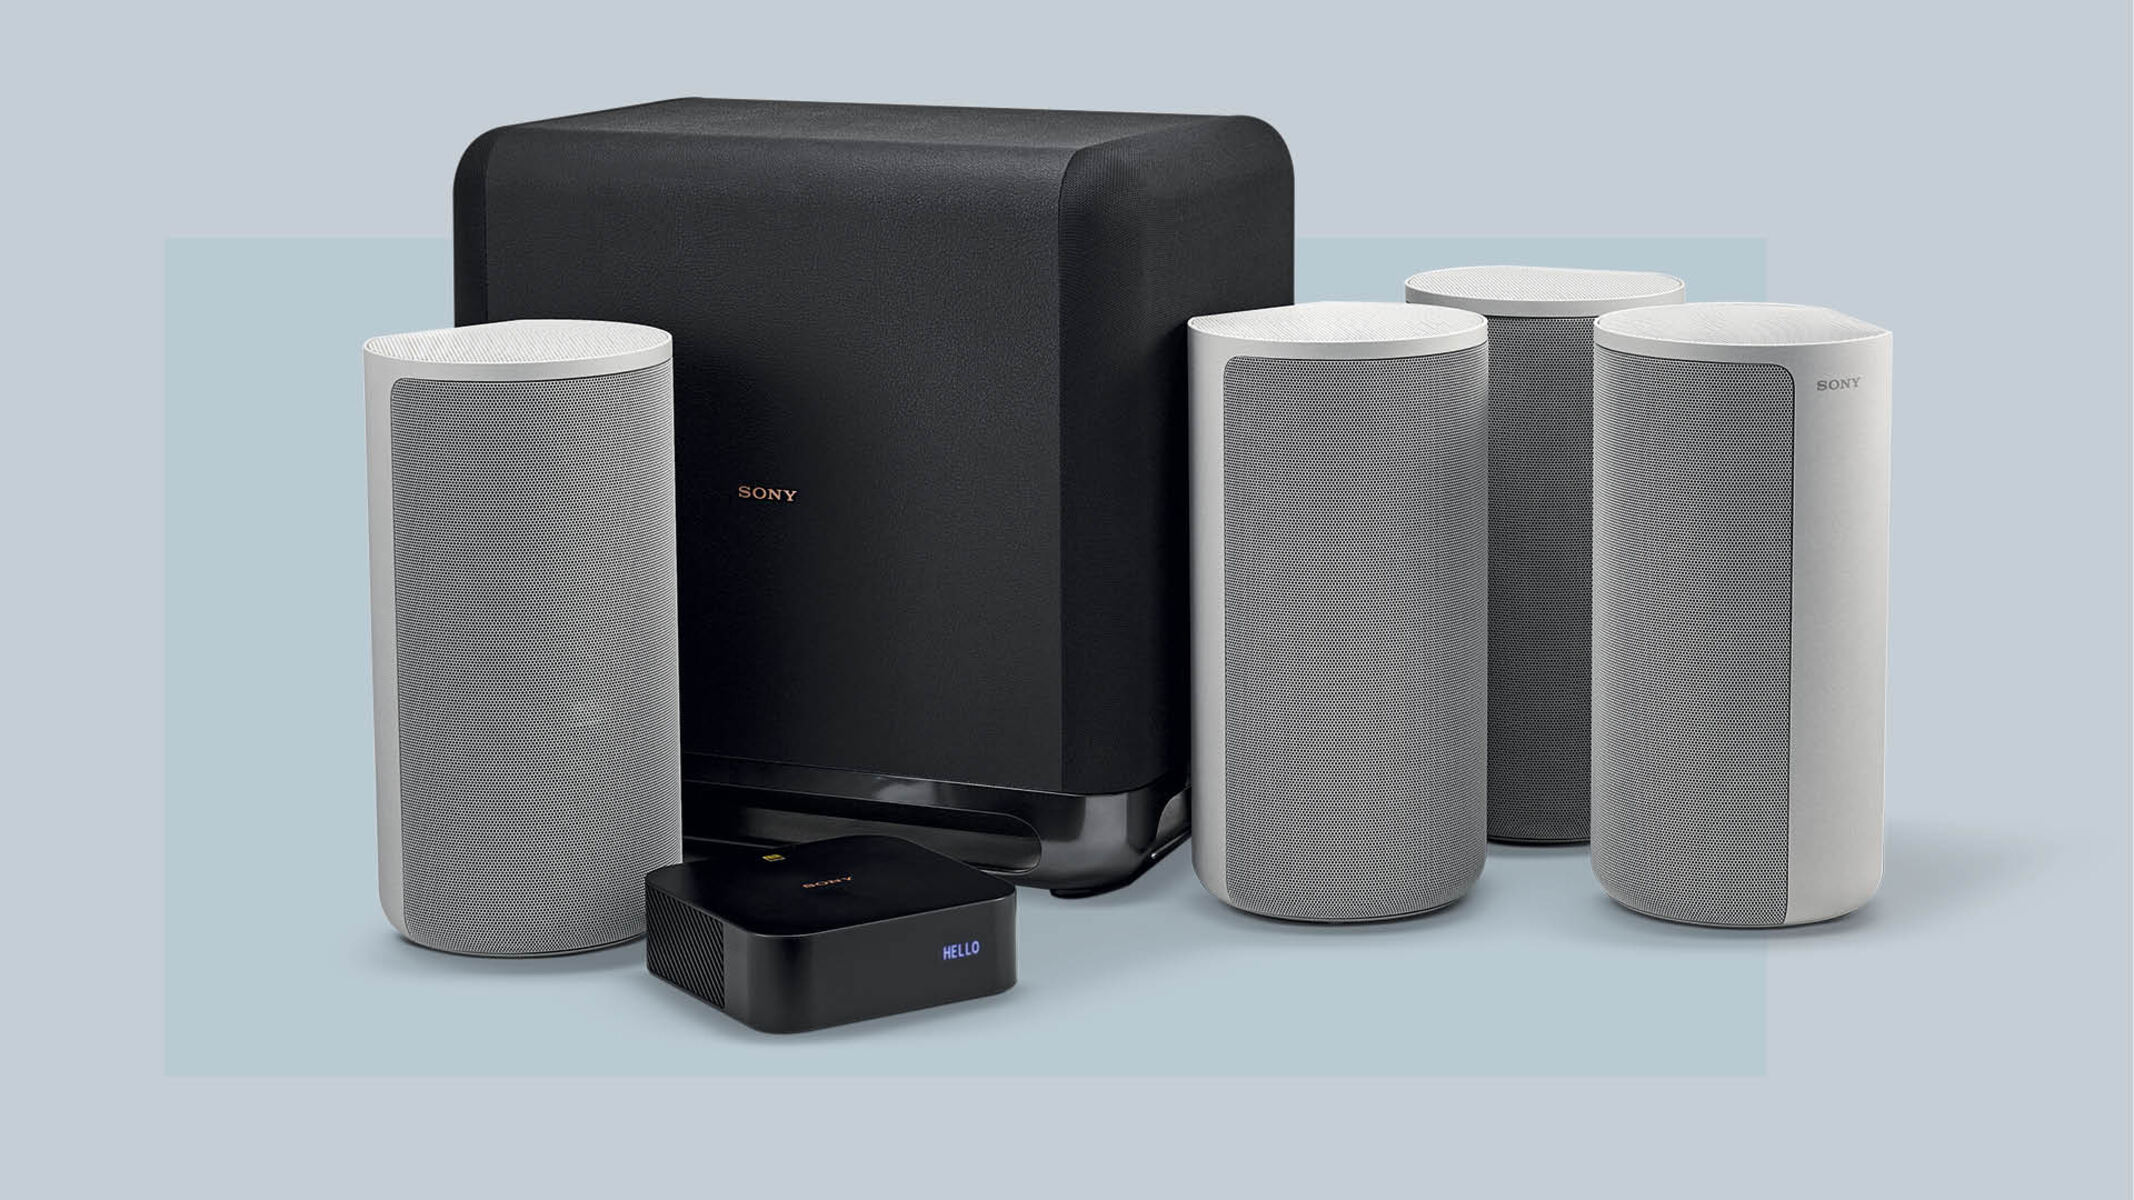
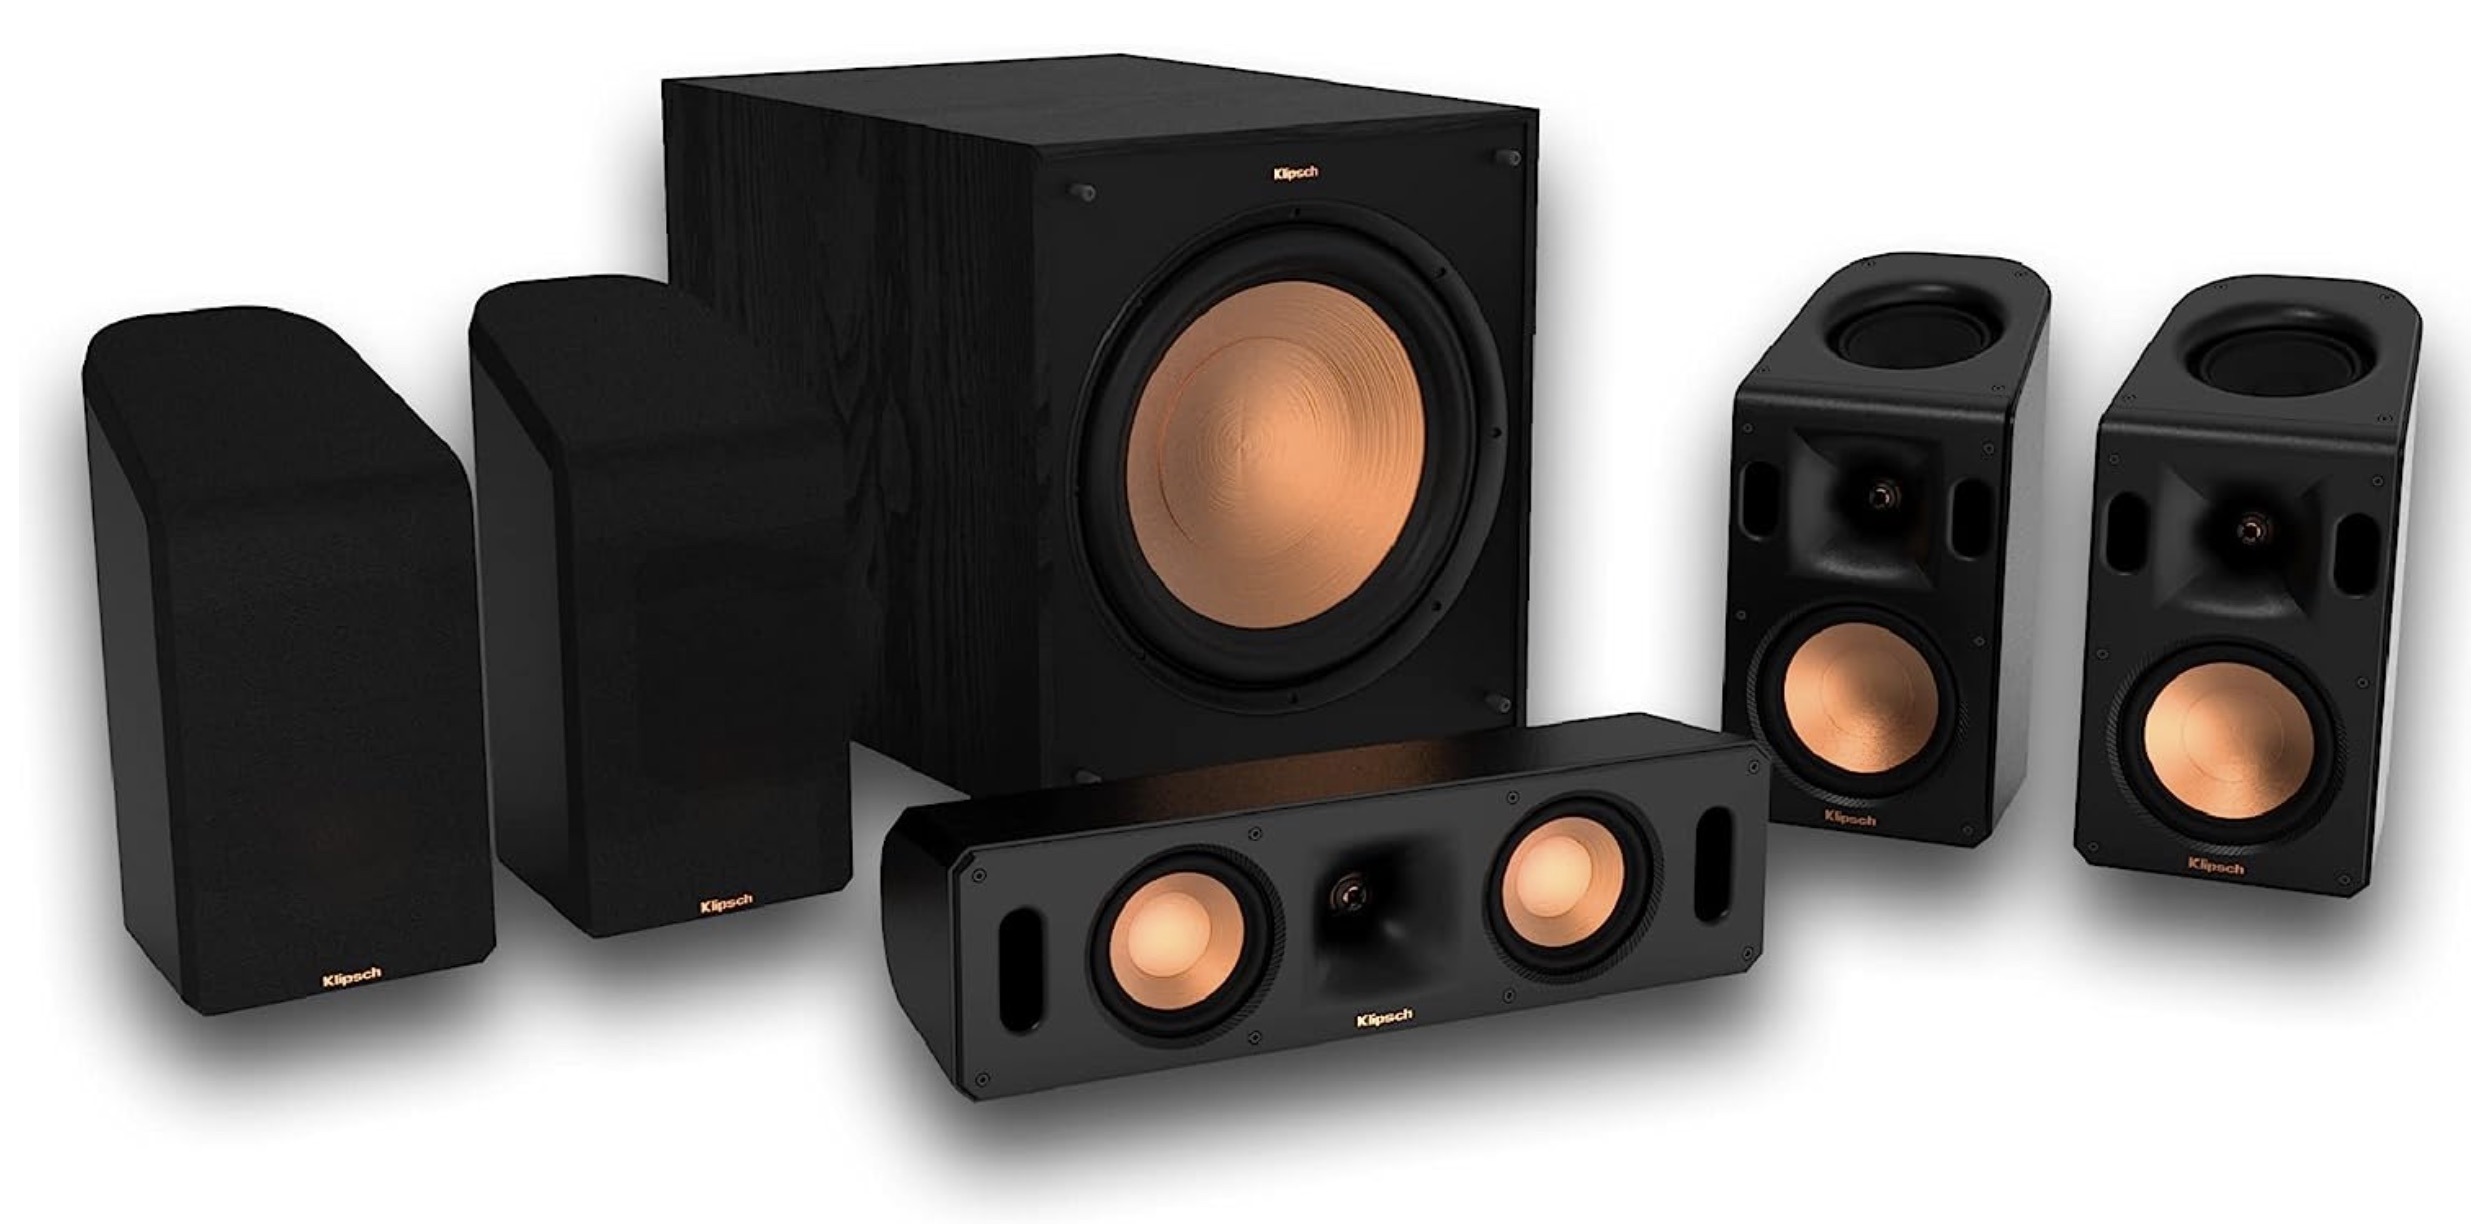
It’s important to note that there are different types of surround sound setups available, including 5.1, 7.1, and even more advanced configurations. For the purpose of this guide, we will focus on setting up a basic 5.1 surround sound system, which consists of five speakers (front left, center, front right, rear left, rear right) and a subwoofer.
Now that you have an overview of what to expect, let’s dive into the details of setting up your surround sound system. Remember, the goal is to create an immersive audio experience that enhances your entertainment, so take your time and make sure to follow the instructions carefully.
Determine the Placement of Your Speakers
The placement of your speakers is crucial in achieving optimal audio performance and creating a realistic surround sound experience. Each speaker has a specific role in reproducing different audio channels, so it’s important to position them correctly in your room.
Here are some guidelines to consider when determining the placement of your speakers:
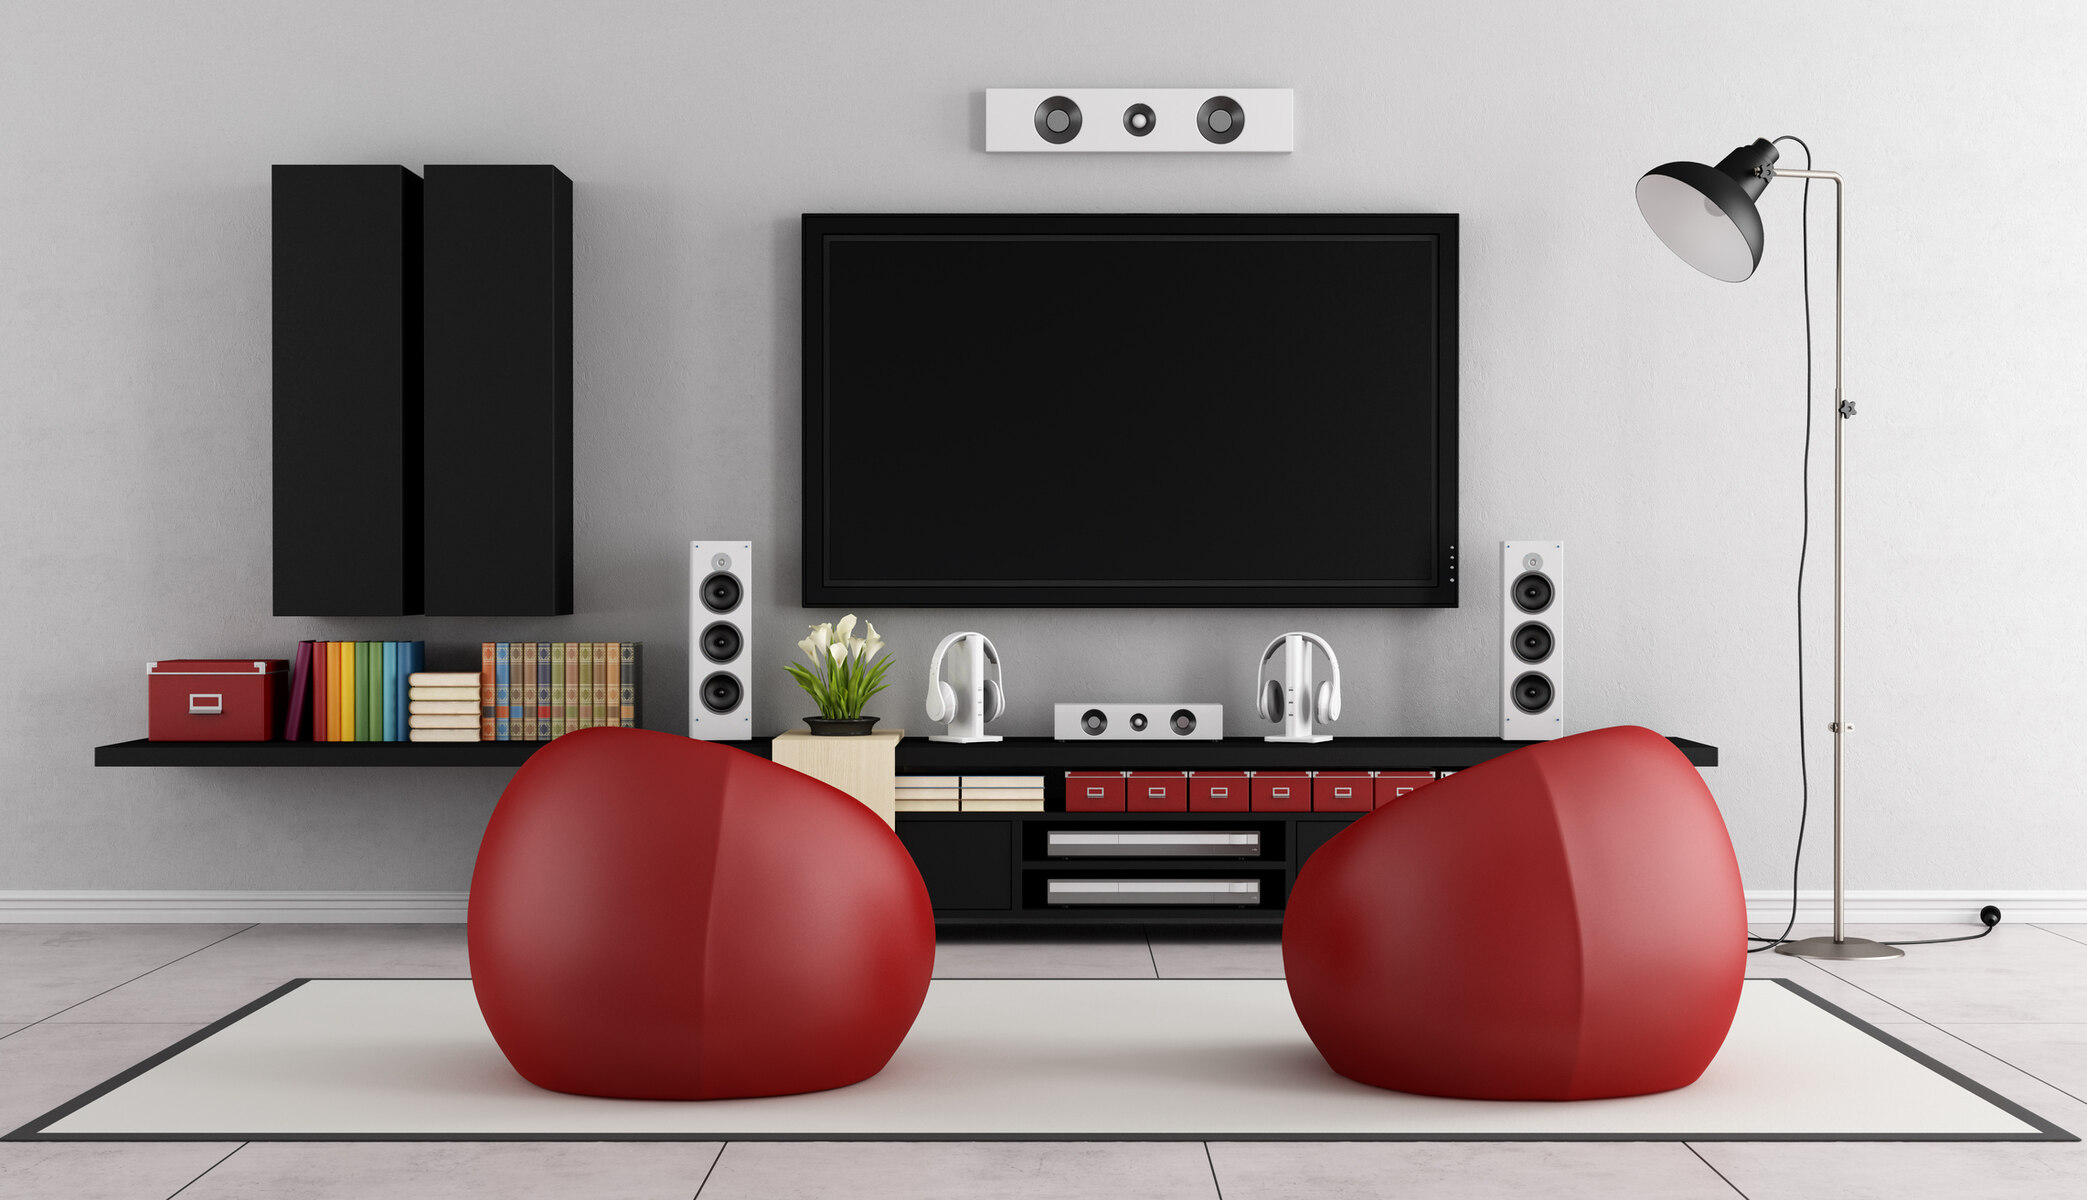
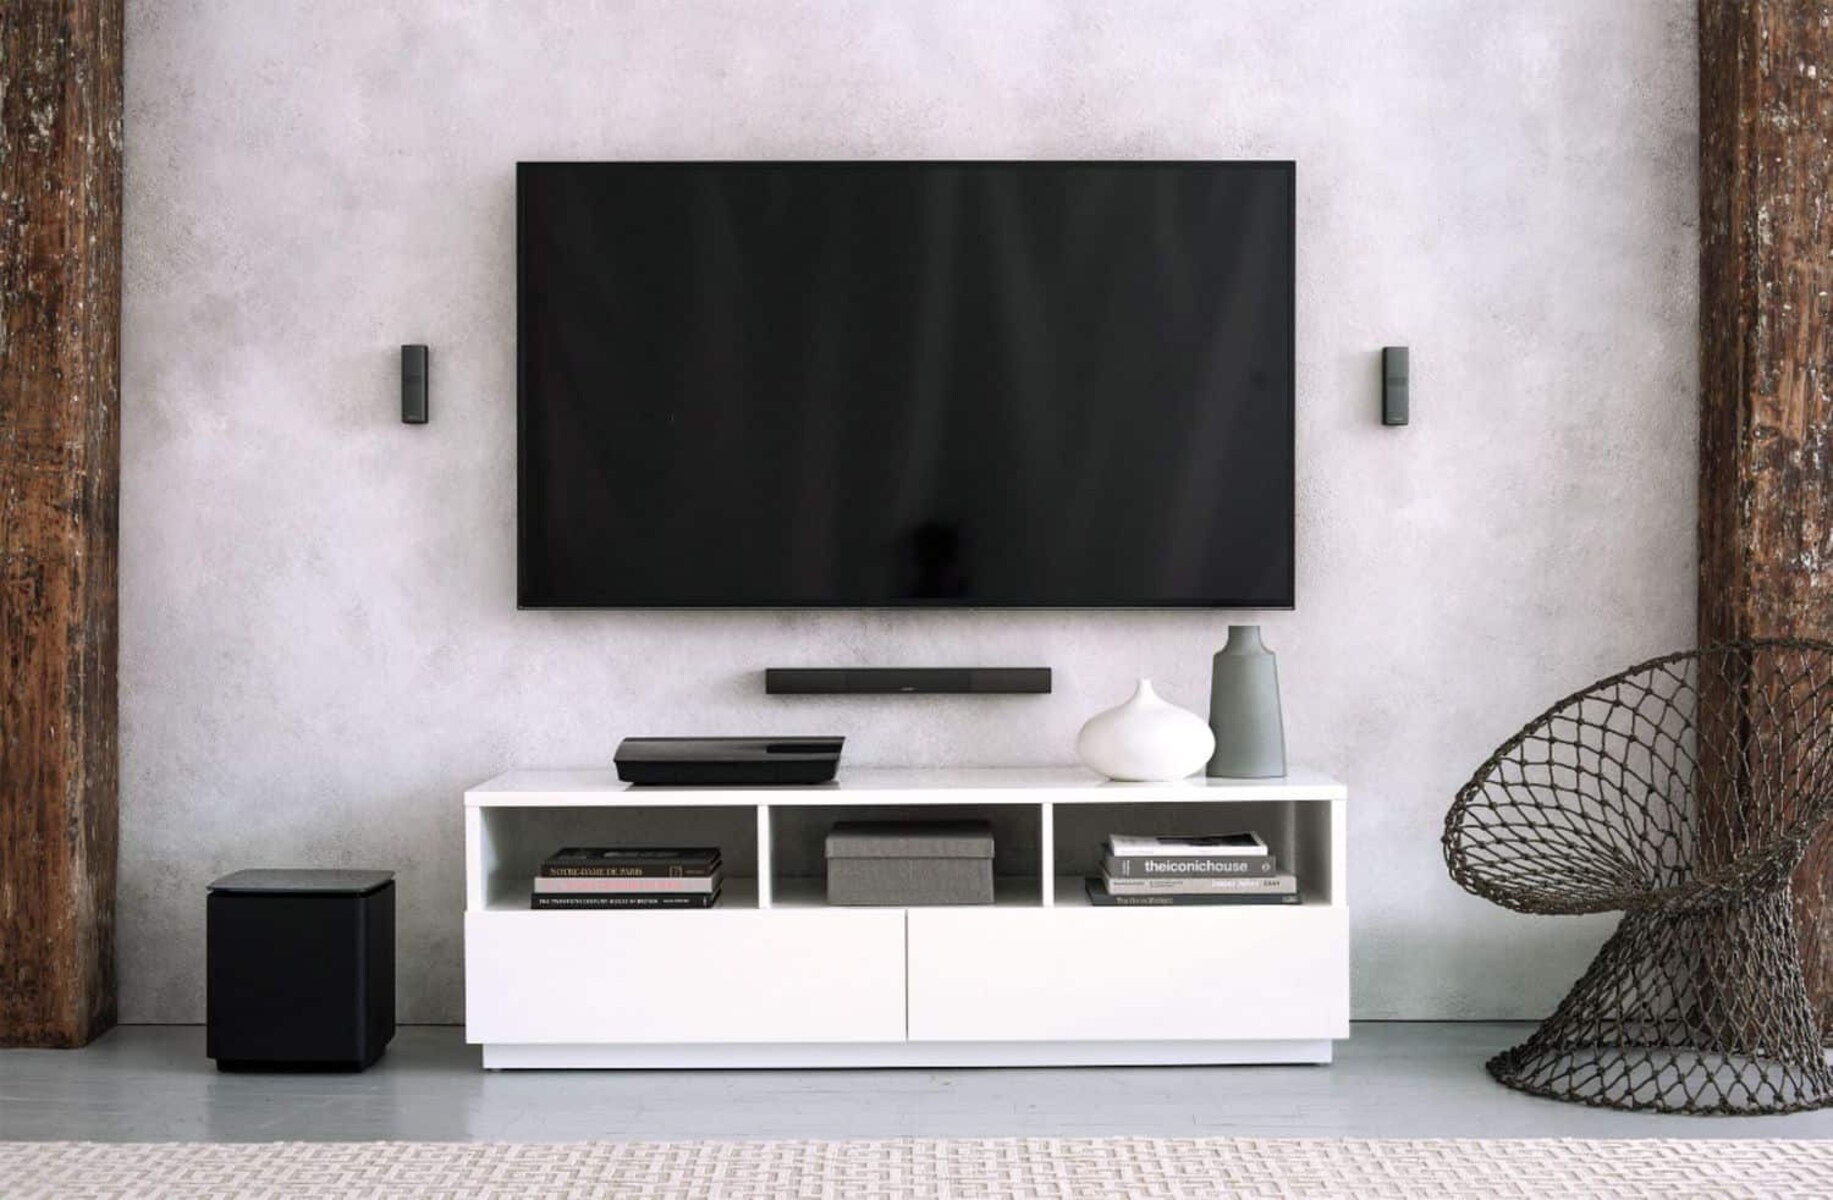
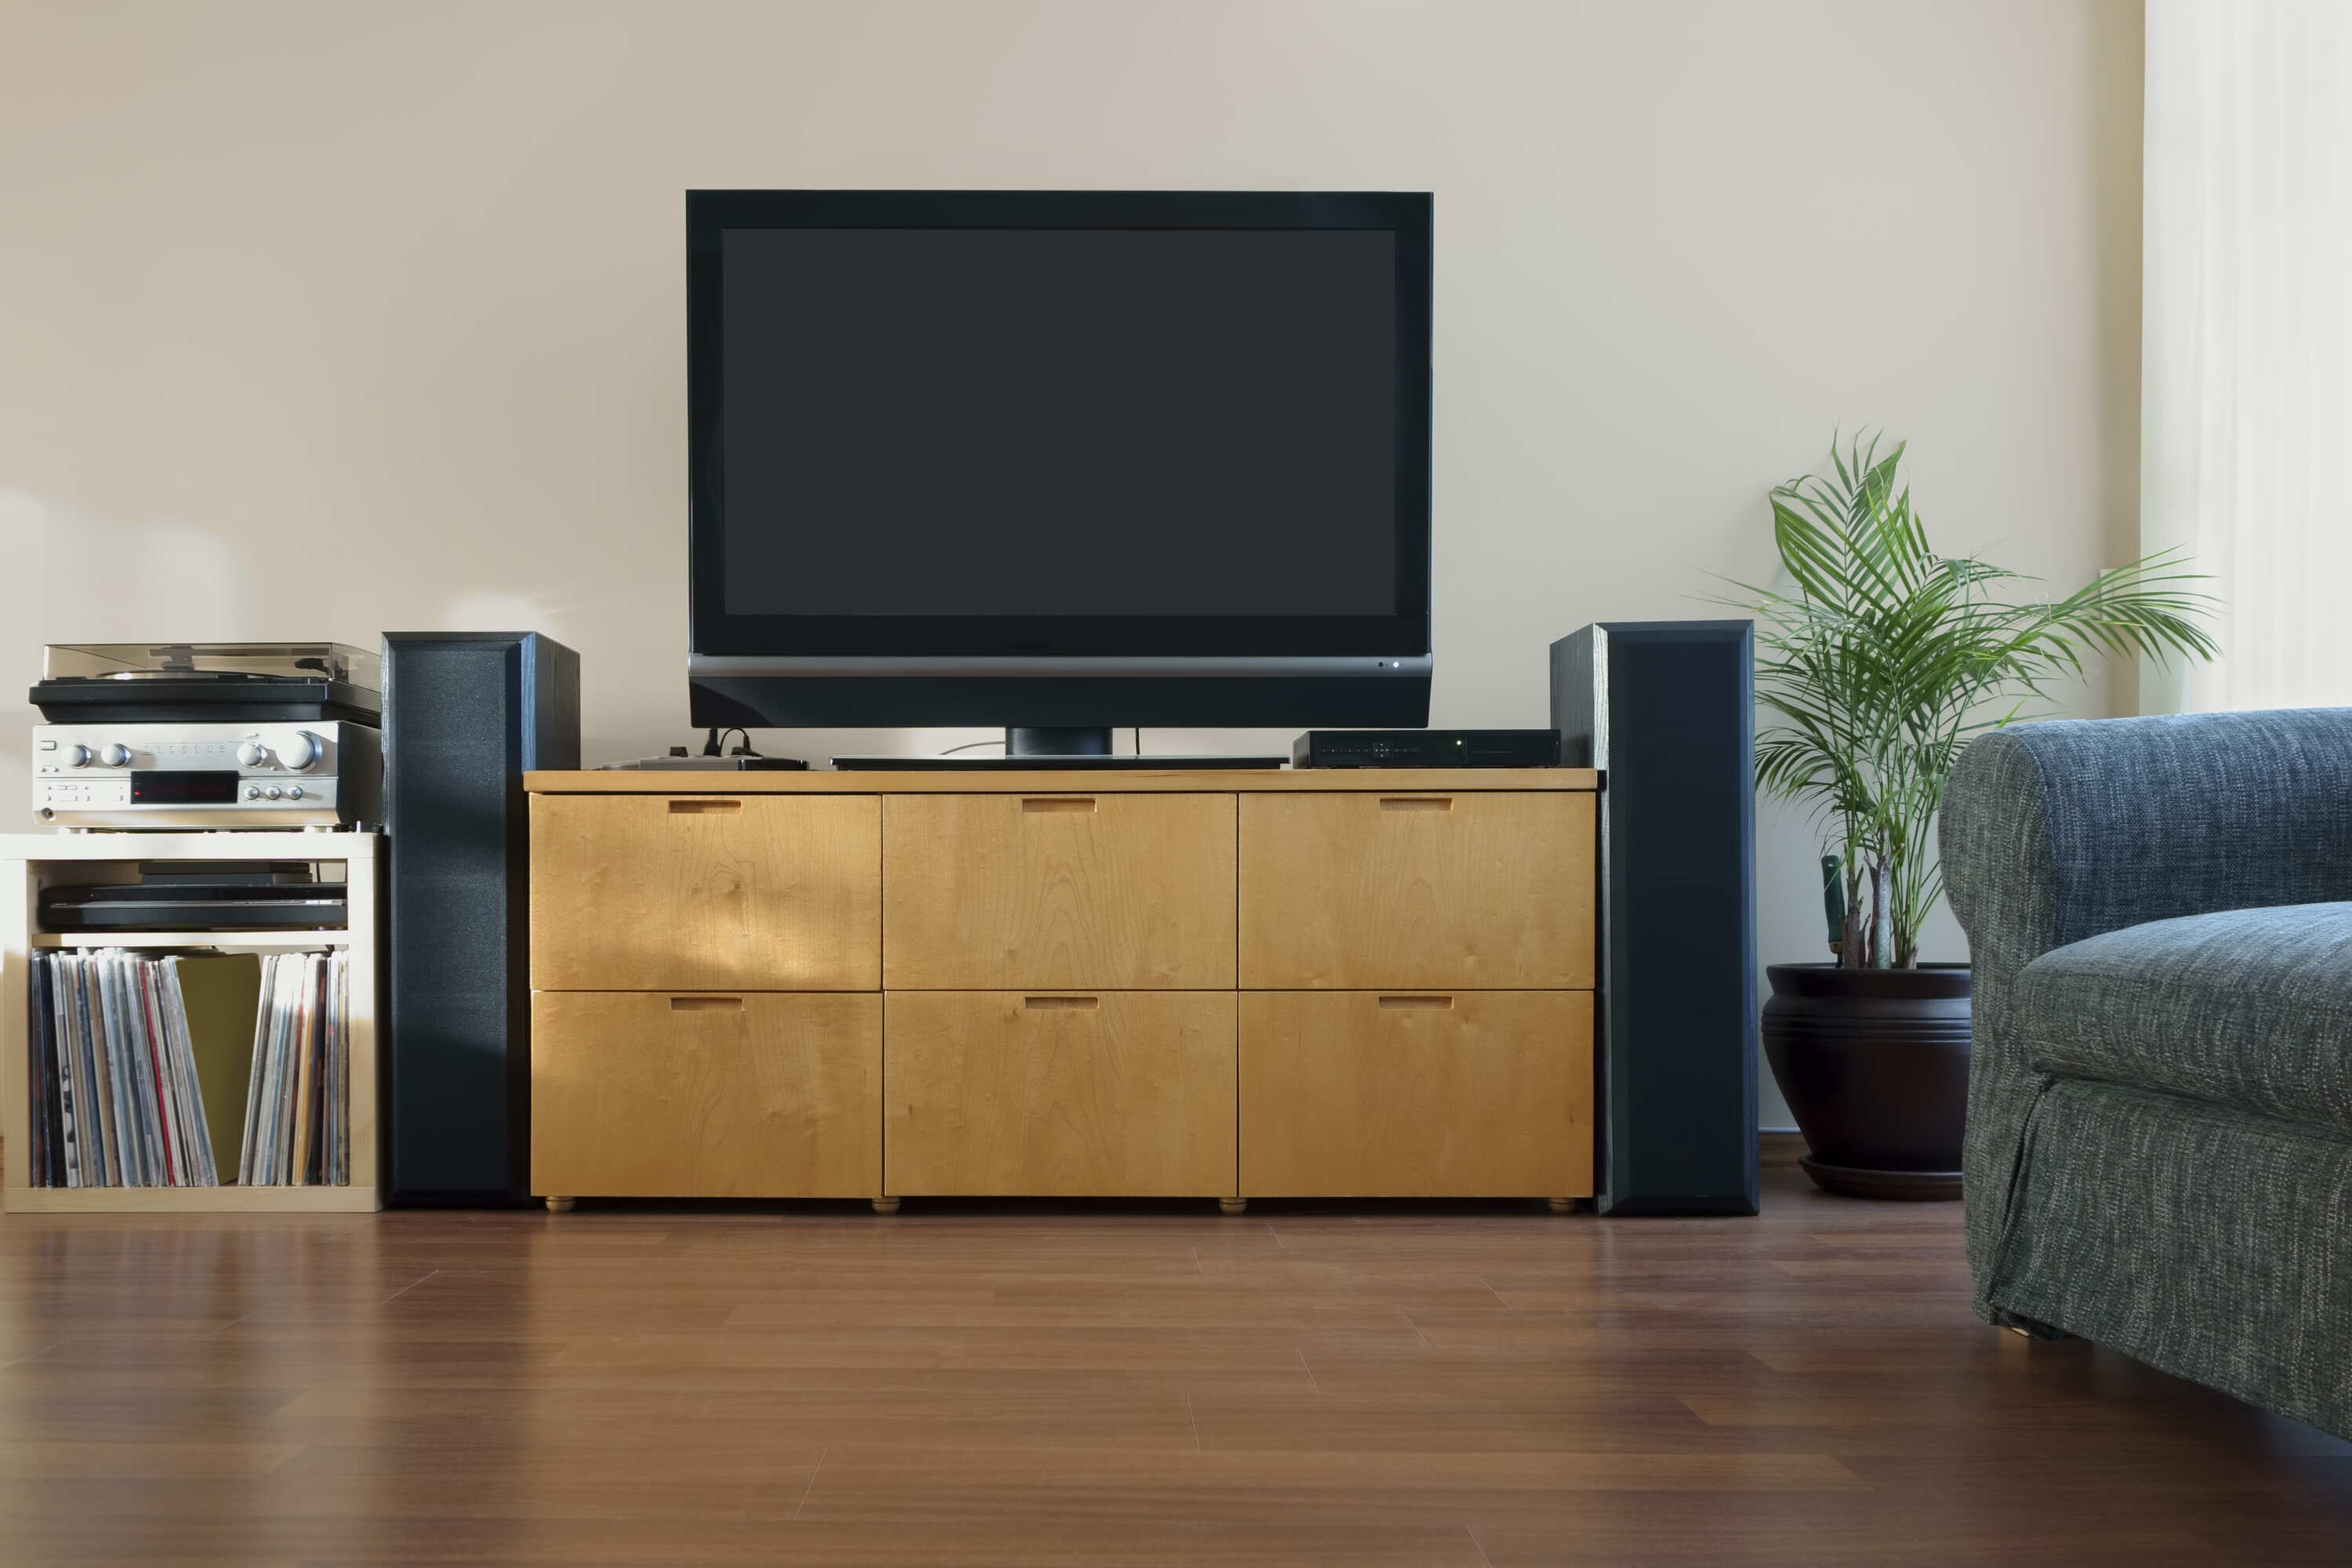
- Front Speakers: The front left, center, and front right speakers should be positioned in front of your viewing area. The center speaker should be placed directly above or below your TV or screen, at ear level. The front left and front right speakers should be positioned equidistant from the center speaker, forming an imaginary arc. This provides a balanced soundstage and enhances dialogue clarity.
- Rear Speakers: The rear left and rear right speakers should be positioned behind your seating area, facing towards the front of the room. Ideally, they should be slightly above ear level and angled towards the center of the room. This creates a sense of envelopment and immerses you in the audio experience.
- Subwoofer: The subwoofer, responsible for reproducing deep bass frequencies, can be placed anywhere in the room. Experiment with different locations to find the spot that delivers the best bass response. Keep in mind that placing it near a wall or corner can enhance bass output.
- Speaker Distances: To achieve optimal sound balance, make sure the distance between each speaker and your listening position is approximately equal. This helps create a cohesive soundstage and ensures that audio cues are accurately positioned.
It’s worth mentioning that every room is unique, and the acoustics can greatly affect the sound quality. You may need to make adjustments and test different speaker placements to find the sweet spot for your specific space.
Once you have determined the ideal positions for your speakers, mark them or take note of their locations. This will come in handy when you start connecting and setting up your surround sound system.
Connect Your Surround Sound Receiver to Your TV
Now that you have determined the placement of your speakers, it’s time to connect your surround sound receiver to your TV. The receiver acts as the hub for all your audio and video sources, allowing you to switch between different inputs and control the volume and settings.
Here’s a step-by-step guide to help you connect your surround sound receiver to your TV:
- Identify the Audio Output on Your TV: Look for the audio output options on your TV. Common options include HDMI ARC (Audio Return Channel), optical audio output, or RCA analog audio output. Choose the one that best suits your setup and available connections.
- Connect the Audio Output of Your TV to the Surround Sound Receiver: Use the appropriate cable to connect your TV’s audio output to the corresponding input on your surround sound receiver. For HDMI ARC, use an HDMI cable. For optical audio output, use an optical cable. For RCA analog audio output, use RCA cables.
- Set the Audio Output on Your TV: Access your TV’s settings menu and navigate to the audio settings. Select the audio output option you have connected to your surround sound receiver. Make sure it is set to output audio to the external speakers or receiver.
- Configure the Surround Sound Receiver: Turn on your surround sound receiver and access its settings menu. Navigate to the input settings and ensure the input corresponding to your TV is selected. This allows the receiver to receive audio signals from your TV.
- Test the Connection: Once everything is connected and configured, play some audio or video content on your TV. Make sure you can hear the sound coming from your surround sound speakers. If not, double-check the connections and settings.
It’s important to note that different TVs and surround sound receivers may have slightly different connection options and settings. Refer to the user manuals of your specific devices for detailed instructions if needed.
With your surround sound receiver successfully connected to your TV, you are one step closer to creating an immersive audio experience in your home. The next step is to connect your audio and video sources to the surround sound receiver, which we will cover in the next section.
Connect Your Sources to Your Surround Sound Receiver
Now that your surround sound receiver is connected to your TV, it’s time to connect your various audio and video sources to the receiver. These sources can include a Blu-ray player, gaming console, streaming device, or any other device that outputs audio or video.
Here’s a step-by-step guide to help you connect your sources to your surround sound receiver:
- Identify the Audio and Video Outputs on Your Sources: Look for the audio and video output options on your sources. Common options include HDMI, optical audio, RCA, or component video. Choose the appropriate outputs based on your available connections and the capabilities of your surround sound receiver.
- Connect the Audio and Video Outputs of Your Sources to the Surround Sound Receiver: Use the necessary cables to connect the audio and video outputs of your sources to the corresponding inputs on your surround sound receiver. For HDMI connections, use HDMI cables. For optical audio or RCA connections, use the corresponding cables.
- Label Your Inputs: To make it easier to switch between sources, consider labeling each input on your receiver. This will allow you to easily identify which input corresponds to each source. Most receivers have the option to rename inputs in their settings menu.
- Configure the Surround Sound Receiver: Access the settings menu on your surround sound receiver and navigate to the input settings. Make sure the correct input is assigned to each source. This allows the receiver to receive audio and video signals from your sources.
- Test the Connections: Once everything is connected and configured, select each input on your surround sound receiver and play audio or video content from the corresponding source. Make sure the sound is coming from your surround sound speakers and the video is displayed on your TV.
It’s important to note that the number and type of inputs on your surround sound receiver may vary. If you have multiple sources that use the same type of connection (e.g., HDMI), you may need to use an HDMI switch or splitter to expand the number of available inputs.
With your sources successfully connected to your surround sound receiver, you are now ready to set up your surround sound speakers for a truly immersive audio experience. We will cover this in the next section.
Set Up Your Surround Sound Speakers
With your surround sound receiver and sources connected, it’s time to set up your surround sound speakers. Properly positioning and configuring the speakers will ensure that you get the best audio experience possible.
Follow these steps to set up your surround sound speakers:
- Place the Front Speakers: Position the front left, center, and front right speakers in front of your viewing area. The center speaker should be placed either above or below your TV, directly facing your listening position. The front left and front right speakers should be equidistant from the center speaker, forming an imaginary arc.
- Position the Rear Speakers: Place the rear left and rear right speakers behind your listening area, facing towards the front of the room. Ideally, they should be slightly above ear level and angled towards the center of the room. This creates a sense of envelopment and immerses you in the audio experience.
- Set Up the Subwoofer: The subwoofer, responsible for reproducing deep bass frequencies, can be placed anywhere in the room. Experiment with different locations to find the spot that delivers the best bass response. Keep in mind that placing it near a wall or corner can enhance bass output.
- Verify Speaker Phase: Make sure the phase of each speaker is properly set. This ensures that all speakers are in sync and creating a cohesive surround sound experience. Most surround sound receivers have a speaker calibration feature that can automatically adjust the phase, or you can manually adjust it using the receiver’s settings.
- Run Speaker Wires: Connect each speaker to the corresponding speaker output on your surround sound receiver using speaker wires. Ensure that the positive and negative terminals on the speakers and receiver are matched correctly.
It’s important to note that the positioning of your speakers will depend on the layout and size of your room. Make adjustments as needed to achieve the best soundstage and immersiveness.
Once you have set up and connected all the speakers, refer to your surround sound receiver’s manual to configure the speaker settings. This may involve adjusting the speaker size, level, and distance settings, as well as enabling any surround sound processing modes that enhance the audio experience.
With your surround sound speakers properly set up and configured, you are now ready to calibrate your surround sound system for optimal audio performance. We will cover this in the next section.
Calibrate Your Surround Sound System
Calibrating your surround sound system is an essential step to ensure optimal audio performance and a balanced soundstage. This process helps fine-tune the speaker levels, distance settings, and other audio parameters to match your room’s acoustics and personal preferences.
Follow these steps to calibrate your surround sound system:
- Access the Speaker Calibration Menu: On your surround sound receiver, locate the speaker calibration menu in the settings. This may be labeled as “Auto Setup,” “Speaker Configuration,” or something similar. Refer to your receiver’s manual if you’re unsure how to access this menu.
- Run the Auto Calibration Process: Most modern surround sound receivers have an automated calibration feature that uses a built-in microphone to analyze the audio signals and make adjustments accordingly. Follow the on-screen instructions to run the auto calibration process.
- Verify Speaker Levels: Once the calibration process is complete, verify the speaker levels. This ensures that each speaker is playing at the correct volume in relation to the others. Adjust the individual speaker levels as necessary to achieve a balanced soundstage.
- Check Speaker Distance Settings: Verify that the distance settings for each speaker are accurately configured. These settings help the receiver adjust the sound delay to ensure that the audio from each speaker reaches your listening position at the same time. Make any necessary adjustments if your speakers are not equidistant from your listening position.
- Utilize Advanced Audio Settings: Depending on your surround sound receiver, you may have access to additional audio settings such as equalization (EQ), dynamic range control, and surround sound modes. Experiment with these settings to customize the audio to your liking.
- Test Various Audio Content: After calibrating your surround sound system, test it by playing various audio content such as movies, music, and games. Pay attention to the spatial effects, dialogue clarity, and overall immersion. Make adjustments as needed to achieve your desired audio experience.
It’s worth mentioning that the calibration process may vary depending on your specific surround sound receiver. Consult your receiver’s manual for detailed instructions on accessing and utilizing its calibration features.
By calibrating your surround sound system, you can ensure that each speaker is optimized for your room’s acoustics and deliver an immersive audio experience that enhances your entertainment.
Next, we will explore how to test your surround sound system to confirm its performance and make any necessary adjustments.
Test Your Surround Sound System
After setting up and calibrating your surround sound system, it’s time to put it to the test. Testing allows you to confirm the performance of your system and make any necessary adjustments to achieve your desired audio experience.
Follow these steps to effectively test your surround sound system:
- Play a Movie with Surround Sound: Choose a movie that is known for its immersive sound design. Ideally, select a Blu-ray or DVD with a 5.1 surround sound mix. Sit in your preferred listening position and play the movie. Listen for the directional sound effects, the clarity of dialogue, and the balance between the speakers. Make note of any areas that could be improved.
- Test with Music: Play music that has a wide dynamic range and different instruments. Listen carefully to how the sound is distributed among the speakers. Pay attention to the tonal balance, instrument separation, and overall clarity. Adjust the speaker levels or EQ settings if needed to create a balanced and pleasing sound.
- Try Different Audio Sources: Test your system with different audio sources, such as streaming services, gaming consoles, or live concerts on Blu-ray. This will give you a diverse range of content to evaluate your system’s performance and to ensure that it consistently delivers high-quality audio across various sources.
- Verify Surround Sound Effects: Check if the surround sound effects are noticeable and immersive. Test scenes or games that have distinct sound effects, such as rain falling, cars passing by, or footsteps approaching from behind. This will help you determine if the rear speakers are properly balanced and if the system is creating the desired surround sound environment.
- Make Adjustments as Needed: Throughout the testing process, make note of any areas that could be improved. Adjust the speaker levels, EQ settings, or other audio parameters to achieve the desired audio experience. Don’t be afraid to experiment and fine-tune the system according to your preferences.
Remember that the testing phase allows you to make adjustments and optimize your system based on your room’s acoustics and personal preferences. Take your time to fine-tune and find the settings that provide the most immersive and enjoyable audio experience for you and your family.
Once you’re satisfied with the performance of your surround sound system, sit back, relax, and enjoy the immersive audio experience that it brings to your movies, music, and games.
In the next section, we will discuss common troubleshooting tips to overcome any potential issues that may arise with your surround sound system.
Troubleshooting Common Issues
While setting up and using a surround sound system can bring incredible audio experiences, it’s not uncommon to encounter some issues along the way. Understanding and resolving these common issues will help ensure that you can enjoy your surround sound system to its fullest potential.
Here are some troubleshooting tips for common surround sound issues:
- No Sound or Low Volume: Check the connections between your sources, surround sound receiver, and speakers. Ensure that all cables are securely plugged in and that the correct input sources are selected on your receiver. Also, check the volume levels on your receiver and sources to ensure they are properly adjusted.
- Audio Delay: If you notice a delay between the video and audio, you may need to adjust the audio delay settings on your surround sound receiver. Refer to your receiver’s manual for instructions on accessing and adjusting these settings.
- Imbalanced Soundstage: If you find that the sound balance is uneven or certain speakers are overpowering others, use the speaker level adjustment settings on your receiver to adjust the volume of individual speakers. Experiment with different settings until you achieve a balanced soundstage.
- Lack of Surround Sound Effects: Make sure that your audio source is encoded in surround sound, such as a Blu-ray disc with a 5.1 surround sound mix. Additionally, check the audio settings on your receiver to ensure that the correct surround sound decoding mode is selected.
- Interference or Distortion: If you notice interference or distortion in your audio, check for any potential sources of interference, such as electronic devices or cables crossing each other. Distance your speakers from other devices and rearrange cables for improved signal quality.
- Noise from Subwoofer: If you hear excessive noise or vibrations coming from your subwoofer, check the positioning and connection of the subwoofer. Placing the subwoofer near a wall or in a corner can enhance bass response, but adjust its position if it causes excessive rumbling or distortion.
If you have addressed these troubleshooting steps and still encounter issues, refer to the user manuals of your specific devices or contact customer support for further assistance. They will be able to guide you through more advanced troubleshooting and offer solutions tailored to your specific setup.
It’s important to remain patient and methodical when troubleshooting your surround sound system. By identifying and resolving common issues, you can ensure a smooth and enjoyable audio experience.
In the concluding section, we will summarize the key points discussed in this guide and emphasize the importance of taking the time to set up and calibrate your surround sound system for optimal audio performance.
Conclusion
Congratulations! You have successfully learned how to set up and optimize your surround sound system for an immersive audio experience in your own home. By following the steps in this guide, you have taken the necessary measures to ensure that your system is properly positioned, connected, calibrated, and tested. Now, you can enjoy movies, music, and games with the rich and dynamic sound that a surround sound system provides.
Remember that every room is unique, and you may need to make adjustments to achieve the best sound quality for your specific space. Take the time to experiment with speaker placements, fine-tune the audio settings, and test different sources to find the optimal setup that suits your preferences and room acoustics.
It’s also important to keep in mind that technological advancements continue to evolve, and new features and capabilities may be available in newer models of surround sound receivers and speakers. Stay informed and explore further possibilities to enhance your audio experience even more.
Lastly, don’t hesitate to consult the user manuals or reach out to customer support if you encounter any issues or have specific questions about your equipment. They can provide further guidance and advice tailored to your specific system.
Now, sit back, relax, and immerse yourself in the incredible audio experiences that your newly set up surround sound system brings. Enjoy the sensation of being surrounded by sound and let your entertainment come to life in a whole new way. Happy listening!


