Introduction
Programming a Roku remote to control your soundbar can greatly enhance your entertainment experience. Instead of juggling multiple remotes, you can consolidate your control with just the Roku remote. Whether you want to adjust the volume, change audio settings, or enjoy surround sound, programming your Roku remote to a soundbar will make it a breeze.
In this article, we will guide you through the step-by-step process of programming your Roku remote to a soundbar. You don’t need to be a tech expert to follow along – we’ll break down the process into simple and easy-to-follow instructions.
Before we begin, make sure you have your Roku remote and your soundbar ready. It’s also helpful to have the soundbar’s setup code on hand, which we will explain how to find in the following steps.
So, if you’re ready to enhance your home entertainment system and streamline your remote control experience, let’s get started with programming your Roku remote to a soundbar.
Step 1: Gather the Required Materials
Before you can start programming your Roku remote to a soundbar, you must gather the necessary materials. Here’s what you’ll need:
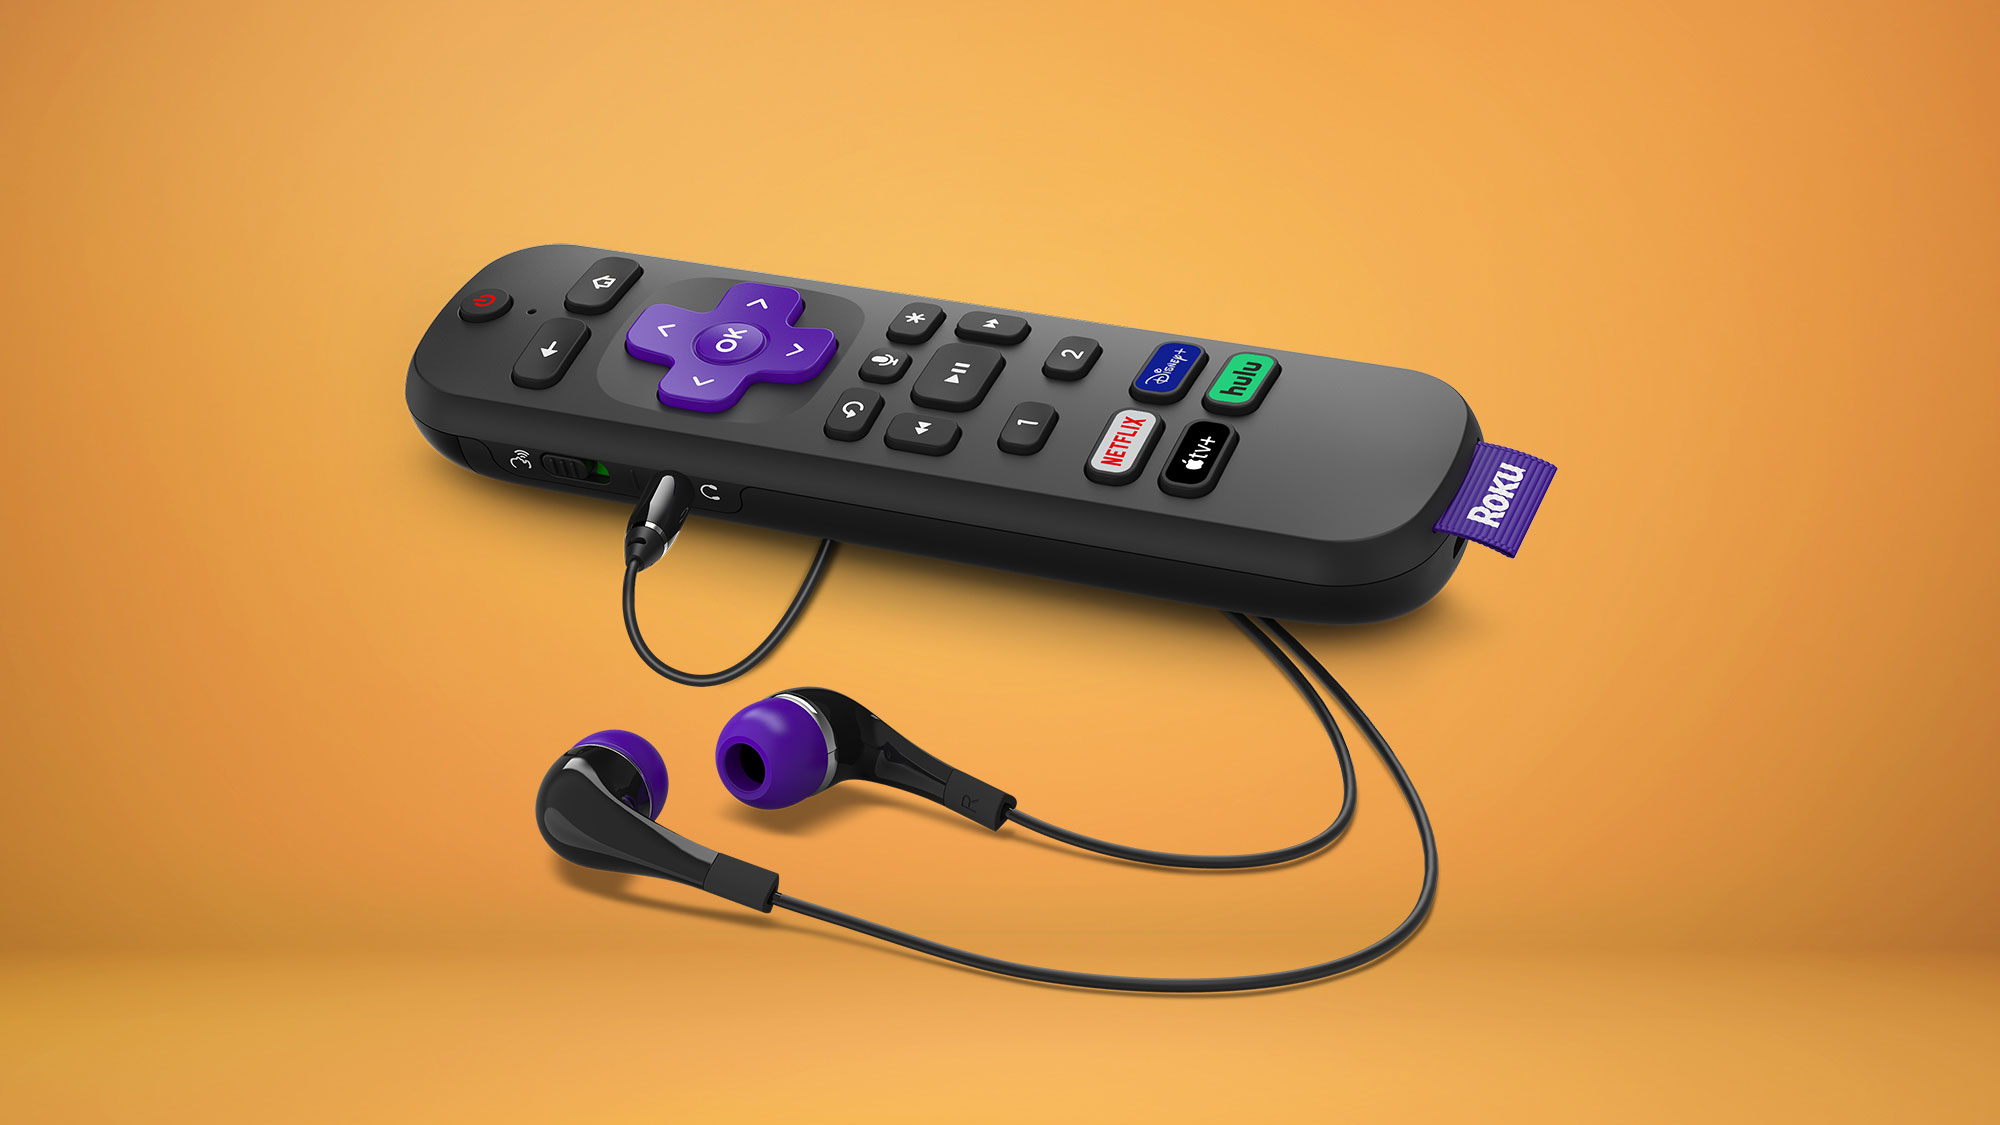
- A Roku remote – This is the main remote you use to control your Roku device.
- A compatible soundbar – Make sure your soundbar is compatible with Roku and can be programmed with a remote control.
- Power source – Ensure that both your Roku device and the soundbar are connected to a power source.
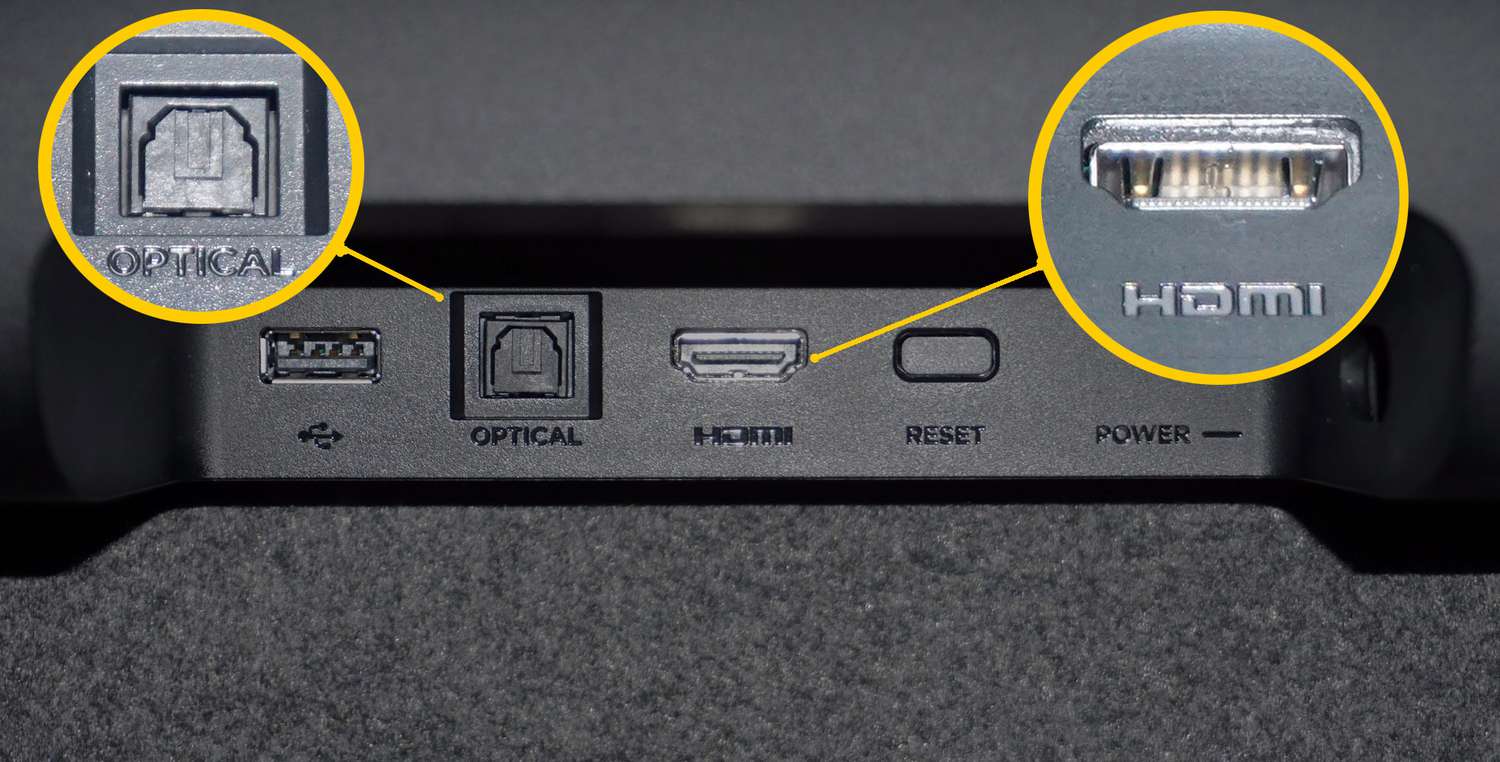
- An HDMI or optical cable – Depending on the type of connection your soundbar requires, have an HDMI or optical cable ready for setup.
- Patience and attention – Programming the Roku remote to a soundbar may require some troubleshooting and patience. So, be prepared to follow the steps diligently.
Once you have gathered all these materials, you’re ready to move on to the next step and find the setup code for your soundbar.
Step 2: Find the Soundbar’s Setup Code
In order to program your Roku remote to a soundbar, you’ll need to find the specific setup code for your soundbar model. This code allows the remote to recognize and communicate with the soundbar. Here’s how to find the setup code:
- Refer to the soundbar’s user manual – Check the user manual that came with your soundbar. It usually contains a list of setup codes for various TV and audio device brands. Look for the section that corresponds to programming a remote control.
- Online resources – If you don’t have the user manual or can’t find the setup codes, you can try searching online. Visit the manufacturer’s website or search for your soundbar model along with “Roku remote setup code” in a search engine. Many websites provide comprehensive lists of setup codes for different soundbars.
- Contact customer support – If you’re still unable to find the setup code, reach out to the soundbar manufacturer’s customer support. They will be able to provide you with the correct code or guide you through the setup process.
Once you have obtained the setup code for your soundbar, make sure to write it down or keep it handy. You’ll need it in the next step when programming your Roku remote.
Step 3: Enter the Setup Mode on the Roku Remote
Now that you have the setup code for your soundbar, it’s time to enter the setup mode on your Roku remote. This mode allows you to successfully program the remote to recognize and control the soundbar. Follow these steps:
- Turn on your TV and soundbar – Ensure that both your TV and soundbar are powered on and ready for setup.
- Press the Home button on your Roku remote – This will take you to the Roku home screen.
- Using the arrow keys, navigate to the Settings option – It is represented by a gear icon. Press the OK button to select it.
- In the Settings menu, scroll down and select Remote & devices – This option allows you to manage your remote settings.
- Choose the Remote option – This will lead you to the remote settings menu.
- Select the “Set up remote for TV control” option – This will launch the setup process for programming the Roku remote to control your soundbar.
- Follow the on-screen instructions – The Roku interface will guide you through the setup process. It may ask you to enter the setup code for your soundbar, so have it ready. The remote will attempt to connect to your soundbar and verify the setup code.
Once the setup process is complete, you can proceed to the next step to enter the setup code for your soundbar.
Step 4: Enter the Soundbar’s Setup Code
Now that you are in the setup mode on your Roku remote, it’s time to enter the setup code for your soundbar. This will enable the remote to establish a connection with the soundbar and control its functions. Follow these steps:
- Using the numerical keypad on the Roku remote, enter the setup code for your soundbar. Make sure to enter it correctly to ensure a successful connection.
- Once you have entered the setup code, press the OK or Enter button on the remote to validate it.
- The remote will now attempt to connect and communicate with your soundbar. It may take a few moments for the connection to be established.
- If the setup code was entered correctly, the Roku remote should now be able to control the basic functions of your soundbar, such as volume adjustment and power on/off.
It’s important to note that if the setup code is not accepted or the remote does not establish a connection with your soundbar, double-check the code and try again. In some cases, you may need to restart the setup process and re-enter the correct code.
Once the soundbar’s setup code has been successfully entered and the connection is established, you can proceed to the next step to test the soundbar control using your Roku remote.
Step 5: Test the Soundbar Control
Now that you have programmed your Roku remote with the soundbar’s setup code, it’s time to test the control to ensure that it works seamlessly. Testing the soundbar control will allow you to verify if the remote can accurately adjust the volume, power on/off the soundbar, and control other essential functions. Follow these steps to test the soundbar control:
- Ensure that your TV is on and set to the correct input source for your Roku device.
- Pick up your Roku remote and aim it towards the soundbar.
- Press the volume up or down button on the remote to adjust the soundbar’s volume. You should see the volume level on your TV screen change accordingly.
- Test the power button on the remote to turn the soundbar on and off. The power indicator on the soundbar should respond accordingly.
- If your soundbar has additional functions, such as sound modes or input selection, test those as well. Use the corresponding buttons on the remote and observe the changes on your TV or soundbar display.
- If all the functions are working correctly and you are able to control the soundbar effectively with the Roku remote, congratulations! You have successfully programmed your Roku remote to your soundbar.
If for some reason the control is not working as expected, double-check the setup code and ensure that the soundbar is within the line of sight of the remote. Additionally, check if there are any obstacles or interference causing issues with the remote signal.
By testing the soundbar control, you can ensure a seamless entertainment experience and enjoy the convenience of controlling your soundbar with a single remote.
Step 6: Program Additional Functions (Optional)
Once you have successfully programmed your Roku remote to control the basic functions of your soundbar, you may want to take advantage of additional features and functions that your soundbar offers. This step is optional but can enhance your audio experience and make your remote even more versatile. Here’s how you can program additional functions to your Roku remote:
- Refer to your soundbar’s user manual or online resources to identify the additional functions it offers, such as different sound modes, EQ settings, or input selection.
- On your Roku remote, go back to the Remote settings menu by navigating to Settings, Remote & devices, and then Remote. Select the “Set up remote for TV control” option.
- Follow the on-screen instructions to enter the setup code for your soundbar again. This will bring up a list of additional functions that can be programmed.
- Select the desired additional function that you want to program to your Roku remote. Use the instructions provided on the screen to program each function.
- You may need to follow a series of prompts, such as pressing specific buttons on the remote or following specific instructions on the TV screen.
- Once you have programmed the additional function, test it to ensure that it is working as expected. Use the corresponding button on the remote to activate the function and observe the changes on your TV or soundbar.
- Repeat the process for each additional function that you wish to program to your Roku remote.
Programming additional functions to your Roku remote allows you to have greater control over your soundbar and tailor your audio experience to your preferences. It can make it even more convenient to access different audio settings without needing to use multiple remotes.
Keep in mind that the availability and programming process of additional functions may vary based on your soundbar model and manufacturer. Refer to the user manual or contact customer support for specific instructions related to your soundbar.
Conclusion
Programming your Roku remote to control your soundbar is a simple and convenient way to streamline your entertainment experience. By following the step-by-step process outlined in this guide, you can easily program your Roku remote to adjust the volume, power on/off, and even access additional functions of your soundbar.
Remember to gather all the required materials before you begin, such as your Roku remote, a compatible soundbar, and the soundbar’s setup code. Take your time to find the correct setup code through the user manual, online resources, or by contacting customer support if needed.
Once you have the setup code, enter the setup mode on your Roku remote and input the code to establish a connection with your soundbar. Test the control by adjusting the volume, powering on/off the soundbar, and exploring any additional functions at your disposal.
If you desire even more control, you can optionally program additional functions to your Roku remote by following the instructions provided by your soundbar’s manufacturer.
With your Roku remote now programmed to your soundbar, you can enjoy a more cohesive and streamlined entertainment setup. Say goodbye to the hassle of juggling multiple remotes and welcome the convenience of controlling your soundbar with just one remote!
Remember, troubleshooting and patience may be required during the setup process. If you encounter any difficulties, consult the user manual, contact customer support, or seek assistance from online resources to ensure a successful programming experience.
Now, sit back, relax, and enjoy your favorite movies, TV shows, and music with the simplicity and ease of controlling your soundbar using your Roku remote!