Introduction
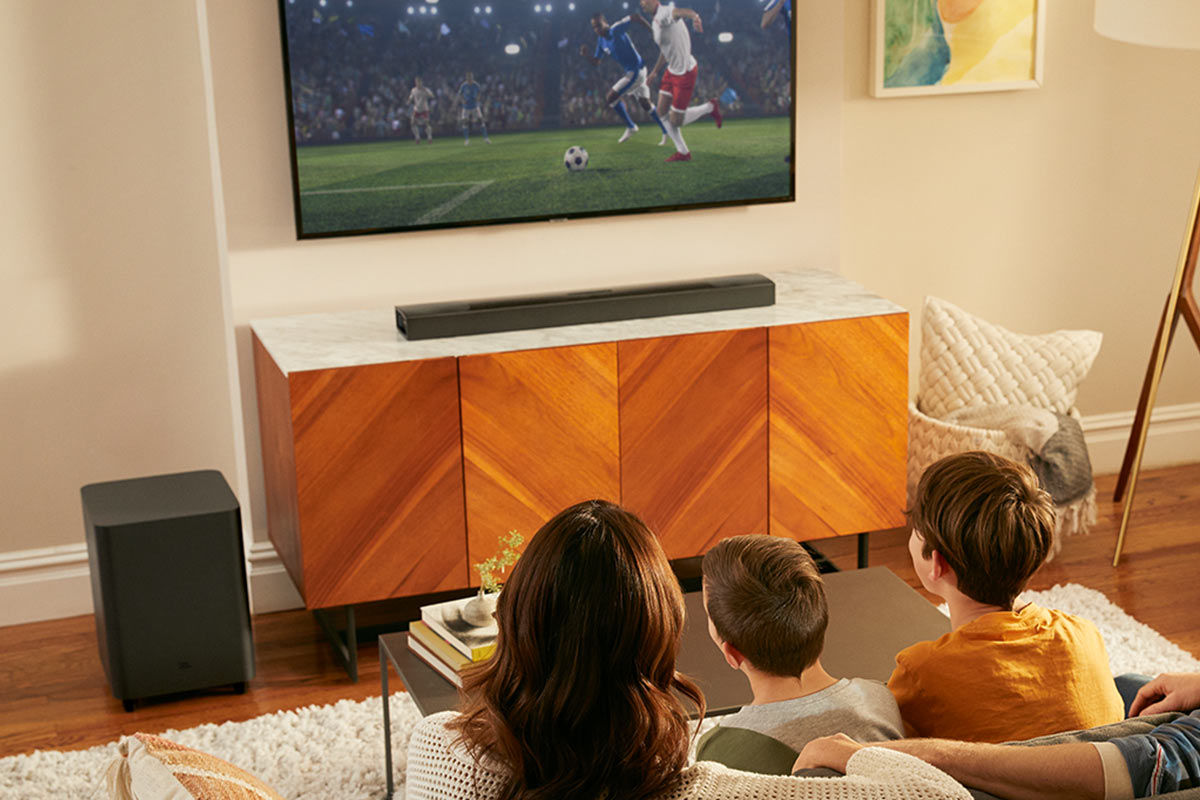
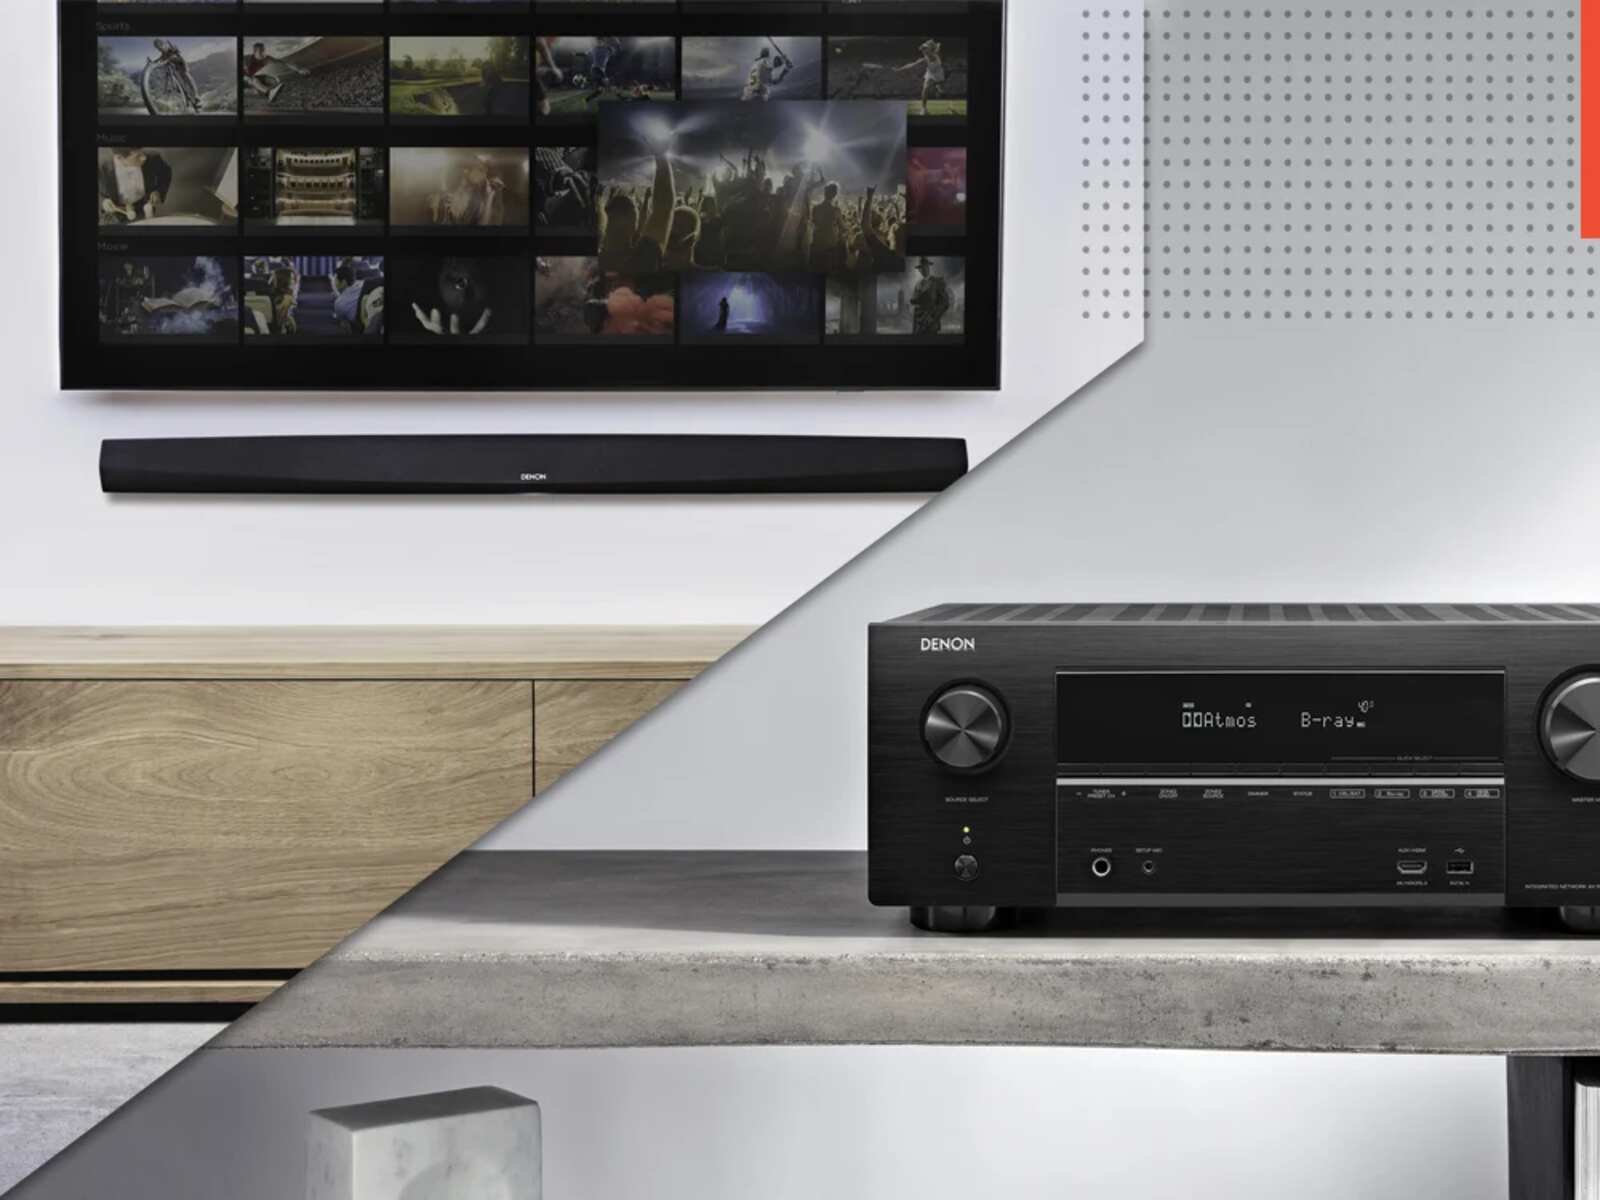
Are you looking to enhance your audio experience by connecting a soundbar to your receiver? A soundbar is a popular audio accessory that can drastically improve the sound quality of your home entertainment system. By connecting it to your receiver, you can enjoy immersive and cinematic sound while watching movies or listening to music.
In this article, we will guide you through the process of hooking up a soundbar to a receiver. Whether you have just purchased a new soundbar or want to make the most of your existing receiver, this step-by-step guide will help you achieve the desired setup. We will cover everything from checking compatibility to adjusting audio settings, ensuring that you have a seamless experience from start to finish.
Before we dive into the steps, it is important to note that the specific process may vary slightly depending on the make and model of your soundbar and receiver. However, the general principles discussed here will apply to most setups, making it easy for you to follow along.
So, if you’re ready to elevate your audio game and enjoy crisp, powerful sound, let’s jump into the steps required to connect your soundbar to a receiver.
Step 1: Check the Soundbar and Receiver Compatibility
Before you begin the setup process, it’s essential to ensure that your soundbar and receiver are compatible with each other. Checking compatibility will help you avoid any frustrations or compatibility issues down the line.
First, you need to identify the inputs and outputs available on your soundbar and receiver. Most soundbars and receivers come with multiple input options, including HDMI, optical, and auxiliary. Take note of the available input ports on both devices.
Next, refer to the user manuals or specifications of your soundbar and receiver to verify if they support compatible audio formats and connections. Make sure that your soundbar supports the same audio formats as your receiver to ensure seamless audio transmission.
It’s also important to check if there are any specific requirements regarding the use of adapters or additional cables. Some soundbars or receivers may require specific adapters to connect certain types of audio cables. Ensure that you have the necessary adapters or cables on hand to proceed with the setup smoothly.
Lastly, consider the power requirements of your soundbar and receiver. Ensure that you have enough power outlets available near your setup area to connect both devices. If your soundbar is powered separately, make sure to connect it to a power source as well.
By taking the time to check the compatibility between your soundbar and receiver, you can avoid any unexpected surprises during the setup process. Once you’ve confirmed that both devices are compatible, you’re ready to move on to the next step and start the connection process.
Step 2: Locate the Audio Output on the Receiver
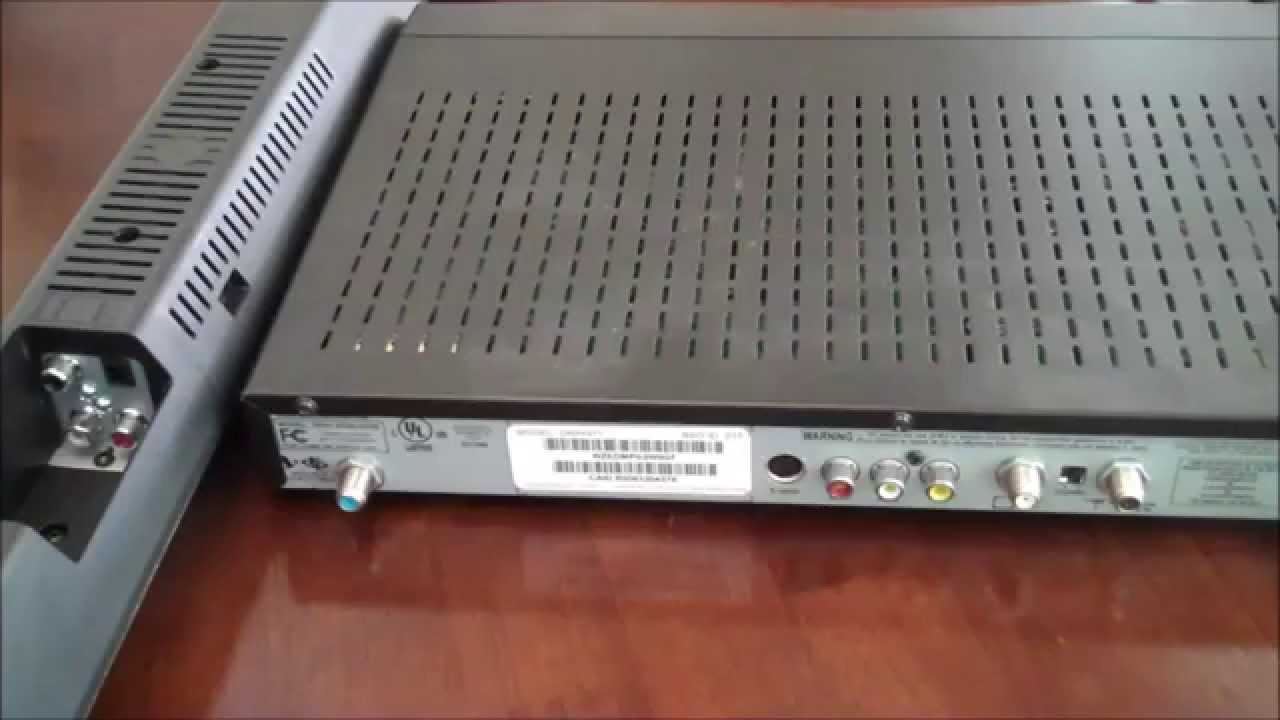
In order to connect your soundbar to the receiver, you need to find the audio output on your receiver. The location of the audio output may vary depending on the model and brand of your receiver, but it is typically labeled “Audio Out” or “Output.”
Start by locating the back panel of your receiver, where you’ll find a variety of ports and connectors. Look for the section that is specifically designated for audio outputs. Common types of audio output connectors include HDMI, optical (TOSLINK), and RCA.
If your receiver has multiple output options, such as HDMI and optical, choose the one that best suits your setup and preference. HDMI is a popular choice as it supports both audio and video transmission in a single cable. Optical connections, on the other hand, provide high-quality audio but do not carry video signals.
When you have identified the audio output port on your receiver, take note of its specific type and label. This information will be useful in the next step when you connect the soundbar to the receiver using the appropriate cables.
Additionally, make sure to inspect the condition of the audio output and clean the port if necessary. Dust or debris can affect the quality of the audio signal, so it’s important to ensure a clean and secure connection.
Now that you have located the audio output on your receiver, you are ready to proceed to the next step and connect your soundbar using the appropriate cables.
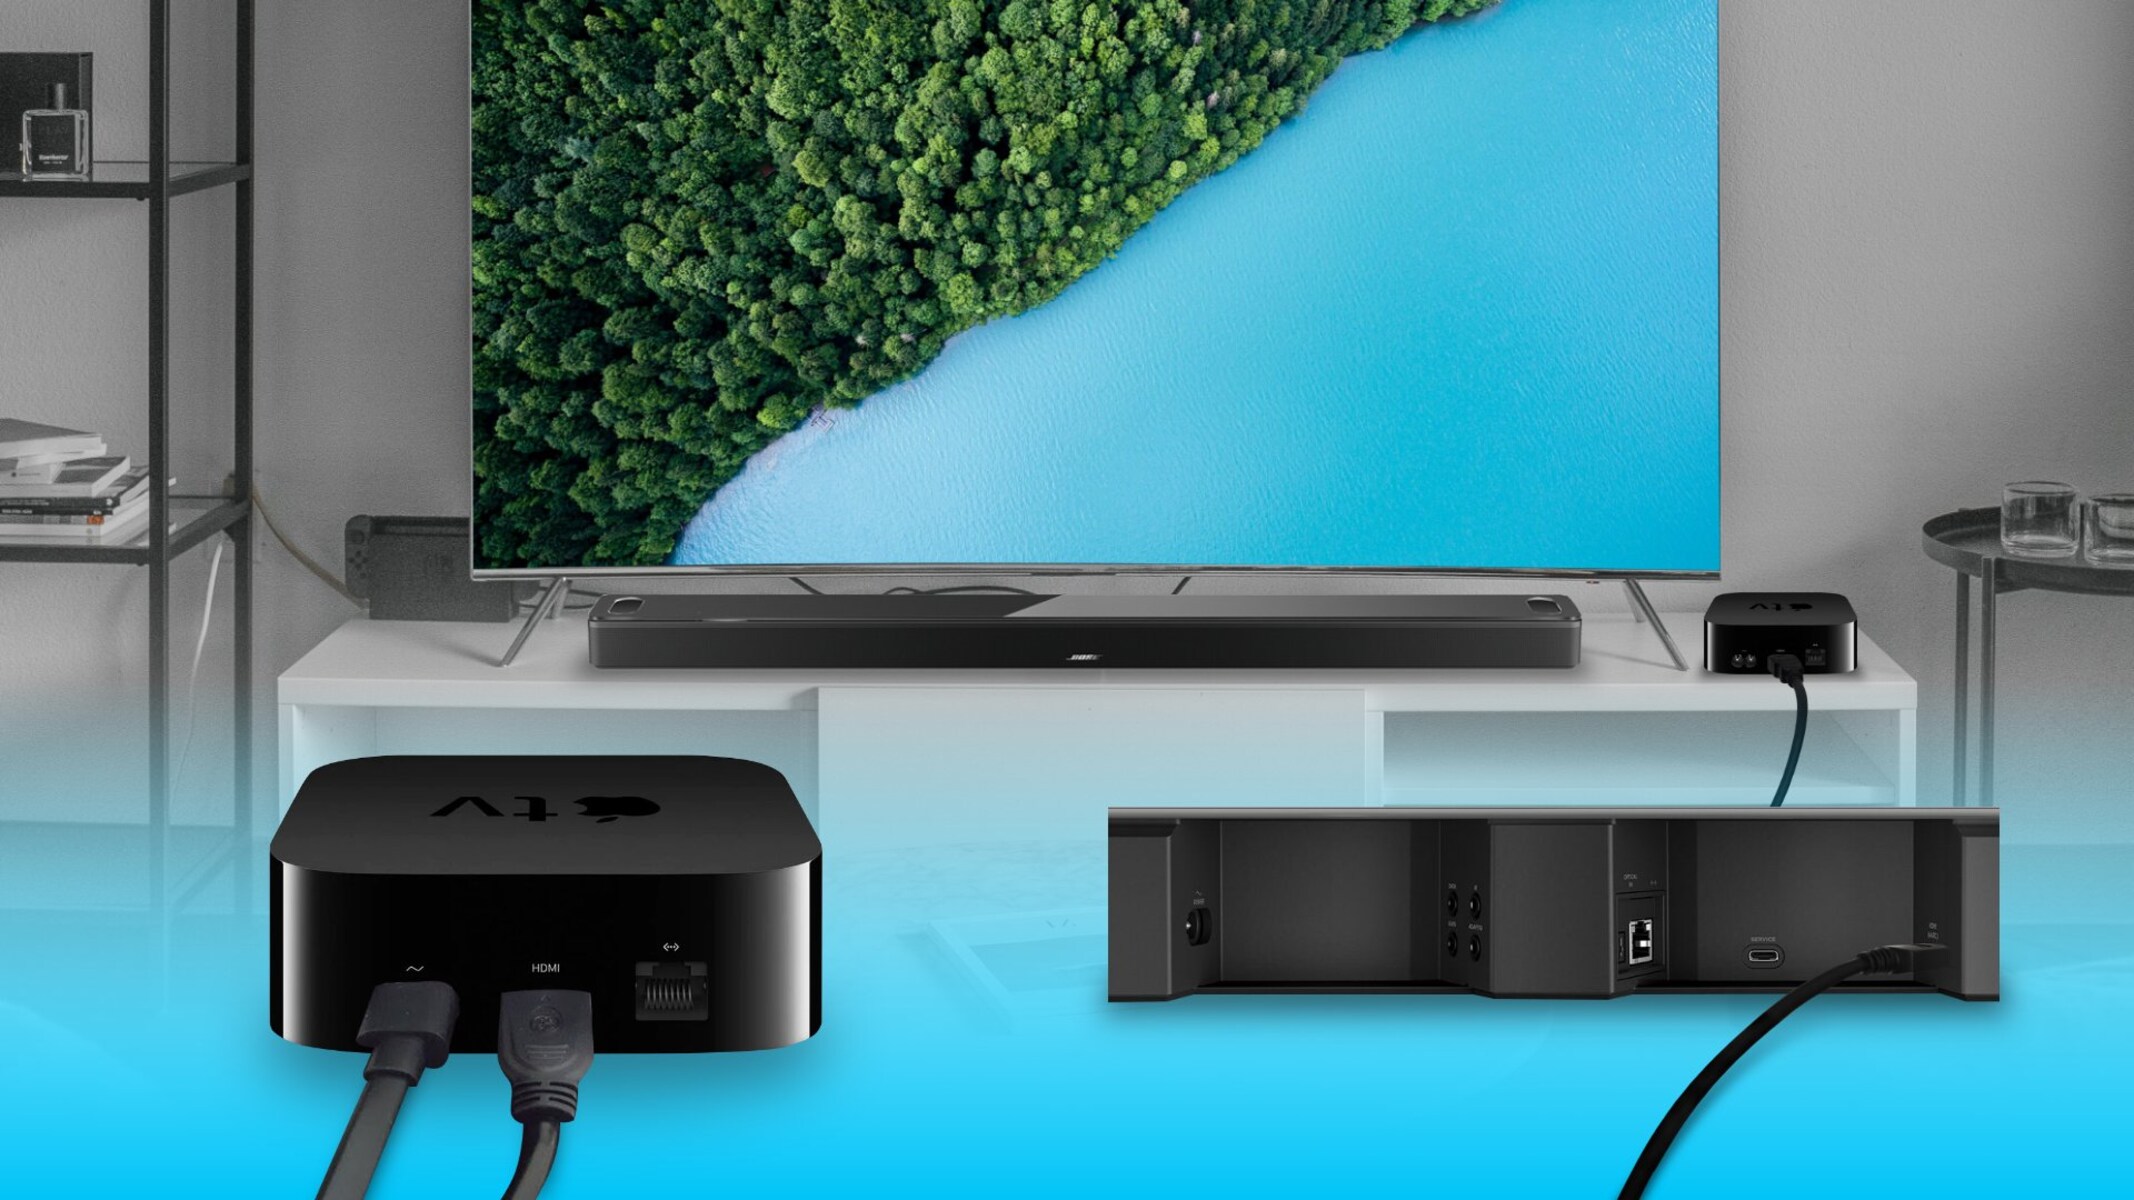
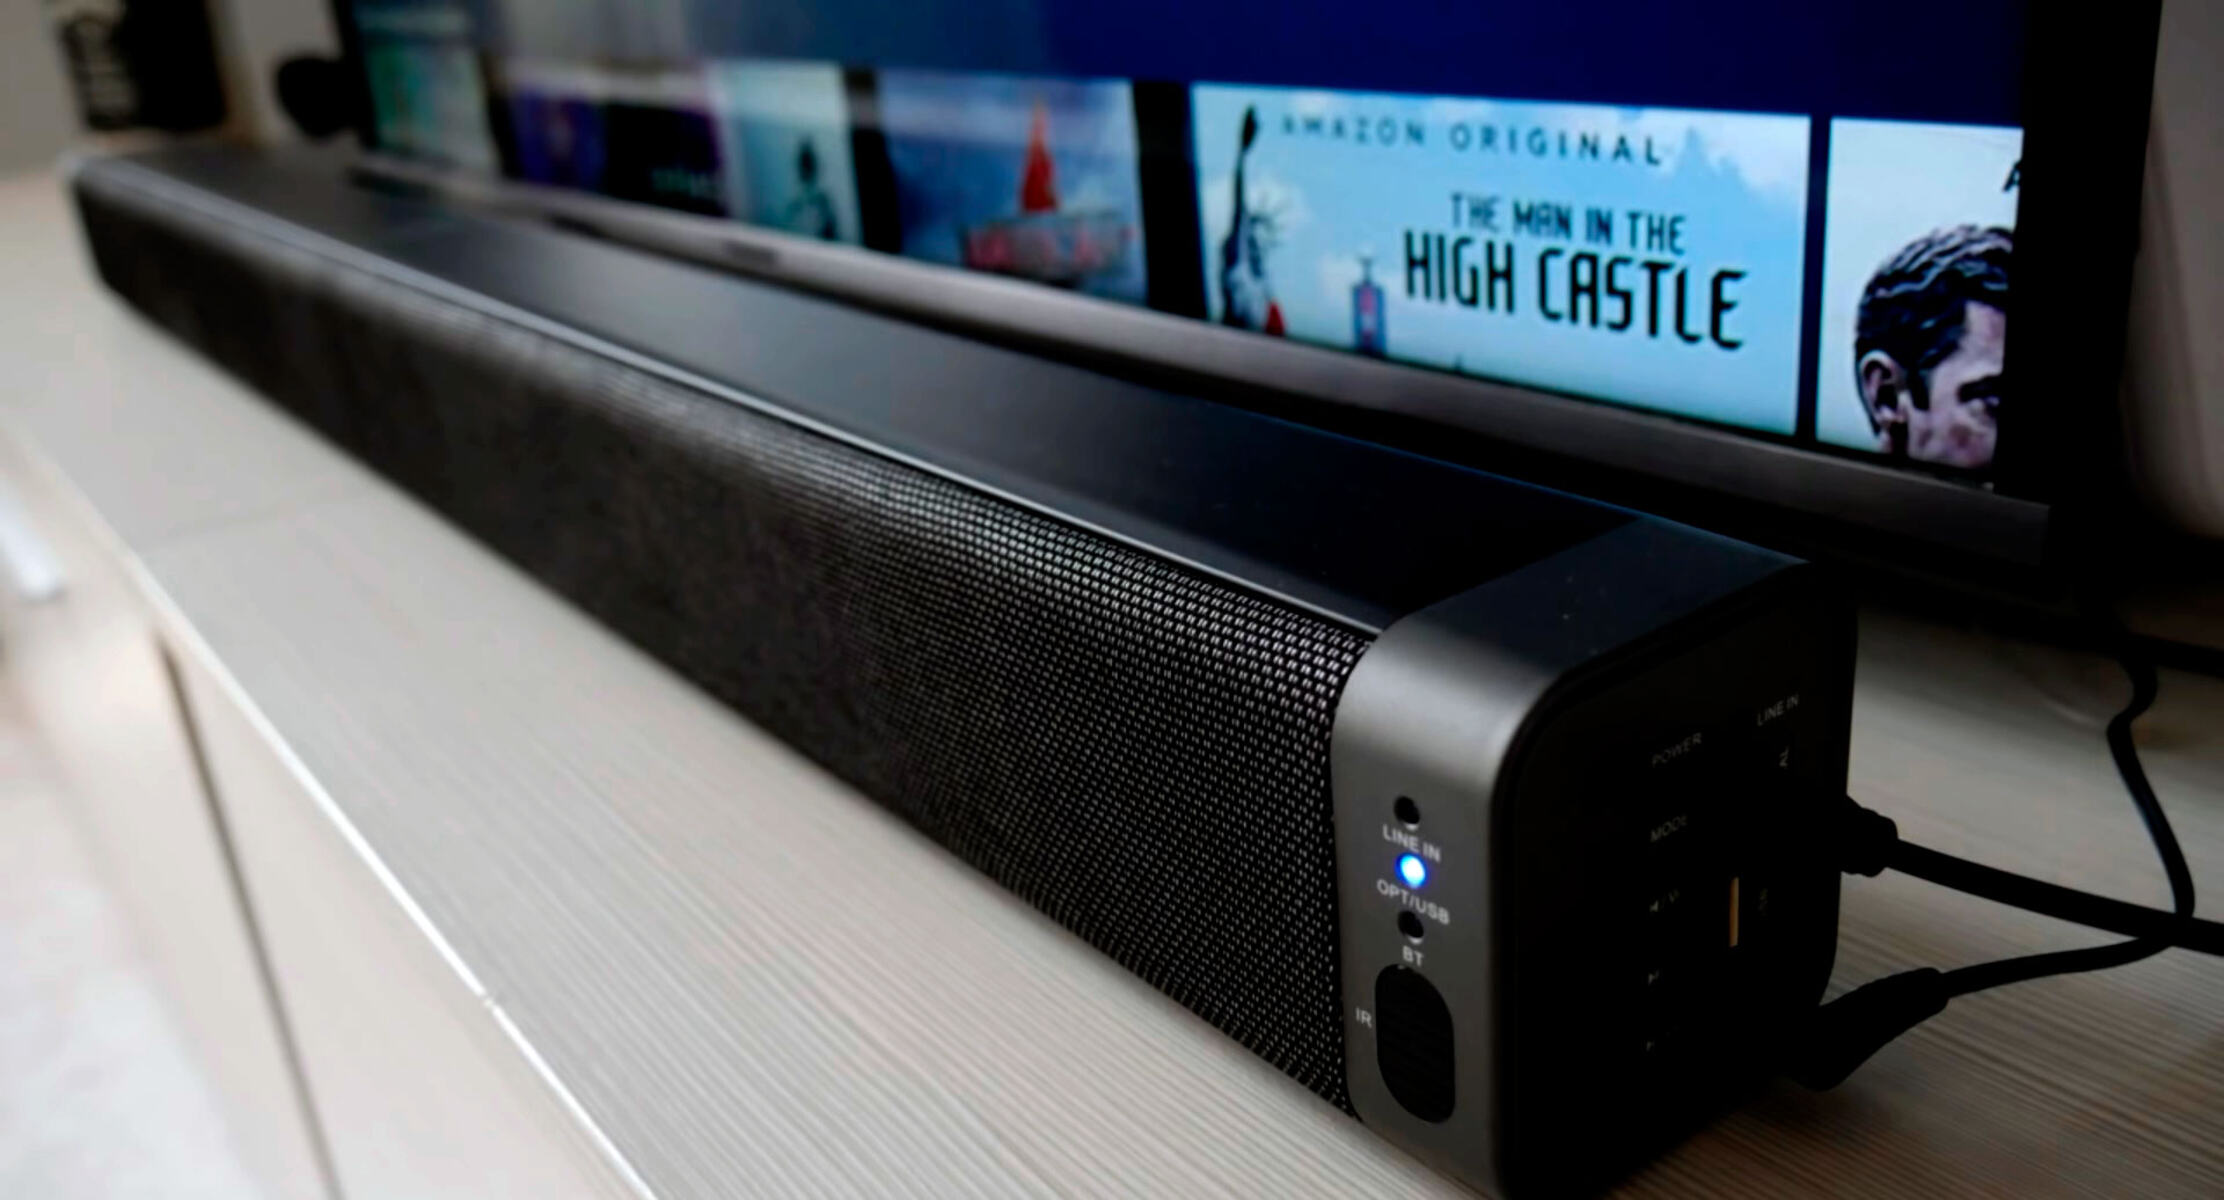
Step 3: Connect the Soundbar to the Receiver using an HDMI Cable
Now that you have located the audio output on your receiver, it’s time to connect your soundbar using an HDMI cable. HDMI cables are capable of transmitting high-quality audio and video signals, making them an ideal choice for connecting your soundbar to the receiver.
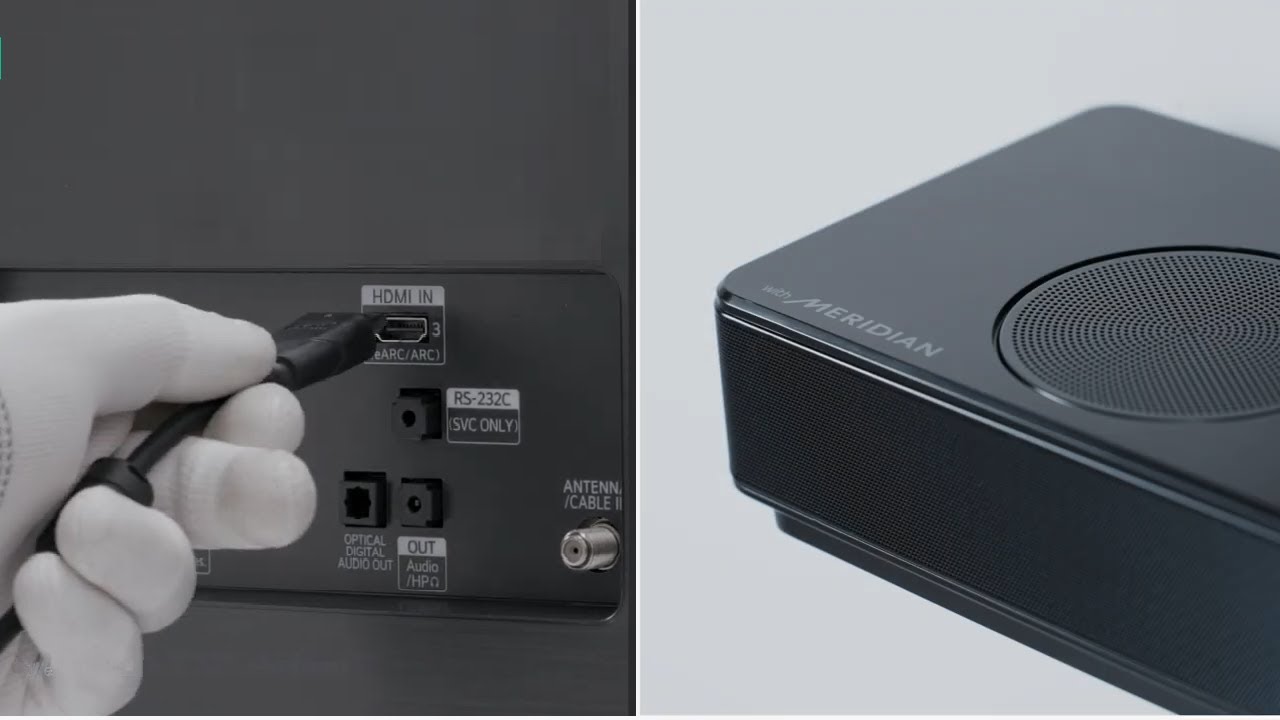
Start by identifying the HDMI input port on your soundbar. It is usually labeled as “HDMI In” or “Input.” Take note of its location and label for easy reference during the setup process.
Next, connect one end of the HDMI cable to the HDMI output on your receiver. This port is typically labeled as “HDMI Out” or “Output.” Ensure that the cable is securely plugged into the port to establish a stable connection.
Once you have connected the HDMI cable to the receiver, connect the other end to the HDMI input port on your soundbar. Make sure to insert it firmly and securely to ensure a stable connection.
If your soundbar has multiple HDMI inputs, use the one that corresponds to the HDMI output port on your receiver. This way, the audio signal from the receiver will be transmitted to the correct input on your soundbar for optimal performance.
It’s important to note that some soundbars may have additional HDMI ports labeled “HDMI Out” or “ARC.” This stands for Audio Return Channel and allows the soundbar to receive audio signals from the TV through the HDMI cable. If your soundbar has this feature, you can connect your TV to your soundbar using the HDMI ARC port to enjoy audio from external devices connected to your TV.
Once the HDMI cable is properly connected between the soundbar and receiver, you will have a seamless audio connection ready to deliver enhanced sound quality to your home entertainment system.
Step 4: Adjust the Audio Settings on the Receiver
After you have connected the soundbar to the receiver, it’s important to adjust the audio settings on the receiver to ensure optimal sound performance. These settings will allow you to fine-tune the audio output according to your preferences and the capabilities of your soundbar.
Start by turning on the receiver and accessing the audio settings menu. The exact process for accessing the audio settings may vary depending on the brand and model of your receiver. Refer to the receiver’s user manual if you’re unsure how to access this menu.
Within the audio settings menu, look for options related to audio output and sound modes. Here are some key settings you may want to adjust:
- Audio Output Format: Select the audio output format that is supported by both your receiver and soundbar. Common options include stereo, Dolby Digital, DTS, and surround sound formats.
- Speaker Configuration: Specify the speaker configuration to ensure that the audio is correctly distributed between your soundbar and other speakers in your setup.
- Audio Delay: Adjust the audio delay settings if you notice any synchronization issues between the audio and video on your TV. This can help to ensure that the sound is perfectly synced with the visuals.
- Sound Modes: Explore the available sound modes on your receiver, such as movie mode, music mode, or surround sound mode. These modes can enhance the audio experience based on the content you’re watching or listening to.
- Volume Levels: Adjust the volume levels to achieve a balanced sound output and avoid any distortion or clipping that may occur at higher volume levels.
Take your time to experiment with different settings to find the best configuration that suits your listening preferences. Don’t hesitate to refer to the receiver’s user manual or the manufacturer’s website for more detailed information on the audio settings available on your specific model.
Once you have made the desired adjustments to the audio settings, save the changes and exit the audio settings menu. Your receiver is now ready to deliver immersive sound through your connected soundbar.
Step 5: Test the Soundbar and Receiver Connection
With the soundbar and receiver connected and the audio settings adjusted, it’s time to test the connection and ensure that everything is working as expected. By conducting a simple test, you can confirm that the soundbar is receiving audio signals from the receiver and that the audio output is crisp and clear.
Start by playing a familiar audio or video content on your receiver. This can be a movie, a TV show, or your favorite piece of music. Make sure that the volume on both the receiver and the soundbar is set to an audible level.
As the content is playing, pay close attention to the sound coming from the soundbar. Listen for any distortions, echoes, or uneven volume levels. If you notice any abnormalities, double-check the cable connections and the audio settings on both the receiver and the soundbar.
While testing, you can also take advantage of different audio modes available on your soundbar or receiver to assess how they impact the sound quality. Experiment with various modes and find the setting that best suits your listening preferences and the specific content you’re enjoying.
Additionally, if you have a surround sound system connected to your receiver, ensure that the sound is properly distributed across all speakers, including the soundbar. This will create a more immersive audio experience.
If the test results in satisfactory sound quality with no issues, congratulations! You have successfully hooked up your soundbar to the receiver and are ready to enjoy enhanced audio for all your entertainment needs.
However, if you encounter any ongoing problems or audio-related issues, it may be helpful to consult the user manuals for both the soundbar and the receiver or reach out to their respective customer support teams for further assistance in troubleshooting the problem.
Remember, each soundbar and receiver setup may have unique considerations, so as always, refer to the specific documentation and guidelines provided by the manufacturers to ensure an optimal audio setup and enjoy the best possible sound experience.
Conclusion
Congratulations on successfully connecting your soundbar to your receiver! By following the step-by-step guide outlined in this article, you are now able to enjoy immersive and high-quality sound for your home entertainment system.
We started by checking the compatibility of your soundbar and receiver to ensure a seamless connection. Then, we located the audio output on the receiver and connected the soundbar using an HDMI cable. After that, we adjusted the audio settings on the receiver to optimize the sound output. Finally, we tested the soundbar and receiver connection to ensure everything was working correctly.
Remember, the specific steps may vary depending on the make and model of your devices, so always refer to the user manuals for detailed instructions.
Now that you have successfully hooked up your soundbar to your receiver, it’s time to sit back, relax, and enjoy a truly immersive audio experience. Whether you’re watching movies, playing games, or listening to your favorite music, the enhanced sound quality provided by the soundbar will elevate your entertainment to a whole new level.
If you have any further questions or encounter any issues, don’t hesitate to consult the user manuals or reach out to the customer support teams of your soundbar and receiver. They will be more than happy to assist you in troubleshooting and ensuring that you have the best audio setup possible.
Thank you for choosing our guide, and we hope you enjoy your enhanced sound experience with your newly connected soundbar and receiver!