Introduction
Welcome to this step-by-step guide on how to connect your surround sound system to your TV digital box using HDMI. If you’re looking to enhance your home theater experience and enjoy immersive audio, connecting your surround sound system to your TV is a crucial step. By using HDMI, you can achieve high-quality audio transmission and ensure a seamless connection between your devices.
Having a surround sound system allows you to enjoy movies, TV shows, and games with exceptional audio clarity and depth. The surround sound system creates a multi-dimensional soundscape that brings your entertainment to life, making you feel like you’re right in the middle of the action.
In this guide, we will walk you through the process of connecting your surround sound system to your TV digital box using an HDMI cable. We will outline each step to ensure that you can easily follow along, even if you’re not experienced with audio or video equipment.
Before we begin, it’s important to note that different TV models and digital boxes may have slightly different configurations and options. However, the overall process remains similar. We will provide general instructions that should be applicable to most setups. If you come across any variations, consult the user manuals of your specific devices.
Now, let’s get started on connecting your surround sound system to your TV digital box using HDMI!
Step 1: Gather the necessary equipment
Before you begin connecting your surround sound system to your TV digital box, it’s important to gather all the necessary equipment. Here’s a list of what you’ll need:
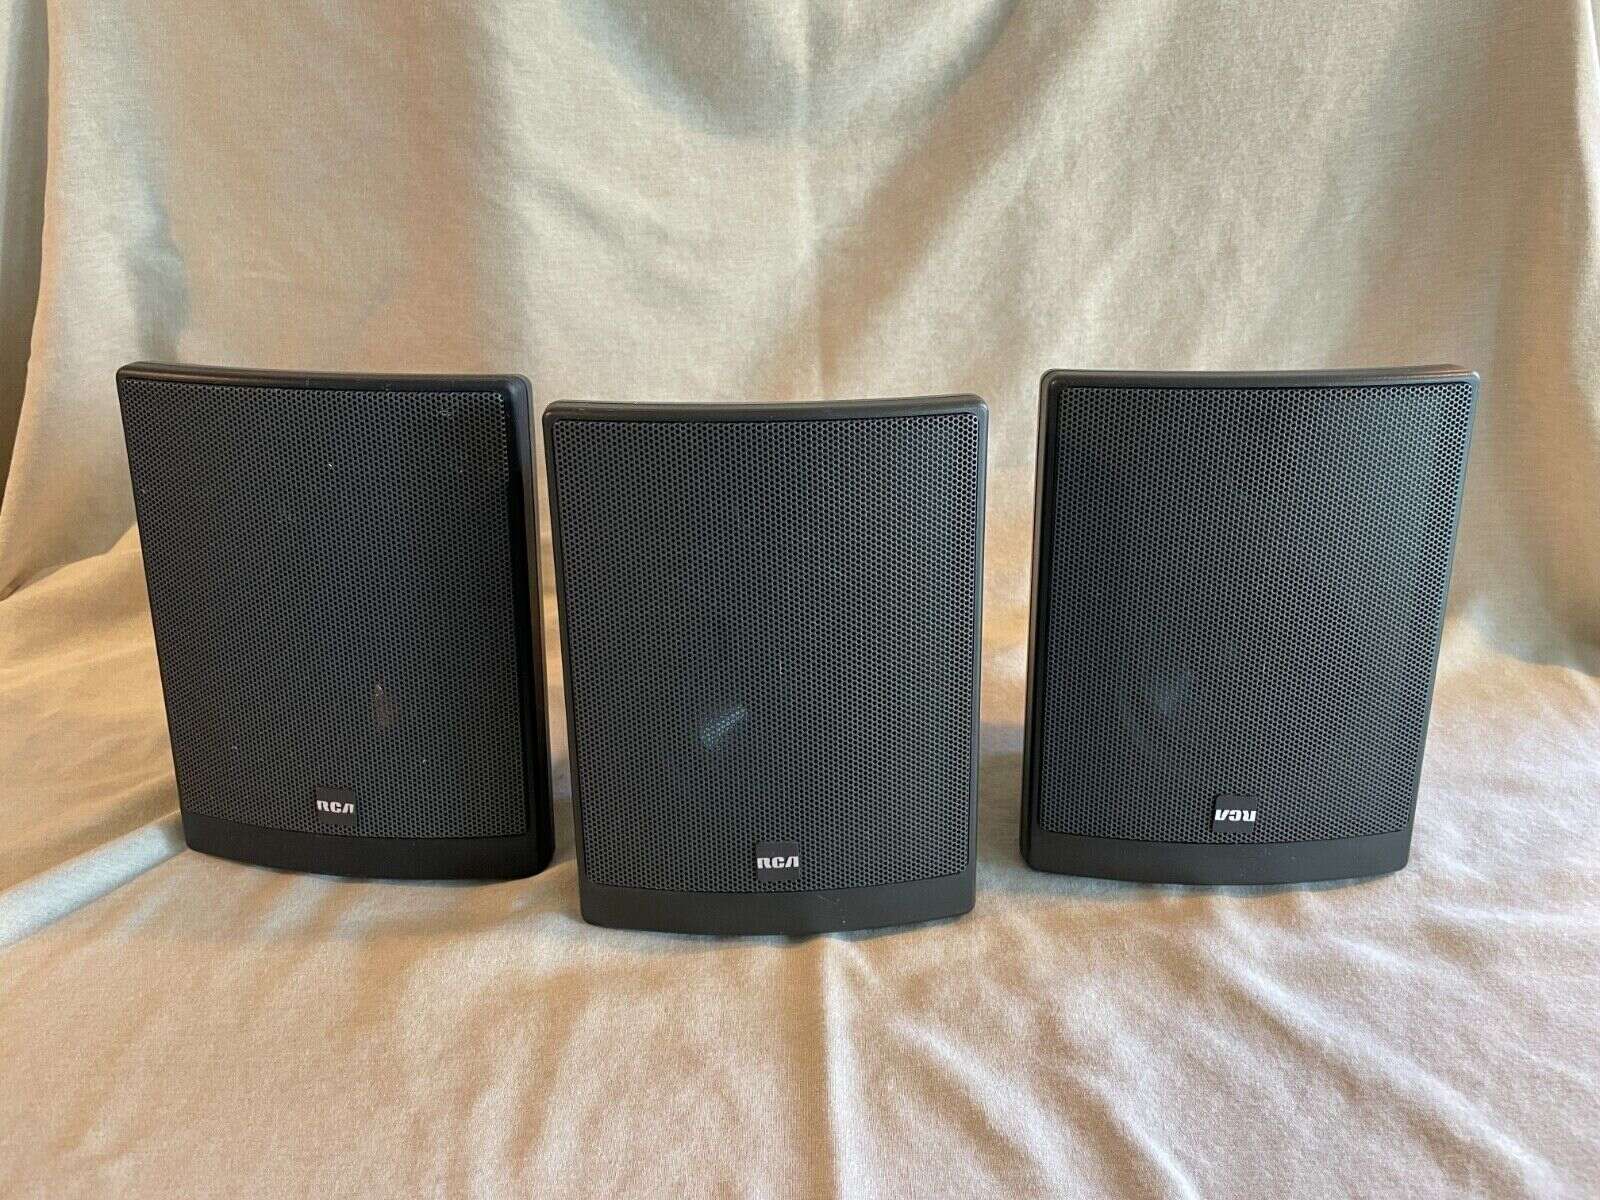
- A surround sound system: This includes a receiver and multiple speakers to create a surround sound experience. Make sure your system has HDMI ports for audio input and output.
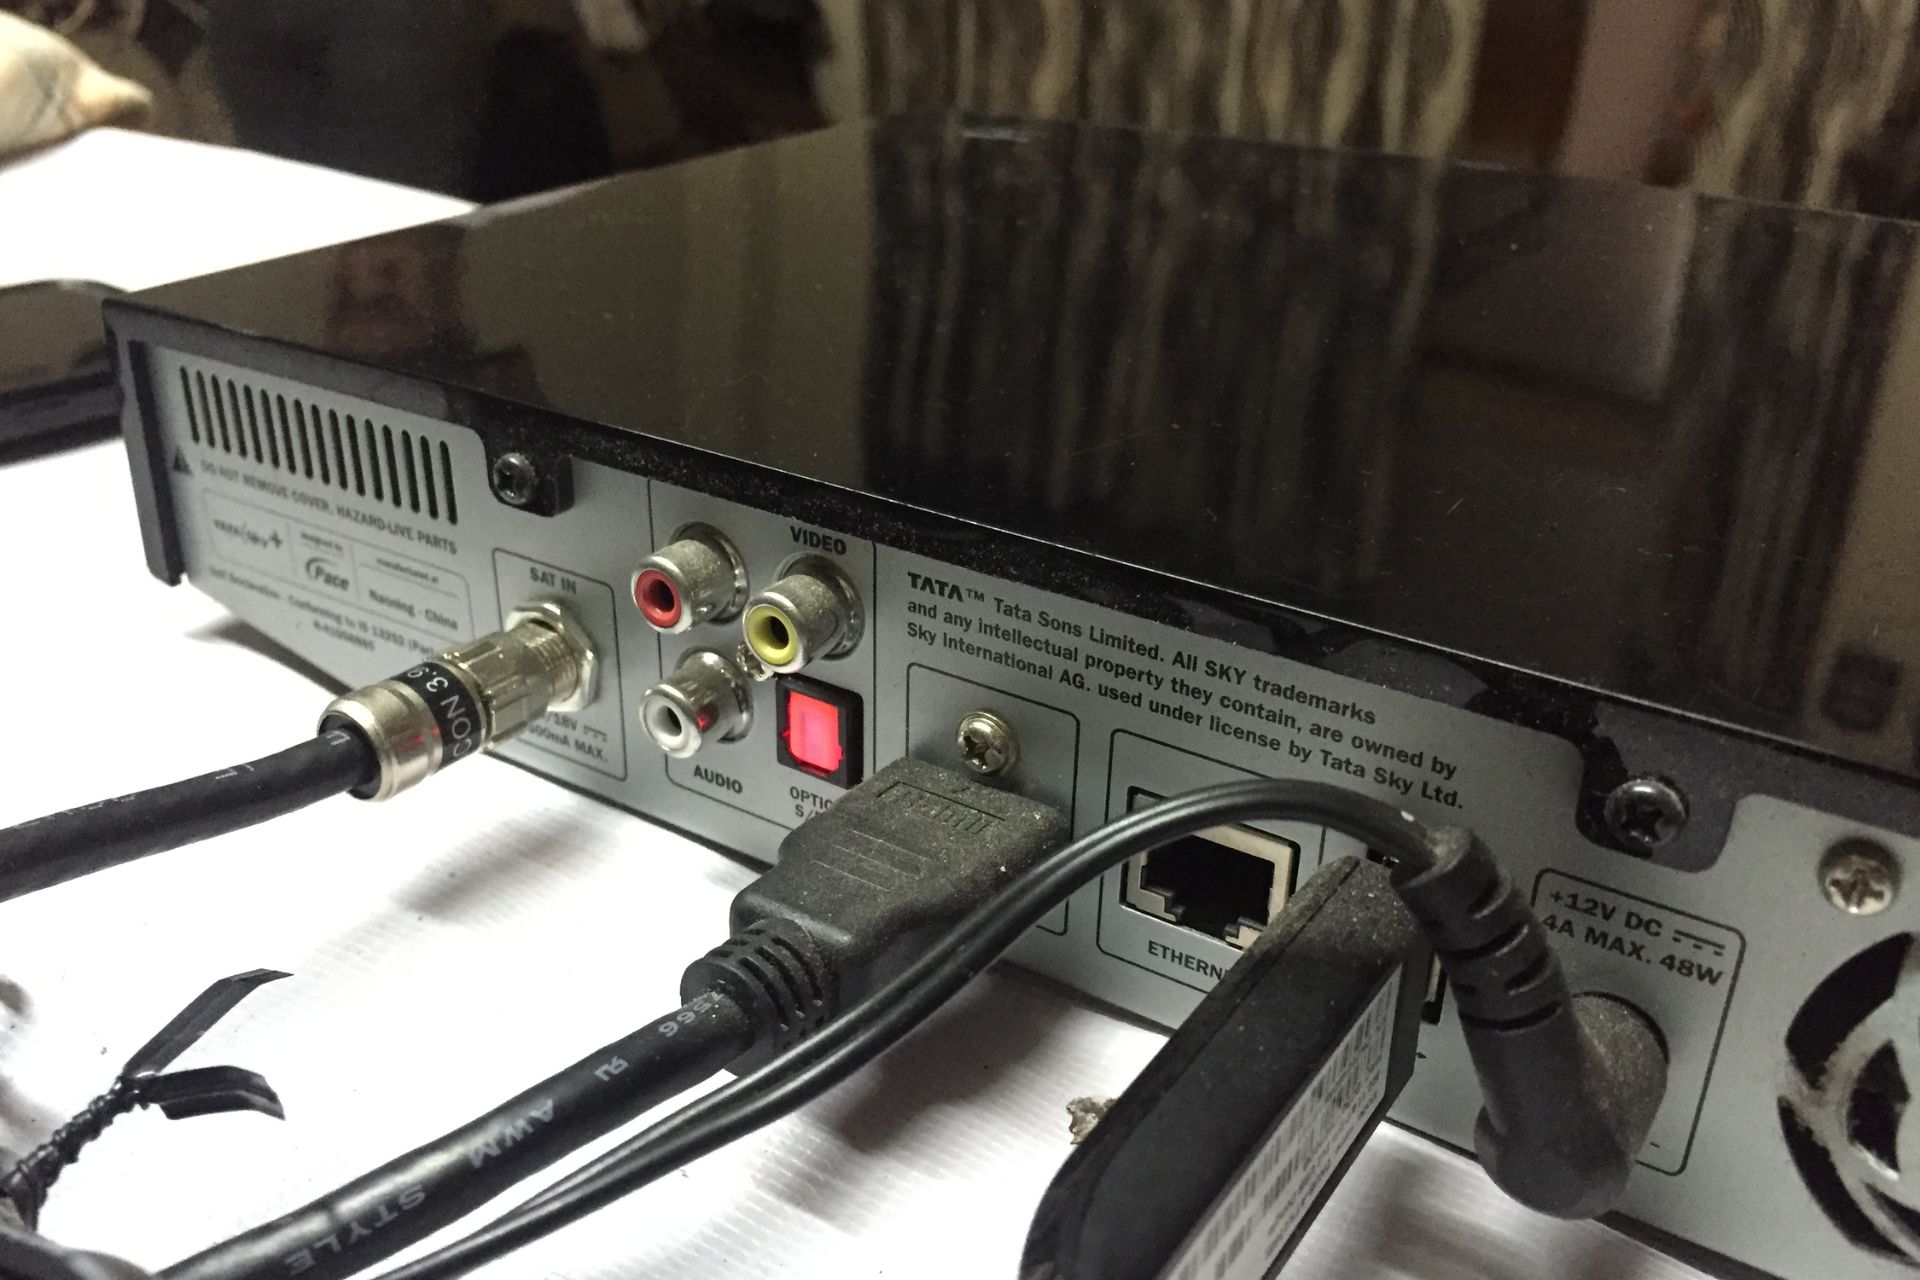
- A TV digital box: This is the device that receives and decodes digital television signals. It connects to your TV and provides access to digital channels and streaming services.
- An HDMI cable: You’ll need an HDMI cable to establish the connection between your TV digital box and surround sound system. Ensure that you have an HDMI cable with sufficient length to reach between the two devices.
- Power cables: Make sure you have all the necessary power cables for your TV, digital box, and surround sound system.
- An HDMI splitter (optional): If your TV has limited HDMI ports and you want to connect additional devices, consider getting an HDMI splitter to expand the number of available ports.
Once you have gathered these items, ensure that they are in good working condition. Check the cables for any damages or frayed ends, as this can affect the quality of the audio and video signals. If there are any issues, consider replacing faulty cables before proceeding with the setup.
In addition to the equipment mentioned above, you may also need basic tools such as a screwdriver or pliers to make any necessary adjustments or connections to the devices. Refer to the user manuals of your surround sound system and TV digital box for specific requirements and recommendations.
Now that you have everything you need, it’s time to move on to the next step: powering off all devices.
Step 2: Power off all devices
Before you start connecting the cables, it’s crucial to power off all the devices involved in the setup. This ensures that you can make the connections safely and prevents any potential damage to the equipment.
Start by turning off your TV, surround sound system, and digital box using their respective power buttons or remote controls. Wait for a few seconds to make sure that they are fully powered down. It is important to disconnect the power supply to avoid any electrical mishaps while making the connections.
While you’re at it, double-check that any other related devices, such as gaming consoles or DVD players, are also switched off. This will help avoid any interference during the setup process.
Once all the devices are powered off, take a moment to mentally prepare for the next steps. It’s a good time to review the user manuals and reference guides for your specific devices. Familiarize yourself with the different connectivity options and understand any specific requirements or limitations.
Remember, safety should always be your top priority when dealing with electronic devices and cables. Never attempt to make connections while the devices are powered on, as this can result in damage to the equipment or electric shock.
Now that you have ensured that all devices in the setup are powered off, you’re ready to move on to the next step: connecting the HDMI cable.
Step 3: Connect the HDMI cable
Now that all devices are powered off, it’s time to connect the HDMI cable between your surround sound system and TV digital box.
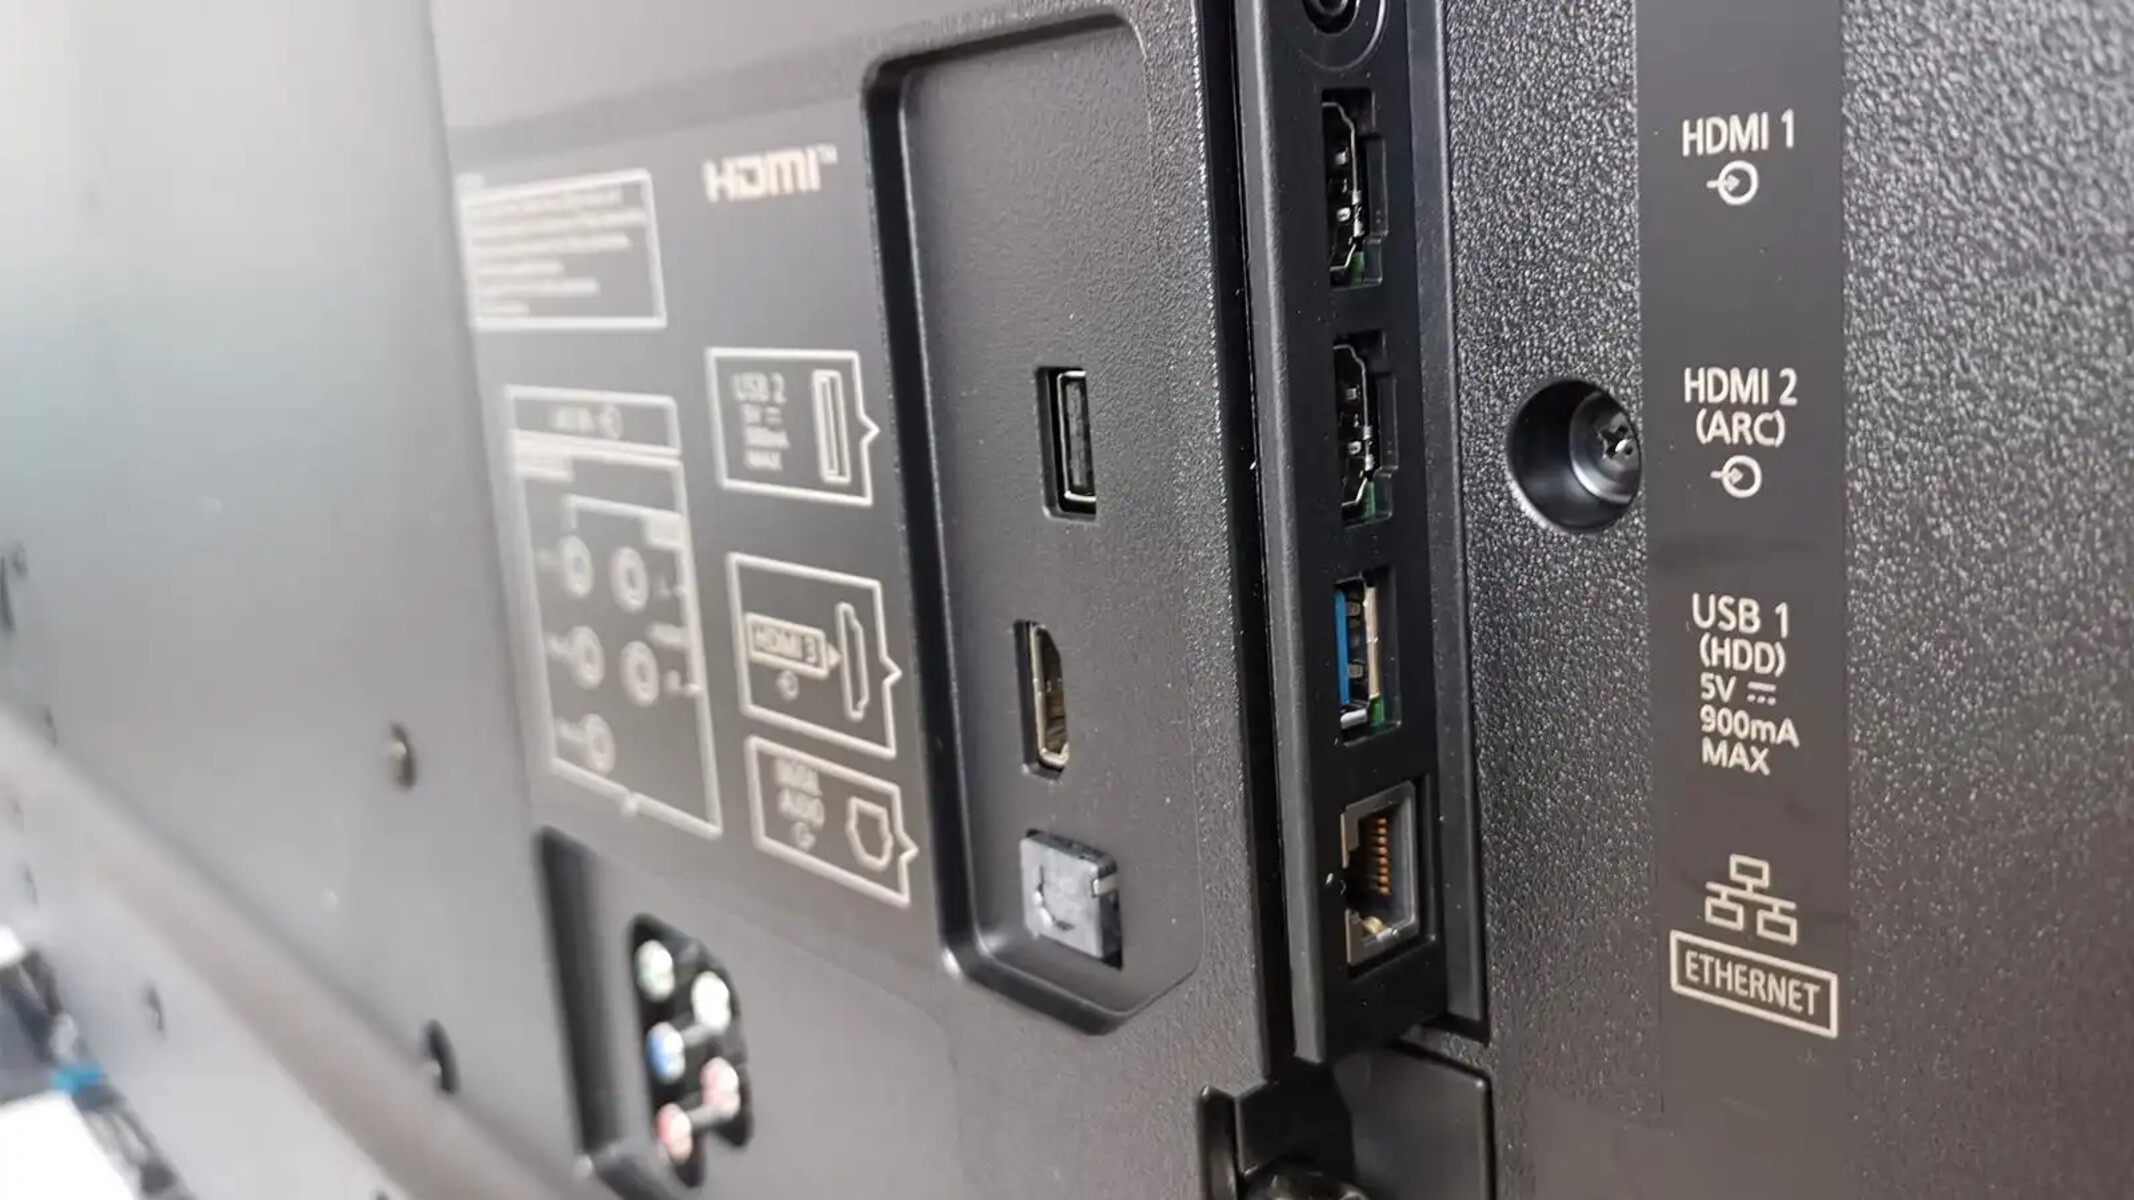
Locate the HDMI ports on both the surround sound system and the TV digital box. They are usually labeled as “HDMI In” or “HDMI Out.” Depending on your devices, you may have multiple HDMI ports to choose from. Consult the user manuals if you’re unsure about the exact location of the ports.
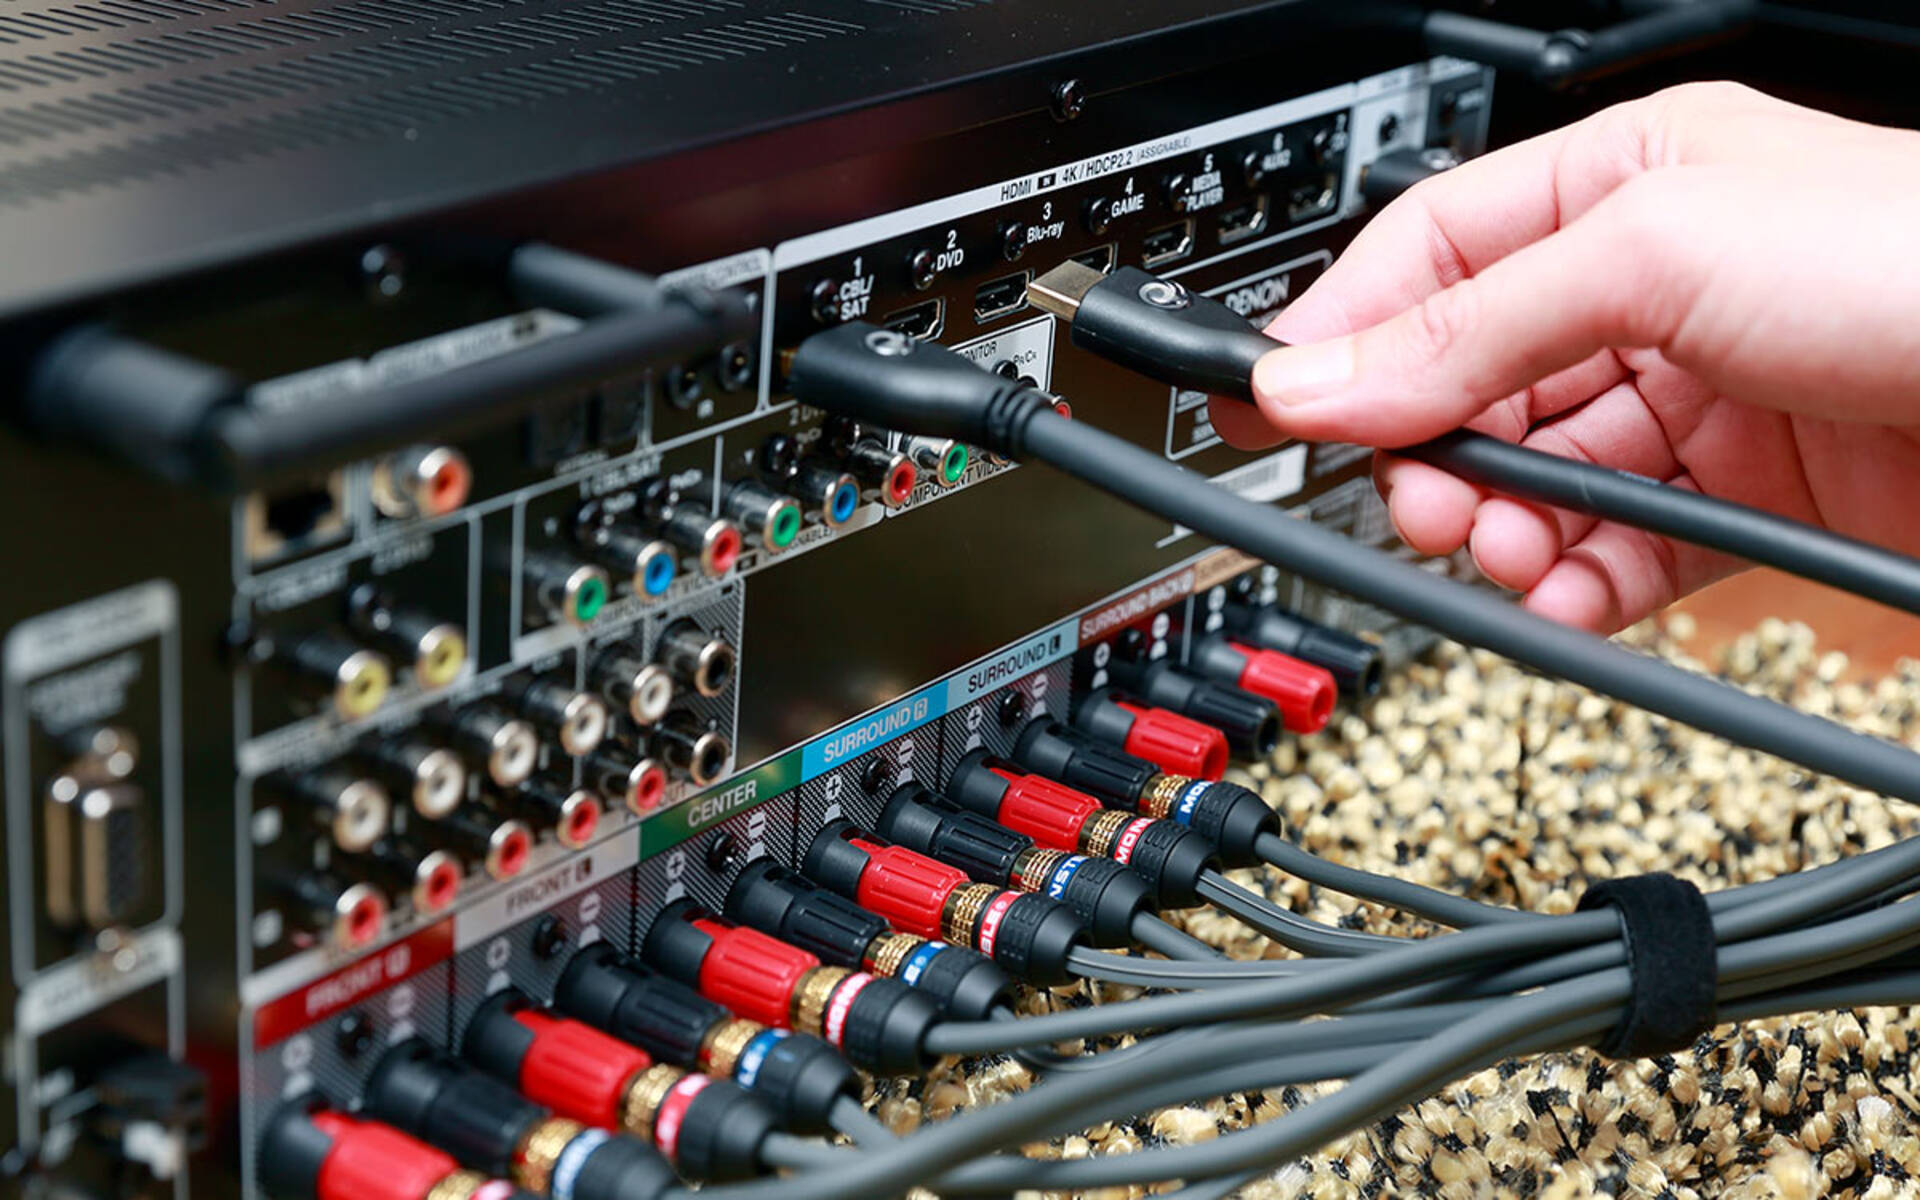
Take one end of the HDMI cable and plug it into the HDMI output port on your TV digital box. Make sure it is securely connected. Then, take the other end of the HDMI cable and insert it into the HDMI input port on your surround sound system.
Ensure that the HDMI cable is firmly inserted into each device. It should fit snugly and not be loose. An improper connection may result in audio or video issues.
If you’re using an HDMI splitter to connect additional devices, such as a gaming console or Blu-ray player, connect the HDMI cable from those devices to the splitter’s input ports. Then, connect the output port of the splitter to an available HDMI input port on your surround sound system.
Once all the HDMI connections are made, take a moment to check that everything is properly aligned and connected. Avoid excessive pulling or bending of the HDMI cable, as this can cause damage.
Remember, HDMI cables transmit both audio and video signals, so a single cable connection is sufficient for most setups. This eliminates the need for separate audio cables, simplifying the overall setup process.
Now that you have successfully connected the HDMI cable, it’s time to move on to the next step: powering on the TV and digital box.
Step 4: Power on the TV and digital box
With the HDMI cable properly connected, it’s time to power on your TV and digital box to establish the connection and ensure everything works seamlessly.
Start by locating the power buttons on your TV and digital box. These buttons are usually located on the front or side of the devices. Press the power button on your TV to turn it on. Wait for a few seconds for the TV to boot up and display the home screen.
Next, locate the power button on your digital box and press it to turn the device on. It may take a few moments for the digital box to initialize and establish a connection with the TV.
During the boot-up process, you may see a loading screen or a logo display on your TV. This is normal and indicates that the devices are powering on and establishing a connection.
Once both the TV and digital box are powered on, use the TV remote control to navigate to the input/source selection menu. This menu allows you to choose the HDMI input that is connected to your surround sound system. Select the corresponding HDMI input to ensure that the audio and video signals from the digital box are being received by the surround sound system.
After selecting the correct HDMI input, you may see the digital box’s interface on your TV screen. This indicates that the connection is successful and that the audio and video signals are being transmitted correctly.
Now, take a moment to adjust the volume settings on your TV to an appropriate level. This ensures that when you test your surround sound system in the next step, you can properly evaluate the audio quality and volume.
With the TV and digital box powered on and the HDMI input selected, you’re ready to proceed to the next step: configuring the audio settings.
Step 5: Configure the audio settings
Now that your TV and digital box are powered on and connected, it’s time to configure the audio settings to ensure that the surround sound system is properly recognized and utilized.
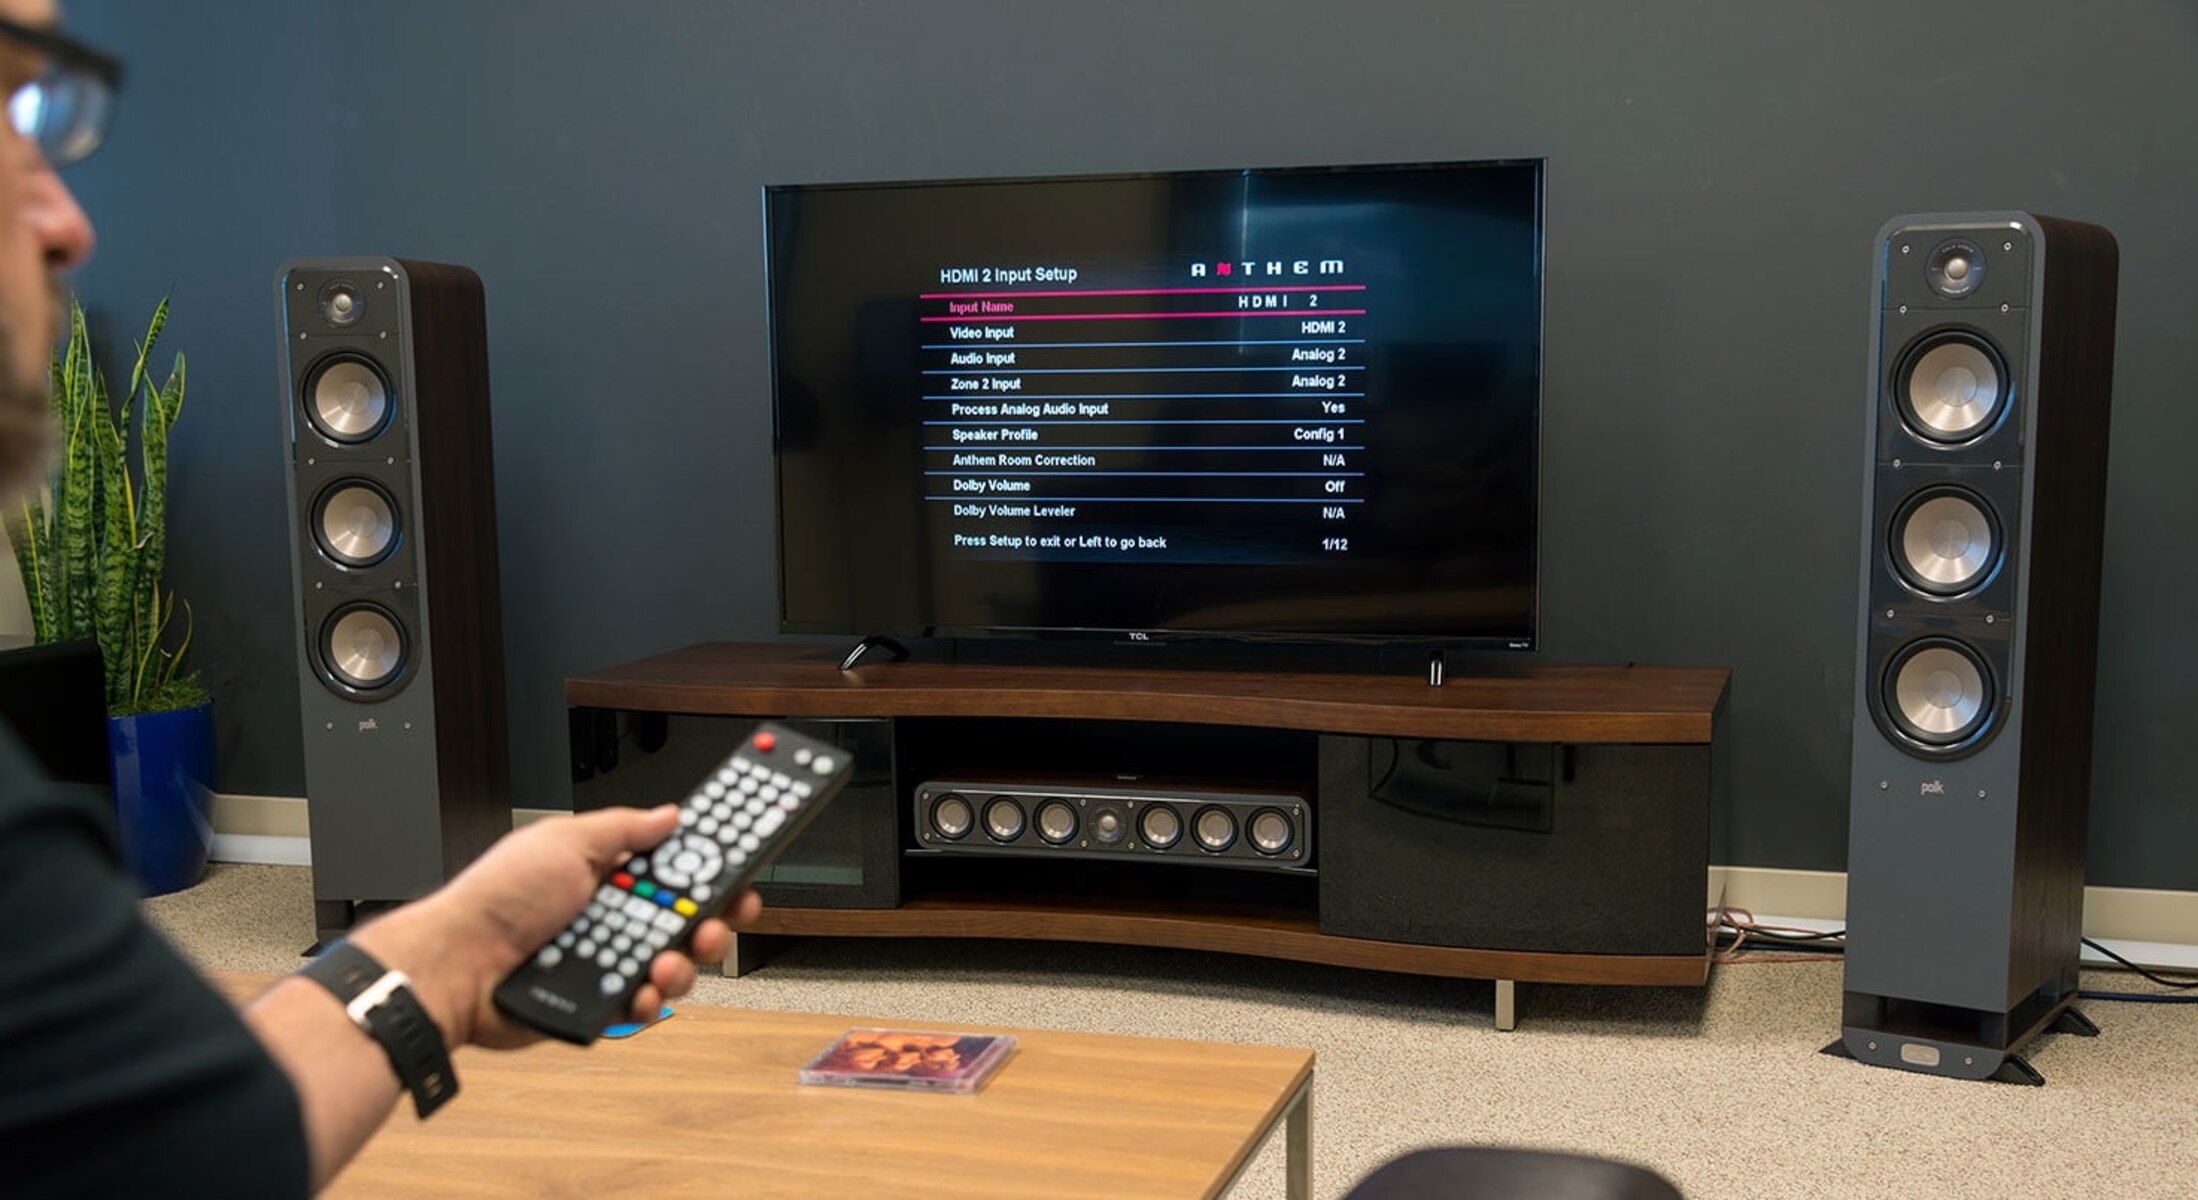
Using your TV remote control, navigate to the settings menu or options menu on your TV. Look for the audio or sound settings. The exact location of these settings may vary depending on your TV model.
In the audio settings, locate the audio output or audio format options. Here, you may find different audio output options such as PCM, Bitstream, or Dolby Digital. Choose the option that supports your surround sound system’s capabilities. It’s recommended to select the Bitstream or Dolby Digital option for optimal audio quality.
Additionally, ensure that the audio output setting is set to HDMI or HDMI ARC. This ensures that the audio signals are transmitted through the HDMI cable to your surround sound system.
Save and apply the audio settings on your TV. These settings may take a moment to take effect, so be patient.
Next, using the remote control of your surround sound system, navigate to the audio or input settings on the receiver. Look for the input source selection and select the HDMI input that is connected to your TV digital box.
Now it’s time to configure the audio settings on your surround sound system. Depending on your system, you may have various options such as speaker configuration, audio modes, or equalizer settings. Follow the instructions in your surround sound system’s manual to adjust the settings to your preference.
One important setting to check is the speaker configuration. Ensure that the surround sound speakers are properly set up and calibrated. This may involve adjusting the speaker levels, speaker distances, crossover frequencies, or other specific settings relevant to your system.
Once you have configured the audio settings on both your TV and surround sound system, it’s time to test the system to ensure everything is functioning correctly.
Now that you have successfully configured the audio settings, you’re ready to move on to the next step: testing the surround sound system.
Step 6: Test the surround sound system
With the audio settings configured, it’s time to test your newly connected surround sound system to ensure that all the speakers are working correctly and that you’re getting the desired audio experience.
Start by playing a piece of media that supports surround sound, such as a Blu-ray disc, a streaming service with surround sound content, or a video game known for its immersive audio.
Once the media is playing, pay close attention to the sound coming from each of the surround sound speakers. You should hear distinct audio coming from the front, rear, and center speakers, as well as any additional surround or subwoofer speakers you may have.
If you notice any issues like low volume, poor sound quality, or missing audio from specific speakers, check the connections and audio settings again to ensure everything is properly set up.
Additionally, listen for any audio delays or sync issues between the video on your TV screen and the audio from the surround sound system. If you experience any sync problems, you may need to adjust the audio delay settings on your surround sound system. Refer to the user manual for guidance on making these adjustments.
During the testing process, you may want to make further adjustments to the audio settings on your surround sound system. You can experiment with different audio modes or equalizer configurations to find the sound profile that suits your preferences.
Remember to test different types of media, including movies, TV shows, and music, to thoroughly evaluate the performance of your surround sound system.
If you’re satisfied with the results, congratulations! You have successfully connected and tested your surround sound system to your TV digital box using HDMI. Enjoy your enhanced audio experience and immerse yourself in the world of high-quality sound.
If you encounter any persistent issues or have difficulty achieving the desired audio quality, consult the user manuals of your specific devices or consider seeking assistance from a professional audio technician.
Now that you have tested your surround sound system, you’re ready to sit back, relax, and enjoy your favorite movies, TV shows, and games with the immersive audio experience that a surround sound system provides.
Conclusion
Connecting your surround sound system to your TV digital box using HDMI can greatly enhance your audio experience and bring your entertainment to life. By following the step-by-step guide outlined in this article, you can easily set up and enjoy the immersive sound quality that a surround sound system offers.
Throughout the process, it’s important to gather all the necessary equipment, power off all devices, and make secure connections using an HDMI cable. Configuring the audio settings on both your TV and surround sound system ensures that the audio signals are correctly transmitted and optimized for your system.
After completing the setup, it’s crucial to test your surround sound system by playing media that supports surround sound. This allows you to ensure that all the speakers are functioning correctly and that you’re getting the desired audio experience.
If you encounter any issues during the setup or testing process, consult the user manuals of your specific devices or seek assistance from a professional audio technician. They can provide further guidance and troubleshooting solutions tailored to your setup.
Now that you have successfully connected and tested your surround sound system, it’s time to sit back, relax, and enjoy an immersive audio experience while watching your favorite movies, TV shows, and games.
Remember to periodically check and update the firmware or software of your devices to ensure continued compatibility and performance. And most importantly, have fun and immerse yourself in the world of rich and enveloping sound!