To set up a 7.2 surround sound system, you must physically place seven speakers and two subwoofers in a specific layout, connect them to an AV receiver, and then calibrate the system using the receiver's room correction software. This guide provides the exact, verified placement coordinates and connection steps to achieve an immersive home theater sound bubble.
Understand Your 7.2 Speaker Layout
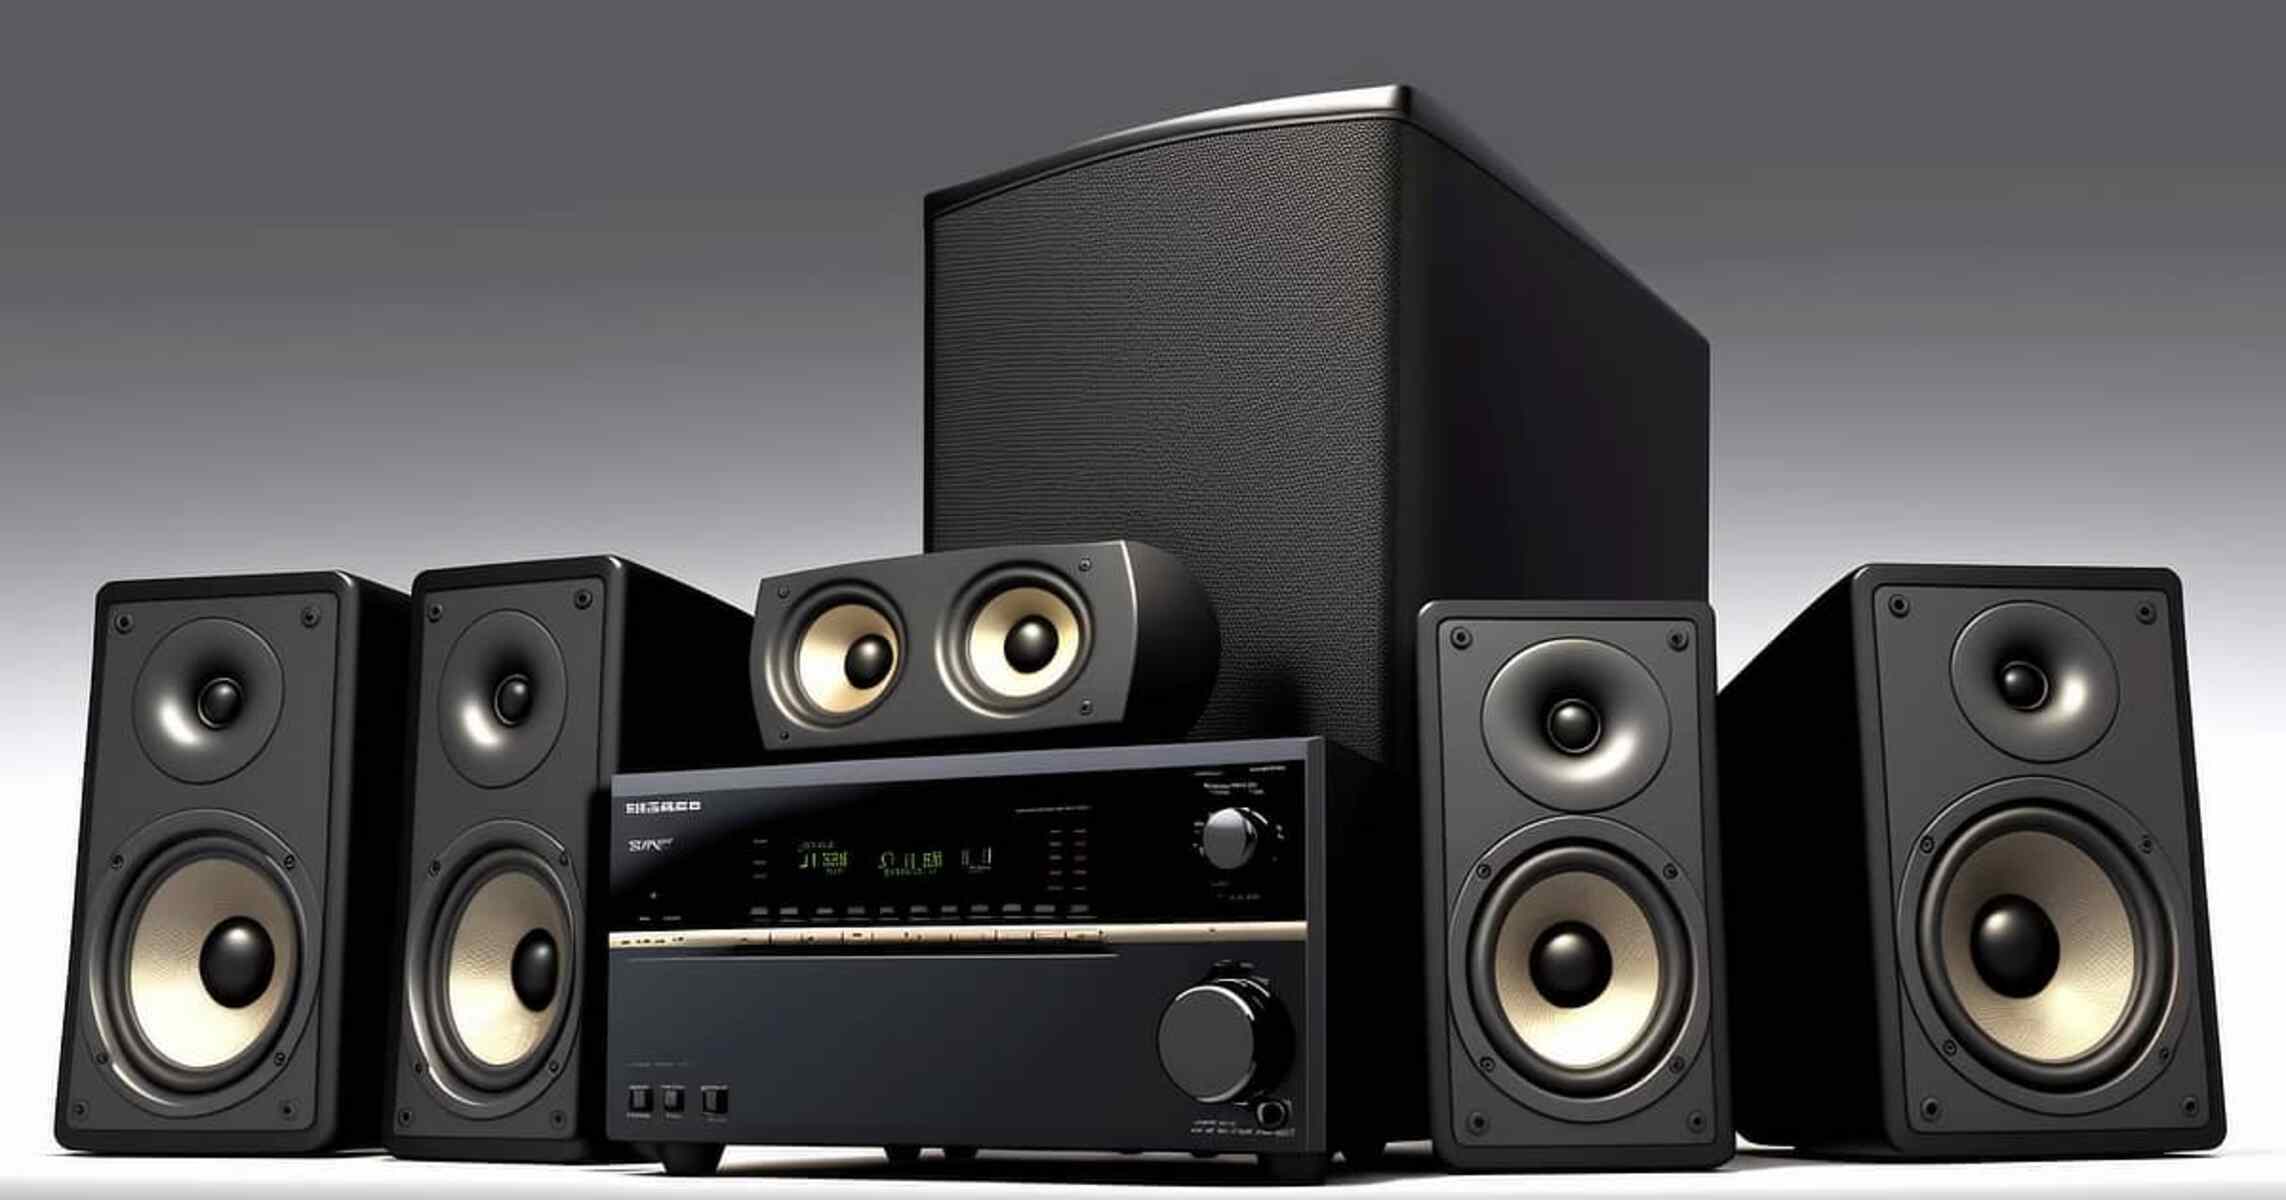
A 7.2 system uses seven speakers and two subwoofers. The "7" refers to the main speakers: front left, front center, front right, side surround left, side surround right, rear surround left, and rear surround right. The ".2" denotes two powered subwoofers. The front three speakers handle dialogue and the primary soundstage, anchoring the action to the screen. The four surround speakers (side and rear) create the immersive, ambient effects that place you inside the scene. The dual subwoofers reproduce low-frequency effects (LFE) and distribute bass more evenly across the room, eliminating nulls and peaks that a single subwoofer might create.
Place Your Front Speakers for a Clear Soundstage
Position the front left and right speakers an equal distance from your primary listening position, forming an equilateral triangle between the speakers and your head. Angle them slightly toward the listening spot (toe-in) so the tweeters point at your ears. Place the tweeters at or close to ear height while you are seated. Pull these speakers away from walls and corners to reduce boundary reflections that muddy the midrange and blur imaging. The center channel should sit directly above or below your TV, aligned with the front speakers' height, and angled toward the listening position to keep dialogue locked to the screen.
Position Your Surround and Rear Speakers for Immersion
For side surround speakers, place them directly to the left and right of the main listening position, at 90 to 110 degrees off-axis from the center of the room. Mount them approximately 2 feet above ear level. This elevated placement helps create a diffuse, ambient sound field without drawing attention to the speakers themselves. For the rear surround speakers, position them behind the listening position at 135 to 150 degrees off-axis, also about 2 feet above ear level. These speakers should face inward toward the listening area. Avoid placing them too close to the seating position; keep them at least a couple of feet away to prevent localization of the sound source.
Install Your Speakers and Receiver with the Right Cables
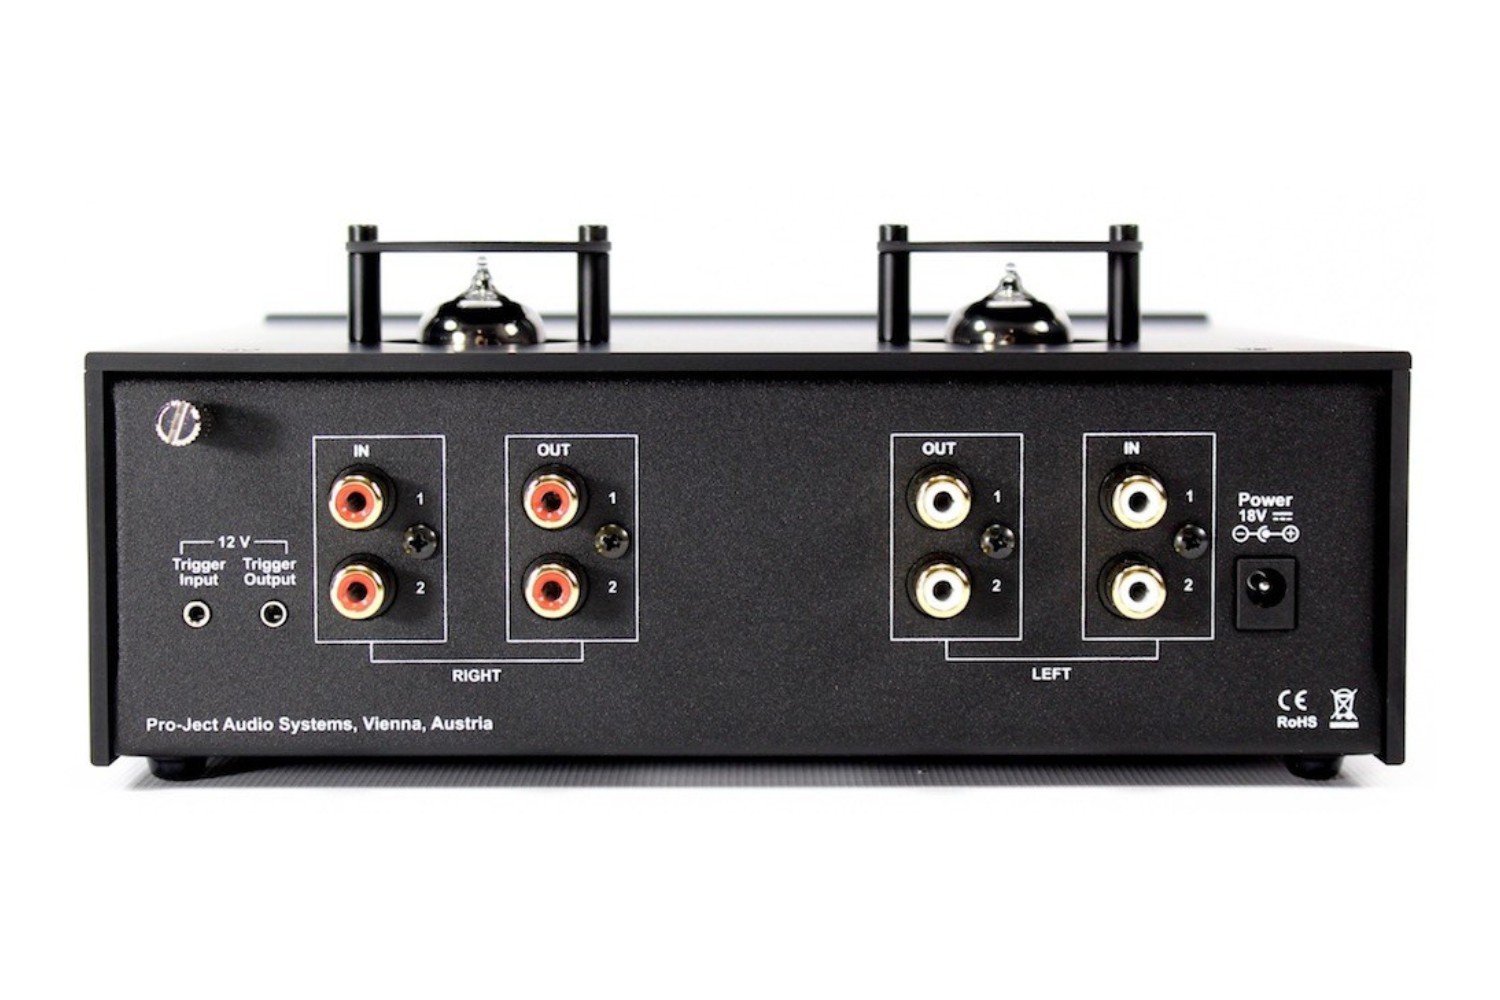
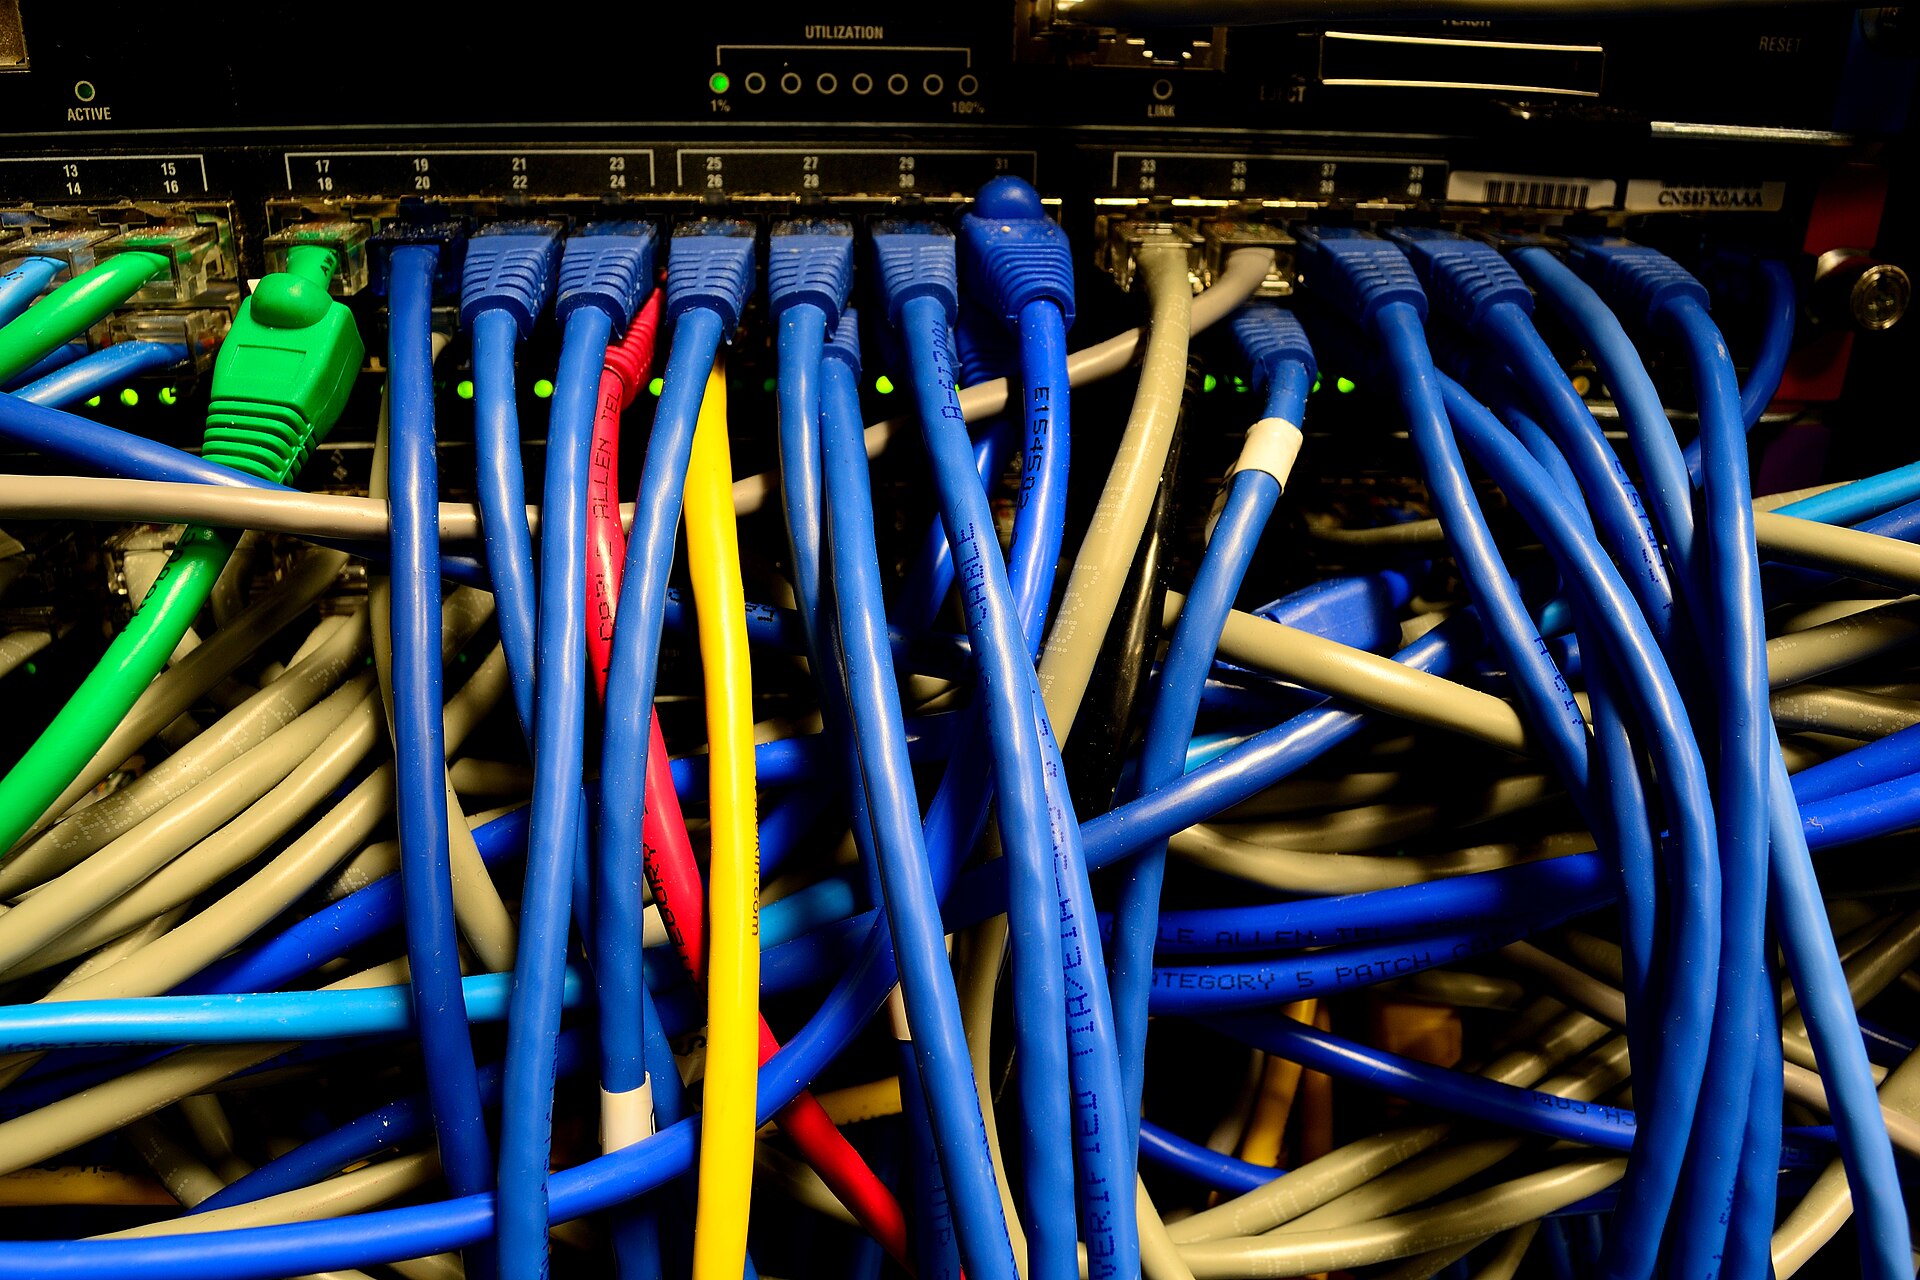
Connect the powered subwoofers to the receiver using RCA cables. Plug one end of the RCA cable into the subwoofer pre-out jacks on the receiver (labeled Sub 1 and Sub 2, or a single subwoofer out if you use a Y-splitter) and the other end into the subwoofer's line-level input. For the speakers, use bare wire or banana plugs. Strip the wire, twist the strands, and insert into the binding posts on the receiver and speakers, matching positive to positive (red to red) and negative to negative (black to black). Ensure the receiver has a clear, ventilated space and can power on to access its setup menu.
Calibrate Your System for the Perfect Sound
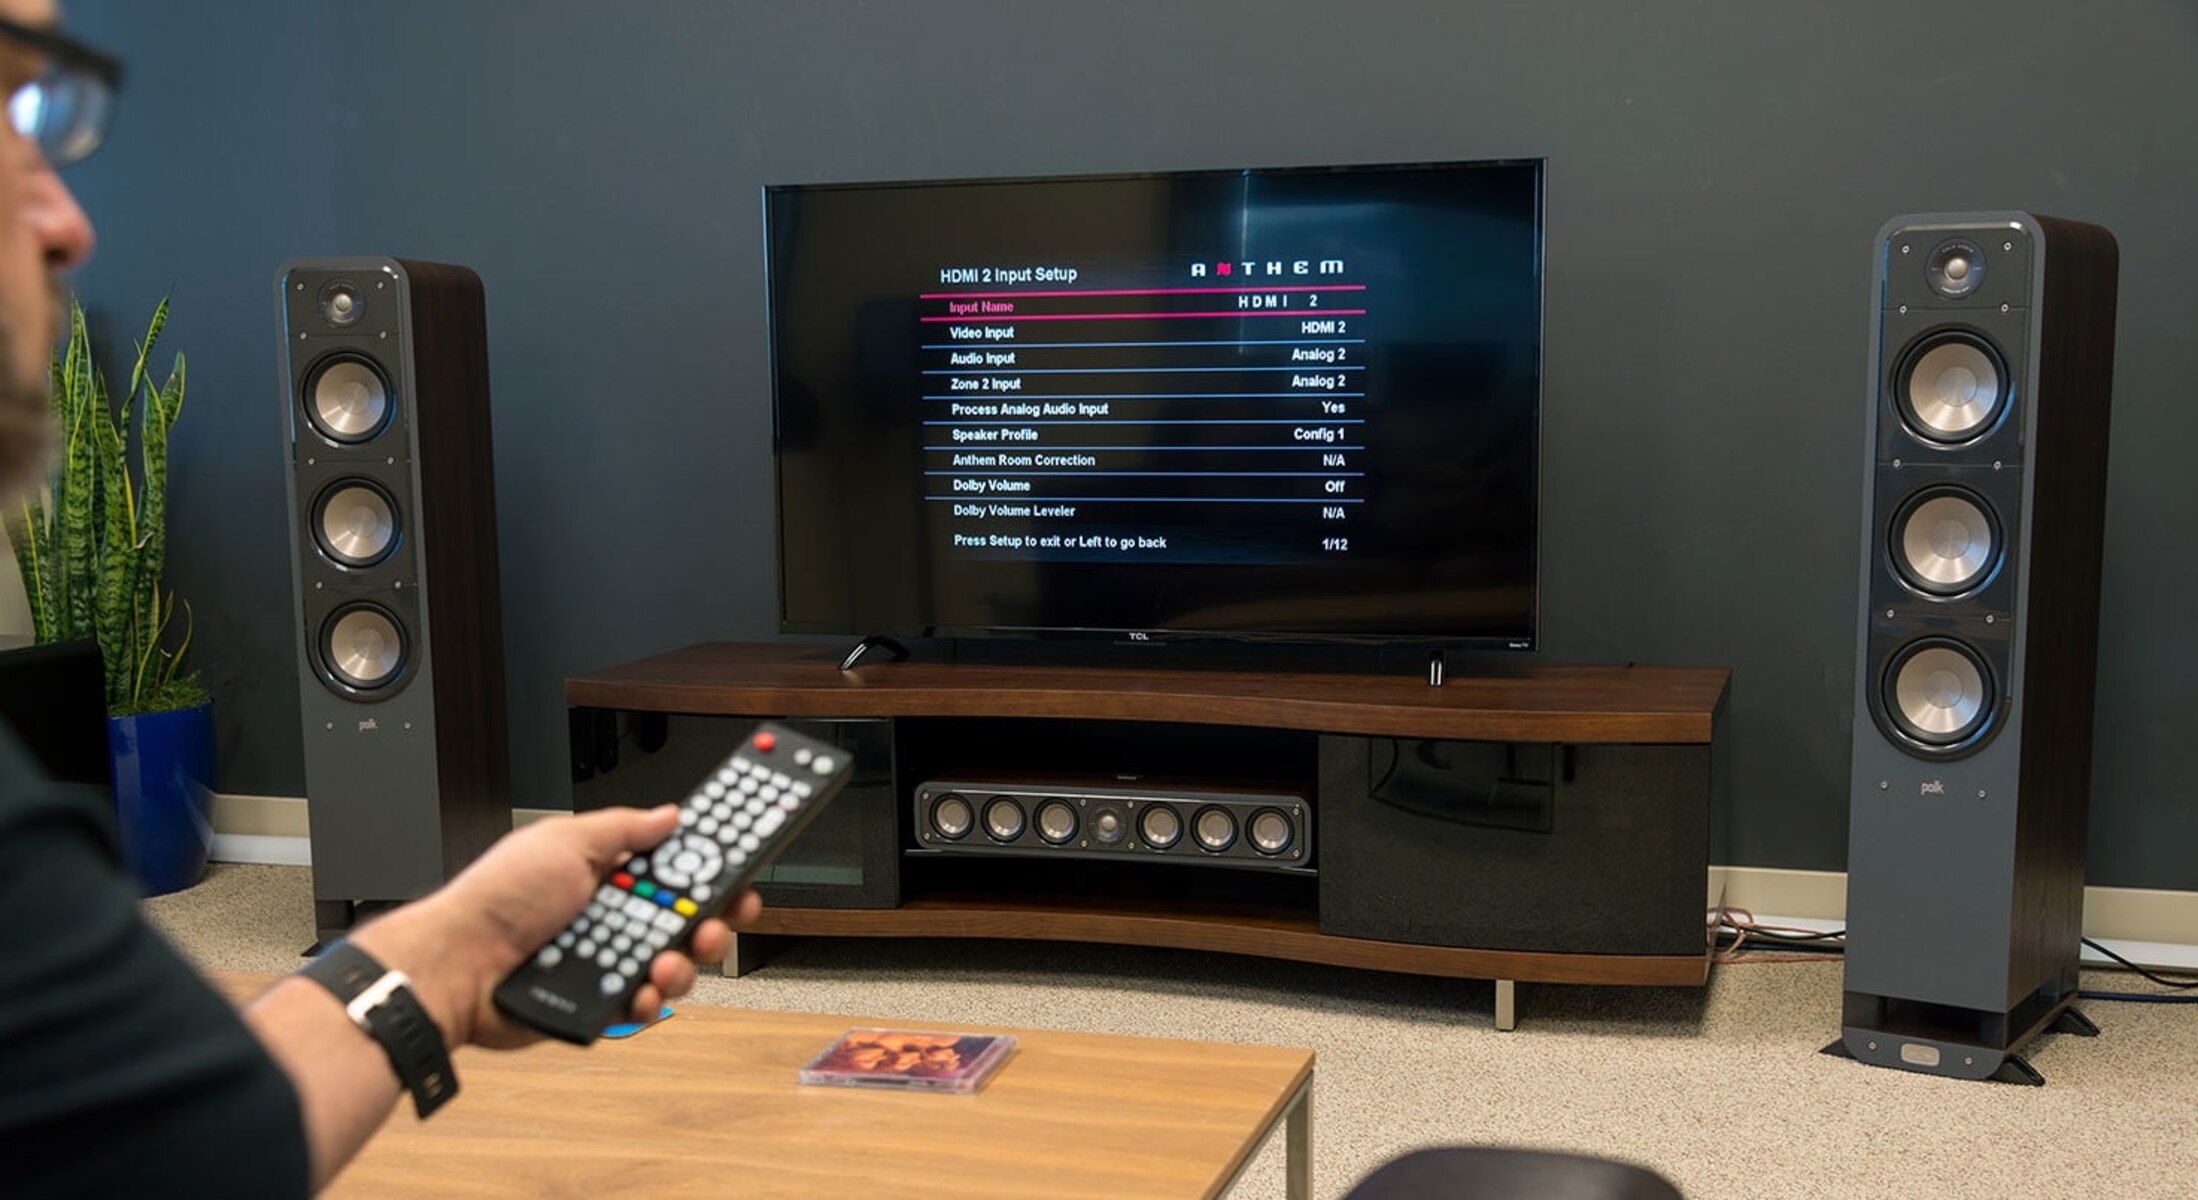
Place the included calibration microphone at your primary listening position, at ear height. Access the receiver's built-in room correction software (e.g., Audyssey, YPAO, MCACC) from the setup menu. Run the automatic calibration, which sends test tones to each speaker and measures the sound reflections. The software will set speaker distances, channel levels, and crossover frequencies. After the automatic calibration, manually verify the crossover frequencies. Adjust the subwoofer crossover to the same value. Play a test tone or a familiar movie scene and fine-tune the channel levels so the soundstage feels balanced, with no single speaker dominating. Use the receiver's test tones to confirm each speaker produces sound at an equal volume from the listening position.
Connect Your Media Devices
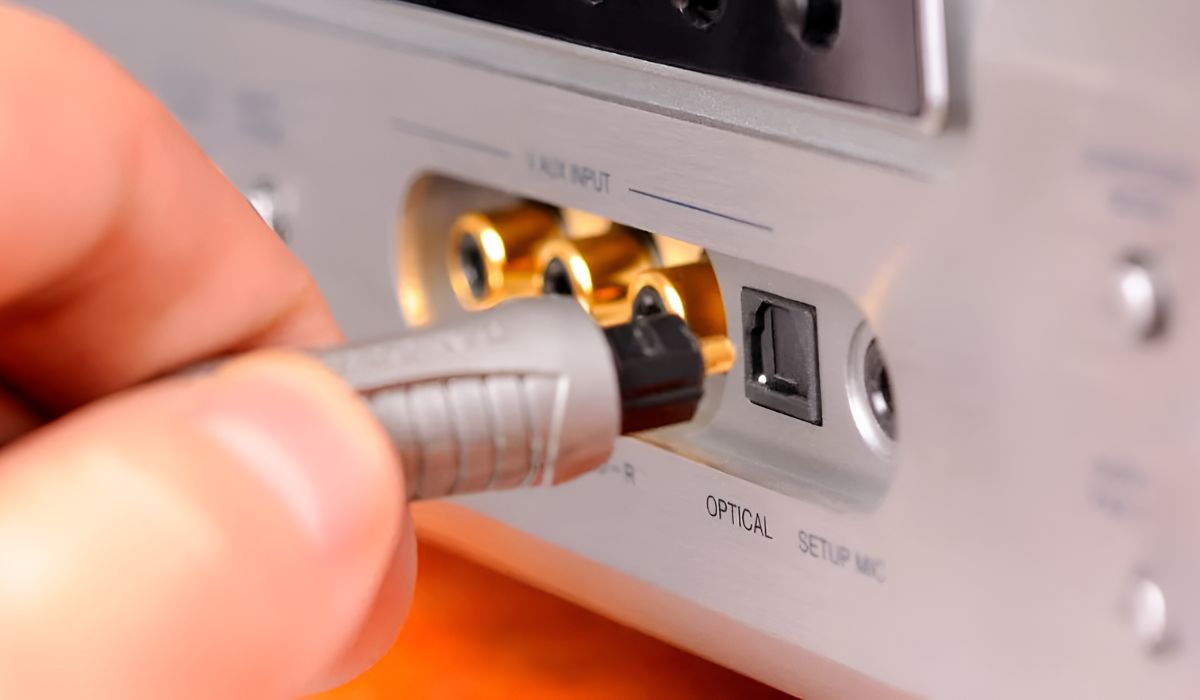
Use an HDMI cable to connect your TV's HDMI ARC or eARC port to the corresponding HDMI ARC/eARC port on the receiver. This routes all TV audio back to the receiver. For a Blu-ray player or gaming console, connect an HDMI cable from the device's output to an HDMI input on the receiver. The receiver will extract the audio and pass the video through to the TV. If a device lacks HDMI, use an optical or coaxial digital audio cable from the device to the receiver's corresponding input. For music streaming, use Bluetooth or Wi-Fi if the receiver supports it, or connect a smartphone using a 3.5mm-to-RCA cable to an analog input. Ensure the receiver is set to the correct input source for each device.
Troubleshoot Common Surround Sound Issues
If you hear no sound, check that the receiver is not muted and that the volume is turned up. Verify the correct input source is selected. Confirm that all speaker wires are securely connected and that the receiver's speaker settings are configured for a 7.2 system, not a stereo mode. If audio is out of sync with the video, enable the audio delay or lip-sync adjustment in the receiver's menu and set it to compensate for the delay. Re-run the calibration microphone setup to correct channel levels and distances. If the subwoofers are not producing bass, verify the RCA cables are connected to the subwoofer pre-out and not a speaker wire output, and increase the subwoofer level on the receiver or the subwoofer's own volume knob.
\nRelated reading: How Do I Program Alexa To Use My Surround Sound System?, Understanding Trigger In And Out On Your AV Receiver, and How To Run Sound Through AV Receiver With Optical Audio.