Introduction
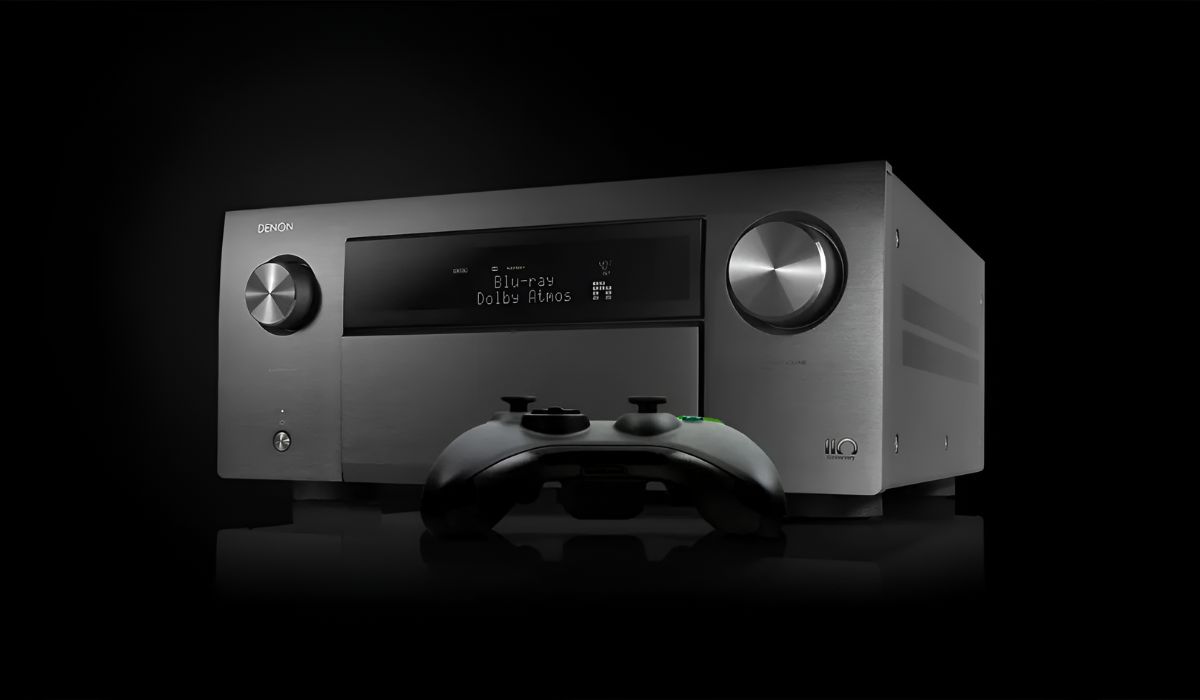
Welcome to the world of immersive audio! Connecting a surround sound system to your Xbox One can dramatically enhance your gaming and entertainment experience. Whether you’re battling it out in the latest first-person shooter game or enjoying a movie marathon, a high-quality surround sound system can bring the action to life and envelop you in rich, detailed sound.
But where do you start? How do you choose the right system and connect it to your Xbox One? In this guide, we will walk you through the steps of setting up a surround sound system and ensuring that you maximize its potential when playing games or watching movies on your console.
Before we dive into the technical details, it’s worth mentioning that having a basic understanding of audio equipment and connections will be helpful. Don’t worry if you’re not an audio expert – we’ll break down the process into simple steps that anyone can follow.
So, if you’re ready to take your gaming and entertainment to the next level, let’s get started on connecting a surround sound system to your Xbox One!
Choosing the Right Surround Sound System for Your Xbox One
When it comes to choosing a surround sound system for your Xbox One, there are a few key factors to consider. Here are some important things to keep in mind:
- Audio formats: Make sure the system you choose supports the audio formats used by your Xbox One. Most modern systems will be compatible with formats like Dolby Digital and DTS.
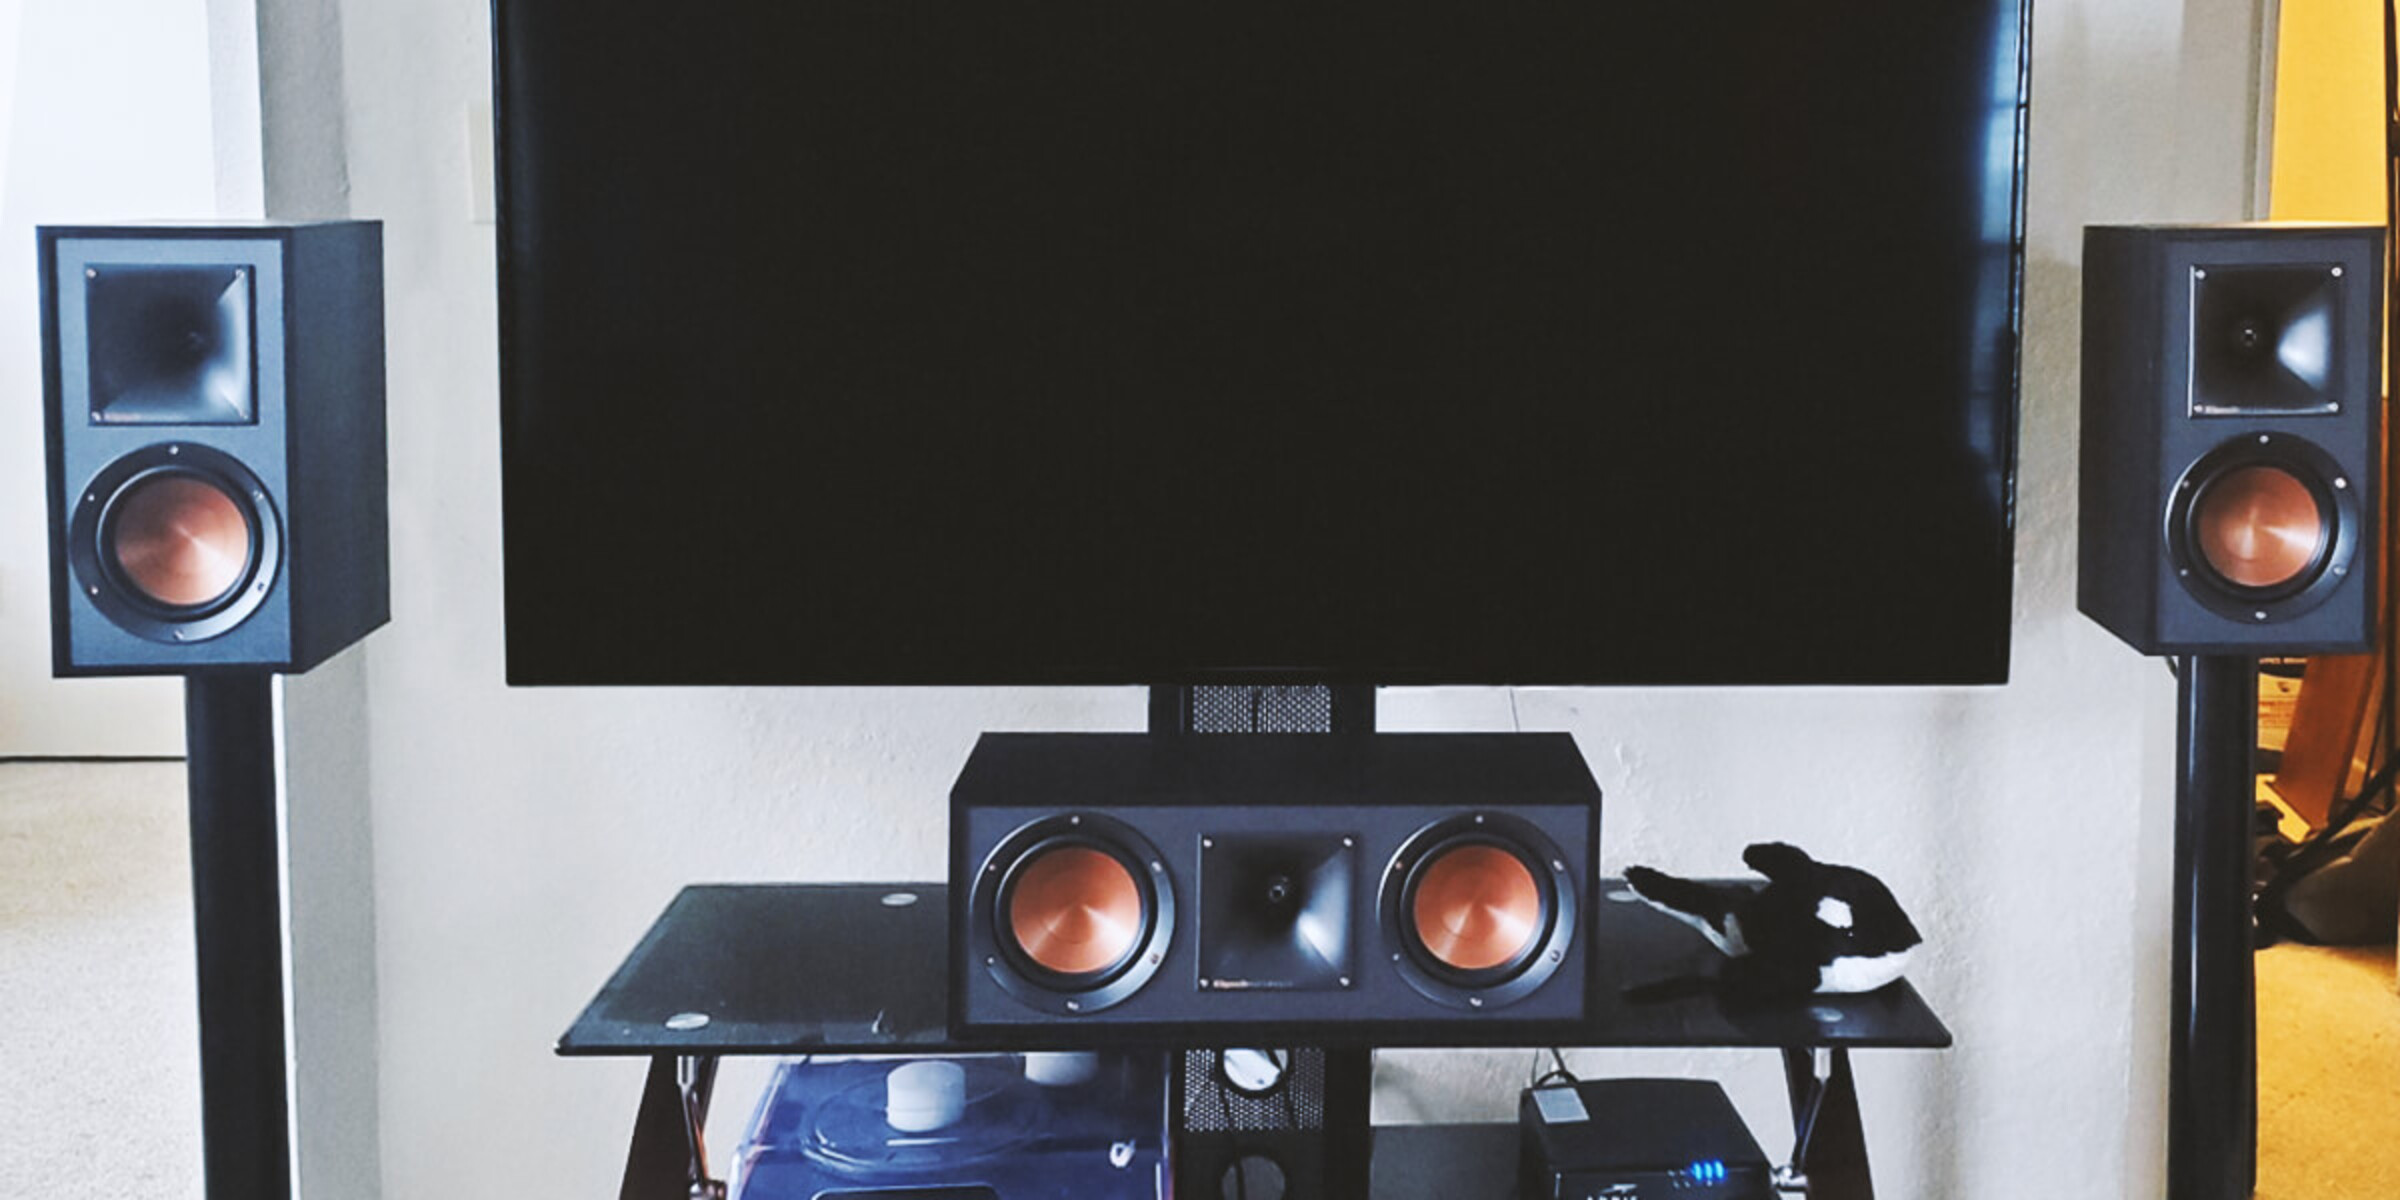
- Speaker configuration: Decide on the number and placement of speakers that best suit your gaming and entertainment space. Common configurations include 5.1 (five speakers and a subwoofer) or 7.1 (seven speakers and a subwoofer).
- Budget: Consider your budget and find a system that offers a good balance between price and performance. There are options available for every budget.
- Brand reputation: Look for reputable brands that have a track record of producing high-quality audio equipment. Reading reviews and seeking recommendations from fellow gamers can help you make an informed decision.
- Features: Consider any additional features that are important to you, such as wireless connectivity, compatibility with other devices, or customizable equalization settings.
Once you have a clear idea of your requirements and preferences, it’s time to start researching and comparing different surround sound systems. Look for systems that tick all the boxes and offer the best value for your money.
Don’t forget to also consider the size and layout of your gaming room. If you have limited space, a compact system with smaller speakers might be a better fit. On the other hand, if you have a dedicated gaming room or a large living area, you may opt for a more robust system with larger, floor-standing speakers for that cinematic experience.
By taking the time to choose the right surround sound system, you’ll ensure that you get the best audio quality and immersion when playing games or watching movies on your Xbox One.
Gathering the Necessary Cables and Accessories
Before you can start connecting your surround sound system to your Xbox One, you’ll need to gather the necessary cables and accessories. Here’s a list of items you’ll likely need:
- HDMI cable: This cable will carry both audio and video signals from your Xbox One to your TV or audio receiver. Make sure to choose a high-quality HDMI cable that supports the latest specifications for optimal performance.
- Optical audio cable: If your surround sound system and TV have an optical audio input/output, you might consider using an optical audio cable to connect the audio receiver to your Xbox One. This will ensure a direct and high-quality audio connection.
- Speaker wires: Depending on the type of speakers you have, you’ll need speaker wires to connect them to the audio receiver. Ensure that the wires are long enough to reach your desired speaker placements.
- Subwoofer cable: If your surround sound system includes a subwoofer, you’ll need a subwoofer cable to connect it to the audio receiver. This cable is usually included with the system, but double-check to make sure.
- Power cables: Don’t forget to gather the power cables for your Xbox One, audio receiver, and any other components of your surround sound system. Ensure that you have enough power outlets available and that your cables are in good condition.
- Accessories: Depending on your audio setup, you might need additional accessories such as wall mounts, stands, or cable management solutions. These accessories can help you optimize the placement and organization of your speakers and cables.
Make a checklist of the required cables and accessories based on your specific setup and ensure that you have everything before you begin the installation process. It’s always better to be prepared ahead of time so that you don’t encounter any delays or frustrations during the setup process.
Once you’ve gathered all the necessary cables and accessories, you’re ready to move on to the next step of connecting your surround sound system to your Xbox One.
Setting Up the Audio Connections on Your Xbox One
Now that you have all the required cables and accessories, it’s time to set up the audio connections on your Xbox One. Follow these steps to get everything connected:
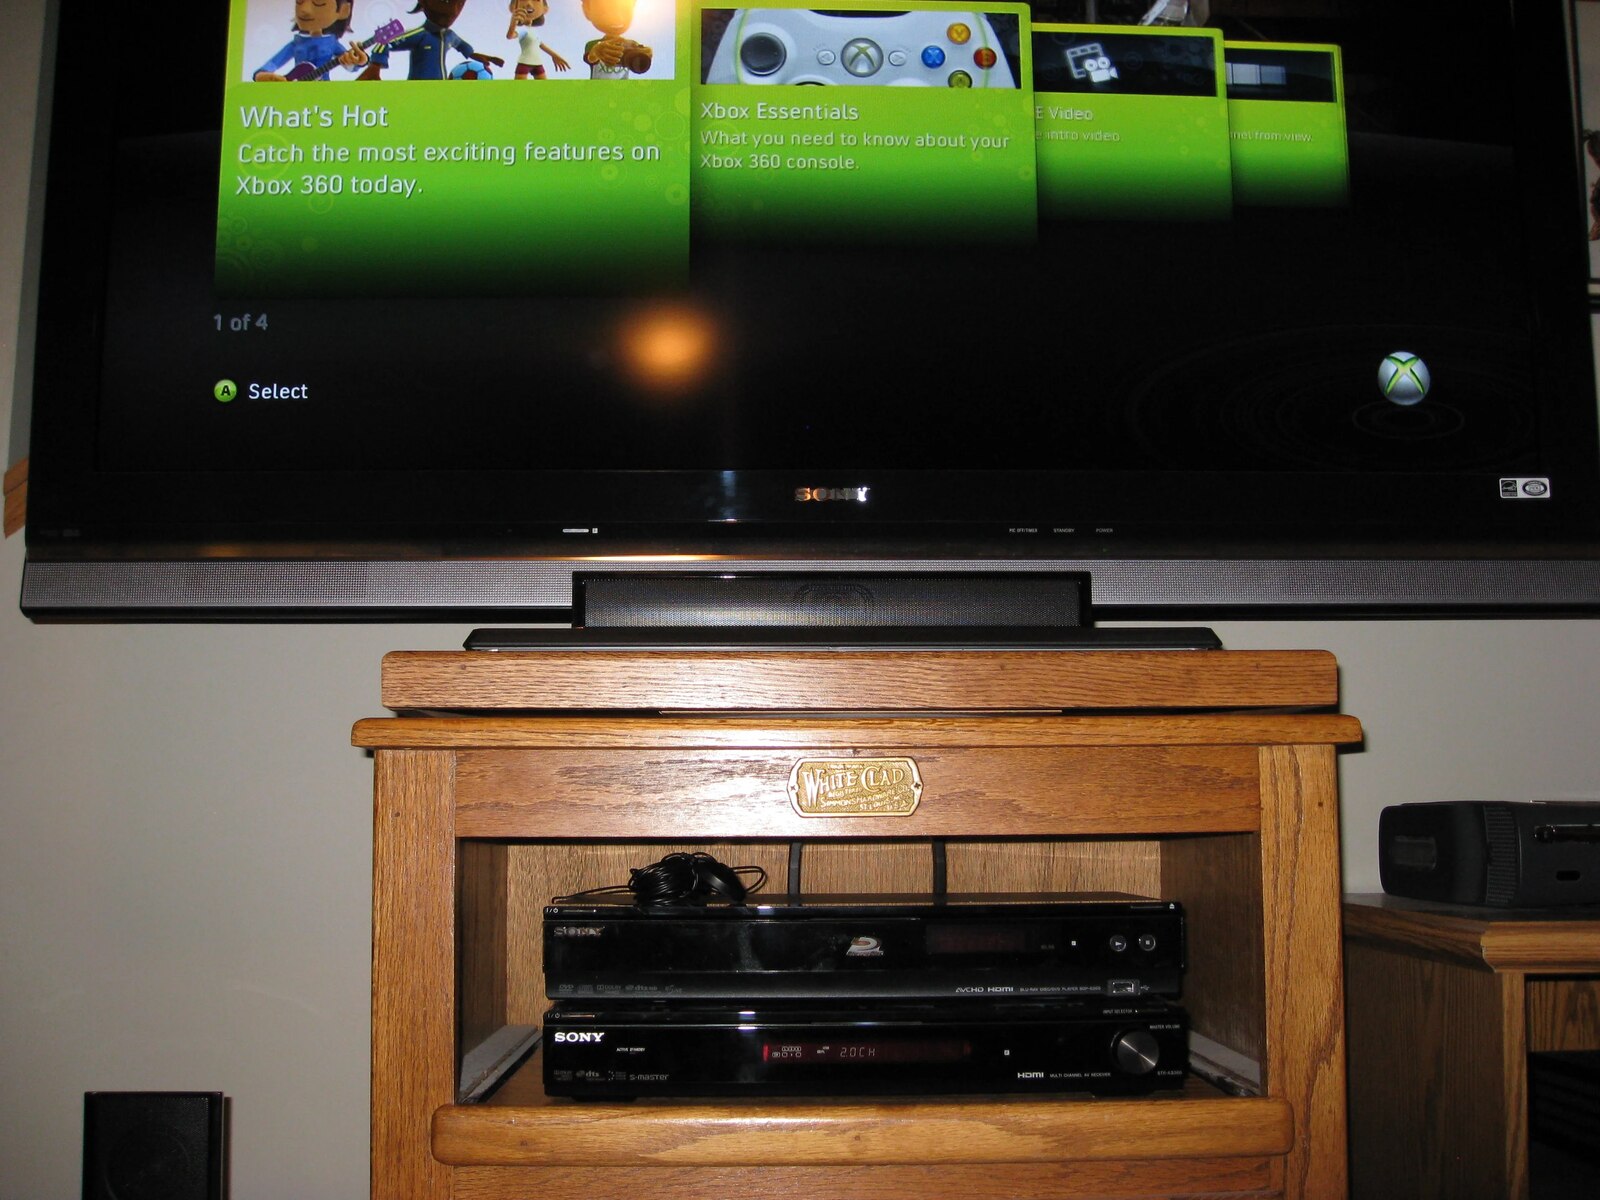
- Connect the HDMI cable: Connect one end of the HDMI cable to the HDMI output port on your Xbox One, and the other end to the HDMI input port on your TV or audio receiver. This will ensure both audio and video signals are transmitted.
- Enable audio output: On your Xbox One, navigate to the settings menu and select “Display and Sound.” Under the “Audio Output” section, choose the appropriate audio output option based on your setup – HDMI or optical audio. If using optical audio, make sure to select the correct audio format as well.
- Adjust audio settings: Within the audio settings on your Xbox One, you can adjust various audio options to suit your preferences. This includes settings such as volume normalization, chat mixer, and equalization. Take some time to explore these settings and customize them based on your needs.
- Test the audio: Once your audio connections are set up, play some audio or test a game to ensure that the sound is coming through your surround sound system. Use this opportunity to test and fine-tune the volume levels and surround sound effects to achieve the desired audio experience.
By properly setting up the audio connections on your Xbox One, you’ll ensure that the audio signals are transmitted accurately and efficiently to your surround sound system. This will pave the way for an immersive and captivating audio experience while gaming or watching movies.
Once your Xbox One’s audio connections are in place, you can proceed to connect the speakers to your audio receiver. This will be covered in the next section.
Connecting the Speakers to the Audio Receiver
With the audio connections set up on your Xbox One, it’s time to connect the speakers to your audio receiver. Follow these steps to ensure a proper setup:
- Identify the speaker outputs: Look for the speaker connections on the back or side of your audio receiver. Each speaker output will be labeled based on the corresponding speaker position, such as “Front Left,” “Front Right,” “Center,” “Surround Left,” and “Surround Right.”
- Prepare the speaker wires: Strip a small portion of the insulation from the ends of the speaker wires. Twist the exposed wire strands to prevent fraying and ensure a secure connection. Repeat this process for each speaker wire.
- Connect the speakers: Take each speaker wire and connect it to the corresponding speaker output on the audio receiver. Ensure that the positive (+) wire is connected to the positive terminal and the negative (-) wire to the negative terminal. Repeat this step for each speaker, following the proper labeling of the speaker outputs.
- Secure the connections: Once the wires are connected, tighten the screws or clips on the audio receiver to secure the speaker wire connections. Make sure that the wires are firmly in place to prevent any loose connections that could disrupt the audio signal.
- Position the speakers: Place each speaker in its designated position within your gaming or entertainment area. Follow any guidelines provided by the speaker manufacturer regarding ideal placement and positioning for optimal sound quality and imaging.
- Test the speakers: Play some audio or test a game to ensure that sound is coming through each speaker correctly. This will allow you to verify that the speakers are connected properly and functioning as intended.
Connecting the speakers to your audio receiver is a crucial step in creating a surround sound experience. Take your time to ensure that each connection is secure and that the speakers are positioned correctly for optimal audio performance.
Once you have successfully connected the speakers, you’re ready to move on to the next step of configuring the audio settings on your Xbox One.
Configuring the Audio Settings on Your Xbox One
After connecting the speakers to your audio receiver, it’s time to configure the audio settings on your Xbox One. Follow these steps to ensure optimal audio performance:
- Navigate to the settings menu: On your Xbox One, navigate to the settings menu by pressing the Xbox button on your controller and selecting the gear icon.
- Select “Display and Sound”: Within the settings menu, scroll down and select “Display and Sound” to access the audio settings.
- Choose audio output options: Under the “Audio Output” section, you’ll find various options to customize your audio settings. Here are some key settings to consider:
- Audio format: Select the appropriate audio format based on your surround sound system’s capabilities. This will ensure that the audio is encoded properly for optimal playback.
- Bitstream format: If your audio receiver supports it, consider selecting “Bitstream” as the output format. This allows your audio receiver to decode the audio signals, providing a more immersive surround sound experience.
- Volume normalization: Enable volume normalization if you want to level out volume differences between different games or movies. This can prevent sudden audio spikes and create a more consistent listening experience.
- Adjust audio balance and equalization: Within the audio settings, you may also have the option to adjust the audio balance between different channels. This allows you to fine-tune the volume levels for each speaker. Additionally, some Xbox One models offer equalization settings, which can be used to enhance specific audio frequencies based on personal preference.
- Test the audio: After configuring the settings, test the audio by playing games or movies with distinct sound effects. This will help you verify that the audio settings are optimized and that the surround sound system is functioning as expected.
By carefully configuring the audio settings on your Xbox One, you can tailor the audio experience to your preferences and ensure that you’re getting the most out of your surround sound system.
Remember that different games and movies may have their own audio settings that can further enhance the immersive experience. So, don’t forget to explore the audio settings within specific games and apps to fully maximize the surround sound potential.
With the audio settings properly configured, you’re now ready to enjoy a truly immersive audio experience with your Xbox One and surround sound system.
Testing and Troubleshooting the Surround Sound System
Once you have set up and configured your surround sound system, it’s important to test and troubleshoot it to ensure optimal performance. Here are some steps you can take to test and troubleshoot your system:
- Test audio playback: Play various types of audio content, including movies, music, and games, to ensure that the audio is coming through all the speakers correctly. Listen for any imbalances, distortions, or missing channels that could indicate a problem with the connections or settings.
- Check speaker phase: If you notice a lack of clarity in the audio or a loss of bass, check the speaker phase settings on your receiver. Ensure that all speakers are in-phase, meaning the positive (+) terminal of each speaker is connected to the positive terminal on the receiver.
- Balance the audio: Use test tones or audio calibration tools provided by your audio receiver to fine-tune the audio balance between the speakers. This will help ensure that the sound is well-balanced throughout the room and that no speaker overpowers the others.
- Troubleshoot audio dropout: If you experience audio dropouts or intermittent sound issues, check the speaker wire connections and ensure they are securely connected. Also, make sure that there are no obstructions or interference near the speakers or audio receiver that could disrupt the signal.
- Apply firmware updates: Check for any available firmware updates for your audio receiver and speakers. Keeping the firmware up to date can address any known bugs or compatibility issues that could affect the performance of your surround sound system.
- Consult the user manual and support resources: If you encounter persistent audio issues or are unsure about certain settings, refer to the user manual for your audio equipment. Additionally, check the manufacturer’s website or support resources for troubleshooting guides or forums where you can seek assistance from experts or fellow users.
Remember that troubleshooting audio issues can sometimes be a process of trial and error. Be patient and ensure that you methodically eliminate potential causes of the problem. It may also be helpful to reach out to the customer support of your audio equipment manufacturer for further guidance.
By regularly testing and troubleshooting your surround sound system, you can identify and resolve any issues that may impact your audio experience. This will help ensure that you enjoy the full benefits of your surround sound setup while gaming, watching movies, or engaging in any other audio activities on your Xbox One.
Conclusion
Congratulations! You have successfully connected and set up a surround sound system for your Xbox One. By following the steps outlined in this guide, you have taken your gaming and entertainment experience to a whole new level of immersion and audio quality.
Choosing the right surround sound system, gathering the necessary cables and accessories, setting up the audio connections, configuring the audio settings, and testing the system are all crucial steps in creating an optimal surround sound setup. By paying attention to these details, you can ensure that you’re getting the most out of your Xbox One and surround sound system.
As you continue to enjoy your gaming and entertainment experiences with surround sound, don’t hesitate to explore additional audio features or settings within your Xbox One and specific games. Each experience may have its own unique audio settings that can further enhance the immersion and realism.
Remember, troubleshooting audio issues can sometimes be a part of the process. If you encounter any challenges or have questions, consult the user manuals, online resources, or seek assistance from customer support. With patience and persistence, you’ll be able to resolve any issues and optimize your surround sound system for an incredible audio experience.
So, go ahead and dive into your favorite games, movies, and music with the full power of surround sound. Immerse yourself in the rich, detailed audio, and feel like you’re right in the heart of the action.
Enjoy the journey of exceptional audio quality and surround sound bliss on your Xbox One!


