Introduction
Welcome to the world of immersive audio experiences with a surround sound system. Whether you’re a movie enthusiast, a music lover, or a gamer, a well-designed surround sound system can elevate your audio enjoyment to new heights. By strategically positioning speakers around your space, you can create a captivating audio environment where sound comes from all directions, putting you right in the middle of the action.
Building a surround sound system may seem like a daunting task, but fear not – in this guide, we will take you through the step-by-step process of setting up your own surround sound system. We’ll cover everything from choosing the right speakers and receiver to positioning them correctly for optimal sound.
Before we dive into the technical details, it’s important to understand the benefits of a surround sound system. One of the key advantages is the enhanced audio immersion. Traditional audio systems typically feature speakers placed in front of the listener, resulting in a flat, two-dimensional sound. In contrast, a surround sound system utilizes multiple speakers to create a three-dimensional soundstage, allowing for a more realistic and captivating audio experience.
Another benefit of a surround sound system is the ability to reproduce sounds with precise directionality. This means that you can pinpoint the source of a sound accurately, adding depth and realism to movies, music, and games. For example, imagine hearing a car speeding by in a movie and being able to locate its exact position as it moves across the screen. These immersive audio effects can truly transport you into the heart of the action, making your entertainment truly come alive.
Now that we’ve covered the advantages of a surround sound system, it’s time to delve into the specifics of building your own. So, grab your tool belt and brace yourself for an incredible audio journey!
Choosing the Right Speakers
When it comes to building a surround sound system, selecting the right speakers is crucial to achieving optimal audio quality. The speakers you choose will greatly impact the overall performance and immersive experience of your system. Here are a few factors to consider when choosing your speakers:
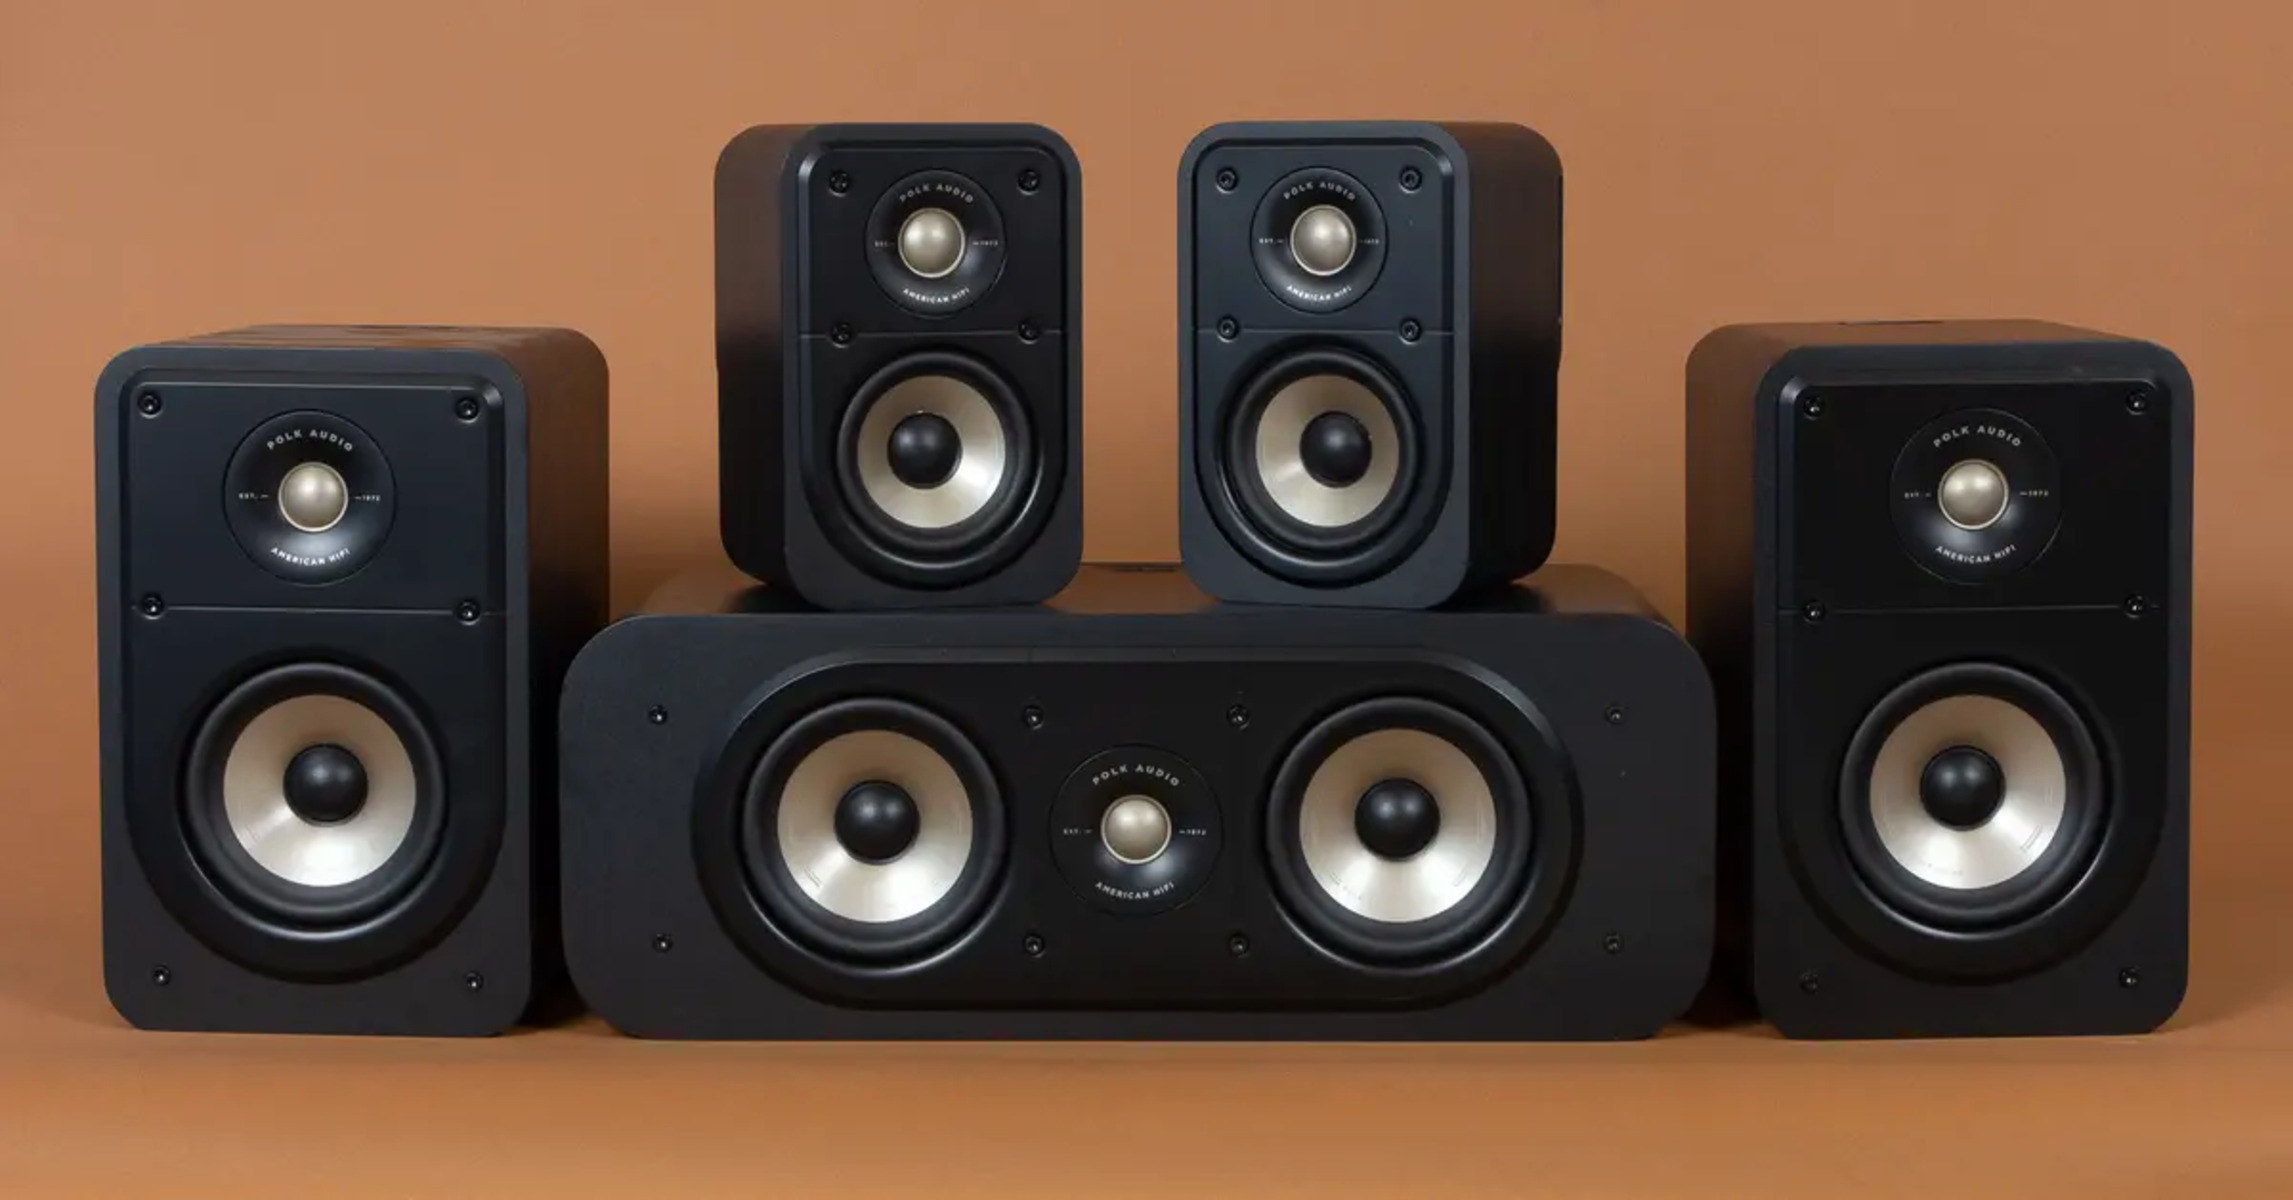
- Speaker Types: There are different types of speakers to choose from, including floorstanding speakers, bookshelf speakers, center channel speakers, and surround speakers. Floorstanding speakers are ideal for larger rooms and offer powerful, full-range sound. Bookshelf speakers are more compact and are perfect for smaller spaces. Center channel speakers are essential for clear dialogue and should be placed above or below the television. Surround speakers create the immersive surround sound experience by delivering sound from the sides and rear of the room.
- Speaker Size: Speaker size is an important consideration. Larger speakers generally produce more powerful and fuller sound, but they may not be suitable for smaller rooms. Consider the size of your space and choose speakers that will complement it without overpowering the room.
- Speaker Sensitivity: Sensitivity refers to how loud a speaker can get with a given amount of power. Speakers with higher sensitivity ratings require less power to produce the same volume. If you have a powerful receiver, speakers with lower sensitivity can work well, but if you have a lower-powered receiver, look for speakers with higher sensitivity to ensure optimal performance.
- Speaker Placement: Consider the layout of your room and where you plan to position your speakers. Some speakers are designed to be wall-mounted, while others are more suitable for placement on stands or shelves. Ensure that the speakers you choose align with your desired placement options for a cohesive and aesthetically pleasing setup.
- Budget: Last but not least, consider your budget. Speaker prices can vary widely, so determine a budget range that you’re comfortable with and explore speakers within that range. Remember that investing in higher-quality speakers can greatly enhance your audio experience, but it’s essential to find a balance that suits your needs and budget.
By taking these factors into account, you can select speakers that are tailored to your specific needs and preferences. Remember to read customer reviews and listen to speaker demos whenever possible to get a better sense of their sound quality. With the right speakers in place, you’re one step closer to creating an immersive surround sound experience in your home entertainment setup.
Selecting a Receiver
A receiver is the heart of your surround sound system, serving as the central hub that connects all your audio components. When it comes to selecting a receiver, there are several important factors to consider in order to make an informed decision:
- Audio Formats: Determine the audio formats you want your receiver to support. Common formats include Dolby Digital, DTS, and Dolby Atmos. Dolby Digital and DTS are standard audio formats, while Dolby Atmos adds an overhead dimension to the sound, providing a more immersive experience. If you want to future-proof your system, opt for a receiver that supports the latest audio formats.
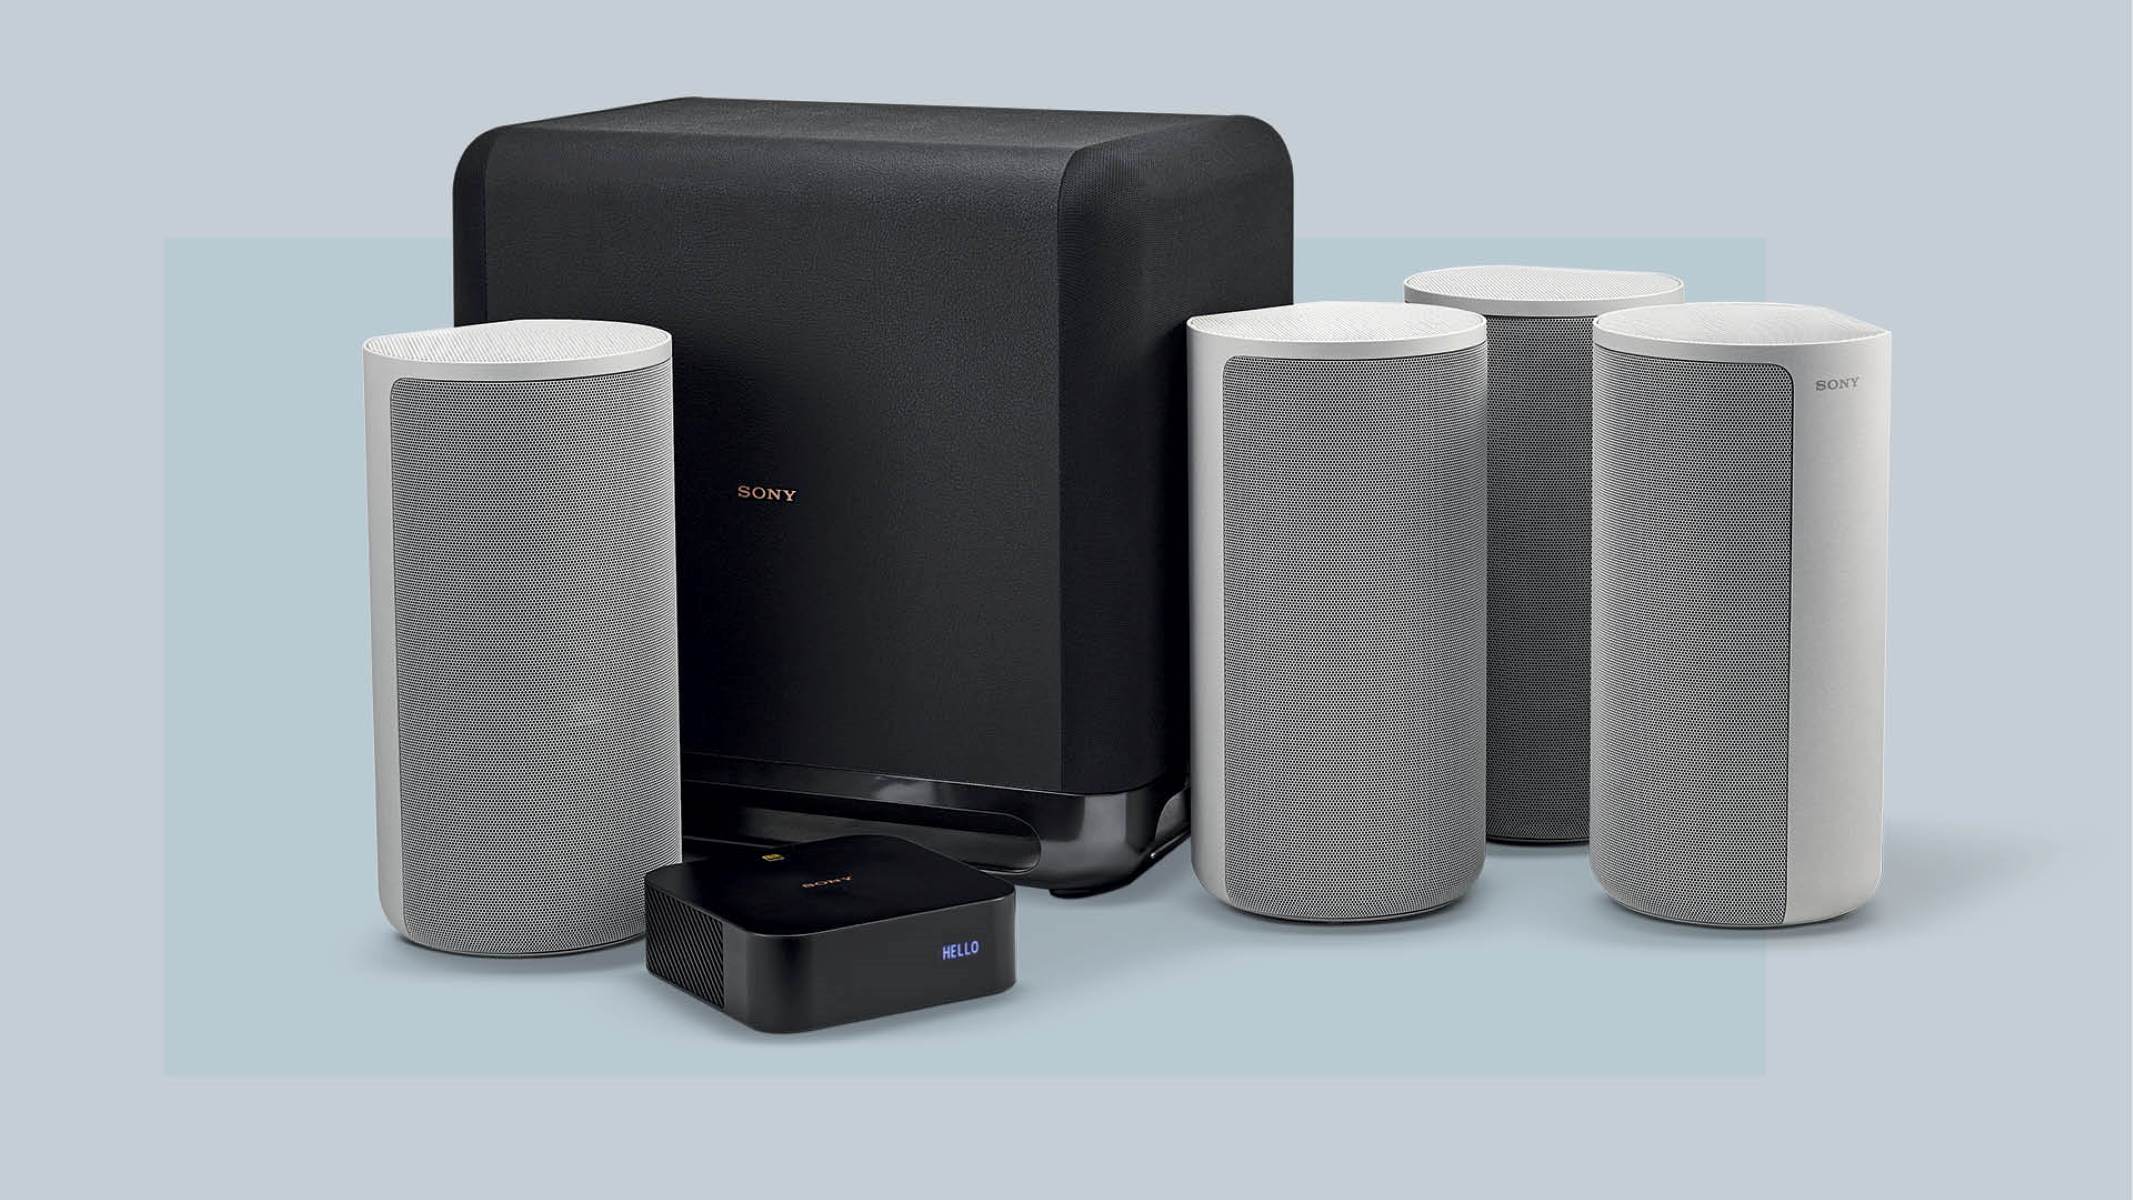
- Channels and Power Output: Decide how many channels you want your receiver to support. Channels refer to the number of individual speakers your receiver can connect. For example, a 5.1 system consists of five speakers (front left, front right, center, surround left, surround right) and one subwoofer. Additionally, consider the power output of the receiver to ensure it can deliver enough power to your speakers for optimal performance.
- Connections and Ports: Look for a receiver with an adequate number and variety of input and output ports. This will allow you to connect all your audio sources, such as Blu-ray players, gaming consoles, and streaming devices. Ensure the receiver has HDMI ports that support the latest standards for seamless connectivity and audio transmission.
- User Interface: Consider the user interface of the receiver, including the on-screen menu, remote control, and smartphone app compatibility. A user-friendly interface can greatly simplify the setup and operation of your system.
- Budget: Set a budget for your receiver and choose one that offers the best features within your price range. Keep in mind that a higher-end receiver may provide more advanced features and better audio performance, but there are also excellent mid-range options available that can fulfill your requirements.
It’s also worth doing some research on reputable receiver brands and reading customer reviews to get a sense of reliability and performance. Brands like Yamaha, Denon, Onkyo, and Pioneer are well-known for producing high-quality receivers with a range of features to suit different budgets and needs.
Once you’ve selected the right receiver, ensure that it is compatible with your chosen speakers and that it can deliver the necessary power for them to perform optimally. By choosing a receiver that meets your audio requirements and fits within your budget, you’re on track to creating an impressive and immersive surround sound system.
Understanding the Different Surround Sound Formats
When building a surround sound system, it’s important to understand the various surround sound formats available. These formats determine how audio is encoded and transmitted, ultimately affecting the quality and immersive experience of your system. Let’s explore some of the most common surround sound formats:
- Dolby Digital: Dolby Digital is one of the most widely used surround sound formats. It supports up to 5.1 channels (front left, front right, center, surround left, surround right, and a subwoofer) and provides high-quality audio encoding. It is commonly used in DVDs, Blu-rays, streaming platforms, and gaming consoles.
- DTS: DTS (Digital Theater Systems) is another popular surround sound format. It also supports up to 5.1 channels and offers high-quality audio encoding. DTS is commonly found on DVDs, Blu-rays, and gaming consoles, providing immersive audio experiences.
- Dolby Atmos: Dolby Atmos takes surround sound to the next level by adding a vertical dimension to the audio. Unlike traditional surround sound formats, Dolby Atmos allows sound to be positioned freely in a three-dimensional space, including overhead. This creates a more immersive and realistic audio experience, making you feel truly surrounded by sound. Dolby Atmos requires specialized speakers or upward-firing speakers that bounce sound off the ceiling to create the overhead effect.
- DTS:X: DTS:X is DTS’s answer to Dolby Atmos. It also supports object-based audio and creates a three-dimensional sound experience by utilizing overhead speakers or sound bouncing techniques. DTS:X aims to provide an immersive audio experience similar to Dolby Atmos.
- Stereo and Pro Logic: Stereo refers to the classic two-channel audio setup with a left and right speaker. Pro Logic, on the other hand, is a surround sound format that expands stereo audio into a simulated surround sound experience by adding a center speaker and decoding surround information from the stereo signal. While not as immersive as formats like Dolby Digital or DTS, stereo and Pro Logic are still commonly used for music playback.
It’s worth noting that not all movies, music, or games are encoded in all surround sound formats. The availability of a specific format depends on the source material and the device or media player being used. However, most receivers and sound systems can decode multiple formats, allowing you to enjoy a variety of audio content while taking advantage of the capabilities of your system.
When setting up your surround sound system, make sure to configure your receiver to match the audio format of the content you’re playing. This way, you can ensure that you’re getting the most immersive and accurate audio experience possible.
By understanding the different surround sound formats, you can make informed decisions when it comes to choosing media sources, receivers, and speakers that support your desired format. Whether you’re enjoying the thunderous action of a blockbuster movie or listening to your favorite music, the right surround sound format can greatly enhance your audio experience.
Positioning the Speakers for Optimal Sound
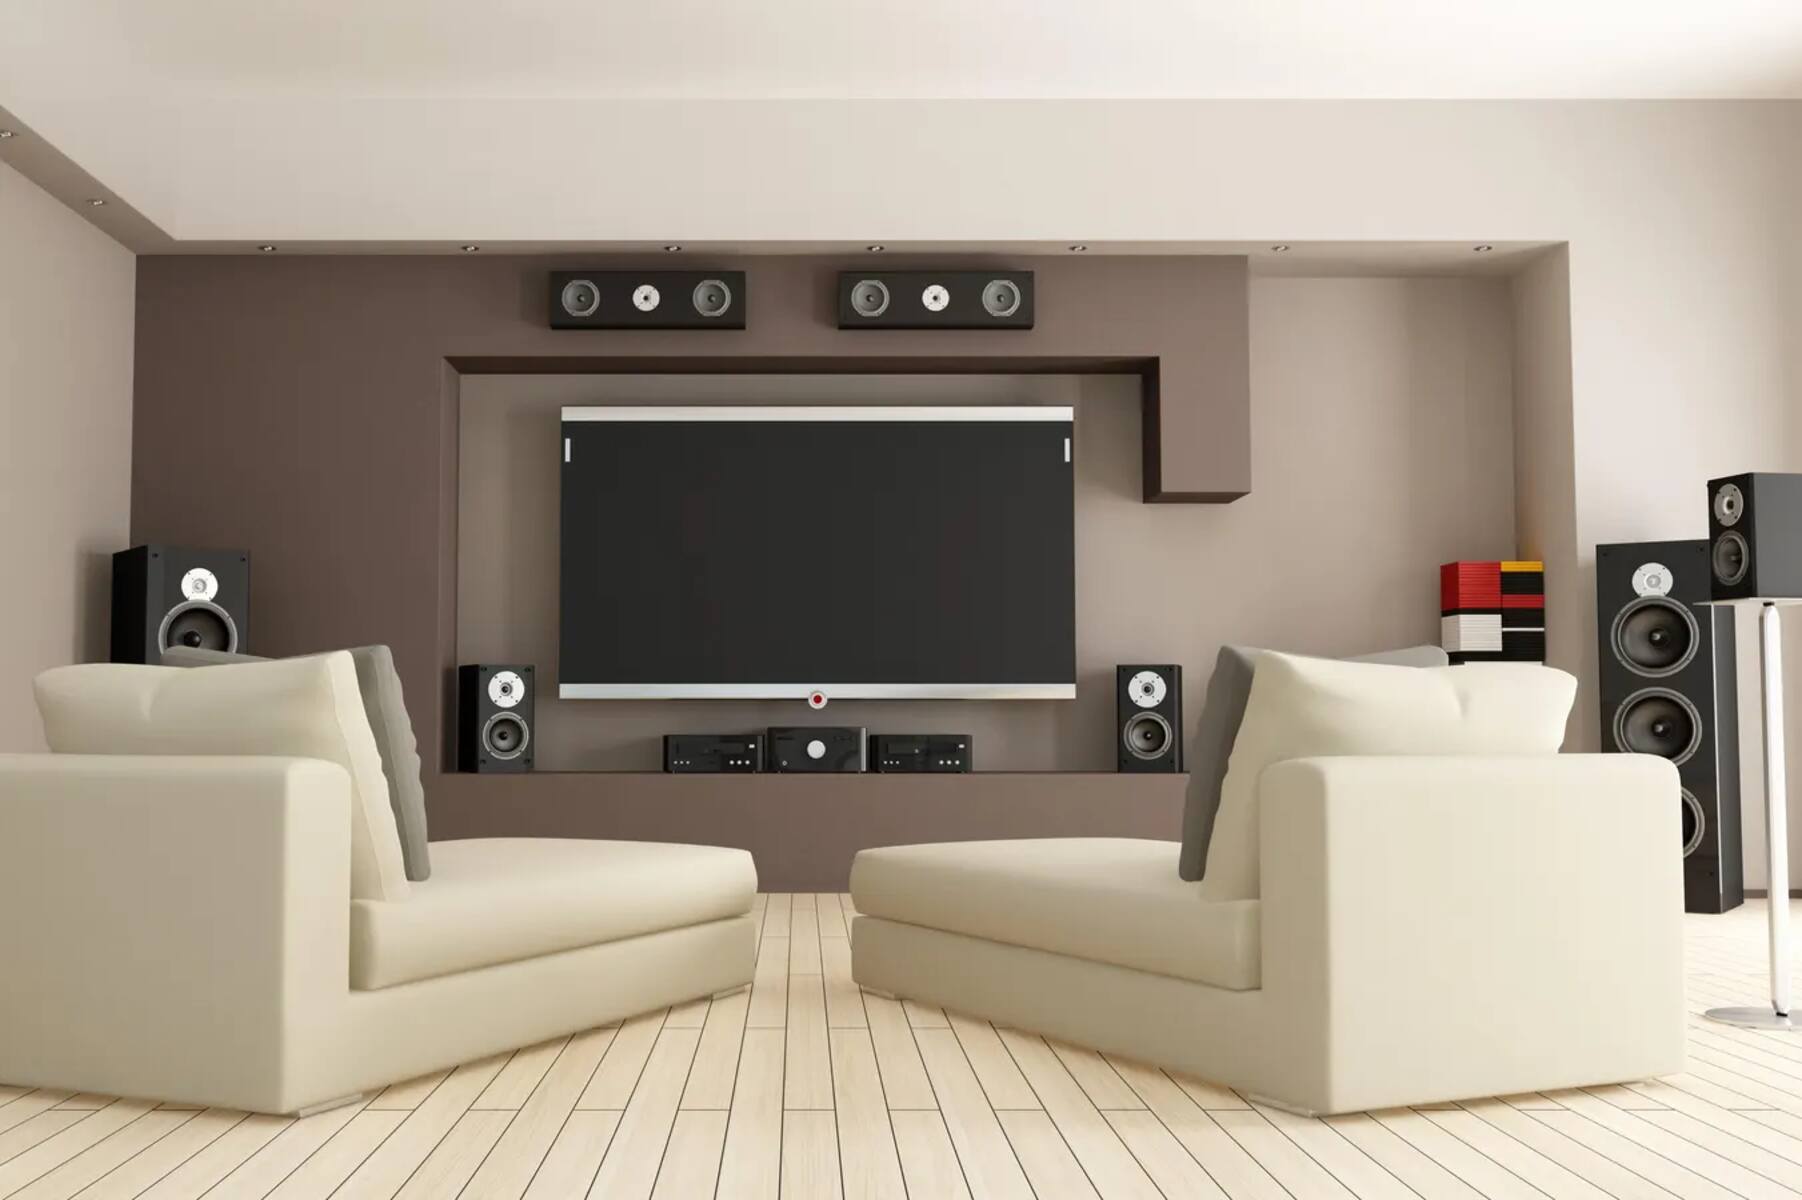
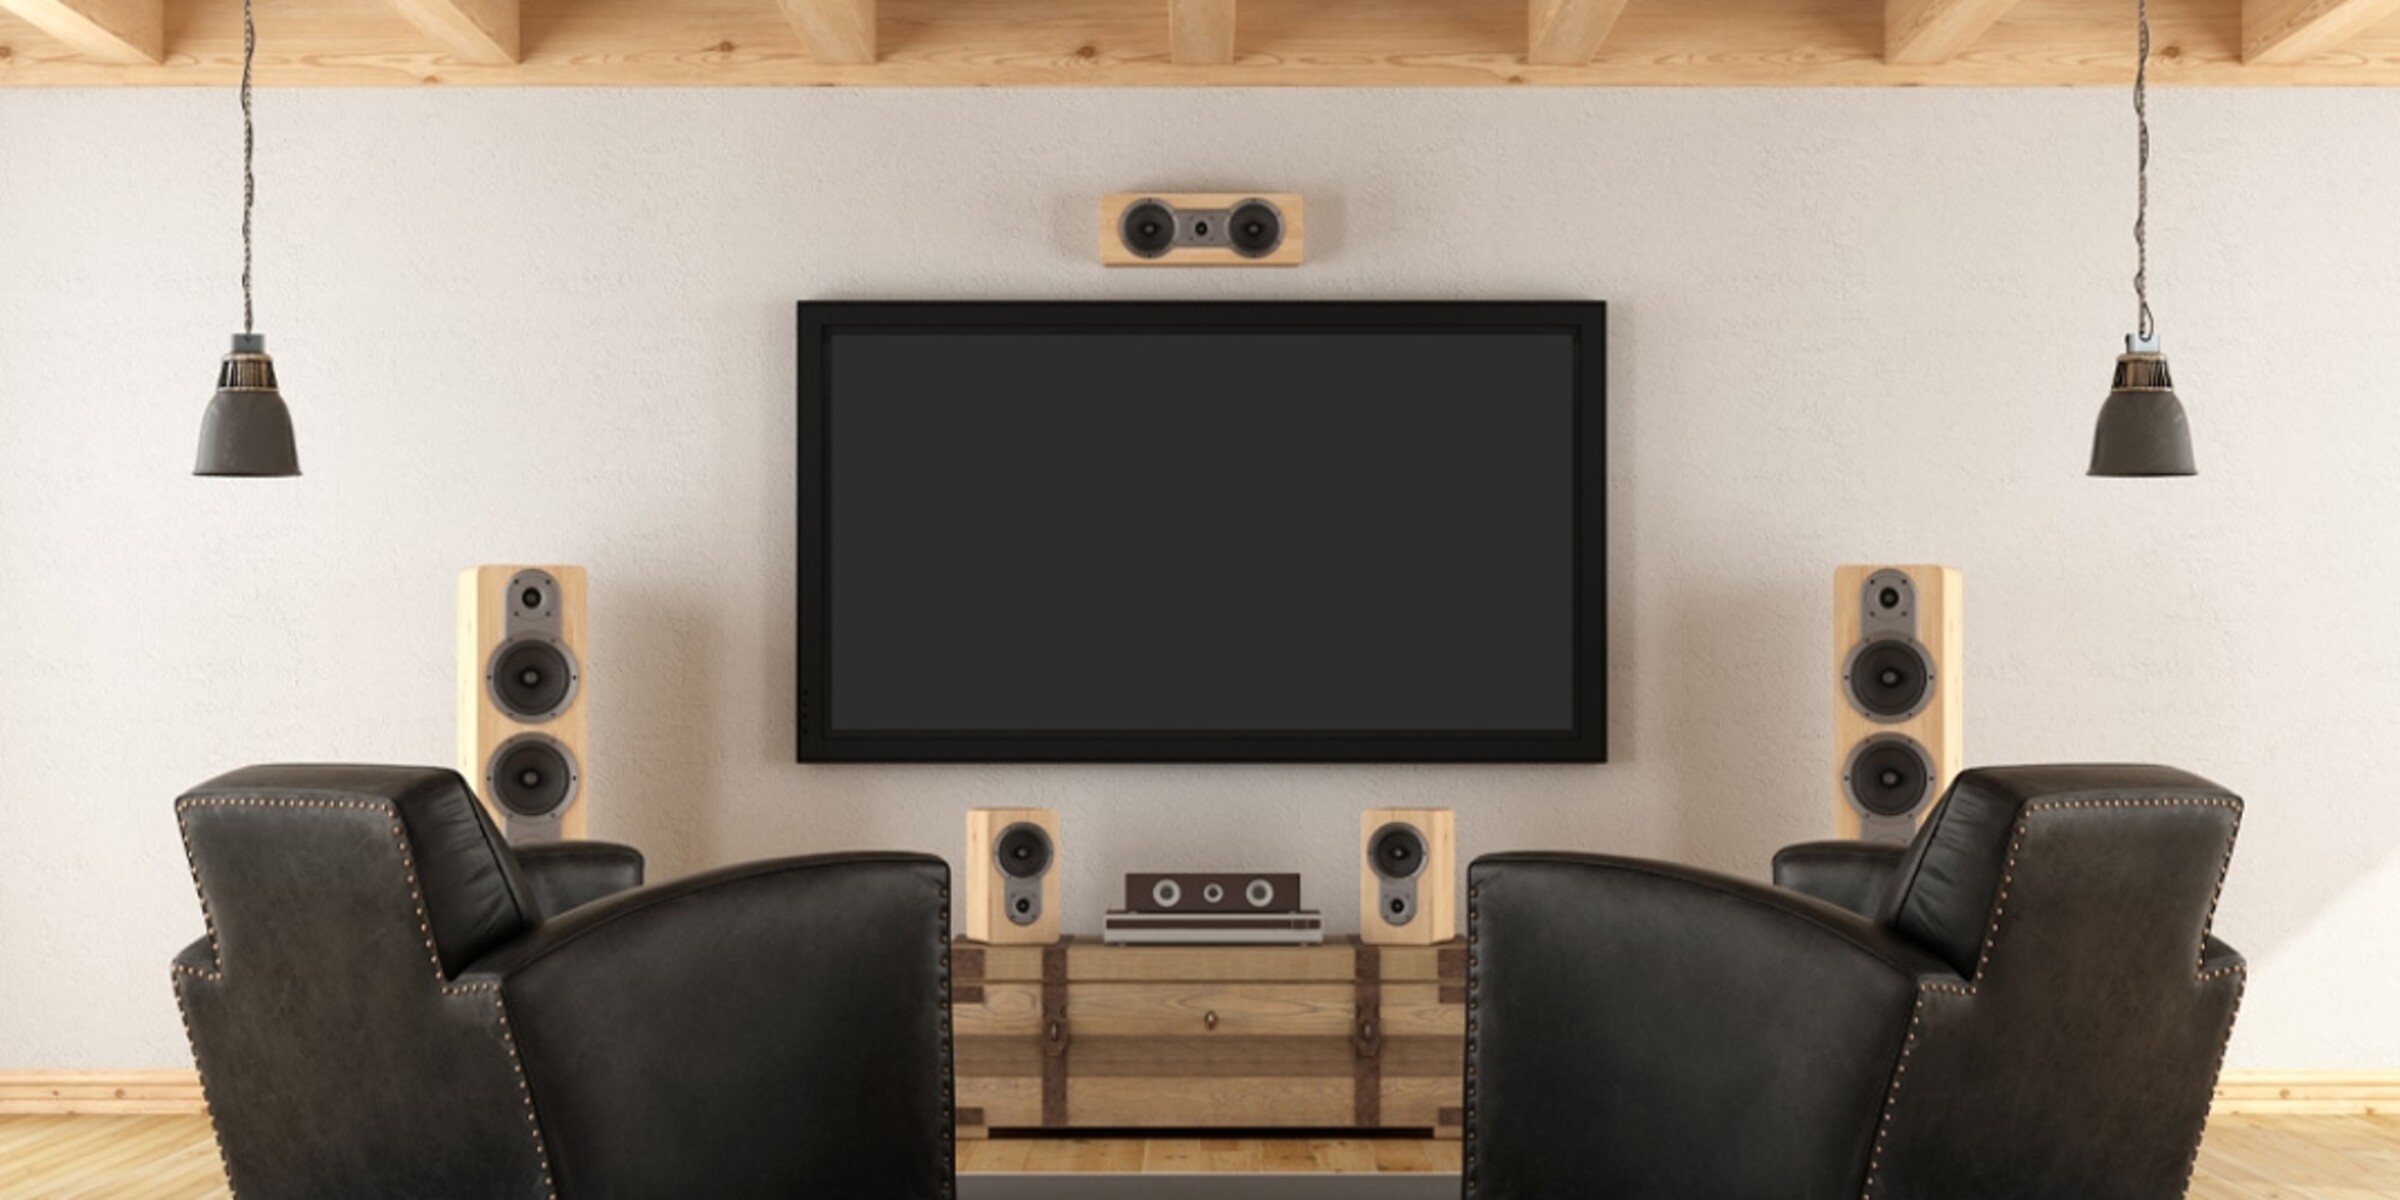
Proper speaker placement is crucial for achieving optimal sound quality and creating an immersive surround sound experience. Each speaker in your surround sound system has a specific purpose, and their positioning plays a significant role in delivering accurate sound imaging and a balanced audio experience. Here are some guidelines to follow when positioning your speakers:
- Center Speaker: The center speaker is responsible for reproducing dialogue and other centrally focused sounds. Ideally, it should be placed directly above or below your television, at ear level. This ensures that dialogue comes from the screen, making it easier to follow conversations and creating a more natural audio experience.
- Front Left and Right Speakers: These speakers provide the majority of the sound in a stereo or surround sound setup. They should be spaced apart, forming an equal distance with the television or the central listening position. Position them at ear level or slightly higher to direct sound towards the listener.
- Surround Speakers: Surround speakers are responsible for creating an immersive soundfield, providing ambient effects, and sound positioning. Place them to the sides or slightly behind the listening position, facing inward. Aim them at ear level or slightly above to create a seamless surround sound experience.
- Subwoofer: The subwoofer produces low-frequency sounds, adding depth and impact to the overall audio experience. Its placement is more forgiving as low-frequency sounds are omnidirectional. Experiment with different positions in the room to find the spot that provides the best balance between bass response and integration with the other speakers.
When positioning your speakers, keep in mind the acoustics of your room and try to minimize any potential reflections or obstructions that may affect sound quality. Here are a few additional tips to consider:
- Speaker Angles: Angle the front left and right speakers towards the listening position, creating an equilateral triangle with the seating area. This helps to create a balanced stereo image and accurate sound staging.
- Speaker Distance from Walls: To minimize unwanted reflections and bass buildup, try to place your speakers a few feet away from walls and corners. This can help to achieve a cleaner and more accurate sound reproduction.
- Room Calibration: Many receivers feature built-in room correction systems or calibration tools that can help optimize the sound quality based on your room’s acoustics. Take advantage of these features to fine-tune the audio performance of your system.
- Speaker Stands and Mounts: Using dedicated speaker stands or wall mounts can help position your speakers at the optimum height and angle. This ensures that sound is directed towards the listener and improves overall sound clarity.
For the best sound experience, take the time to experiment with speaker placement, fine-tuning their positions until you find the optimal arrangement that suits your room and personal preferences. Remember, the goal is to achieve a well-balanced and immersive soundstage that envelops you in audio bliss.
Connecting the Speakers to the Receiver
Now that you have positioned your speakers, it’s time to connect them to your receiver to complete your surround sound system setup. Properly connecting your speakers ensures that they receive the audio signals and produce sound accurately. Here’s a step-by-step guide on how to connect your speakers to the receiver:
- Identify the positive and negative terminals on both your speakers and receiver. The positive terminal is usually indicated by a “+” symbol, while the negative terminal is marked with a “-” symbol.
- Starting with the front left speaker, take the speaker wire and strip off a small portion of insulation from the ends. This will expose the bare wire.
- Insert the exposed wire into the positive speaker terminal of the front left channel on the receiver. Ensure a snug fit by tightening the terminal’s connection mechanism.
- Repeat the above steps to connect the front right speaker, center speaker, surround left speaker, surround right speaker, and any additional speakers in your setup.
- If you have a subwoofer, there are two common methods of connecting it to the receiver. The first method involves using a dedicated subwoofer cable, which typically has an RCA connector on both ends. Connect one end to the subwoofer output on the receiver and the other end to the input on the subwoofer. The second method involves using speaker wire. Connect the positive and negative speaker wire terminals from the subwoofer to the corresponding speaker terminals on the receiver.
- Once all the speakers and subwoofer are connected, double-check that all the connections are secure and that the positive terminals are connected to the positive terminals and negative to negative.
- Power on your receiver and speakers, and navigate to the appropriate audio settings or setup on the receiver’s menu to ensure that all the speakers are detected and properly configured for your desired surround sound setup.
- Play some audio content or perform a sound test to confirm that sound is being produced from each speaker. Adjust the speaker levels and balance as needed to achieve a well-balanced and immersive sound experience.
It’s important to note that some speakers and receivers may have different connection options, such as using banana plugs or binding posts. Follow the specific instructions provided by the manufacturer for the best results.
Remember that when routing your speaker wires, it’s best to keep them away from power cables and other potential sources of interference to minimize the chances of audio distortion or degradation. Neatly organize and secure the wires along baseboards or through cable management options to maintain a clean and clutter-free setup.
By carefully connecting your speakers to the receiver, you’re one step closer to enjoying the immersive audio experience that a surround sound system offers.
Adjusting the Speaker Settings
Once you have connected your speakers to the receiver, it’s important to adjust the speaker settings to optimize the audio performance of your surround sound system. These settings allow you to fine-tune the sound reproduction and ensure a balanced and immersive listening experience. Here are some essential adjustments to consider:
- Speaker Size and Crossover: Configure the speaker size settings on your receiver to match the capabilities of your speakers. This ensures that the appropriate frequency range is directed to each speaker. Additionally, adjust the crossover settings to determine the frequency at which low-frequency sounds are redirected from the main speakers to the subwoofer.
- Channel Levels and Balance: Adjust the channel levels to balance the volume of each speaker relative to one another. This ensures that the soundstage is evenly distributed. You can also adjust the channel balance settings if you find that the sound is unevenly weighted towards one side.
- Distance and Time Delays: Input the distance between each speaker and the main listening position into your receiver’s settings. This allows for precise time alignment between the speakers, ensuring that sound reaches your ears at the same time. Correct time delays enhance the accuracy of sound localization and improve the overall surround sound experience.
- EQ (Equalization): Many receivers offer built-in equalization options to adjust the sound frequencies to suit your room’s acoustics. Use the receiver’s manual or built-in calibration tools to perform an automatic or manual room EQ adjustment. This can help compensate for any room-specific sound reflections or resonances, ensuring a more accurate and balanced audio playback.
- Surround Sound Mode: Experiment with different surround sound modes, such as Dolby Surround or DTS Neural:X, to enhance the sound experience based on the content you’re watching or listening to. These modes can upmix stereo or standard surround sound content to utilize all your speakers for a more enveloping audio experience.
- Dynamic Range Compression: If you find the dynamic range of audio content too wide, leading to excessively loud or soft parts, consider enabling dynamic range compression. This feature reduces the disparity in volume between quiet and loud passages, ensuring a more consistent listening experience.
When adjusting these settings, it’s best to refer to your receiver’s manual for specific instructions. Some receivers may offer automatic calibration systems that use a microphone to analyze the sound environment and make optimal adjustments for you.
Additionally, consider your personal preferences and room acoustics when tweaking the settings. Remember that these adjustments are subjective and can be fine-tuned based on your listening preferences and the characteristics of your space. Take the time to listen to various audio content and make gradual adjustments until you achieve the desired immersive sound experience.
By adjusting the speaker settings on your receiver, you can optimize the audio performance of your surround sound system, ensuring accurate sound reproduction and a more immersive listening experience.
Calibrating the System
Calibrating your surround sound system is an essential step to ensure accurate audio reproduction and optimal performance. Calibration helps fine-tune the settings and adjusts the audio parameters to match your room’s acoustics. Follow these steps to calibrate your system:
- Start by placing the calibration microphone at the main listening position in your room. This is typically where you sit when watching movies or listening to music.
- Access the calibration settings on your receiver, usually found in the audio or setup menu. Some receivers offer automatic calibration systems, while others require manual adjustments.
- Begin the calibration process by following the on-screen instructions or prompts. This may involve running a test tone that plays through each speaker in your system.
- During the calibration process, the microphone picks up the test tones and measures the sound characteristics in your room. The receiver then uses this information to adjust the speaker levels, distances, and other parameters automatically, optimizing the audio performance.
- Once the calibration process is complete, you may have the option to save the settings as a custom profile or choose from pre-set calibration profiles that suit your preferences. Consult your receiver’s manual for detailed instructions on how to save and access these profiles.
- After calibration, it’s recommended to perform a sound test using various audio sources to ensure that all speakers are producing sound correctly and that the audio levels are well-balanced. Make any necessary manual adjustments to the settings if needed.
- Remember that the calibration process may need to be repeated if you make changes to your speaker setup, room layout, or add/remove acoustic treatments.
- Periodically re-evaluate and recalibrate your system to account for any changes in your room acoustics or equipment performance. This will help to maintain audio accuracy and ensure an optimal listening experience over time.
Calibrating your system provides an objective and systematic approach to optimizing the audio performance of your surround sound setup. It takes into account the characteristics of your room, speaker placement, and other factors that can impact sound quality, resulting in a more accurate and immersive experience.
Consult your receiver’s manual for specific calibration instructions as the process may vary depending on the brand and model you own. Take the time to calibrate your system properly, as it can make a significant difference in the overall audio quality and enjoyment of your surround sound system.
Testing the Surround Sound System
After setting up and calibrating your surround sound system, it’s time to put it to the test and experience the immersive audio it offers. Testing your system allows you to confirm that everything is functioning correctly and ensures that you’re getting the best audio performance. Here are some key steps to follow when testing your surround sound system:
- Choose a piece of audio content that is specifically encoded for surround sound, such as a Blu-ray movie with a high-quality sound mix or a video game known for its immersive audio design. This will fully showcase the capabilities of your system.
- Carefully select the listening position in your room. This should be the primary seating position where you intend to experience the surround sound effect. Sit in the middle of the room and try to align yourself with the front left and front right speakers.
- Start playing the chosen audio content and pay close attention to the sound coming from each speaker. Verify that the dialogue is clear and centered with the center speaker, and that sound effects and music are accurately positioned within the surround sound field.
- During playback, listen for any imbalances in the audio. If you notice that certain speakers are significantly louder or quieter than others, return to the receiver’s settings to make further adjustments to the channel levels and balance accordingly.
- Test the low-frequency response of your subwoofer by playing content with deep bass tones. Ensure that the subwoofer is producing powerful, well-defined bass without overpowering or distorting other frequencies.
- Experiment with different surround sound modes, such as movie, music, or game modes, to evaluate their impact on the audio experience. Compare the differences in soundstage and effect depending on the content being played.
- Pay attention to any audio artifacts or anomalies that may occur, such as distortion, clipping, or unwanted background noise. If you encounter any issues, refer to the troubleshooting section or consult your receiver’s manual for potential solutions.
- Take the time to adjust the volume levels to your desired listening preferences. Find a balance between immersiveness and comfort, ensuring that the audio is engaging without becoming overwhelming or fatiguing.
- Invite friends or family to experience your surround sound system and gather their feedback. Their perspectives can help you identify any areas for improvement and ensure that your system is providing an enjoyable and immersive audio experience for everyone.
Testing your surround sound system allows you to fine-tune the audio settings, evaluate the accuracy of sound reproduction, and ensure that each speaker is performing optimally. By taking the time to test and make any necessary adjustments, you can fully appreciate the immersive audio experience that your surround sound system delivers.
Troubleshooting Common Issues
Even with careful setup and calibration, you may encounter common issues with your surround sound system. Fortunately, most issues can be easily resolved with a bit of troubleshooting. Here are some common issues you might encounter and their possible solutions:
- No Sound: If you’re not getting any sound from your speakers, check the receiver’s audio settings to ensure the correct audio input is selected. Verify that all the speaker connections are secure and that the speaker wires are properly connected. Double-check the volume levels on the receiver and ensure that the speakers are not muted. Also, make sure the content you’re playing is encoded in a surround sound format and that your audio source is connected properly.
- Imbalanced Audio: If you notice that certain speakers are louder or softer than others, adjust the channel levels in your receiver’s settings. Increase or decrease the volume for each channel until the sound is evenly balanced. You can also verify that the speaker wires are correctly connected and that the speaker settings in the receiver match the speaker configuration in your system.
- No Dialogue or Low Center Channel Volume: If dialogue is difficult to hear or the center speaker output is low, check the receiver’s audio settings and ensure that it is properly configured for a center channel speaker. Verify that the center speaker is positioned correctly and that the speaker wire connections are secure. If needed, increase the center channel volume specifically to improve dialogue clarity.
- Poor Bass Response: If you feel that the bass is lacking or weak in your system, check the settings on your receiver and make sure that the subwoofer is enabled and properly connected. Adjust the subwoofer level and crossover settings to ensure that the bass frequencies are being directed to the subwoofer and integrated well with the other speakers. If necessary, reposition the subwoofer in the room to optimize bass response.
- Audio Dropouts: If you experience intermittent audio dropouts or interruptions, check for potential interference sources such as wireless devices, other electrical equipment, or nearby Wi-Fi routers. Try repositioning the receiver and any wireless devices away from potential sources of interference. Also, ensure that all cables and connections are secure and free from damage.
- Overheating: If your receiver or speakers are overheating, ensure that there is adequate ventilation in the equipment’s location. Avoid stacking devices on top of each other, as this can restrict airflow. Consider using cooling fans or relocating the equipment to a cooler area, if necessary.
Remember, troubleshooting steps may vary depending on your specific equipment and setup. Consult your receiver’s manual and follow the manufacturer’s recommendations for troubleshooting and resolving issues specific to your equipment.
If you encounter persistent issues that you are unable to resolve, consider contacting technical support or seeking assistance from a professional audio technician who can diagnose and address the problem.
With proper troubleshooting, you can overcome common issues and fine-tune your surround sound system to deliver an optimal and enjoyable audio experience.
Conclusion
Congratulations on setting up your very own surround sound system! By following the steps outlined in this guide, you have learned how to choose the right speakers and receiver, understand different surround sound formats, position speakers for optimal sound, connect them to the receiver, adjust speaker settings, calibrate the system, test the audio performance, and troubleshoot common issues.
Building a surround sound system can transform your audio experience, immersing you in rich, dynamic sound that enhances your movies, music, and gaming sessions. With the right speakers, receiver, and proper calibration, you can enjoy a truly enveloping audio environment that brings your entertainment to life.
Remember, fine-tuning your system and experimenting with different audio content will help you find the perfect balance and settings for your personal preferences. Don’t be afraid to make adjustments and seek expert advice if needed.
Now that you have completed the setup and calibration process, sit back, relax, and enjoy the incredible soundscapes that your surround sound system creates. Immerse yourself in every movie scene, feel the energy of your favorite music, and dive into the immersive world of gaming like never before.
Happy listening!