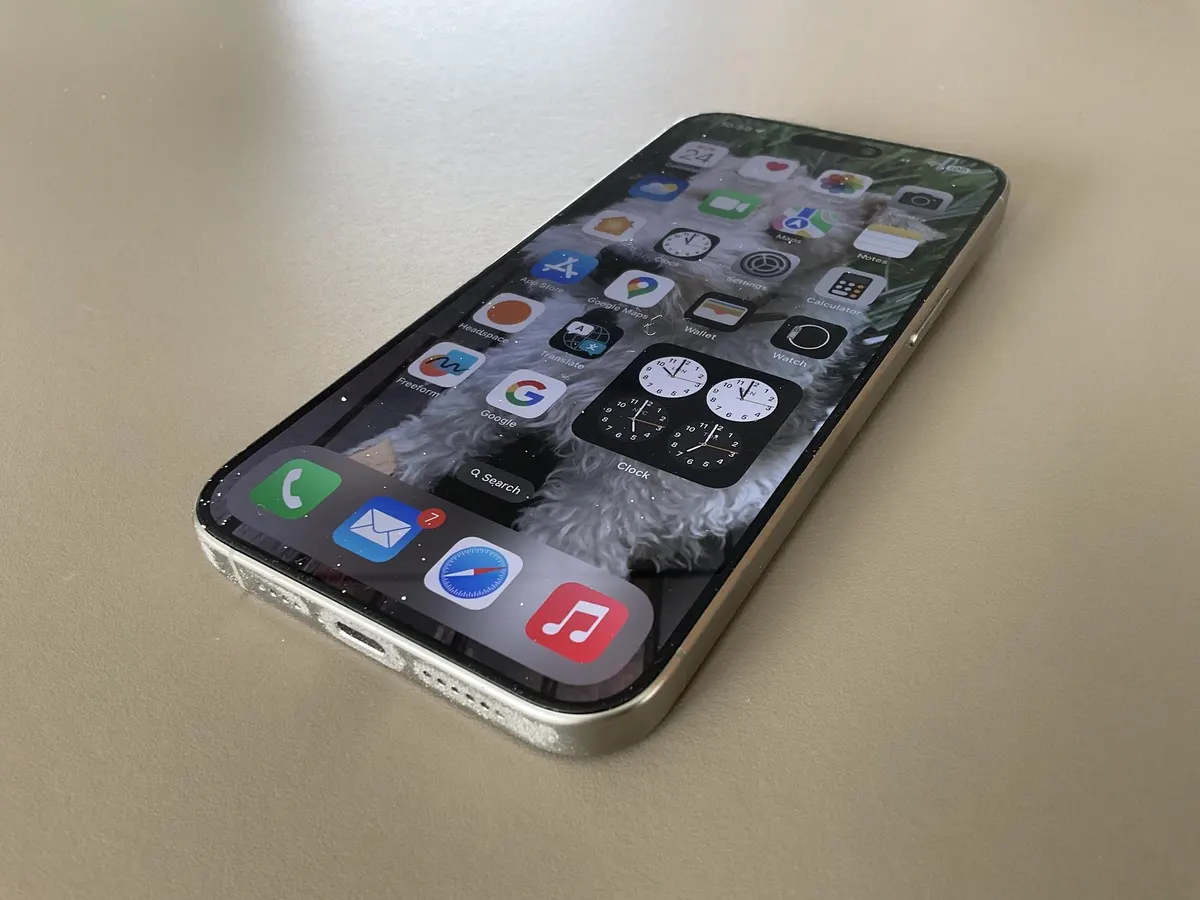
Introduction
Inserting a SIM card into an iPhone is a fundamental step in setting up your device for mobile connectivity. Whether you're activating a new iPhone or replacing an existing SIM card, this process is essential for accessing cellular networks and enjoying the full functionality of your device. Understanding how to insert a SIM card into your iPhone empowers you to seamlessly transition between different devices or carriers, ensuring that you stay connected wherever you go.
In this comprehensive guide, we will walk you through the step-by-step process of inserting a SIM card into your iPhone. By following these instructions, you can easily complete this task without any hassle. Whether you're a first-time iPhone user or simply need a refresher on this procedure, this guide will equip you with the knowledge and confidence to handle the task with ease.
Now, let's delve into the details of each step, providing you with clear and concise instructions to successfully insert your SIM card into your iPhone. Whether you have an iPhone 6, iPhone 11, or any other model, the process remains consistent, making it easy to follow along regardless of your device. Let's get started on this essential journey to ensure your iPhone is ready to keep you connected at all times.
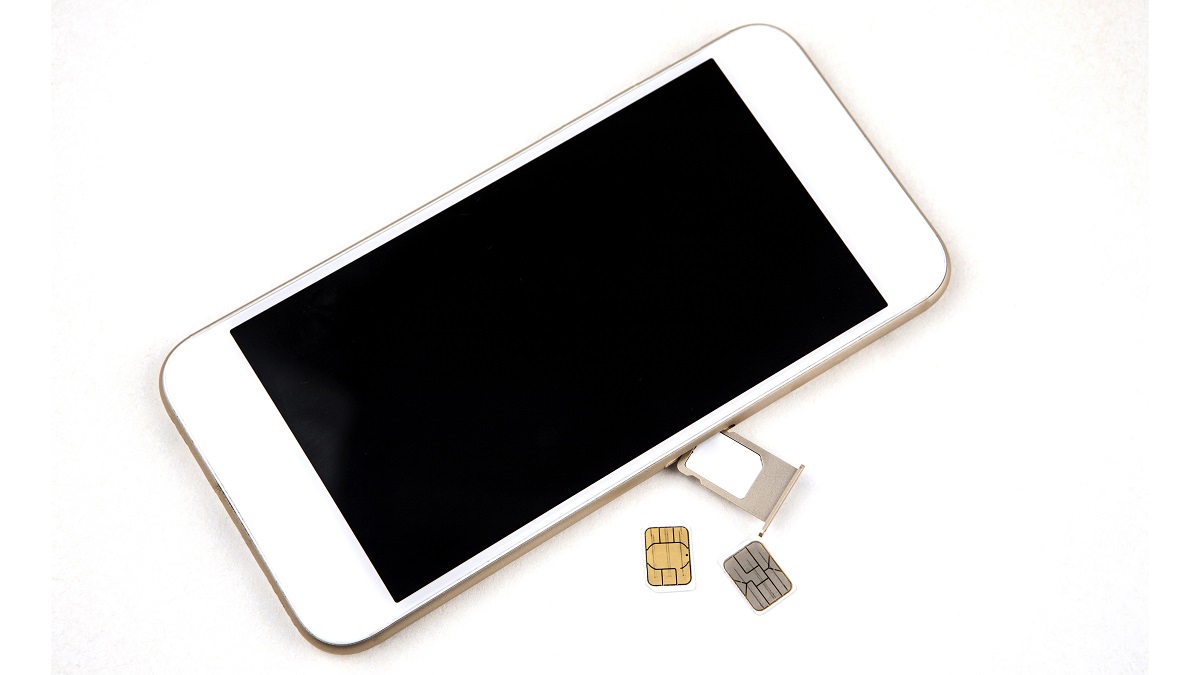
Step 1: Locate the SIM card tray
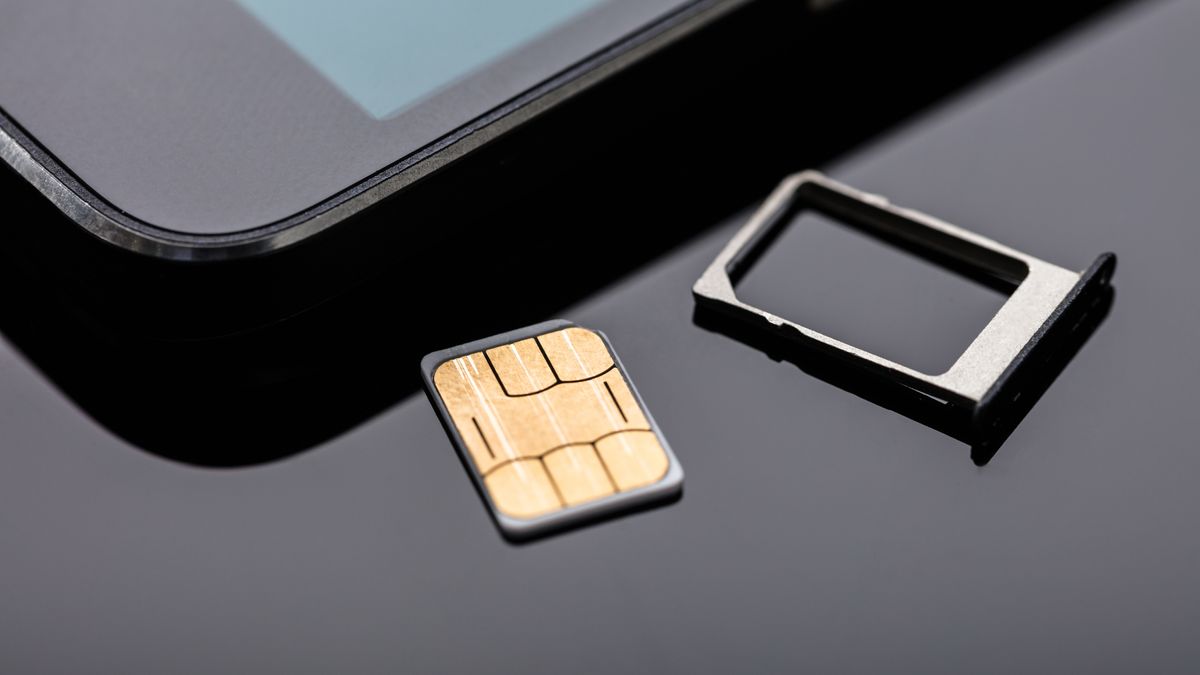
Locating the SIM card tray is the first crucial step in the process of inserting a SIM card into your iPhone. The SIM card tray is a small, recessed slot typically located on the side of your iPhone. The exact placement of the SIM card tray may vary depending on the iPhone model, but it is commonly found on the right-hand side of the device. To ensure a smooth and successful SIM card installation, follow these detailed steps to locate the SIM card tray on your iPhone:
-
Identify the Side of Your iPhone: Begin by identifying the side of your iPhone where the SIM card tray is located. On most iPhone models, including the iPhone 6, 7, 8, X, and 11, the SIM card tray is situated on the right-hand side of the device. However, for newer models such as the iPhone 12 and 13, the SIM card tray may be located on the left-hand side. Take a moment to visually inspect the sides of your iPhone to pinpoint the location of the SIM card tray.
-
Look for the SIM Card Tray Slot: Once you have determined the side of your iPhone where the SIM card tray is situated, look for a small pinhole or slot. This slot is where the SIM card tray is housed. It is essential to handle your iPhone gently and pay close attention to avoid causing any damage to the device.
-
Use the SIM Card Ejector Tool: Apple provides a SIM card ejector tool with every iPhone. This small, needle-like tool is designed to fit into the pinhole on the SIM card tray, allowing you to eject the tray smoothly. If you have the SIM card ejector tool, keep it handy as you prepare to proceed with the next steps.
By carefully following these steps, you can successfully locate the SIM card tray on your iPhone, setting the stage for the subsequent steps in the process of inserting your SIM card. With the SIM card tray now identified, you are ready to proceed to the next step of ejecting the tray in preparation for inserting the SIM card.
This first step is pivotal in ensuring that you are well-prepared to navigate the SIM card installation process with confidence and precision. Now that you have located the SIM card tray, let's move on to the next step to continue the seamless insertion of your SIM card into your iPhone.
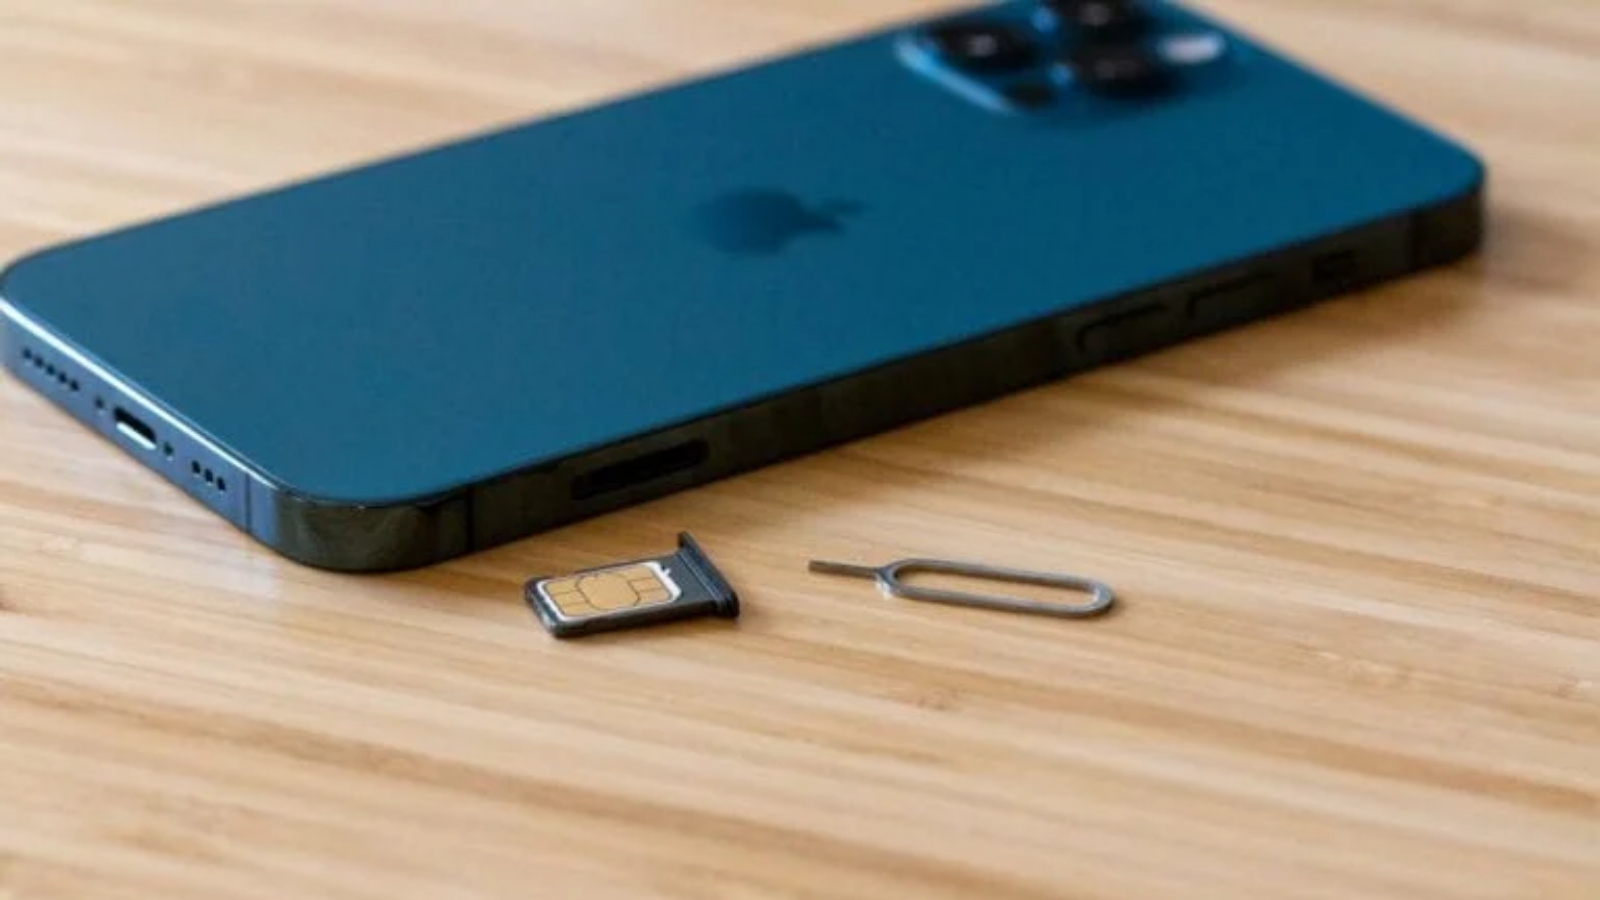
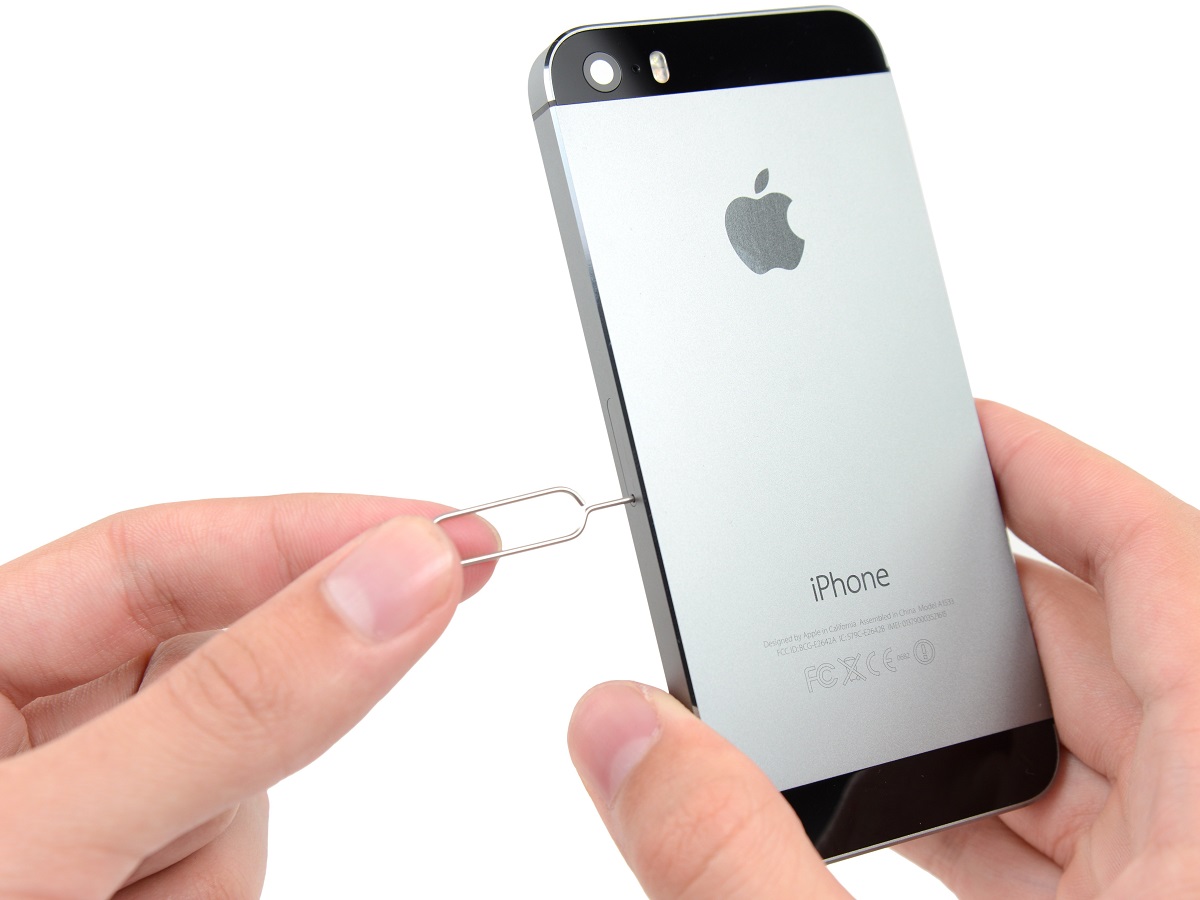
Step 2: Eject the SIM card tray
Ejecting the SIM card tray is a crucial step that paves the way for seamlessly inserting your SIM card into your iPhone. This process requires precision and care to ensure that the SIM card tray is safely removed without causing any damage to your device. Here's a detailed walkthrough of the steps involved in ejecting the SIM card tray from your iPhone:
-
Prepare the SIM Card Ejector Tool: Retrieve the SIM card ejector tool that was included with your iPhone. This small, specialized tool is essential for ejecting the SIM card tray and is specifically designed to fit into the pinhole on the tray.
-
Insert the Ejector Tool: Hold your iPhone securely and identify the pinhole on the SIM card tray. Insert the pointed end of the SIM card ejector tool into the pinhole with gentle pressure. The tool should fit snugly into the pinhole, preparing it for the next step.
-
Apply Even Pressure: Once the ejector tool is inserted into the pinhole, apply consistent and even pressure to gently push the tool further into the pinhole. This action triggers the internal mechanism that releases the SIM card tray from its position within the iPhone.
-
Eject the SIM Card Tray: As you apply pressure with the ejector tool, you will feel a slight resistance, followed by the SIM card tray protruding from the iPhone. Carefully pull the SIM card tray out of the device using the ejector tool, ensuring a smooth and controlled motion to avoid any mishaps.
-
Remove the SIM Card Tray: Once the SIM card tray is partially ejected, carefully remove it from the iPhone using your fingers. Handle the tray with care, ensuring that you do not apply excessive force that could potentially damage the tray or the iPhone's SIM card slot.
By following these detailed steps, you can successfully eject the SIM card tray from your iPhone, setting the stage for the next phase of inserting your SIM card. This pivotal step ensures that you are well-prepared to proceed with the seamless installation of your SIM card, ultimately enabling your iPhone to connect to cellular networks and function as intended.
With the SIM card tray now ejected, you are ready to move on to the next step of inserting the SIM card into the tray, bringing you one step closer to completing the process of preparing your iPhone for connectivity.
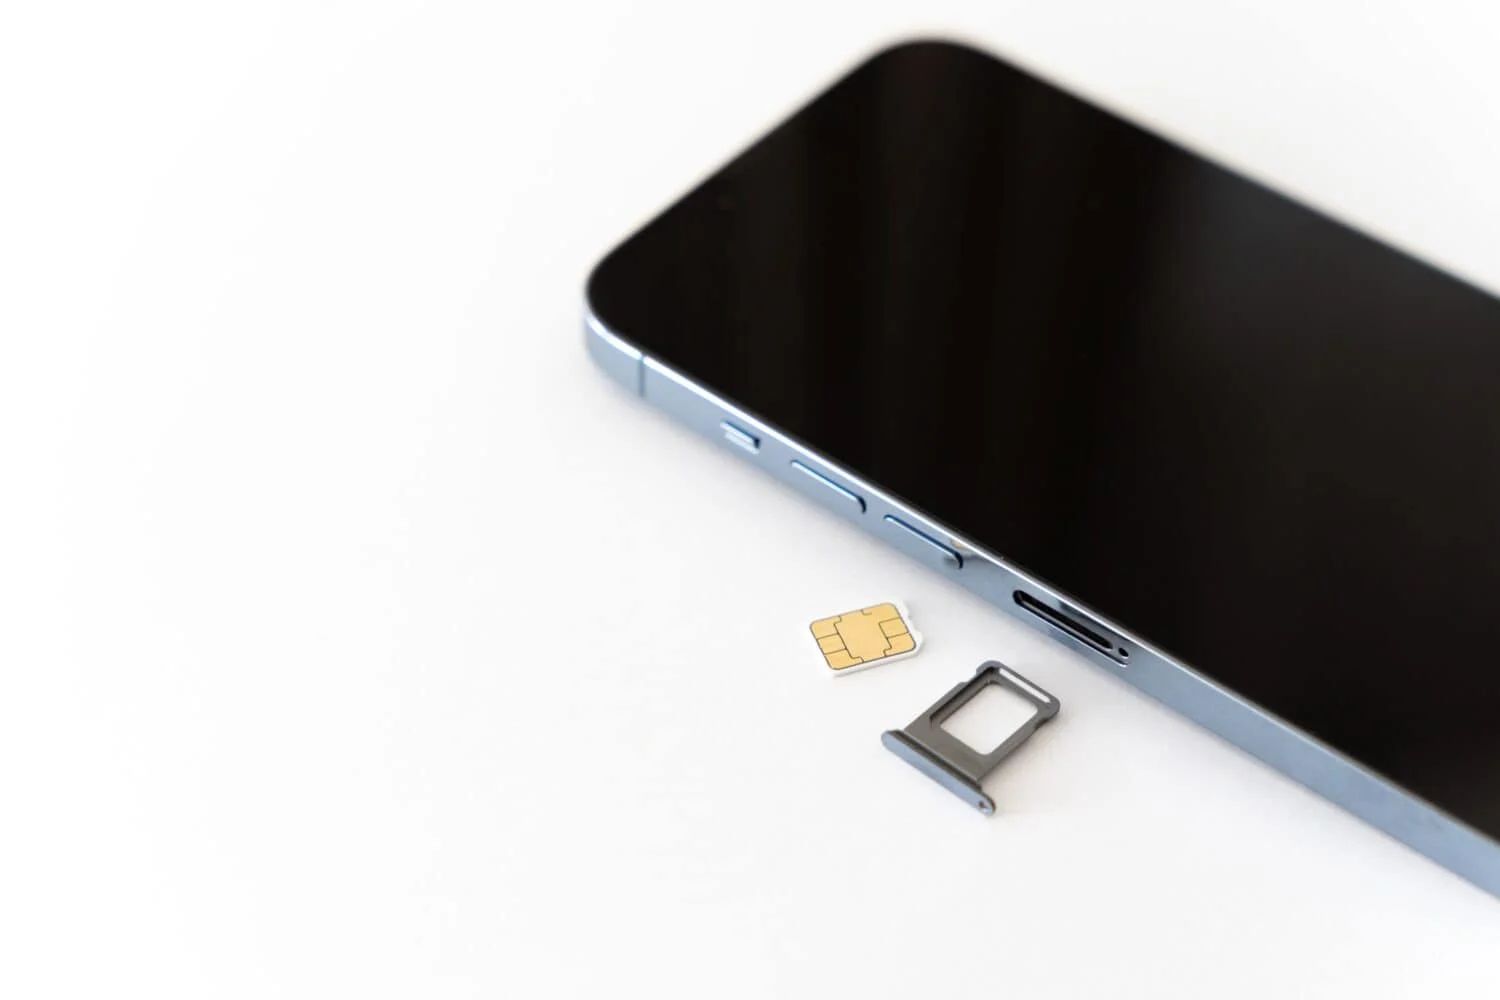
Step 3: Insert the SIM card
After successfully ejecting the SIM card tray from your iPhone, the next crucial step is to insert the SIM card into the tray. This process requires precision and attention to detail to ensure that the SIM card is properly aligned and securely placed within the tray. Follow these detailed steps to seamlessly insert the SIM card into your iPhone:
-
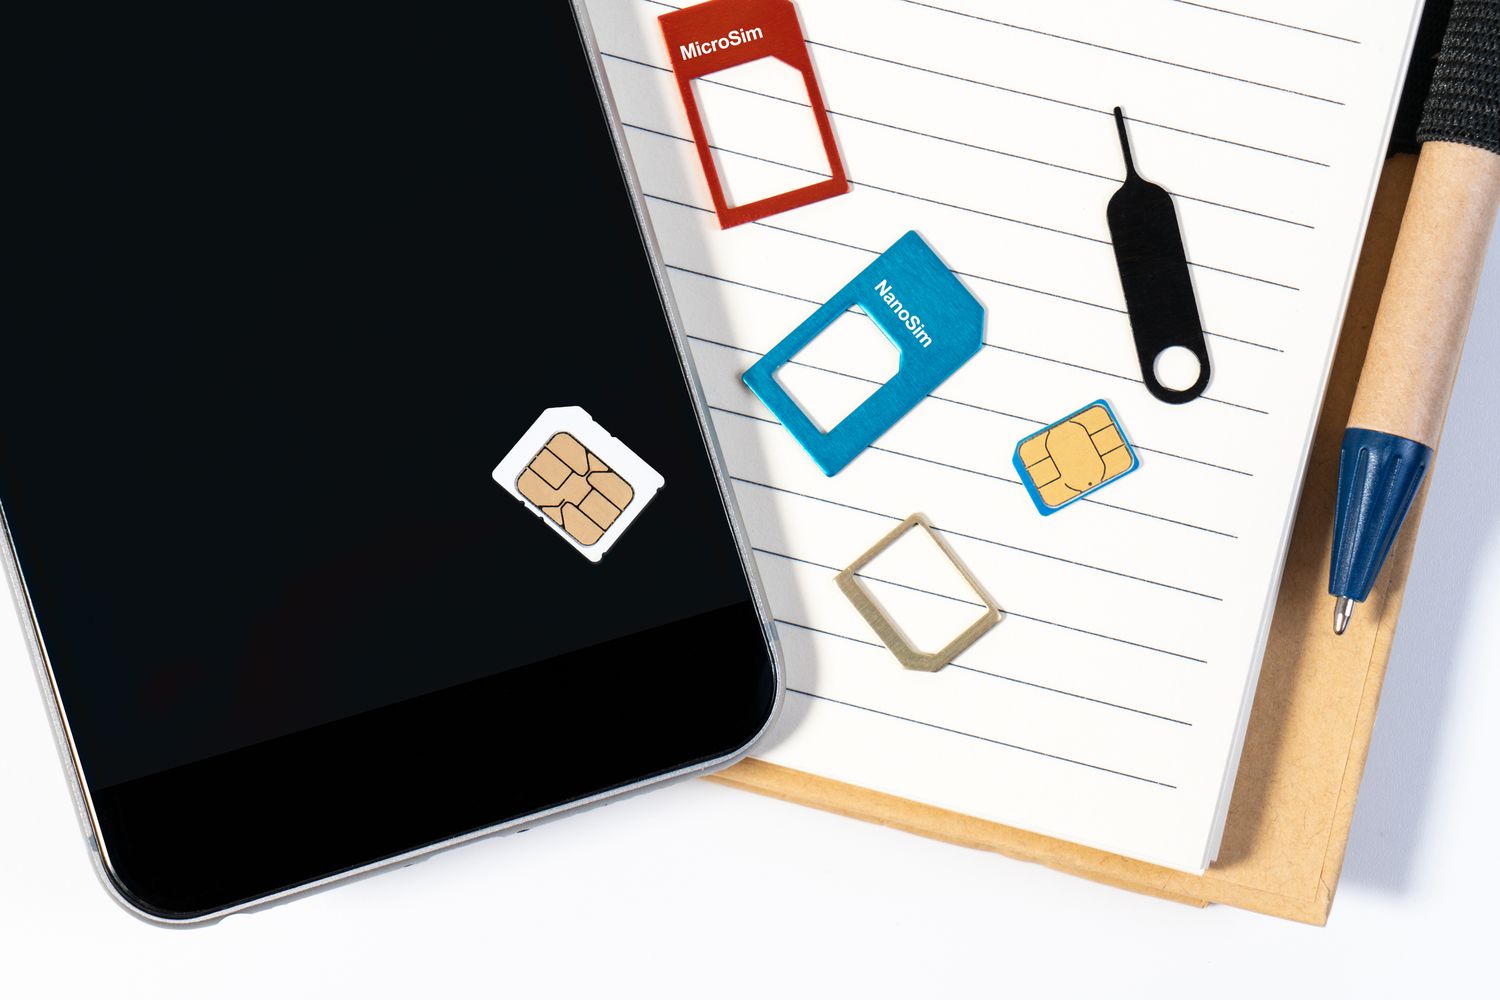
Prepare the SIM Card: Before inserting the SIM card, take a moment to inspect it. Ensure that the SIM card is free from any visible damage and is oriented correctly. Most SIM cards have a notched corner that aligns with the corresponding notch in the SIM card tray, allowing for the correct positioning.
-
Position the SIM Card Tray: Hold the SIM card tray securely, ensuring that it is oriented in the correct position to receive the SIM card. Take note of the notch or groove within the tray, as this indicates the precise placement for the SIM card.
-
Align the SIM Card: Carefully position the SIM card within the tray, aligning the notched corner of the card with the corresponding notch or groove in the tray. It is essential to align the SIM card correctly to prevent any issues with connectivity or tray insertion.
-
Gently Insert the SIM Card: Once the SIM card is aligned with the tray, gently slide it into the designated slot within the tray. Apply even pressure to ensure that the SIM card smoothly enters the slot without any resistance.
-
Secure the SIM Card Tray: With the SIM card inserted, carefully position the SIM card tray back into the iPhone. Ensure that the tray fits securely into the slot, aligning it with the device's frame to maintain a flush and seamless appearance.
By following these detailed steps, you can successfully insert the SIM card into your iPhone, setting the stage for the final phase of reinserting the SIM card tray. This pivotal step ensures that your SIM card is securely placed within the device, allowing for seamless connectivity and network access.
Now that the SIM card is securely inserted, you are ready to proceed to the next step of reinserting the SIM card tray into your iPhone, bringing you one step closer to completing the process of preparing your device for mobile connectivity.
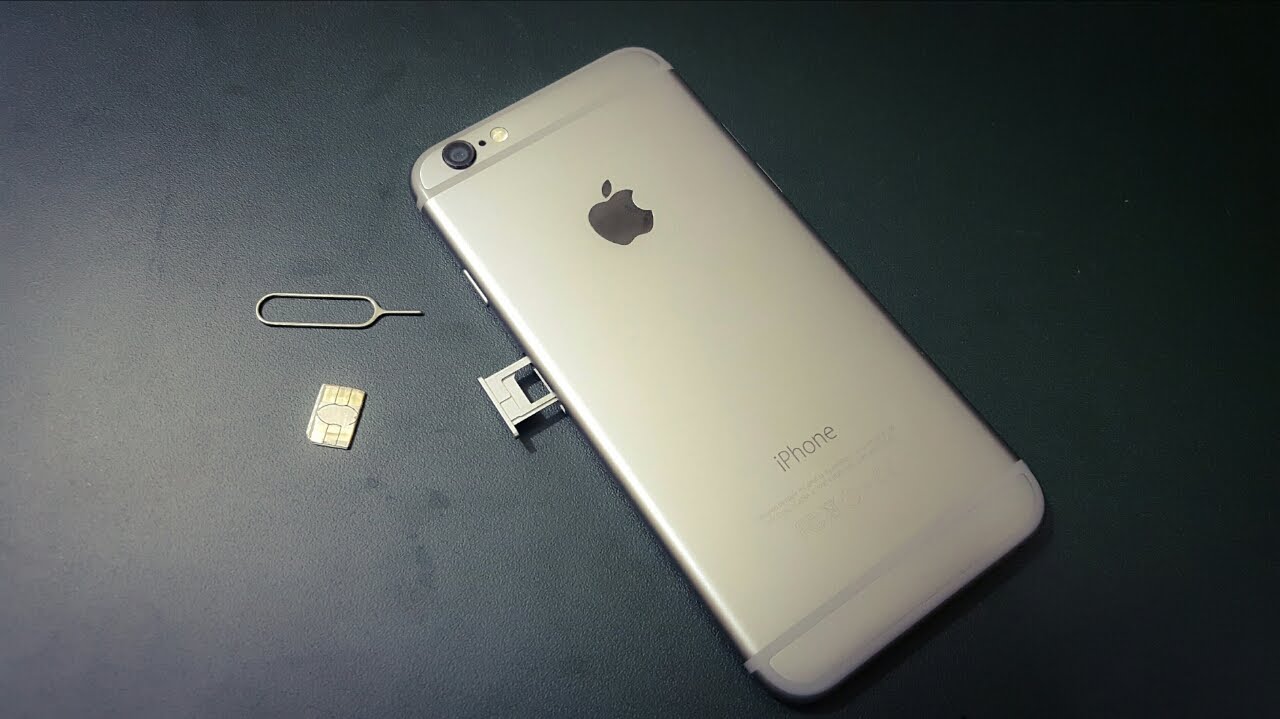
Step 4: Reinsert the SIM card tray
With the SIM card successfully inserted into your iPhone, the final step in the process involves reinserting the SIM card tray back into the device. This step is crucial in ensuring that the SIM card is securely housed within the iPhone, allowing for seamless connectivity and network access. Follow these detailed steps to smoothly reinsert the SIM card tray into your iPhone:
-
Position the SIM Card Tray: Hold the SIM card tray securely, ensuring that the orientation is correct for reinsertion into the iPhone. Take note of the alignment of the tray with the device's frame to ensure a seamless fit.
-
Align the Tray with the Slot: Carefully align the SIM card tray with the slot on the side of your iPhone. The tray should fit snugly into the slot, with the edges aligned with the device's frame for a flush and secure fit.
-
Gently Insert the Tray: With the tray aligned, gently slide it back into the iPhone, ensuring that it enters the slot smoothly without any resistance. Apply even pressure to guide the tray back into its original position within the device.
-
Secure the Tray: Once the tray is fully inserted, ensure that it sits flush with the device's frame, maintaining a seamless and secure fit. The tray should not protrude from the device, and it should align with the surrounding edges for a polished appearance.
By following these detailed steps, you can successfully reinsert the SIM card tray into your iPhone, completing the essential process of preparing your device for mobile connectivity. With the tray securely in place, your iPhone is now ready to connect to cellular networks and leverage its full range of communication capabilities.
Completing the reinsertion of the SIM card tray marks the final step in this process, ensuring that your iPhone is fully equipped to keep you connected wherever you go. Whether you're activating a new iPhone or replacing an existing SIM card, mastering the art of inserting and reinserting the SIM card tray empowers you to seamlessly manage your device's connectivity with confidence and ease.
Conclusion
Congratulations! You have successfully completed the process of inserting a SIM card into your iPhone. By following the step-by-step guide outlined in this comprehensive walkthrough, you have gained the knowledge and confidence to handle this essential task with ease. Whether you are setting up a new iPhone, switching to a new carrier, or replacing an existing SIM card, mastering the art of managing your device's connectivity empowers you to stay seamlessly connected at all times.
The process of inserting a SIM card into your iPhone is a fundamental step that ensures your device's readiness to access cellular networks, make calls, send messages, and utilize mobile data. With the SIM card securely housed within your iPhone, you can enjoy the full range of communication capabilities and leverage the advanced features of your device without any interruptions.
As you reflect on the journey of inserting the SIM card into your iPhone, it's important to recognize the significance of this process in enabling your device to serve as a reliable communication tool. Whether you are a seasoned iPhone user or embarking on your first experience with an Apple device, mastering the essential tasks of device setup and management allows you to make the most of your iPhone's capabilities.
Furthermore, understanding the intricacies of inserting and reinserting the SIM card tray empowers you to seamlessly transition between different devices or carriers, ensuring that you can adapt to changing connectivity needs with confidence. This knowledge not only enhances your ability to manage your iPhone effectively but also fosters a deeper understanding of the device's hardware components and functionality.
As you embark on your journey with your iPhone, remember that the process of inserting a SIM card is just one of the many steps that contribute to the overall experience of using your device. Embracing the capabilities of your iPhone and leveraging its connectivity features allows you to stay connected, informed, and engaged in a dynamic and interconnected world.
With the SIM card securely in place, your iPhone is now primed to keep you connected, whether you're making calls, sending texts, browsing the web, or accessing a myriad of apps and services. This seamless connectivity forms the foundation for a rich and immersive mobile experience, enabling you to harness the full potential of your iPhone as a versatile communication and productivity tool.
In conclusion, mastering the process of inserting a SIM card into your iPhone is a valuable skill that empowers you to seamlessly manage your device's connectivity and adapt to evolving communication needs. With this essential task completed, you are now equipped to embark on your iPhone journey with confidence, knowing that your device is ready to keep you connected at all times.