Introduction
Inserting a SIM card into an iPhone 3G is a straightforward process that allows you to activate cellular services and connect with your contacts. Whether you're setting up a new device or replacing an existing SIM card, understanding the steps involved can help you complete the task effortlessly. This guide will walk you through the simple and essential steps required to insert a SIM card into your iPhone 3G, enabling you to seamlessly integrate your device with your cellular network.
Ensuring that your iPhone 3G is equipped with a properly inserted SIM card is fundamental to its functionality. With this small but vital component in place, you'll have access to essential features such as making calls, sending text messages, and using mobile data. By following the instructions provided in this guide, you'll be able to complete the process with ease, allowing you to fully enjoy the capabilities of your iPhone 3G.
The process of inserting a SIM card into your iPhone 3G is an integral part of setting up your device for mobile communication. Whether you're a first-time iPhone user or upgrading to a new device, understanding how to insert a SIM card is crucial. This guide will provide you with the necessary steps to ensure that your iPhone 3G is ready to connect to your mobile network, allowing you to stay in touch with friends, family, and colleagues wherever you go.
By familiarizing yourself with the process of inserting a SIM card into your iPhone 3G, you'll gain confidence in managing your device's essential components. This knowledge empowers you to troubleshoot potential connectivity issues and ensures that your iPhone 3G is always ready to keep you connected. Let's dive into the simple yet important steps required to complete this task and get your iPhone 3G ready for seamless communication.
Step 1: Locate the SIM card slot
The first step in inserting a SIM card into your iPhone 3G is to locate the SIM card slot. The SIM card slot on the iPhone 3G is situated on the top edge of the device. To find it, hold your iPhone 3G with the screen facing up and the power button at the top. Direct your attention to the top edge of the device, where you will notice a small, recessed slot. This is the location of the SIM card slot.
Upon identifying the SIM card slot, you may notice a tiny pinhole adjacent to it. This pinhole is the ejection mechanism for the SIM card tray, which is used to securely hold the SIM card in place within the device. Familiarizing yourself with the physical location of the SIM card slot and the ejection mechanism prepares you for the subsequent steps involved in the process.
Locating the SIM card slot is a crucial initial step that sets the stage for successfully inserting the SIM card into your iPhone 3G. By identifying the precise location of the slot and the ejection mechanism, you are poised to proceed with confidence and precision, ensuring that the SIM card is securely and correctly installed within the device.
With the location of the SIM card slot now clear, you are ready to move on to the next step in the process, which involves ejecting the SIM card tray from your iPhone 3G. This step will allow you to access the compartment where the SIM card will be placed, setting the stage for the seamless integration of the card into your device. Let's proceed to the next step and continue the process of inserting the SIM card into your iPhone 3G.
Step 2: Eject the SIM card tray
Ejecting the SIM card tray from your iPhone 3G is a pivotal step in the process of inserting a SIM card into the device. This action grants you access to the compartment where the SIM card will be housed, allowing for a smooth and secure installation. To eject the SIM card tray, you will need a SIM eject tool or a small, unfolded paperclip.
Begin by locating the small pinhole adjacent to the SIM card slot on the top edge of your iPhone 3G. This pinhole serves as the access point for the SIM eject tool or paperclip. Insert the tool or paperclip into the pinhole, applying gentle pressure until you feel a slight resistance. This action triggers the release of the SIM card tray, causing it to protrude from the device.
Once the SIM card tray is partially ejected, carefully grasp it and pull it out of the device. Exercise caution to ensure that the tray is fully extracted without applying excessive force, which could potentially cause damage. Upon removing the SIM card tray, you will notice a small compartment designed to accommodate the SIM card.
Ejecting the SIM card tray provides you with direct access to the designated slot for the SIM card, streamlining the process of inserting the card into your iPhone 3G. This step is essential for ensuring that the SIM card can be seamlessly integrated into the device, establishing a secure and functional connection with your cellular network.
With the SIM card tray successfully ejected from your iPhone 3G, you are now prepared to proceed to the next step, which involves inserting the SIM card into the designated compartment. This crucial action will enable you to complete the process of integrating the SIM card with your device, setting the stage for seamless connectivity and communication capabilities.
Ejecting the SIM card tray from your iPhone 3G marks a significant milestone in the process of preparing your device for cellular connectivity. By carefully executing this step, you are one step closer to fully activating your iPhone 3G and harnessing its capabilities for mobile communication and networking.
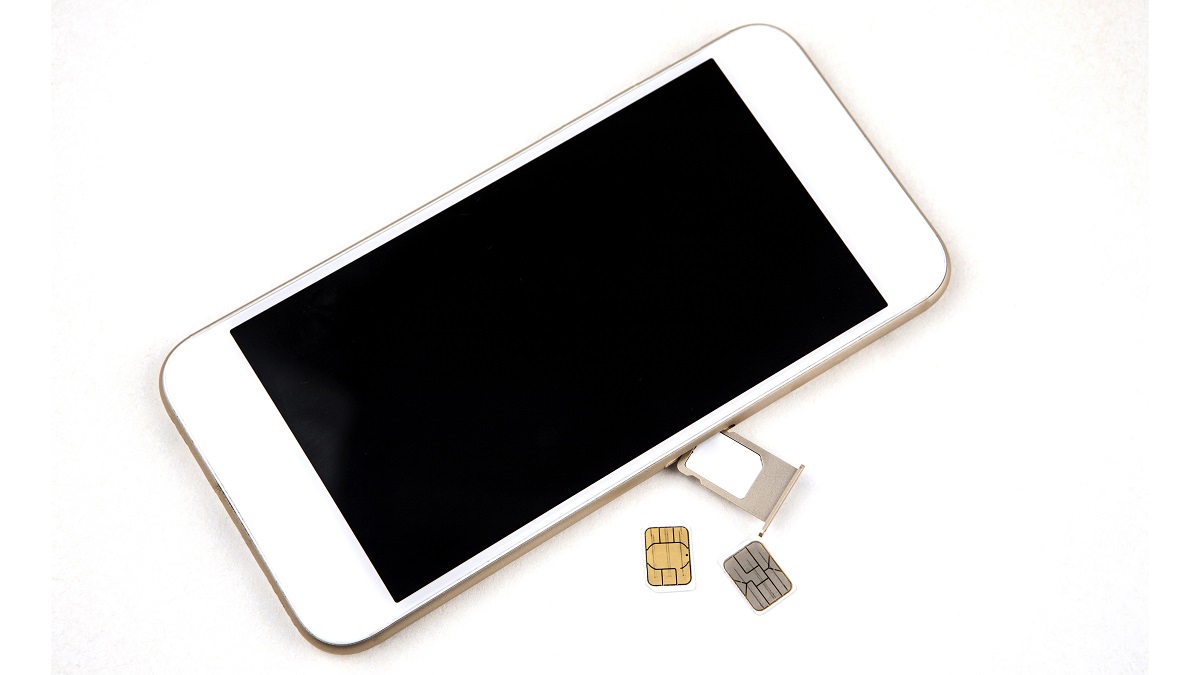
Step 3: Insert the SIM card
With the SIM card tray successfully ejected from your iPhone 3G, you are now ready to proceed with the pivotal step of inserting the SIM card into the designated compartment. This step is essential for seamlessly integrating the SIM card with your device, ensuring a secure and functional connection to your cellular network.
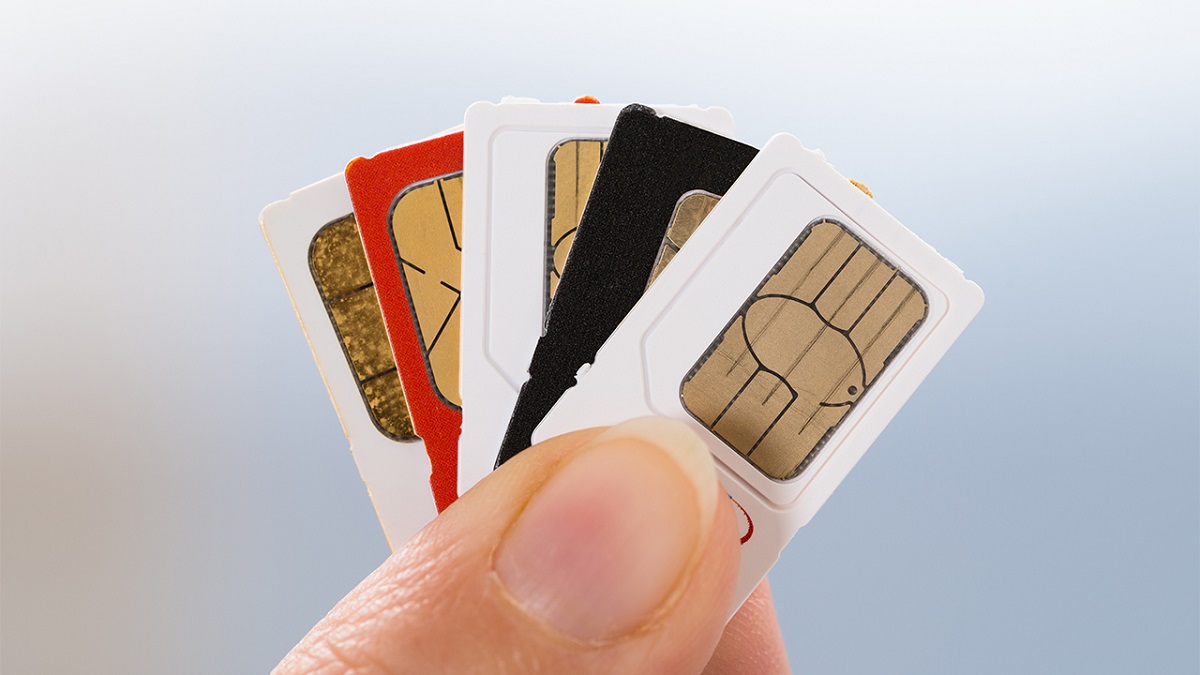
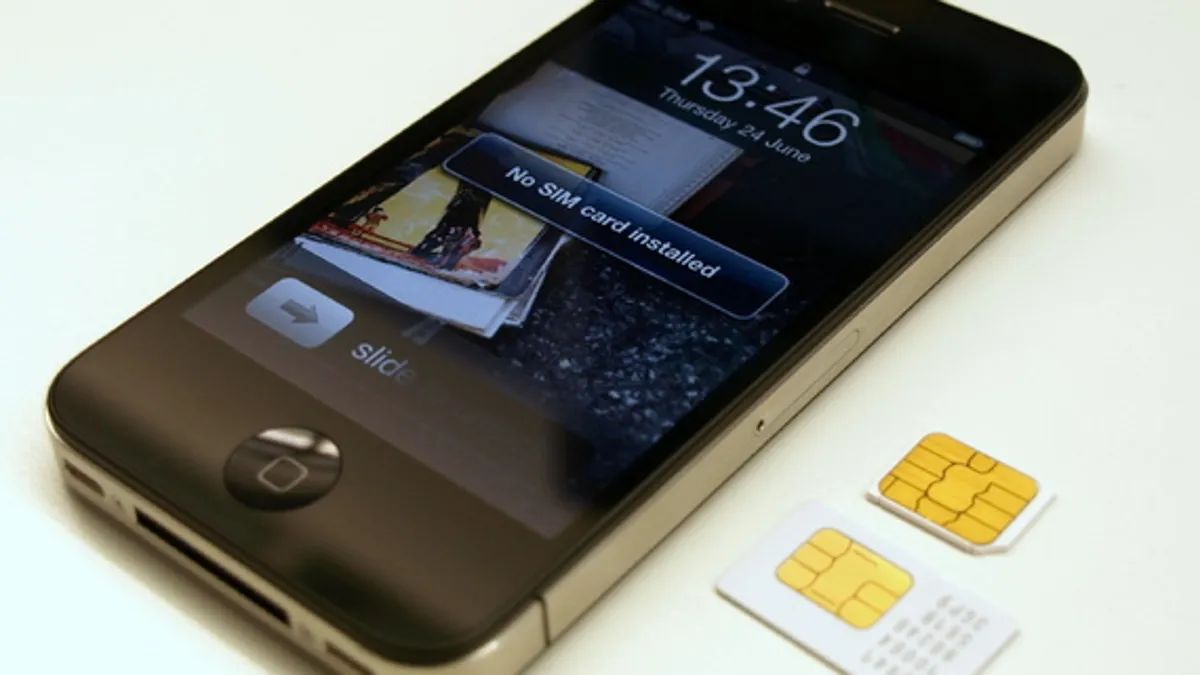
Before proceeding, carefully examine the SIM card to identify its correct orientation. Most SIM cards have a distinctive shape with one corner angled or notched. This design ensures that the SIM card can only be inserted into the tray in one specific orientation, preventing errors during installation.
Next, position the SIM card so that it aligns with the corresponding shape and size of the compartment within the SIM card tray. Gently place the SIM card into the designated area, ensuring that it fits snugly and aligns with the tray's contours. Exercise caution to avoid applying excessive force, as this could potentially damage the SIM card or the tray.
Once the SIM card is properly seated within the tray, carefully slide the tray back into the SIM card slot on the top edge of your iPhone 3G. Ensure that the tray is inserted in the correct orientation, aligning it with the slot to facilitate a smooth and secure fit.
As you gently push the tray back into the device, you may feel a slight resistance, signaling that the tray is repositioning itself within the slot. Continue to apply gentle pressure until the tray is fully inserted, resting flush with the exterior of the device. This secure placement ensures that the SIM card is properly housed within the iPhone 3G, ready to facilitate seamless connectivity and communication.
With the SIM card successfully inserted and the tray securely repositioned, your iPhone 3G is now equipped with the essential component necessary for cellular connectivity. This critical step sets the stage for activating your device and harnessing its capabilities for mobile communication, enabling you to stay connected with ease.
By completing the process of inserting the SIM card into your iPhone 3G, you have taken a significant stride towards fully integrating your device with your cellular network. The successful installation of the SIM card ensures that your iPhone 3G is primed to provide reliable connectivity, empowering you to communicate, collaborate, and stay informed while on the go.
Step 4: Re-insert the SIM card tray
With the SIM card securely inserted into the designated compartment of your iPhone 3G, the final step involves re-inserting the SIM card tray into the device. This critical action ensures that the SIM card remains firmly in place, establishing a reliable connection with your cellular network and enabling seamless communication capabilities.
Begin by carefully aligning the SIM card tray with the slot on the top edge of your iPhone 3G. Take note of the orientation of the tray, ensuring that it matches the slot to facilitate a smooth and secure fit. Position the tray directly above the slot, preparing to reinsert it into the device.
As you guide the SIM card tray back into the slot, apply gentle pressure to initiate its reintegration. Ensure that the tray is aligned with the slot and glides smoothly into place, resting flush with the exterior of the device. This deliberate and cautious approach safeguards the SIM card and the device, minimizing the risk of damage during the reinsertion process.
Once the SIM card tray is fully re-inserted into your iPhone 3G, take a moment to verify that it is securely positioned and flush with the device's exterior. This visual confirmation ensures that the SIM card is housed within the device in a manner that supports reliable connectivity and uninterrupted communication.
The successful re-insertion of the SIM card tray signifies the completion of the essential process of inserting a SIM card into your iPhone 3G. With the tray securely in place, your device is now fully equipped to harness its cellular capabilities, allowing you to make calls, send messages, and access mobile data with confidence.
By meticulously executing the process of re-inserting the SIM card tray, you have ensured that your iPhone 3G is ready to seamlessly connect with your cellular network, enabling you to stay connected and engaged while on the move. This final step solidifies the integration of the SIM card with your device, setting the stage for a smooth and reliable mobile communication experience.
With the SIM card tray securely re-inserted, your iPhone 3G is now primed to deliver the full range of its mobile communication capabilities, empowering you to stay connected, informed, and engaged in today's fast-paced digital landscape.
Conclusion
In conclusion, the process of inserting a SIM card into your iPhone 3G is a fundamental step in preparing your device for seamless connectivity and communication. By following the simple yet essential steps outlined in this guide, you have successfully equipped your iPhone 3G with the necessary component to access cellular services, make calls, send messages, and utilize mobile data.
Navigating through the process of locating the SIM card slot, ejecting the SIM card tray, inserting the SIM card, and re-inserting the tray has provided you with a comprehensive understanding of the critical steps involved in this procedure. By familiarizing yourself with the physical aspects of your iPhone 3G and the intricacies of its SIM card slot, you have gained confidence in managing essential components of your device.
The successful completion of each step ensures that your iPhone 3G is ready to seamlessly integrate with your cellular network, facilitating uninterrupted communication and connectivity. The careful and deliberate execution of these steps demonstrates your commitment to optimizing the functionality of your device and harnessing its capabilities to stay connected in today's dynamic digital landscape.
With the SIM card securely in place within your iPhone 3G, you are now poised to fully activate your device and explore its myriad features and functionalities. Whether you're making your first call, sending a text message, or accessing online resources, the successful installation of the SIM card ensures that your iPhone 3G is ready to support your mobile communication needs.
As you embark on your journey with your iPhone 3G, equipped with a properly inserted SIM card, you can confidently engage with your contacts, stay informed, and leverage the power of mobile connectivity. The completion of this process marks a significant milestone in your device setup, positioning you to seamlessly integrate your iPhone 3G into your daily routine and communication activities.
In conclusion, by successfully inserting a SIM card into your iPhone 3G, you have taken a vital step towards optimizing your device for mobile communication. This achievement underscores your commitment to leveraging the capabilities of your iPhone 3G, ensuring that you are well-equipped to stay connected and engaged in today's interconnected world.