Introduction
Unlocking your iPhone 3G can give you the freedom to use it with any mobile carrier of your choice, allowing you to enjoy the benefits of different network providers and save on roaming charges. While initially, the process of unlocking may seem daunting, it is actually quite straightforward with the right instructions and tools. In this guide, we will walk you through the steps to unlock your iPhone 3G and explore the possibilities that come with it.
Before we begin, it’s important to note that unlocking your iPhone 3G may void your warranty, so proceed at your own risk. Additionally, it’s crucial to back up your device before starting the unlocking process to ensure that you don’t lose any important data or settings.
Unlocking your iPhone 3G involves jailbreaking your device to gain access to the underlying system and then using a software exploit to bypass carrier restrictions. This will allow you to use your iPhone 3G with any GSM carrier worldwide.
Throughout this guide, we will be using two popular tools – RedSn0w and Ultrasn0w – to jailbreak and unlock your device. These tools have been widely used by the iPhone community and have proven to be reliable and effective.
It’s important to mention that this guide is specifically designed for the iPhone 3G and may not work for newer iPhone models. Always ensure that you are following instructions that are specifically tailored to your device.
Now that we have covered the basics, let’s dive in and get started with unlocking your iPhone 3G. Follow each step carefully, and soon you’ll have the freedom to use your device with any carrier you choose.
Step 1: Backup your device
Before you embark on the process of unlocking your iPhone 3G, it is crucial to back up your device to ensure that all your important data, settings, and applications are safely stored. This backup will act as a safety net in case anything goes wrong during the unlocking process.
To backup your iPhone 3G, follow these steps:
- Connect your iPhone 3G to your computer using a USB cable.
- Launch iTunes on your computer. If it doesn’t open automatically, you can open it manually.
- Once iTunes detects your iPhone 3G, click on the device icon at the top-left corner of the iTunes window.
- In the Summary tab, under the “Backups” section, click on “Back Up Now”.
- Wait for the backup process to complete. The time it takes will depend on the amount of data on your device.
It is essential to ensure that the backup process is completed successfully before proceeding to the next steps. You can check the backup status by going to iTunes preferences and selecting the “Devices” tab.
By backing up your iPhone 3G, you are safeguarding your personal information, contacts, messages, photos, and any other valuable data that is stored on your device. In the unlikely event that something goes wrong during the unlocking process, you can restore your iPhone 3G to its previous state using the backup you just created.
Remember to keep your backup files in a safe location, either on your computer or in the cloud, so that you can easily access them if needed.
Once you have successfully backed up your iPhone 3G, you are ready to proceed to the next step – downloading and installing a custom firmware.
Step 2: Download and install a custom firmware
Unlocking your iPhone 3G requires you to install a custom firmware that will enable you to jailbreak your device. Jailbreaking allows you to access the system files and make modifications that are not possible on a locked iOS device. Here’s how you can download and install a custom firmware on your iPhone 3G:
- Visit the official website of the iPhone Dev Team or trusted sources like Redmond Pie to find the latest custom firmware for your iPhone 3G.
- Download the custom firmware file to your computer. Make sure to choose the firmware file that is specifically meant for your iPhone 3G model.
- Launch iTunes on your computer and connect your iPhone 3G using a USB cable. If iTunes doesn’t open automatically, you can open it manually.
- In iTunes, select your iPhone 3G by clicking on the device icon at the top-left corner of the iTunes window.
- Hold down the Shift key (Windows) or Option key (Mac) and click on the “Restore iPhone” button in iTunes.
- A file browser window will open. Navigate to the location where you saved the custom firmware file earlier, select it, and click on “Open”.
- Confirm your choice by clicking on “Restore” in the iTunes prompt.
- Wait for iTunes to install the custom firmware on your iPhone 3G. This process may take several minutes.
Once the custom firmware is successfully installed on your iPhone 3G, your device will restart, and you will be ready to proceed to the next step – entering DFU mode.
It is important to note that installing a custom firmware will erase all the data on your iPhone 3G. This is why it is crucial to have a backup of your device beforehand. Restoring from a backup after the firmware installation will allow you to recover your data and settings.
Now that you have successfully installed the custom firmware on your iPhone 3G, you are one step closer to unlocking your device. The next step is to enter DFU mode, which is necessary for the jailbreaking process.
Step 3: Enter DFU mode
DFU (Device Firmware Update) mode is a state in which your iPhone 3G is ready for the firmware installation process. Entering DFU mode is a crucial step in jailbreaking your device. Here’s how you can enter DFU mode on your iPhone 3G:
- Connect your iPhone 3G to your computer using a USB cable.
- Make sure iTunes is open on your computer.
- Press and hold the Power button (located on the top or side of your device) and the Home button (located on the front of your device) simultaneously.
- After holding both buttons for about 10 seconds, release the Power button while continuing to hold the Home button.
- Keep holding the Home button until you see a pop-up message in iTunes that says “iTunes has detected an iPhone in recovery mode”.
If you have followed the instructions correctly, your iPhone 3G should now be in DFU mode. The screen of your device will remain black.
Entering DFU mode can be a bit tricky, so it might take a few attempts to get it right. If you see the Apple logo on your device or any other indication that it is not in DFU mode, simply restart the process and try again.
DFU mode allows iTunes to communicate with your iPhone 3G at a low level, making it possible to install the custom firmware and proceed with the jailbreaking process. Now that you have successfully entered DFU mode, it’s time to move on to the next step – running RedSn0w to jailbreak your device.
Keep in mind that in DFU mode, you have limited functionality on your iPhone 3G. You won’t be able to make calls or use other features until you complete the jailbreaking and unlocking process.
Step 4: Run RedSn0w to jailbreak your device
RedSn0w is a popular jailbreaking tool that allows you to modify the system files on your iPhone 3G and install custom firmware. By running RedSn0w, you will be able to complete the jailbreaking process and gain access to additional features and customization options. Follow these steps to run RedSn0w and jailbreak your iPhone 3G:
- Download the latest version of RedSn0w from the official website or trusted sources like Redmond Pie.
- Extract the downloaded RedSn0w file to a location on your computer.
- Launch RedSn0w by double-clicking on the executable file.
- Connect your iPhone 3G to your computer using the USB cable.
- In RedSn0w, click on the “Jailbreak” option.
- Follow the on-screen instructions provided by RedSn0w to put your iPhone 3G in DFU mode again.
- Once your device is in DFU mode, RedSn0w will automatically detect it and proceed with the jailbreaking process.
- Wait for RedSn0w to complete the jailbreak. Your device will go through several stages, including downloading the jailbreak data and installing Cydia.
- After the jailbreak is completed, you will see the home screen on your iPhone 3G.
It is important to note that the jailbreaking process may take several minutes, so be patient and avoid disconnecting your device during the process.
Once the jailbreak is successful, you will notice the Cydia app on your iPhone 3G’s home screen. Cydia is the unofficial app store for jailbroken devices, where you can find a wide range of apps, tweaks, and modifications that are not available on the official App Store.
Running RedSn0w has given you the ability to customize and enhance your iPhone 3G in ways that were previously not possible. Now, it’s time to move on to the next step – installing Ultrasn0w to unlock your device and use it with any carrier.
Keep in mind that jailbreaking your device may void your warranty and could potentially lead to security risks if you install untrusted apps or modifications. Proceed with caution and only download and install reputable software from trusted sources.
Step 5: Install Ultrasn0w for unlocking
Ultrasn0w is a software application that allows you to unlock your iPhone 3G, enabling you to use it with any mobile carrier of your choice. By installing Ultrasn0w, you can enjoy the freedom of switching SIM cards and avoid hefty roaming charges. Follow these steps to install Ultrasn0w and unlock your iPhone 3G:
- Launch Cydia on your jailbroken iPhone 3G. If you don’t have Cydia, make sure to follow the previous step and jailbreak your device using RedSn0w.
- Go to the “Sources” tab in Cydia and tap on “Edit”.
- Tap on “Add” to add a new repository.
- Enter the following repository URL: http://repo666.ultrasn0w.com
- Tap on “Add Source” to add the repository to Cydia.
- Once the repository is added, go to the “Search” tab and search for “Ultrasn0w”.
- Select the Ultrasn0w package and tap on “Install” to begin the installation process.
- After the installation is complete, tap on “Restart SpringBoard” to respring your device.
Once your iPhone 3G has restarted, it should now be unlocked and ready to use with any compatible SIM card. You will be able to insert a SIM card from a different carrier and use it to make calls, send messages, and access mobile data.
It’s important to note that the compatibility of Ultrasn0w may vary depending on the baseband version of your iPhone 3G. Make sure to check the compatibility list provided by the developers to ensure the best possible results.
If you encounter any issues or difficulties during the installation process, you can seek assistance from the online community or forums dedicated to iPhone unlocking and jailbreaking.
With Ultrasn0w successfully installed, you have unlocked the full potential of your iPhone 3G. Now, you can enjoy the flexibility of using any carrier that meets your needs. However, unlocking your device may void your warranty, so proceed with caution and understand the potential risks involved.
Next, we will move on to the final step – configuring the settings for your new carrier.
Step 6: Configure settings for your new carrier
Now that your iPhone 3G is unlocked and ready to be used with any carrier, you need to configure the settings to ensure smooth connectivity and functionality. Follow these steps to set up your new carrier’s settings:
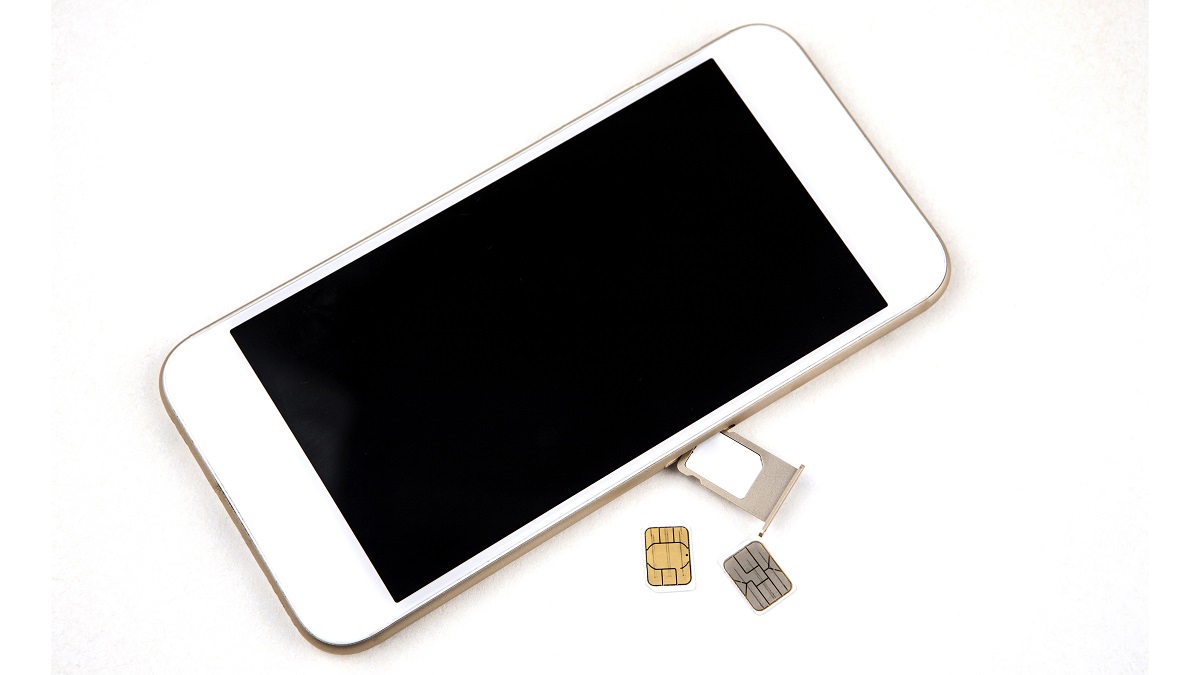
- Insert the SIM card from your new carrier into your iPhone 3G.
- Power on your device and wait for it to recognize the new SIM card.
- You may receive a message from your carrier with instructions for configuring the settings. If so, follow the instructions provided.
- If you don’t receive any message or need to manually configure the settings, go to the “Settings” app on your iPhone 3G.
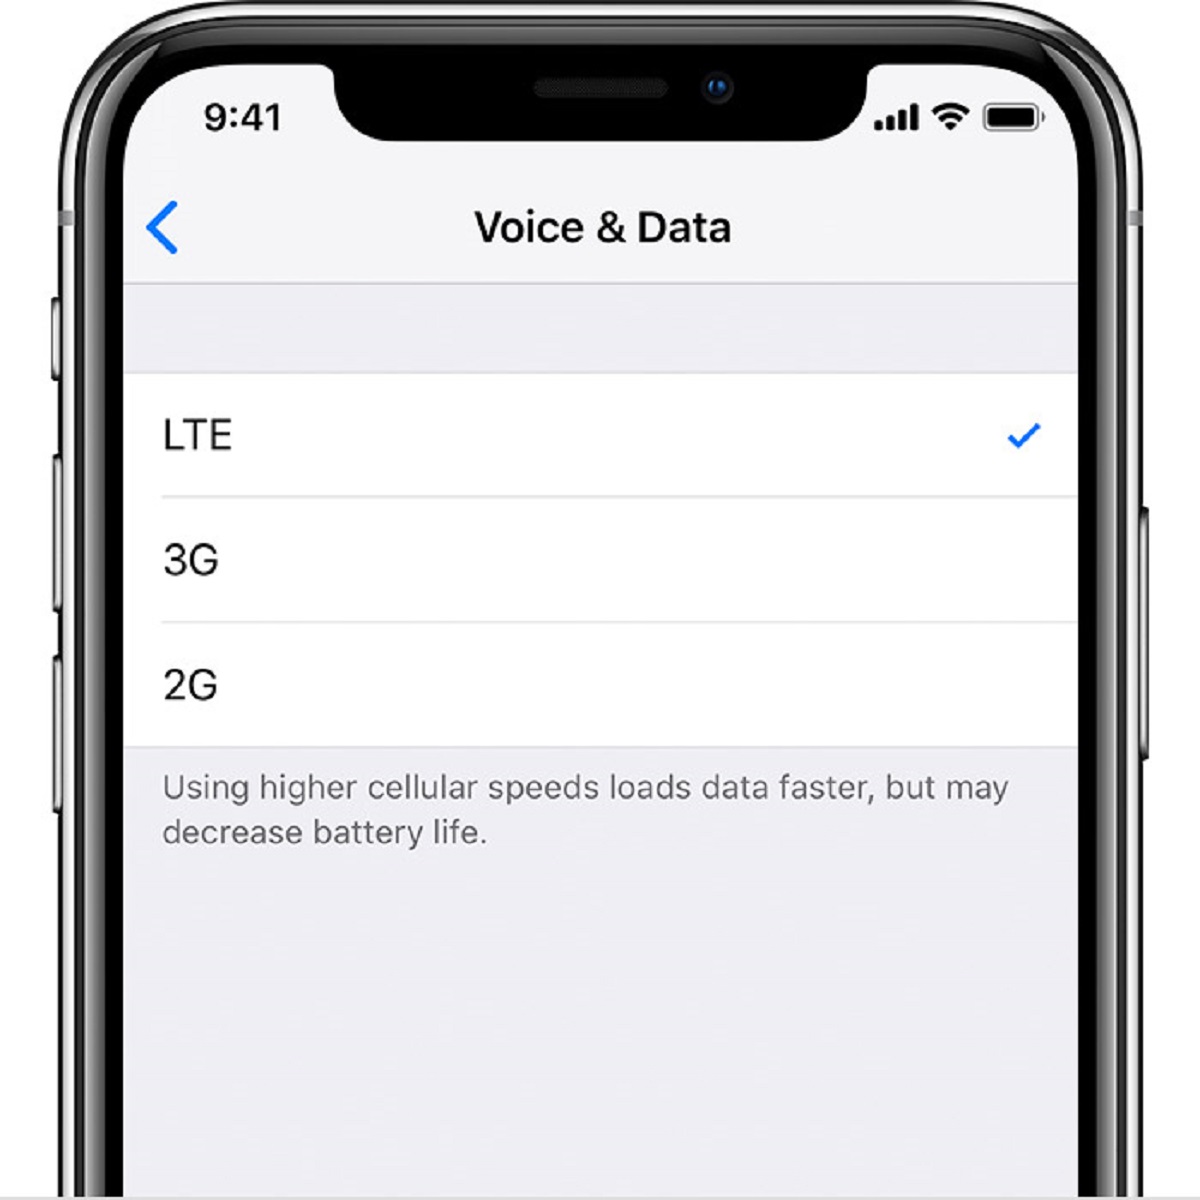
- Scroll down and tap on “Cellular” or “Mobile Data”, depending on your iOS version.
- Select “Cellular Data Network” or “Mobile Data Network”.
- Enter the APN (Access Point Name), username, and password provided by your new carrier. If you don’t have these details, contact your carrier’s customer support or visit their website for assistance.
- Once you have entered the necessary information, tap on “Back” or “Save” to save the settings.
- Restart your iPhone 3G to apply the new carrier settings.
After restarting your device, your iPhone 3G should now be configured with the correct settings for your new carrier. You should be able to make calls, send messages, and access mobile data using the services provided by your chosen carrier.
It’s important to note that the specific settings and options may vary depending on your carrier. If you encounter any issues or have trouble connecting to your new carrier’s network, double-check the settings or contact your carrier’s support for further assistance.
With the settings configured, you can now enjoy the benefits of using your unlocked iPhone 3G with your desired carrier. You have successfully completed all the steps required to unlock and utilize the capabilities of your device.
Keep in mind that unlocking your iPhone may void your warranty, so it’s crucial to understand the implications and potential risks before proceeding with the unlocking process.
Congratulations on successfully unlocking your iPhone 3G and configuring the settings for your new carrier. Enjoy the freedom and flexibility that comes with having an unlocked device!
Step 7: Enjoy your unlocked iPhone 3G
Congratulations! You have successfully unlocked your iPhone 3G and can now enjoy the benefits of using it with any carrier of your choice. With your device free from carrier restrictions, you have the flexibility to switch SIM cards, access different networks, and save on roaming charges. Now, it’s time to fully utilize your unlocked iPhone 3G and make the most of its capabilities.
Here are a few things you can do to optimize your experience with your unlocked iPhone 3G:
- Explore different carriers: Take advantage of the unlocked status of your iPhone 3G to research and compare the offerings of various mobile carriers. Evaluate their voice and data plans, coverage areas, and customer service to find the best fit for your needs.
- Travel without boundaries: When traveling internationally, you can now easily use a local SIM card to avoid exorbitant roaming charges. This allows you to stay connected and enjoy seamless communication wherever you go.
- Install third-party apps: With your iPhone 3G jailbroken, you can now access a wider range of apps and tweaks from Cydia. Explore the extensive library of customizations, utilities, and enhancements to personalize your device and enhance its functionality.
- Customize your device: Unlocking your iPhone 3G opens up the opportunity to customize your device’s appearance and settings. You can download themes, modify icons, change fonts, and tweak various aspects of your device’s interface to make it truly yours.
- Stay up to date: Keep an eye out for software updates and firmware releases specific to your unlocked iPhone 3G. Regularly check for updates through iTunes or relevant forums to ensure your device stays compatible and secure.
Remember, unlocking your iPhone 3G may void your warranty, so proceed with caution and be aware of the potential risks involved. Additionally, always make sure to use trusted sources and apps when customizing or modifying your device to avoid any security issues.
Enjoy the newfound freedom and versatility of your unlocked iPhone 3G. Feel free to explore the possibilities, customize your device, and make the most of the features available to you. With an unlocked iPhone 3G in your hands, the possibilities are endless!