Introduction
Welcome to the guide on how to locate the SIM card slot on your iPhone 7. If you've recently acquired this sleek and powerful device, you may be eager to get it up and running with your SIM card. The iPhone 7, known for its impressive performance and stylish design, has a SIM card slot that allows you to connect to your mobile network and enjoy the full range of features and services offered by your carrier.
In this comprehensive walkthrough, you'll learn the step-by-step process of finding the SIM card slot on your iPhone 7 and inserting your SIM card correctly. Whether you're setting up your iPhone 7 for the first time or replacing your SIM card, this guide will provide you with the essential knowledge to complete the task with confidence.
So, let's dive into the process and ensure that you can seamlessly locate and access the SIM card slot on your iPhone 7. By the end of this guide, you'll be ready to enjoy the unparalleled performance and connectivity that the iPhone 7 has to offer.
Step 1: Turn off your iPhone 7
Before embarking on the process of locating the SIM card slot on your iPhone 7, it's essential to ensure that the device is powered off. This step is crucial to prevent any potential damage to the phone or the SIM card during the insertion process.
To power off your iPhone 7, follow these simple steps:
- Press and hold the side button, which is located on the right side of the device.
- Simultaneously, press and hold either of the volume buttons (up or down).
- Keep holding both buttons until the "slide to power off" slider appears on the screen.
- Swipe the slider from left to right to power off your iPhone 7.
Once the device is successfully powered off, you can proceed with confidence to the next step of locating the SIM card slot. By ensuring that your iPhone 7 is turned off, you minimize the risk of any disruptions or potential damage when handling the SIM card and accessing the SIM card slot.
Powering off your iPhone 7 is a simple yet crucial step in the process of preparing your device for the insertion of the SIM card. With this initial step completed, you're now ready to move on to the next phase of the setup process, which involves locating the SIM card slot on your iPhone 7.
Step 2: Locate the SIM card slot
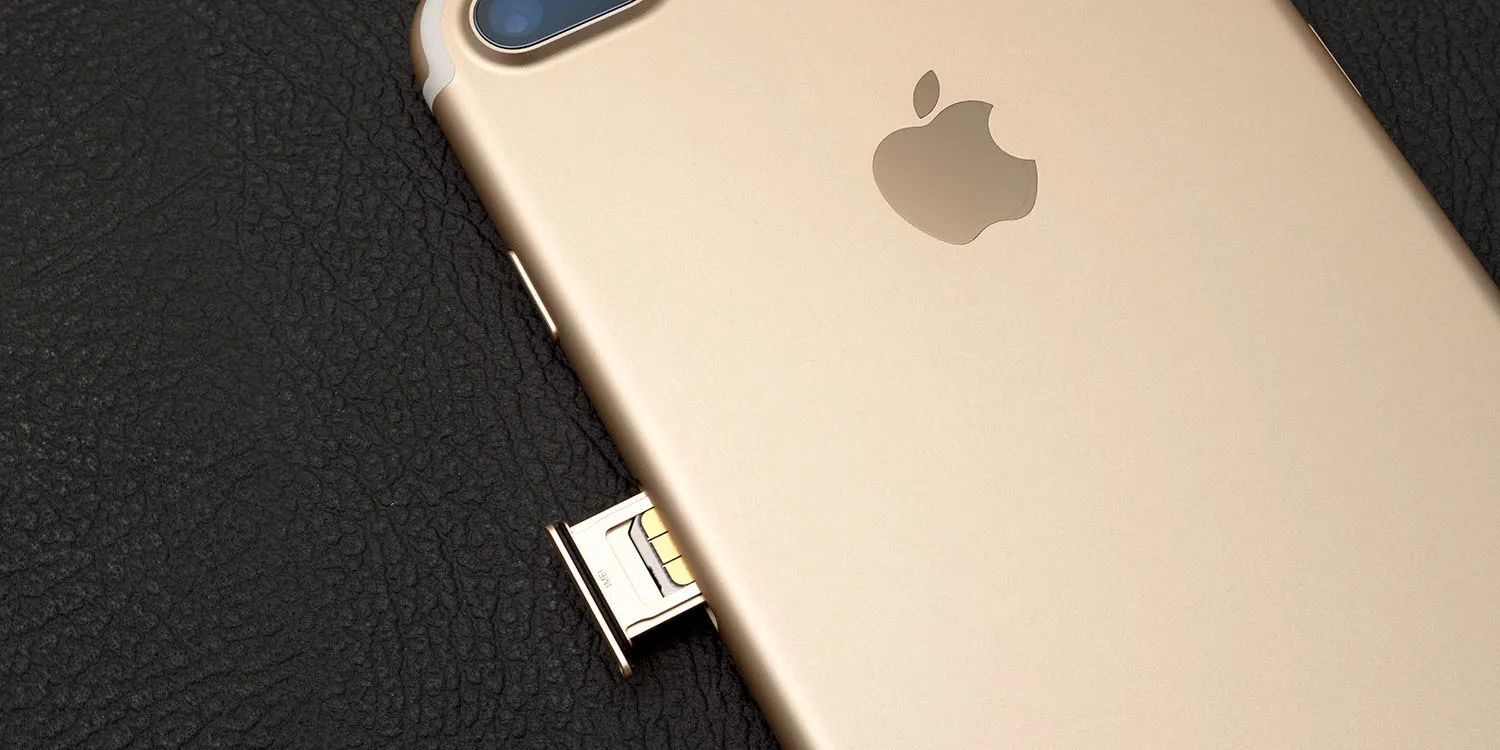
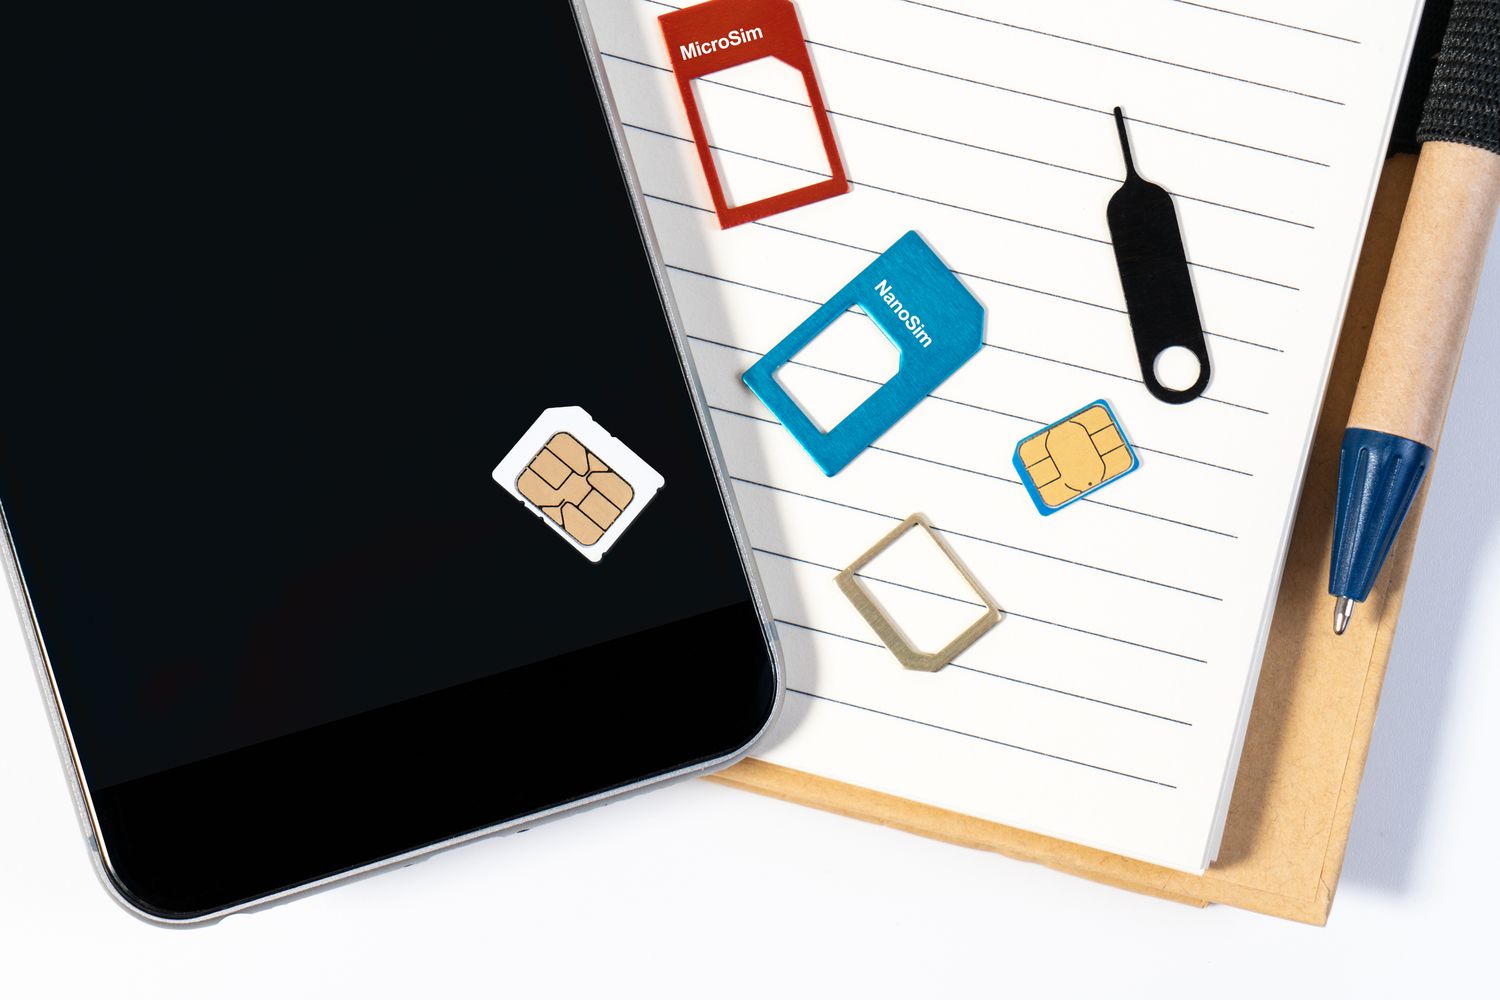
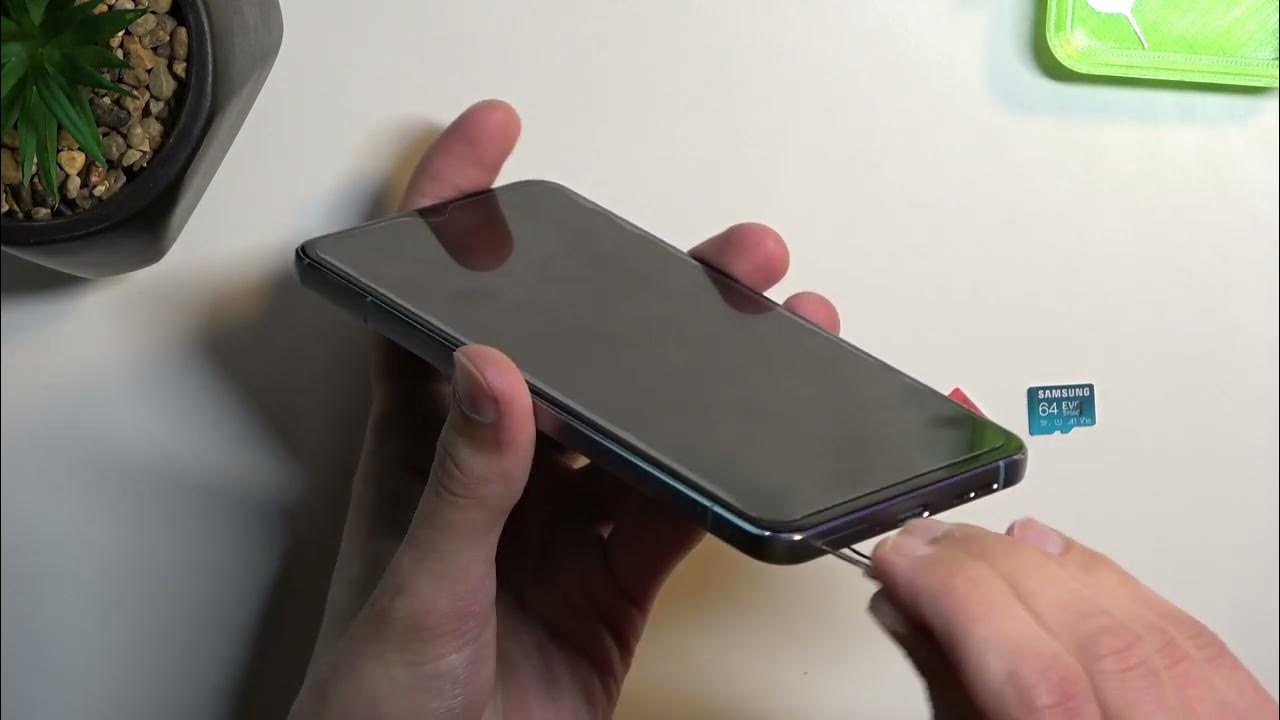
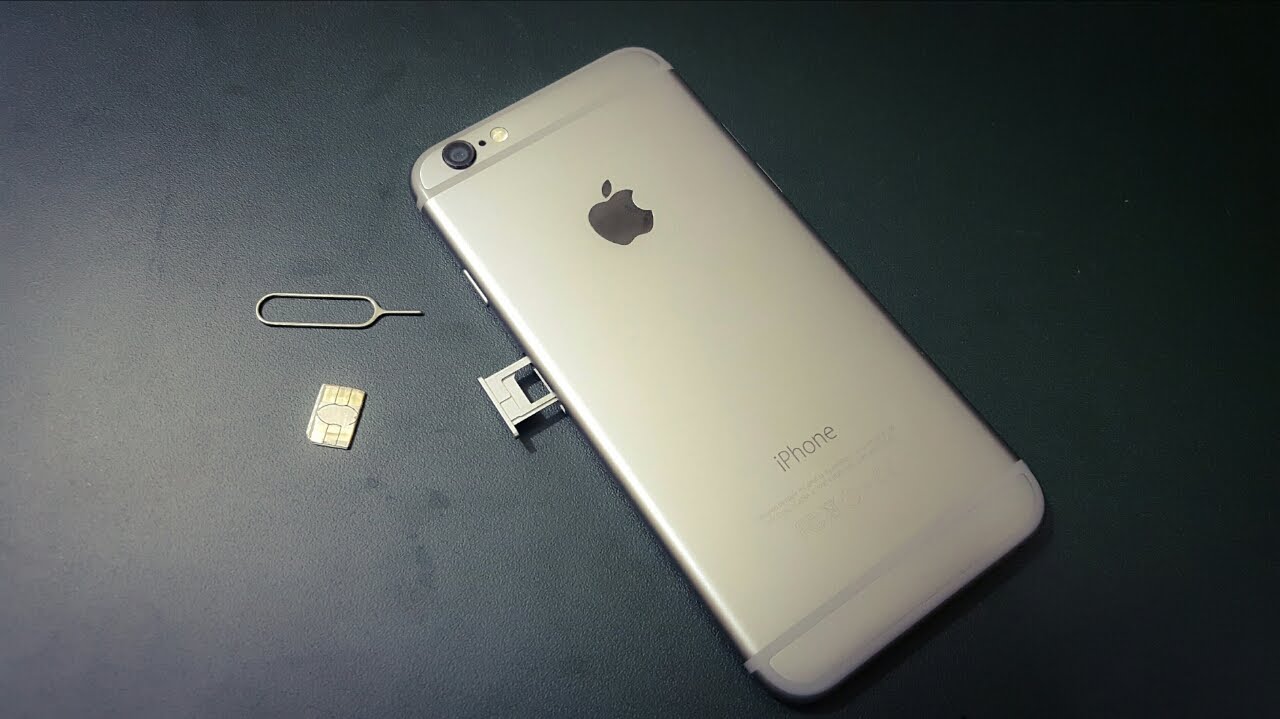
Now that your iPhone 7 is powered off, it's time to locate the SIM card slot. The SIM card slot on the iPhone 7 is situated on the right-hand side of the device. To access it, you'll need a SIM eject tool or a small paperclip. The SIM eject tool is typically included in the box when you purchase a new iPhone, but if it's not available, a paperclip can serve as an alternative.
Here's how to locate the SIM card slot on your iPhone 7:
-
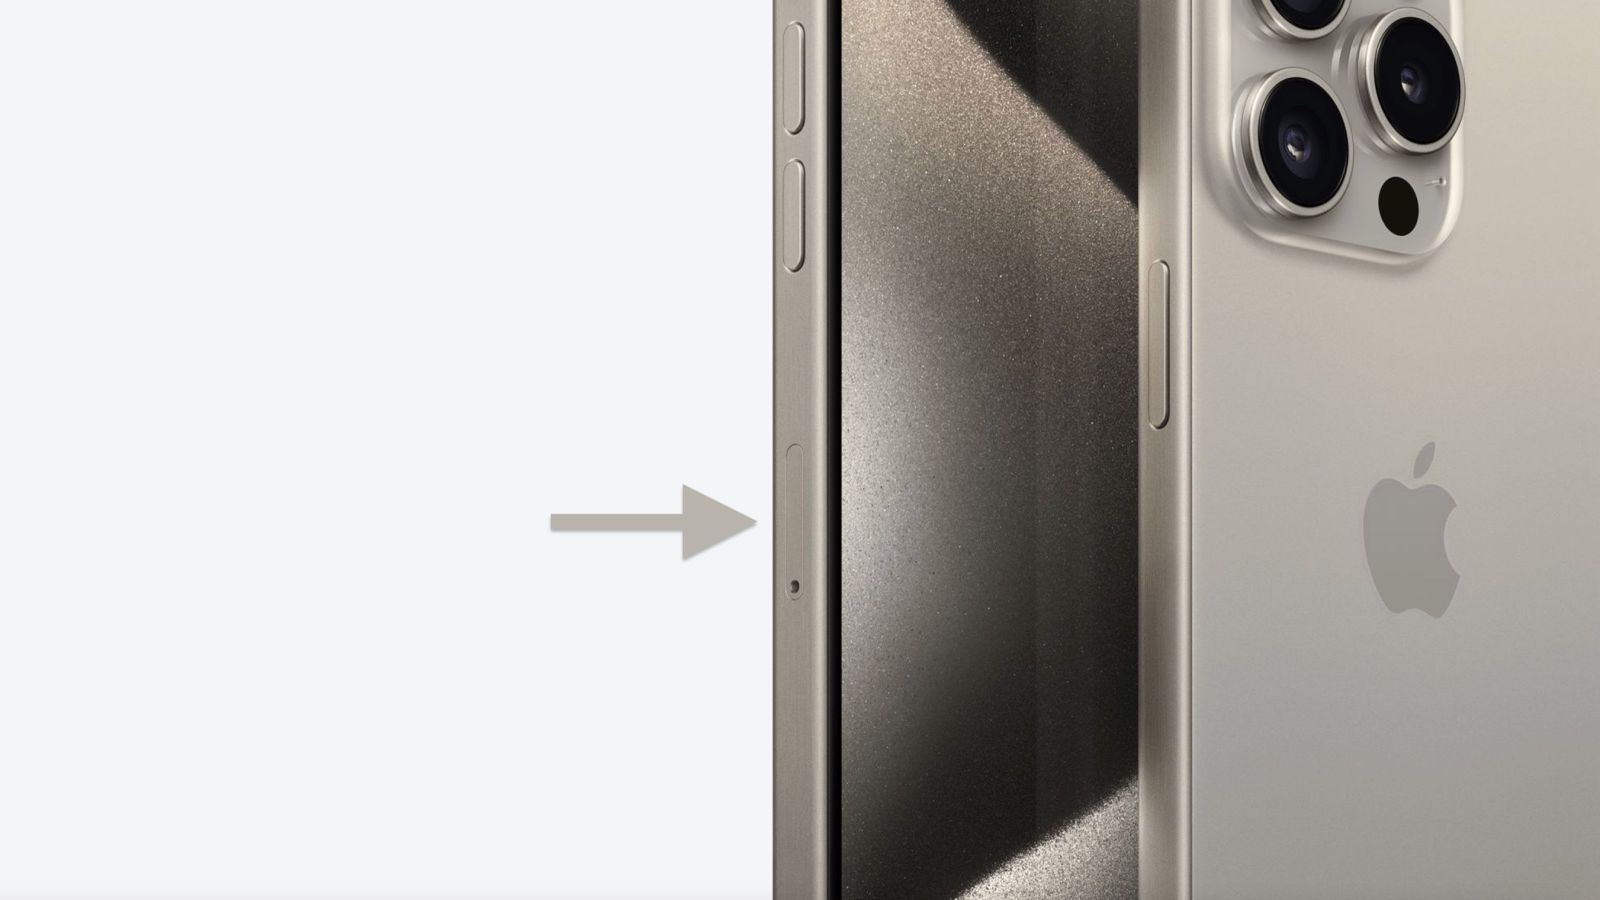
Identify the SIM Card Tray: On the right side of your iPhone 7, you'll find a small, recessed circular or oval-shaped slot. This is the location of the SIM card tray. It's important to note that the design may vary slightly depending on the specific model of the iPhone 7, but the general placement remains consistent.
-
Prepare the SIM Eject Tool or Paperclip: If you're using a SIM eject tool, simply insert it into the small pinhole located next to the SIM card tray. If a SIM eject tool is not available, you can unbend a paperclip to create a small, straight tool that will fit into the pinhole.
-
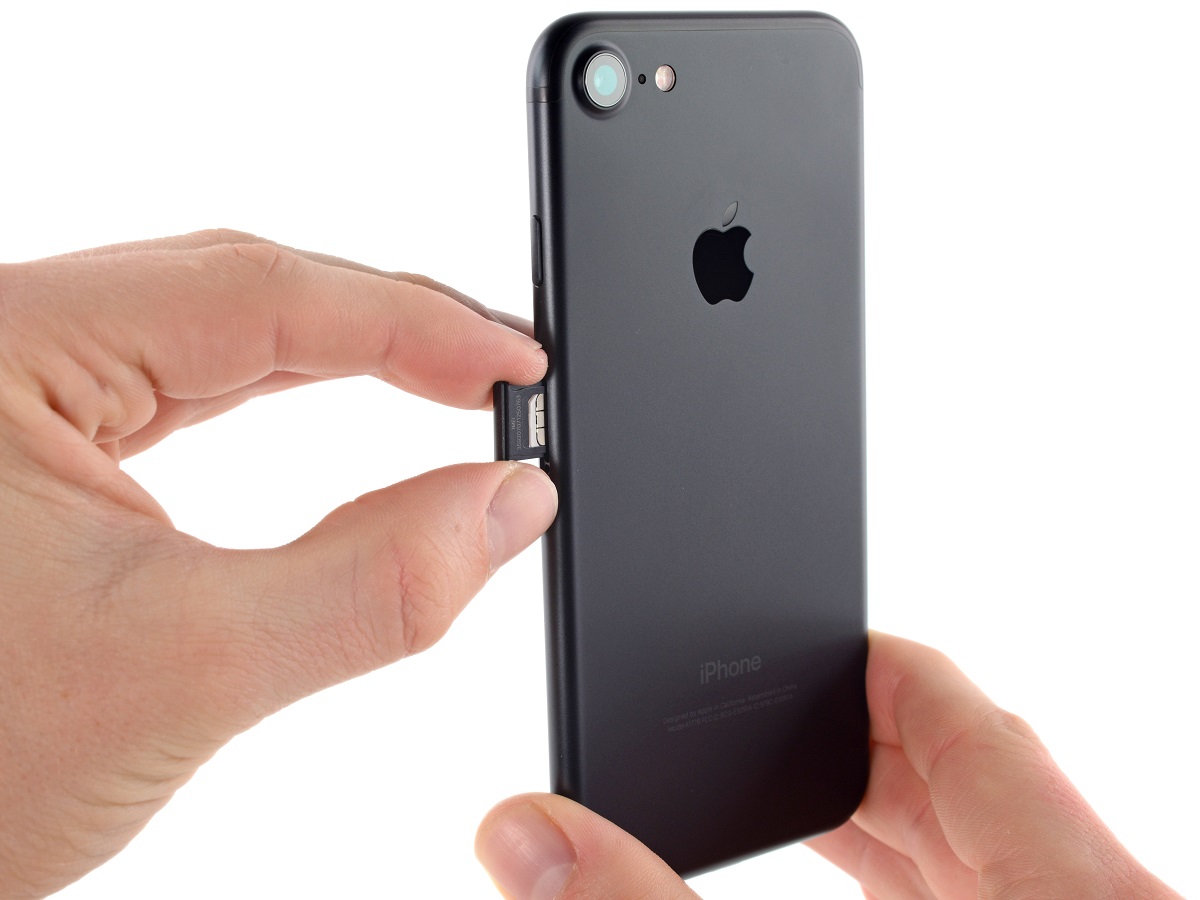
Eject the SIM Card Tray: Gently push the SIM eject tool or paperclip into the pinhole until the SIM card tray is partially ejected. You should feel a slight resistance, but be careful not to apply excessive force. Once the tray is partially ejected, carefully pull it out the rest of the way using your fingers.
-
Inspect the SIM Card Tray: The SIM card tray will hold the SIM card securely in place. Take a moment to familiarize yourself with the tray and its orientation, as this will be crucial when it comes time to insert your SIM card.
By following these steps, you should now have successfully located the SIM card slot on your iPhone 7. With the tray in hand, you're ready to proceed to the next step of inserting your SIM card. This process will enable you to seamlessly integrate your SIM card with your iPhone 7, allowing you to enjoy all the benefits of connectivity and mobile services on your device.
Step 3: Insert the SIM card
With the SIM card tray in hand and the SIM card ready for installation, you're now prepared to insert the SIM card into your iPhone 7. This step is crucial to establishing the connection between your device and your mobile network, enabling you to make calls, send messages, and access mobile data. Follow these detailed instructions to ensure a seamless and successful insertion of your SIM card:
-
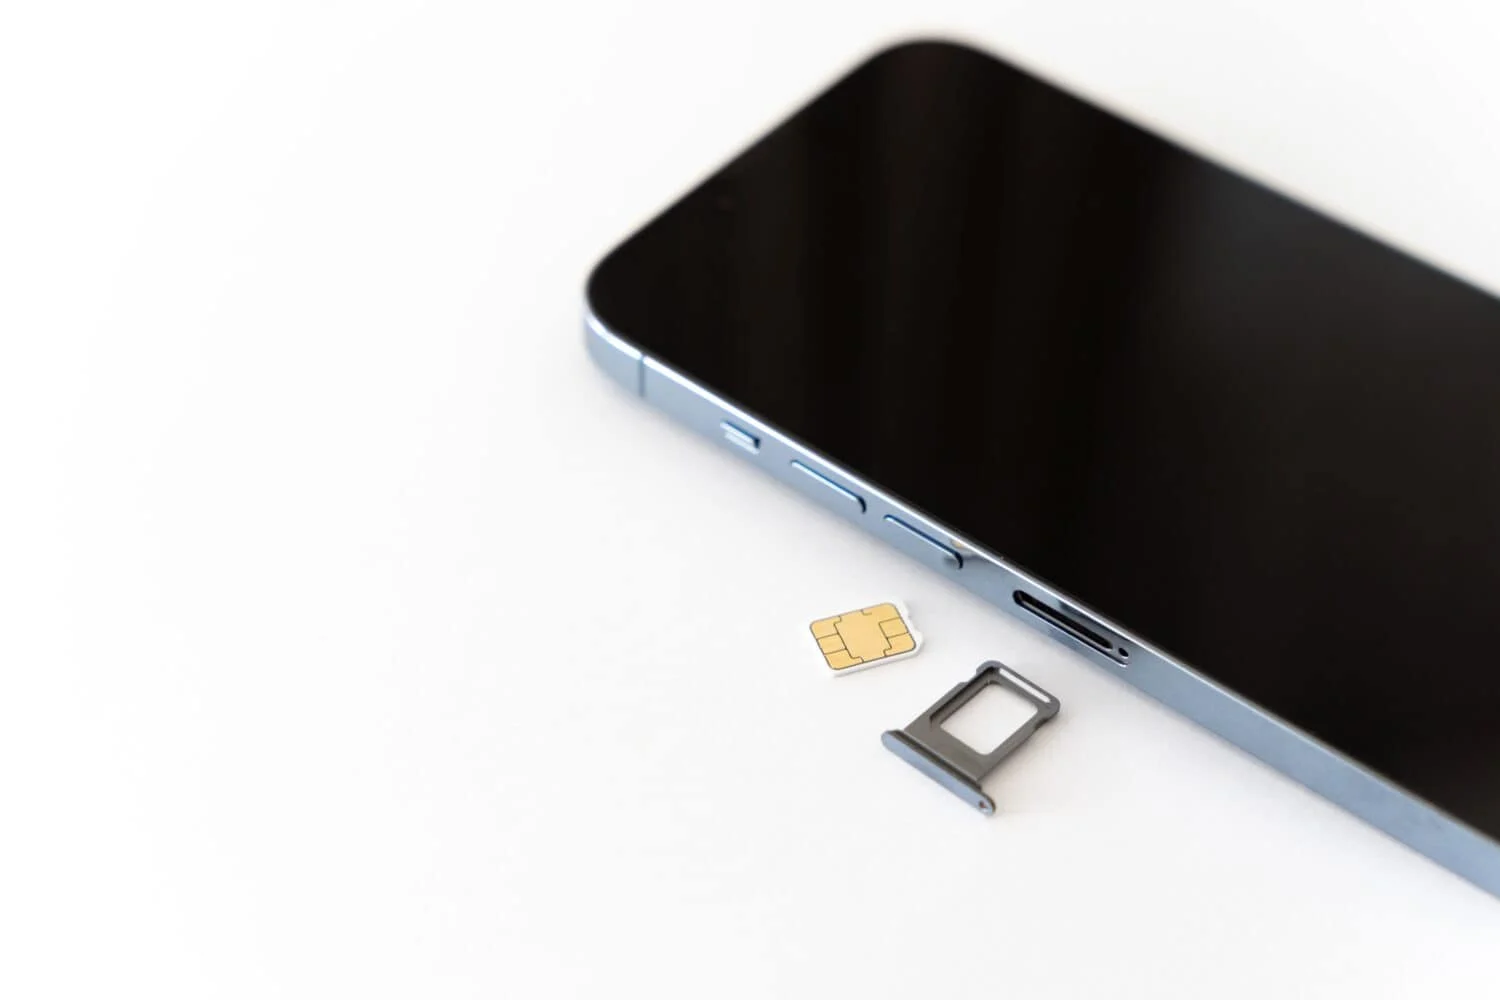
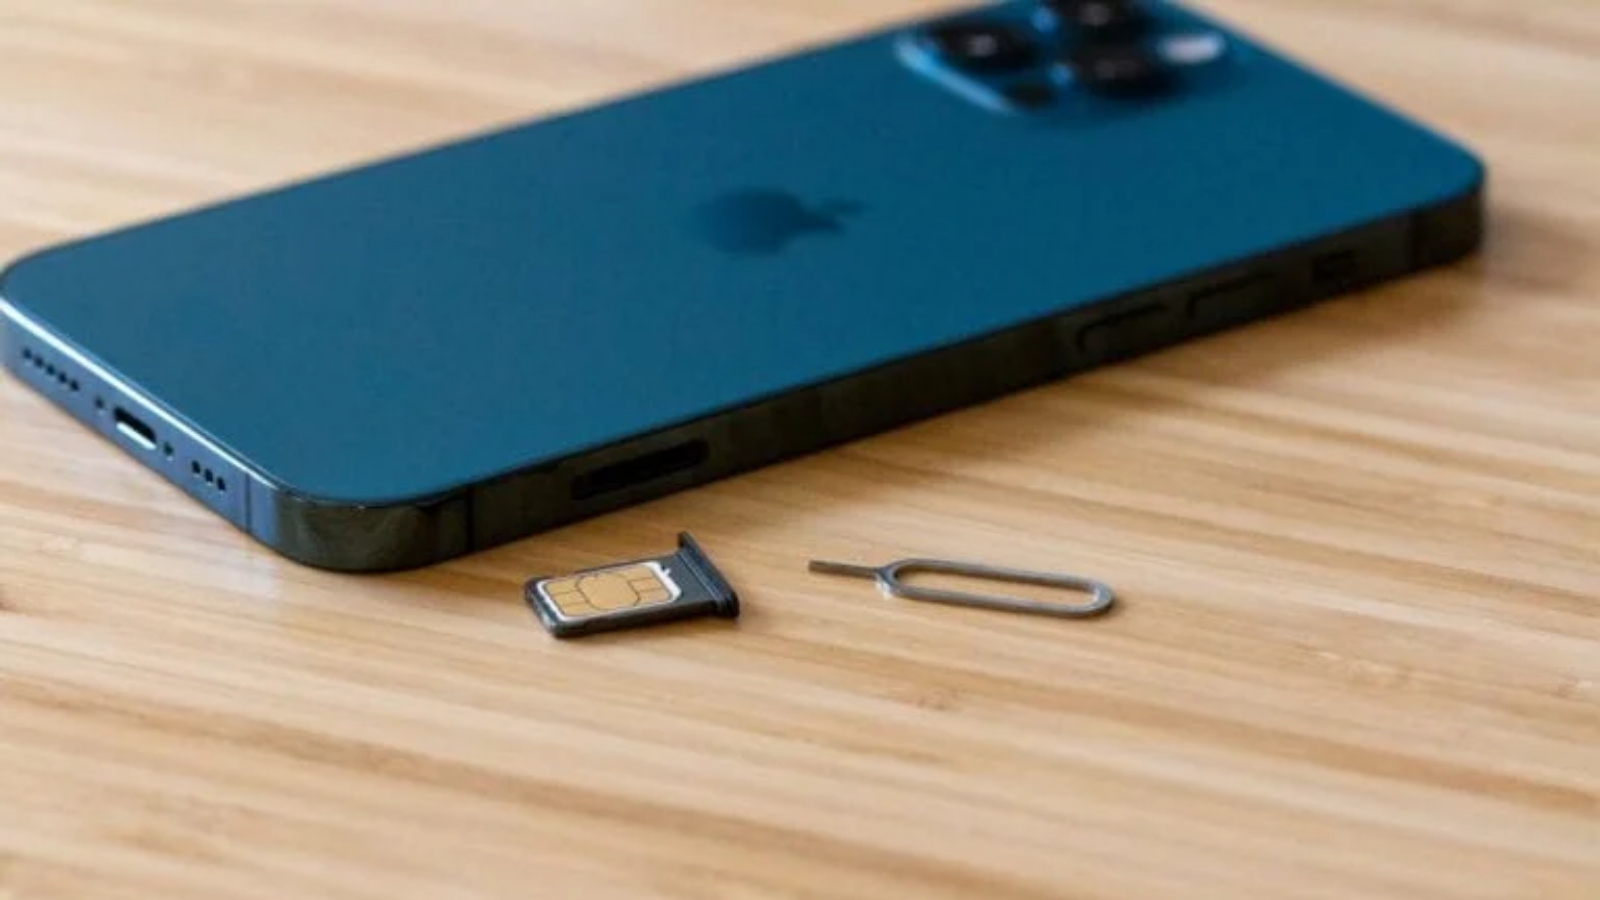
Prepare the SIM Card: Before inserting the SIM card, ensure that it is free from any damage and is oriented correctly. Most SIM cards have a corner that is trimmed to ensure proper alignment within the SIM card tray. Take a moment to inspect the SIM card and identify the trimmed corner, which will correspond to the orientation of the SIM card tray.
-
Align the SIM Card: Place the SIM card into the SIM card tray, aligning the trimmed corner of the SIM card with the corresponding corner of the tray. The SIM card should fit snugly within the tray, with the metal contacts facing down. Ensure that the SIM card is positioned securely and does not protrude from the tray, as this could hinder the proper insertion of the tray into the device.
-
Insert the SIM Card Tray: With the SIM card securely placed in the tray, carefully position the tray at the opening of the SIM card slot on the right side of your iPhone 7. Gently slide the tray back into the device, ensuring that it glides smoothly and without resistance. Take care to align the tray with the slot, and avoid forcing it into place, as this could cause damage to the SIM card or the device.
-
Verify the Installation: Once the SIM card tray is fully inserted, take a moment to ensure that it sits flush with the device and is securely in place. You should feel a slight click as the tray locks into position. Visually inspect the device to confirm that the SIM card tray is properly seated, with no gaps or misalignment.
By following these detailed steps, you have successfully inserted your SIM card into your iPhone 7. This critical process establishes the vital connection between your device and your mobile network, paving the way for seamless communication and connectivity. With the SIM card securely in place, you're now ready to proceed to the final step of turning on your iPhone 7 and initiating the setup process.
Step 4: Turn on your iPhone 7
Now that you have successfully inserted your SIM card into the iPhone 7, it's time to power on your device and initiate the setup process. Turning on your iPhone 7 is a straightforward yet pivotal step that will allow you to access the full range of features and services offered by your mobile carrier.
Here's a detailed guide on how to turn on your iPhone 7 and navigate through the initial setup:
-
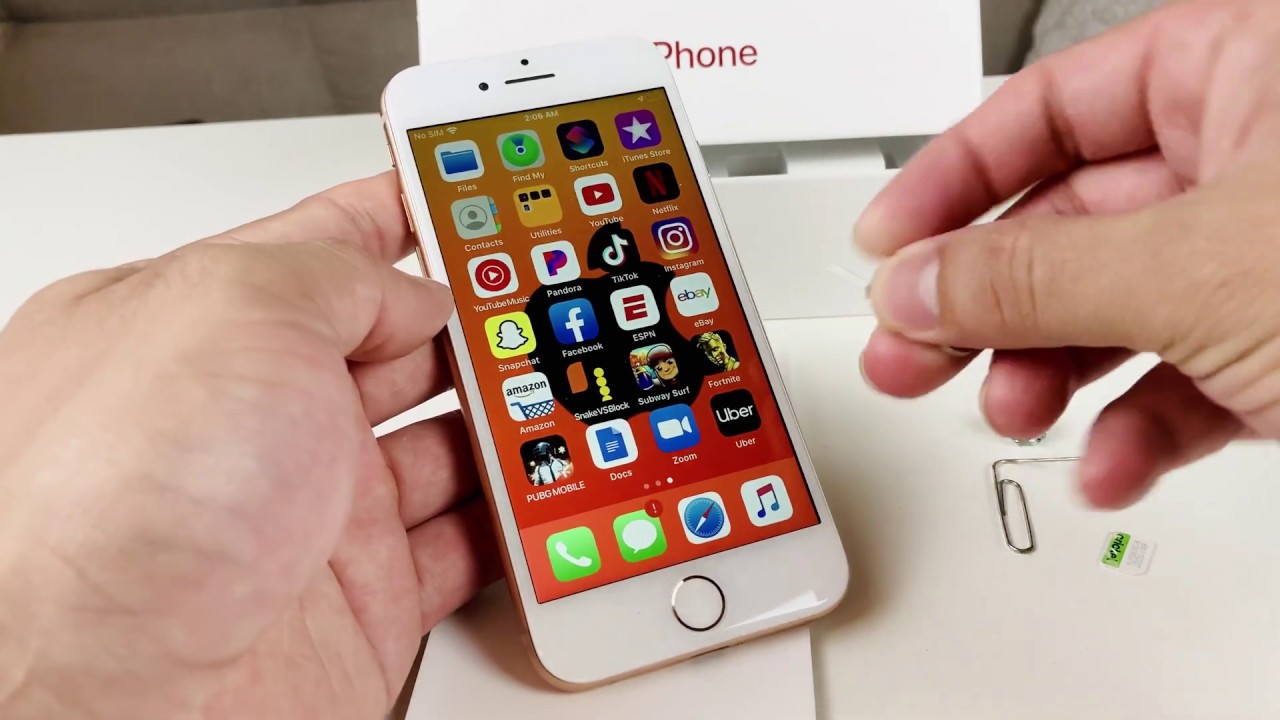
Press and Hold the Side Button: Located on the right side of your iPhone 7, the side button serves as the power button for the device. To turn on your iPhone 7, press and hold the side button until the Apple logo appears on the screen. This signifies that the device is booting up and initializing the operating system.
-
Wait for the Startup Process: As your iPhone 7 powers on, you'll observe the Apple logo displayed on the screen. This indicates that the device is undergoing the startup process, which includes loading the iOS operating system and preparing the device for use. Depending on the device's configuration and any recent updates, this process may take a few moments to complete.
-
Swipe to Begin Setup: Once the startup process is complete, the iPhone 7 will display the "Hello" screen, prompting you to begin the setup process. Swipe from left to right on the screen to initiate the setup wizard, which will guide you through essential steps such as selecting your language, connecting to a Wi-Fi network, and signing in with your Apple ID.
-
Follow the On-Screen Instructions: As you progress through the setup wizard, carefully follow the on-screen instructions to customize your iPhone 7 settings, configure your preferences, and complete the activation process. This may include setting up Touch ID or Face ID, enabling location services, and customizing your device's display and accessibility options.
-
Activate Your SIM Card: During the setup process, your iPhone 7 will detect the newly inserted SIM card and prompt you to activate it with your mobile carrier. Follow the prompts to complete the activation, which may involve entering your carrier's activation code or confirming your account details.
-
Complete the Setup: Once you've completed the setup process, your iPhone 7 will be fully activated and ready for use. You'll have access to your mobile network, enabling you to make calls, send messages, and access mobile data. Take a moment to explore the device and familiarize yourself with its features, ensuring that everything is functioning as expected.
By following these steps, you have successfully turned on your iPhone 7 and completed the initial setup process. Your device is now fully activated and ready for use, allowing you to enjoy the seamless connectivity and powerful capabilities of the iPhone 7.
Conclusion
Congratulations! You've successfully located the SIM card slot on your iPhone 7 and inserted your SIM card, paving the way for seamless connectivity and access to mobile services. By following the step-by-step process outlined in this guide, you've gained valuable insights into the essential steps required to set up your iPhone 7 and establish a vital connection with your mobile network.
With the SIM card securely in place and your iPhone 7 powered on, you're now poised to enjoy the full range of features and services offered by your carrier. Whether it's making calls, sending messages, or accessing mobile data, your iPhone 7 is ready to deliver unparalleled performance and connectivity.
It's important to note that the process of locating the SIM card slot and inserting the SIM card is not only essential for initial setup but also relevant when replacing or upgrading your SIM card in the future. By familiarizing yourself with these procedures, you've equipped yourself with the knowledge and confidence to handle SIM card-related tasks with ease and precision.
As you embark on your journey with the iPhone 7, take a moment to explore the device's capabilities and customize its settings to suit your preferences. Whether it's configuring security features, personalizing your home screen, or exploring the array of apps and services available, your iPhone 7 offers a wealth of possibilities to enhance your mobile experience.
In addition to the practical aspects of setting up your iPhone 7, it's worth acknowledging the significance of connectivity in today's digital landscape. Your iPhone 7 serves as a gateway to a world of communication, information, and entertainment, allowing you to stay connected and engaged with the people and content that matter to you.
By mastering the process of locating the SIM card slot and inserting your SIM card, you've taken an important step towards unlocking the full potential of your iPhone 7. As you continue to explore and utilize your device, remember that seamless connectivity and reliable access to your mobile network are fundamental to maximizing your iPhone 7 experience.
In conclusion, the successful setup of your iPhone 7, including the proper insertion of the SIM card, marks the beginning of a journey filled with possibilities, connectivity, and empowerment. Your iPhone 7 is now primed to serve as your trusted companion in the digital realm, offering a seamless and enriching mobile experience. Enjoy the journey ahead, and may your iPhone 7 empower you to connect, create, and thrive in the digital world.