Introduction
The SIM card in your iPhone 4 is a vital component that allows you to connect to your cellular network, enabling you to make calls, send messages, and access mobile data. Whether you need to replace your SIM card, switch to a new device, or troubleshoot connectivity issues, knowing how to safely extract the SIM card from your iPhone 4 is essential.
In this comprehensive guide, we will walk you through the step-by-step process of safely removing the SIM card from your iPhone 4. By following these instructions, you can ensure that the removal process is seamless and free from potential damage to your device or the SIM card itself. With the right tools and a clear understanding of the extraction process, you can confidently manage your SIM card and maintain uninterrupted access to your mobile network.
Understanding the significance of the SIM card and how it integrates with your iPhone 4 is the first step towards effectively managing your device's connectivity. As we delve into the extraction process, it's important to approach each step with care and precision, prioritizing the safety of your device and the SIM card. With these considerations in mind, you can proceed with confidence, knowing that you have the knowledge and guidance to safely extract the SIM card from your iPhone 4.
Now, let's gather the necessary tools and embark on this journey to safely remove the SIM card from your iPhone 4.
Tools Required
Before you begin the process of safely extracting the SIM card from your iPhone 4, it's essential to gather the necessary tools to ensure a smooth and successful removal. The primary tool you'll need for this task is the SIM card eject tool, which is specifically designed for safely and effectively removing the SIM card tray from your device.
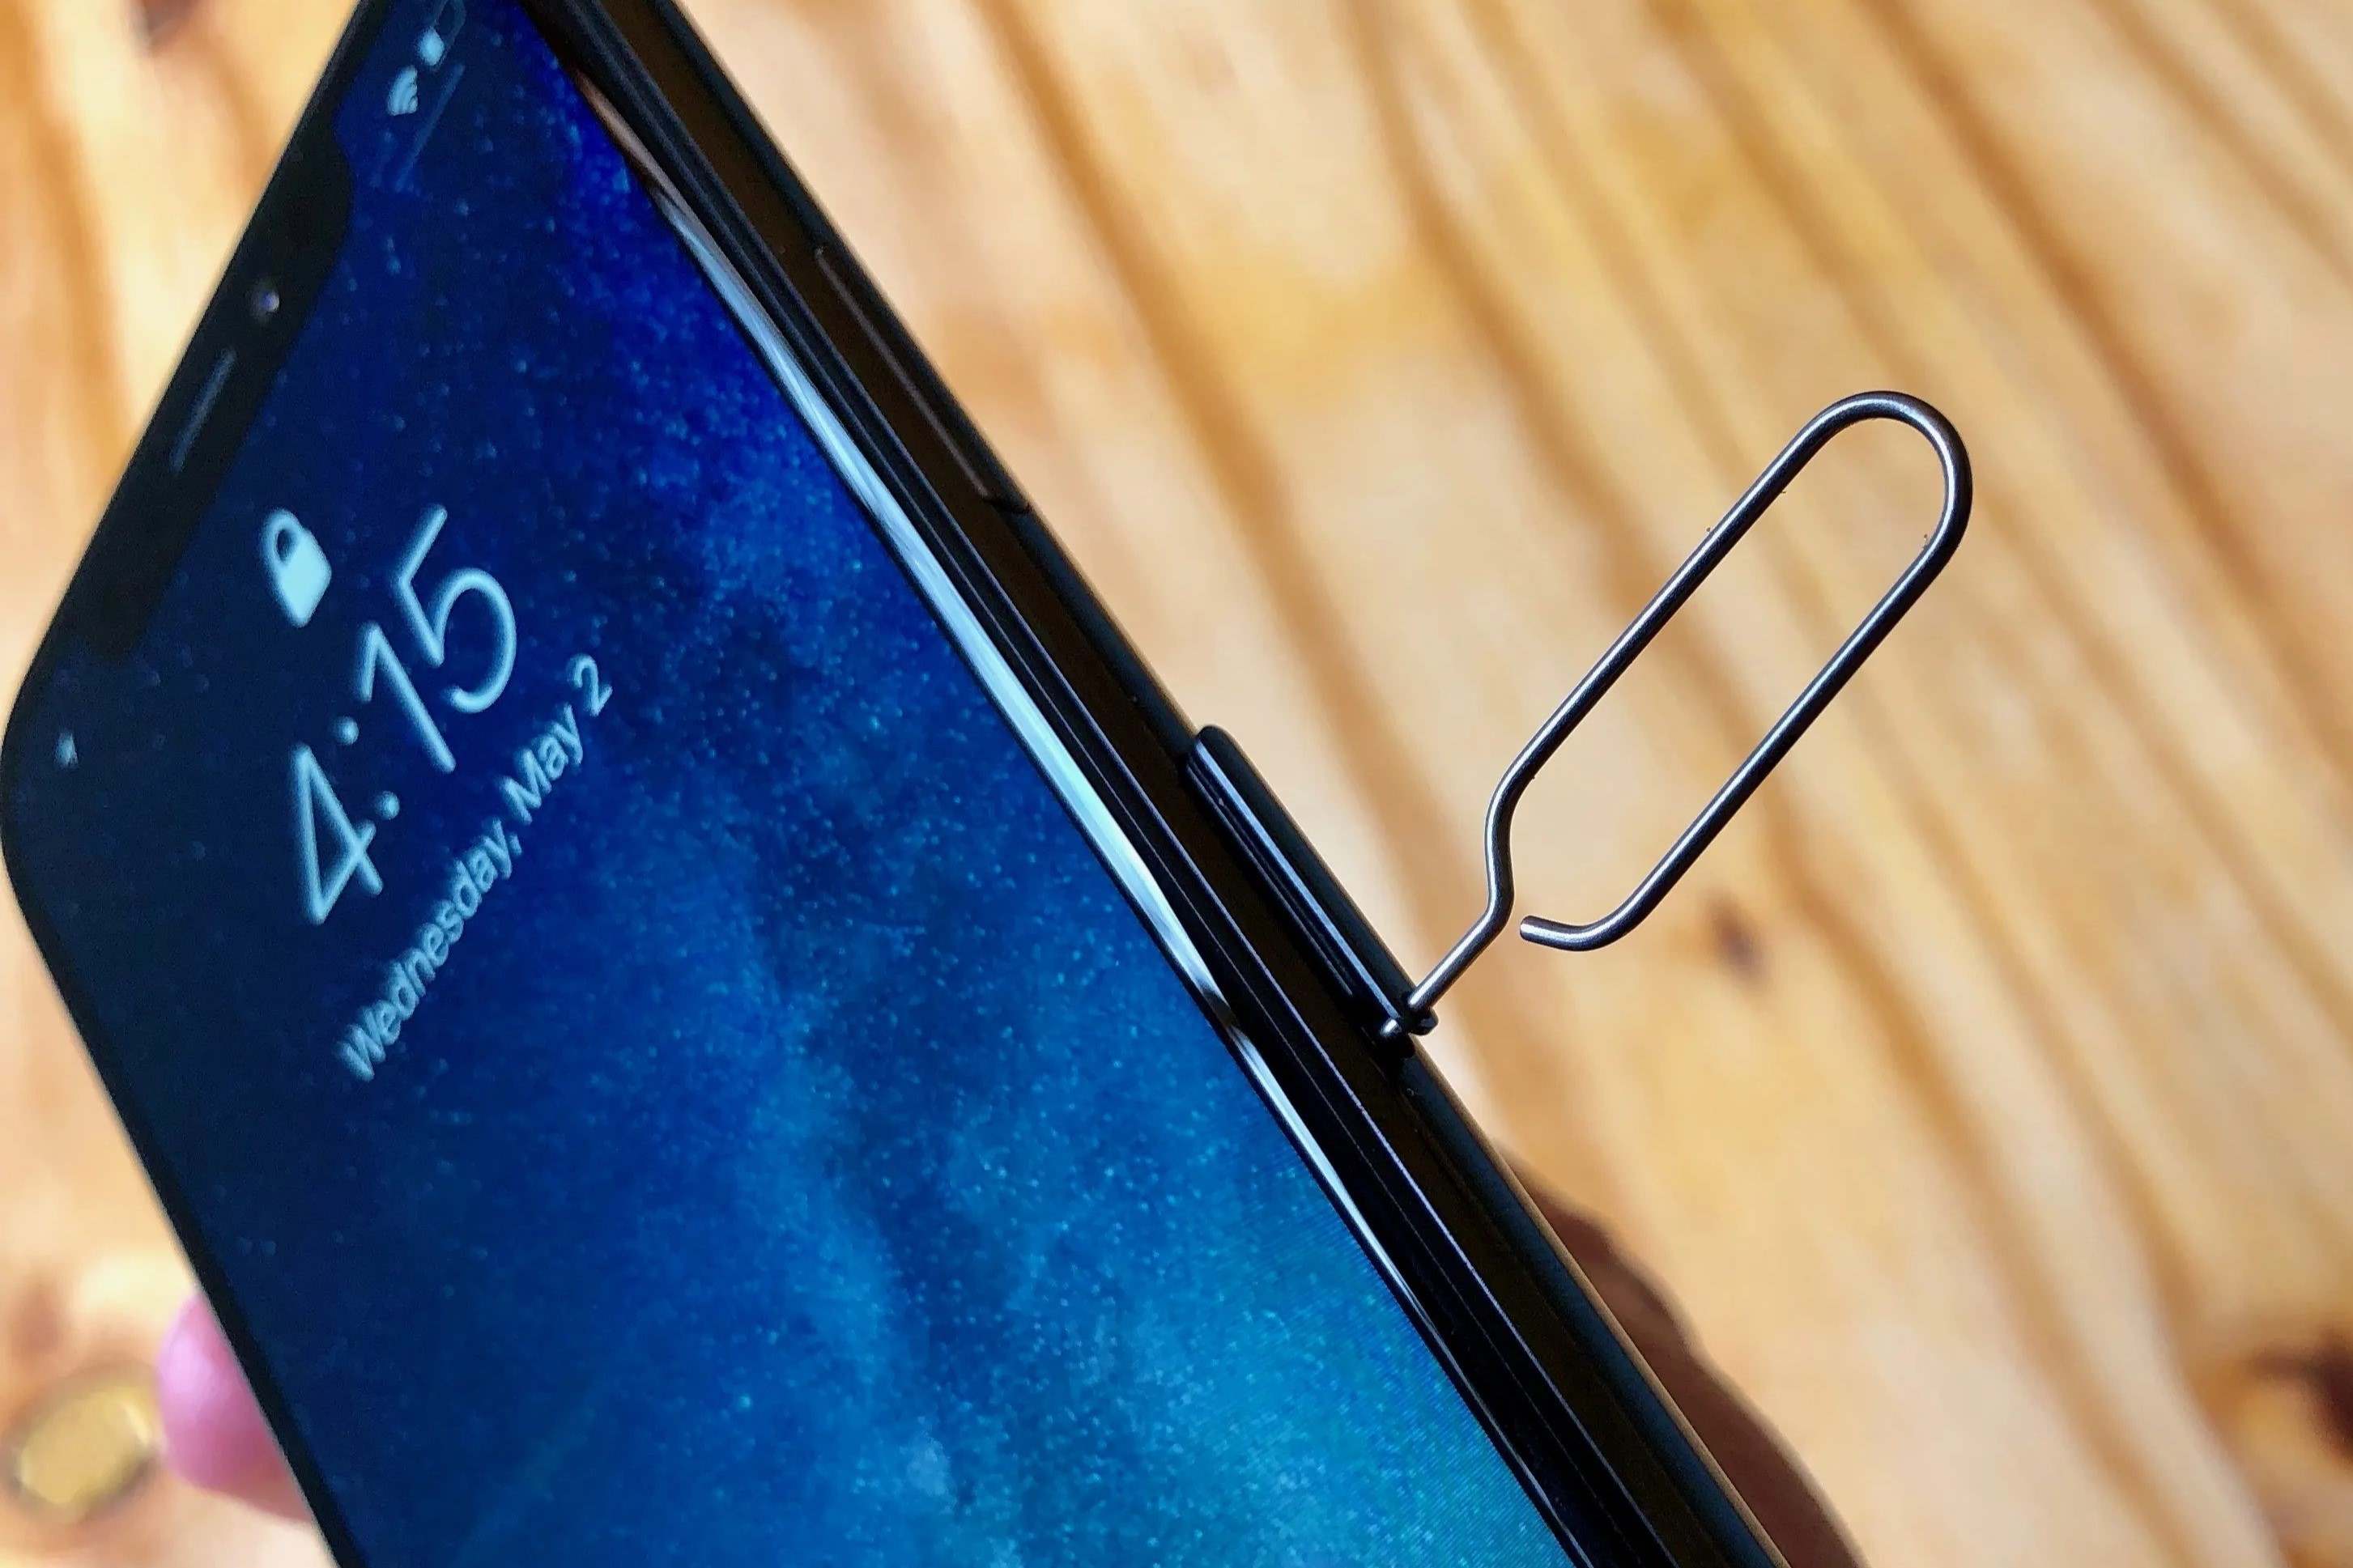
The SIM card eject tool, also known as a SIM card removal tool, is a small, metal pin that provides the precise amount of force needed to eject the SIM card tray without causing any damage to the device. This tool is typically included in the original packaging of your iPhone 4, ensuring that you have easy access to it when the need arises.
If you don't have the original SIM card eject tool, don't worry. You can easily find suitable alternatives, such as a straightened paperclip or a thin, sturdy needle. However, it's important to exercise caution when using makeshift tools, as they may not provide the same level of precision and protection as the dedicated SIM card eject tool.
Additionally, having a clean, well-lit workspace can significantly enhance the extraction process. Ensure that you are working in a well-lit area with ample space to maneuver your iPhone 4. This will allow you to clearly see the SIM card tray and the insertion point for the eject tool, minimizing the risk of any accidental damage during the removal process.
By preparing these essential tools and creating an optimal workspace, you can approach the SIM card extraction process with confidence and precision. With the right tools at your disposal, you are well-equipped to safely and effectively remove the SIM card from your iPhone 4, ensuring that your device remains in pristine condition throughout the extraction process.
Step 1: Power Off the iPhone
Before embarking on the process of extracting the SIM card from your iPhone 4, it is crucial to power off the device to ensure the safety of both the device and the SIM card. This initial step serves as a foundational precaution, preventing any potential damage that may occur if the device is powered on during the extraction process.
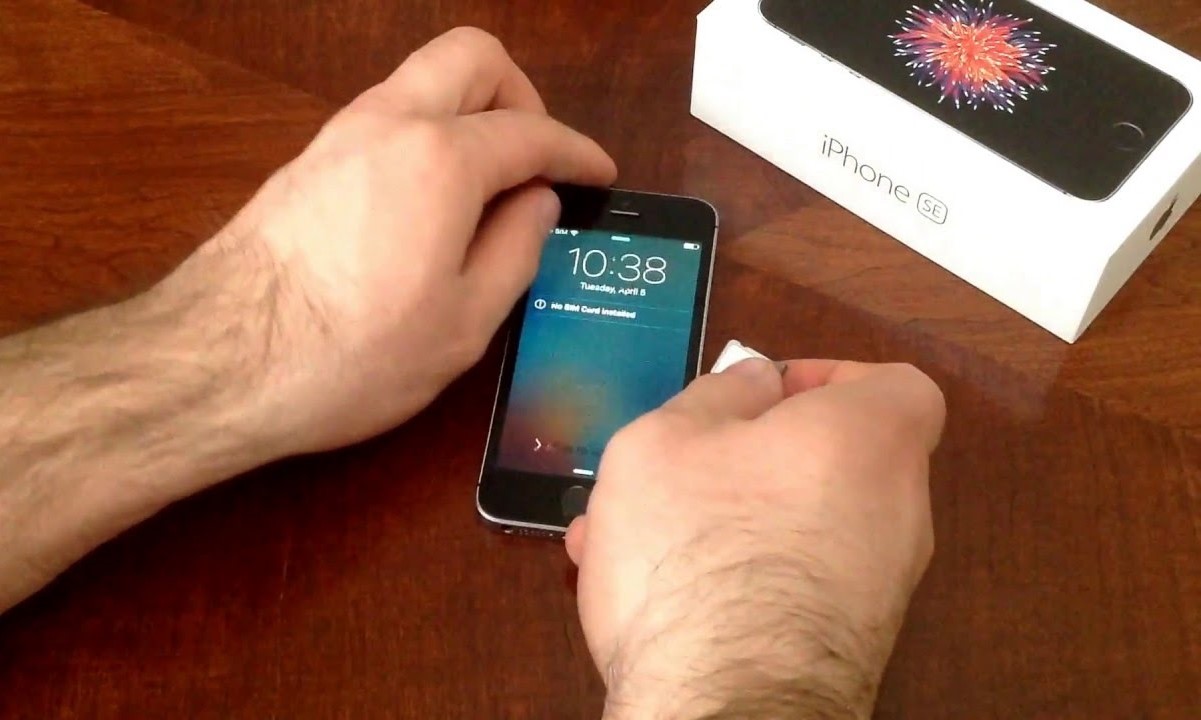
To power off your iPhone 4, locate the power button, which is situated on the top edge of the device. Firmly press and hold the power button until the "Slide to power off" slider appears on the screen. Once the slider is displayed, carefully swipe it from left to right to power off the device.
By powering off your iPhone 4, you effectively mitigate the risk of any electrical interference or accidental activation of the device's components during the SIM card extraction. This simple yet critical step ensures that the device is in a safe and dormant state, allowing you to proceed with the extraction process without any potential disruptions or complications.
Additionally, powering off the iPhone 4 creates a conducive environment for handling the device with precision and care. With the device safely powered down, you can focus on the subsequent steps of the extraction process, knowing that the device is in a stable and secure state.
By prioritizing the power-off procedure, you demonstrate a proactive approach to safeguarding your iPhone 4 and the SIM card, setting the stage for a seamless and successful extraction process. With the device powered off and the necessary precautions in place, you are now ready to proceed to the next step of locating the SIM card tray and initiating the SIM card extraction process.
As we move forward, it's important to maintain a deliberate and attentive approach, ensuring that each step is executed with precision and care. With the iPhone 4 powered off, you are poised to navigate the subsequent steps of the SIM card extraction process, setting the stage for a smooth and effective removal of the SIM card from your device.
Step 2: Locate the SIM Card Tray
After ensuring that your iPhone 4 is powered off, the next crucial step in safely extracting the SIM card is to locate the SIM card tray. The SIM card tray on the iPhone 4 is strategically positioned on the device's exterior, allowing for convenient access while maintaining the integrity of the internal components.
To locate the SIM card tray, examine the right-hand side of your iPhone 4, where you will find a small, recessed slot. This slot is designed to house the SIM card tray and is typically situated just below the device's power button. The presence of the SIM card tray slot may vary slightly depending on the specific model of the iPhone 4, but it is consistently positioned along the right-hand side of the device.
Once you have identified the SIM card tray slot, take a moment to familiarize yourself with its location and orientation. By understanding the precise placement of the SIM card tray slot, you can confidently proceed to the next step of the extraction process, knowing that you have a clear visualization of the target area.
It's important to approach this step with attentiveness and precision, ensuring that you accurately identify the SIM card tray slot before proceeding further. By taking the time to locate the SIM card tray, you set the stage for a smooth and efficient extraction process, minimizing the risk of any unnecessary complications or errors.
With the SIM card tray slot identified, you are now prepared to advance to the subsequent step of inserting the SIM card eject tool, initiating the pivotal phase of the SIM card extraction process. This deliberate and methodical approach ensures that you maintain full control and clarity as you navigate the extraction process, setting the foundation for a successful and hassle-free removal of the SIM card from your iPhone 4.
As we move forward, the precise location of the SIM card tray slot serves as a guiding point, allowing you to seamlessly transition to the next step of the extraction process. With a clear understanding of the SIM card tray's position, you are well-equipped to proceed confidently, knowing that you have laid the groundwork for a safe and effective extraction of the SIM card from your iPhone 4.
Step 3: Insert the SIM Card Eject Tool
With the SIM card tray located and the iPhone 4 powered off, the next pivotal step in the process of safely extracting the SIM card is to insert the SIM card eject tool. This step requires precision and care, as the SIM card eject tool serves as the instrumental mechanism for releasing the SIM card tray from the device.
Retrieve the SIM card eject tool from your toolkit, ensuring that you have a firm grip on the small, pointed instrument. Position yourself in a well-lit area, ideally with a clear view of the SIM card tray slot on the right-hand side of your iPhone 4. With the SIM card eject tool in hand and a focused mindset, proceed to the insertion phase with deliberate intent.
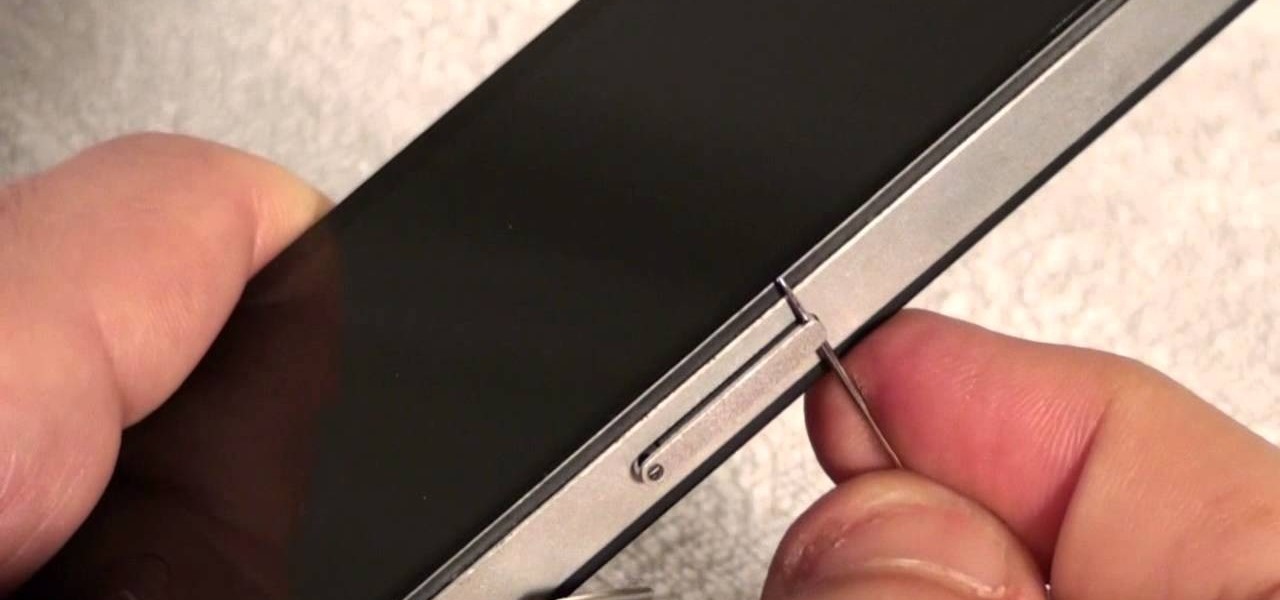
Identify the small pinhole located adjacent to the SIM card tray slot. This pinhole is strategically designed to accommodate the SIM card eject tool, allowing for precise and controlled insertion. With gentle yet firm pressure, carefully insert the pointed end of the SIM card eject tool into the pinhole, ensuring that it fits snugly into the designated space.
As you guide the SIM card eject tool into the pinhole, maintain a steady hand and avoid applying excessive force. The goal is to engage the internal mechanism that will release the SIM card tray, allowing it to protrude from the device for easy access. By exercising patience and attentiveness during this step, you can effectively position the SIM card eject tool for optimal functionality.
Upon successful insertion, you may feel a slight resistance as the SIM card eject tool engages with the internal mechanism. This subtle feedback indicates that the tool is interacting with the SIM card tray, preparing it for the subsequent extraction phase. As you navigate this phase, it's essential to remain focused and composed, ensuring that the SIM card eject tool is securely positioned within the pinhole.
With the SIM card eject tool effectively inserted into the pinhole, you have reached a critical juncture in the SIM card extraction process. This deliberate and methodical step sets the stage for the seamless release of the SIM card tray, marking a pivotal progression towards safely accessing and removing the SIM card from your iPhone 4.
As you move forward, maintain a steady hand and a focused mindset, knowing that the precise insertion of the SIM card eject tool is a testament to your commitment to safely and effectively managing the SIM card extraction process. With the tool securely in place, you are poised to advance to the subsequent step of removing the SIM card tray, setting the stage for the culmination of the extraction process.
By methodically inserting the SIM card eject tool into the designated pinhole, you have demonstrated a meticulous and attentive approach to the extraction process, ensuring that each step is executed with precision and care. With the tool positioned for optimal functionality, you are now ready to transition to the next phase of the extraction process, marking a significant milestone in your journey to safely extract the SIM card from your iPhone 4.
Step 4: Remove the SIM Card Tray
With the SIM card eject tool securely inserted into the pinhole, the next critical step in the SIM card extraction process is to remove the SIM card tray from your iPhone 4. This phase requires a steady hand and a methodical approach to ensure the safe and seamless extraction of the SIM card tray without causing any damage to the device or the SIM card itself.
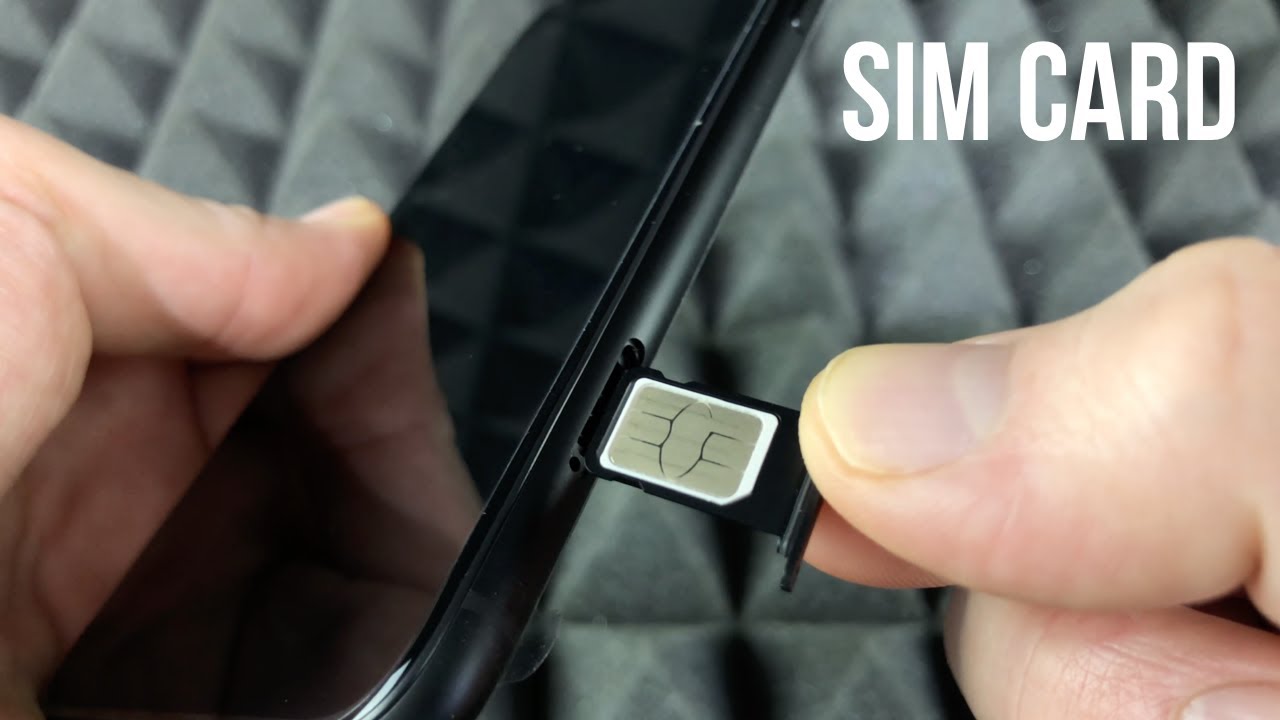
Applying gentle yet consistent pressure to the SIM card eject tool, initiate the ejection mechanism by exerting a slight inward push. As the internal mechanism responds to the pressure exerted by the tool, you will feel the SIM card tray gradually protruding from the device, signaling the successful activation of the ejection process.
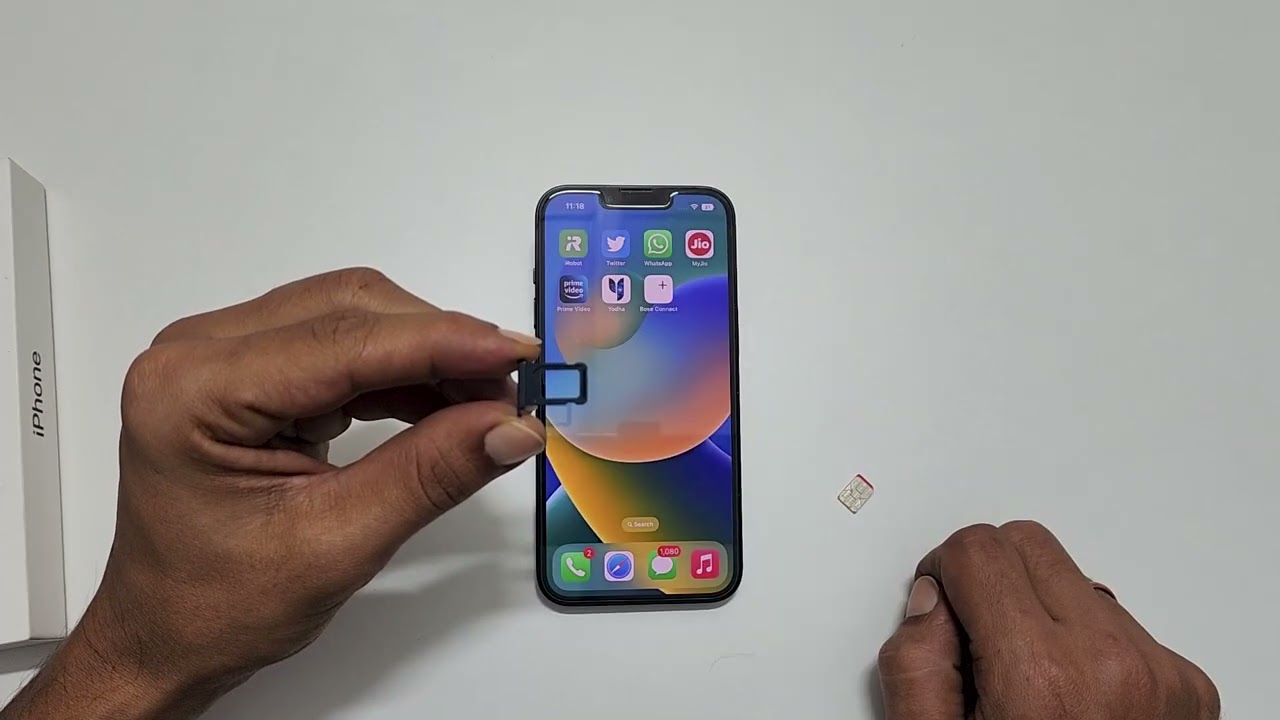
With the SIM card tray in the partially ejected position, carefully grasp the exposed edge of the tray with your fingertips, ensuring a firm yet gentle hold. Exercise caution and avoid using excessive force, as the goal is to delicately withdraw the SIM card tray from the device without causing any abrupt movements or disruptions.
As you steadily pull the SIM card tray from the iPhone 4, maintain a focused grip on the tray to guide its smooth and controlled removal. Pay close attention to any resistance or obstructions, adjusting your approach as needed to navigate the extraction process with precision and care.
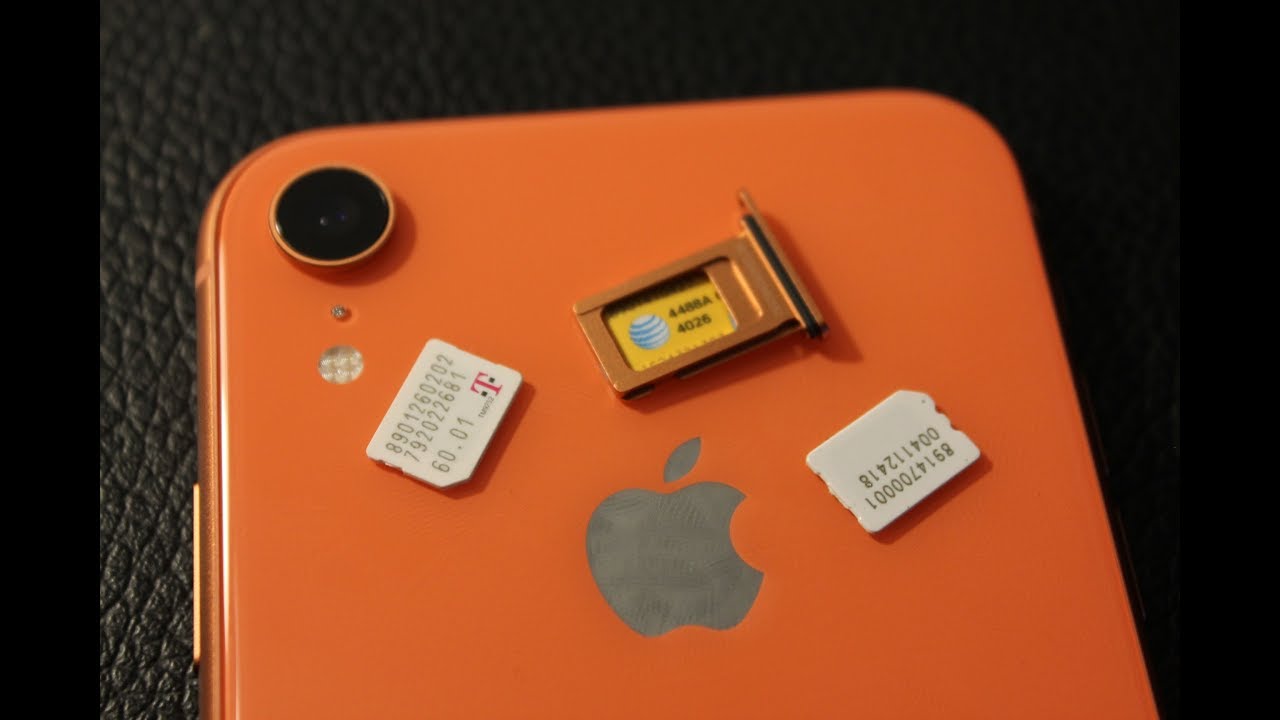
Once the SIM card tray is fully removed from the device, place it on a secure and stable surface, taking care to avoid any abrupt movements that may dislodge the SIM card from its designated slot. With the SIM card tray safely extracted, you have successfully completed a pivotal phase of the SIM card removal process, marking a significant progression towards accessing the SIM card housed within the tray.
By methodically removing the SIM card tray with attentiveness and precision, you have demonstrated a meticulous approach to safeguarding both the device and the SIM card throughout the extraction process. With the SIM card tray securely in hand, you are now prepared to proceed to the final step of taking out the SIM card, culminating in the successful extraction of the SIM card from your iPhone 4.
As you transition to the subsequent phase, maintain a deliberate and composed demeanor, knowing that each step of the extraction process is executed with the utmost care and consideration. With the SIM card tray safely removed, you are poised to advance to the final phase of the extraction process, setting the stage for the seamless retrieval of the SIM card from its housing within the tray.
Step 5: Take Out the SIM Card
With the SIM card tray safely removed from your iPhone 4, the final and crucial step in the SIM card extraction process is to delicately take out the SIM card from its housing within the tray. This phase demands a meticulous and gentle approach to ensure the seamless retrieval of the SIM card, safeguarding it from any potential damage or mishandling.
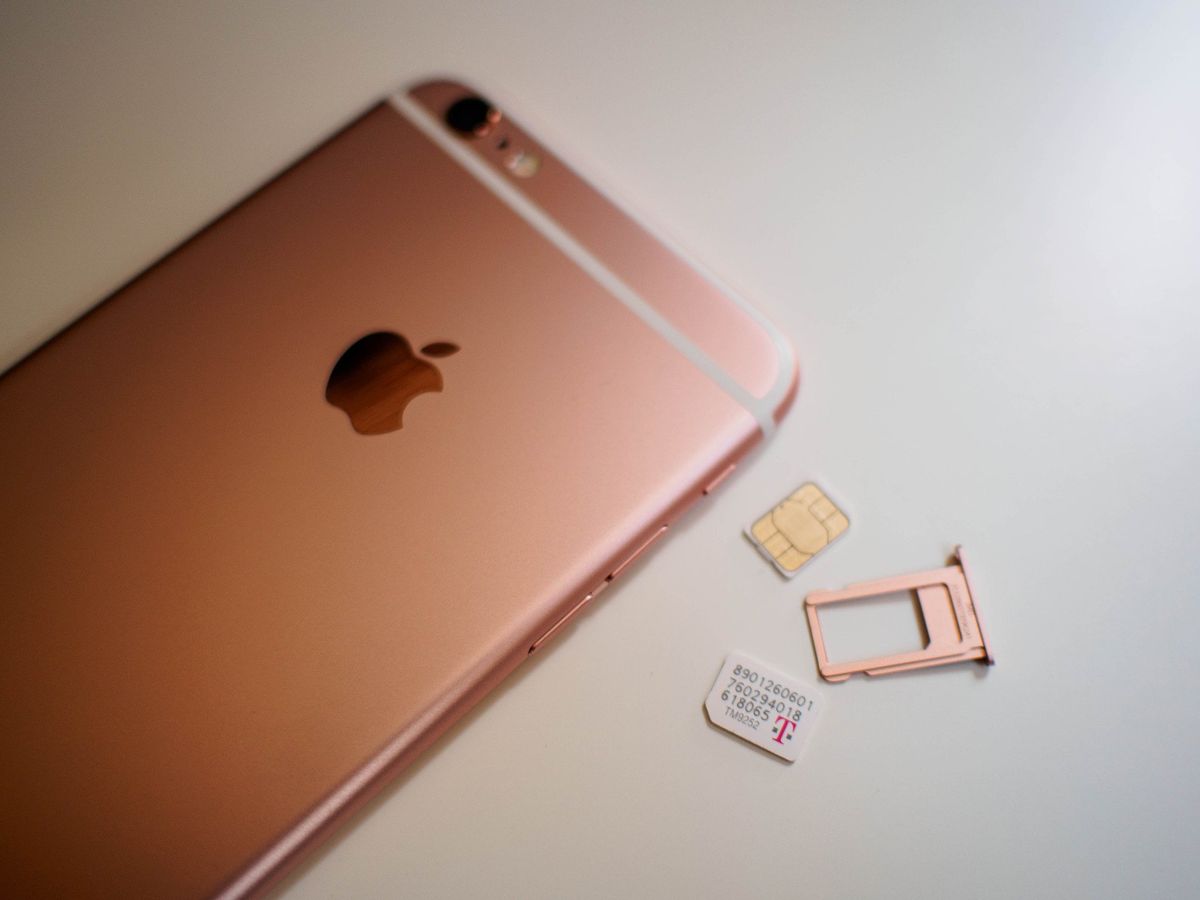
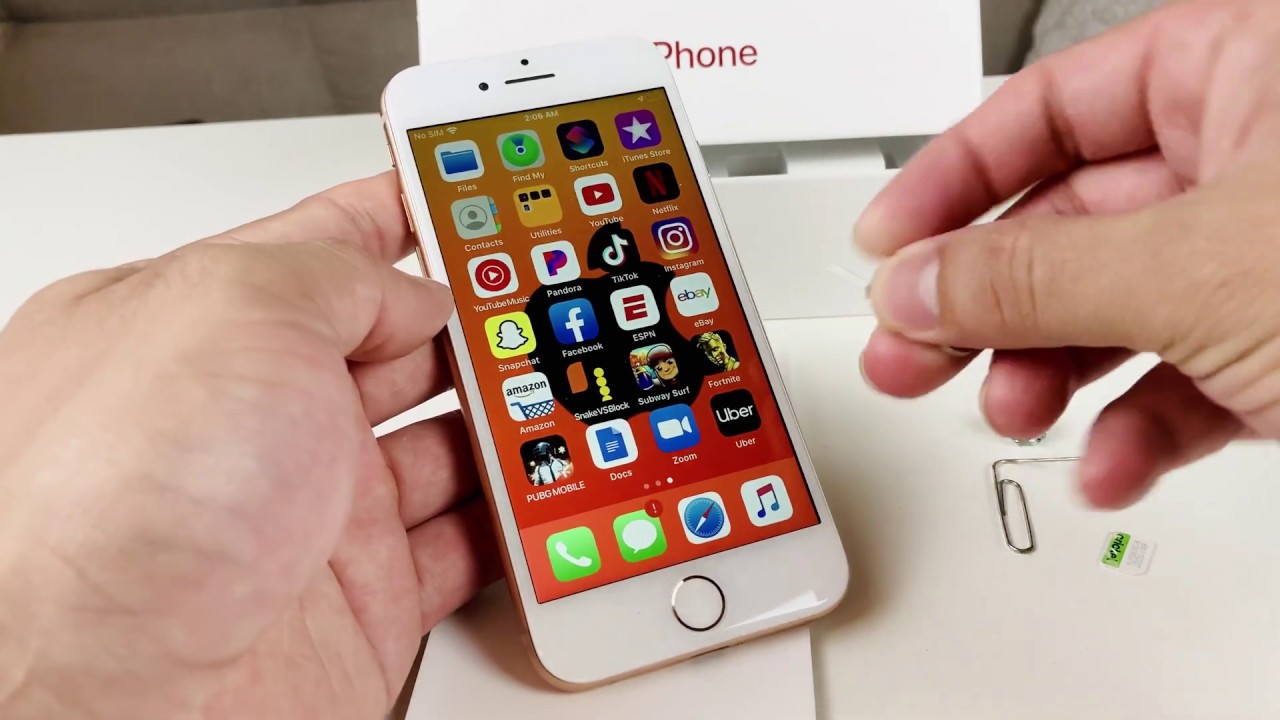
Upon examining the SIM card tray, you will notice a designated slot that securely holds the SIM card in place. Carefully inspect the slot to identify the SIM card, which is typically a small, rectangular chip with metallic contacts. It's essential to approach this step with patience and attentiveness, prioritizing the safety and integrity of the SIM card as you prepare to extract it from the tray.
Using your fingertips, delicately grasp the exposed edge of the SIM card, ensuring a steady and controlled hold. Exercise caution and avoid applying excessive pressure, as the goal is to gently lift the SIM card from its housing without causing any bending or damage to the delicate components.
As you carefully lift the SIM card from the tray, take note of its orientation and position to maintain a clear understanding of its alignment within the device. This awareness will prove valuable when you insert the SIM card into another device or a replacement SIM card into your iPhone 4, ensuring a seamless transition and connection to your mobile network.
Once the SIM card is safely removed from the tray, place it in a secure location, such as a SIM card holder or a protective case, to prevent any potential damage or misplacement. Handling the SIM card with care and storing it in a secure manner reinforces your commitment to preserving its functionality and ensuring its readiness for future use.
With the SIM card successfully extracted from the tray, you have completed the comprehensive process of safely removing the SIM card from your iPhone 4. Your meticulous approach to each step of the extraction process demonstrates a steadfast dedication to preserving the integrity of both the device and the SIM card, ensuring a seamless and effective removal process.
As you conclude this pivotal phase, take a moment to reflect on your attentiveness and precision throughout the extraction process, knowing that your commitment to safe and careful handling has resulted in the successful extraction of the SIM card from your iPhone 4.
Conclusion
In conclusion, safely extracting the SIM card from your iPhone 4 is a process that demands attention to detail, precision, and a steadfast commitment to safeguarding both the device and the SIM card. By following the step-by-step guide outlined in this comprehensive article, you have gained valuable insights into the meticulous process of removing the SIM card from your iPhone 4 with care and confidence.
Throughout this journey, you have embraced the importance of preparing the necessary tools, ensuring that the SIM card eject tool is readily available to facilitate the extraction process. By prioritizing a clean and well-lit workspace, you have created an optimal environment for navigating the intricacies of SIM card removal with clarity and focus.
The deliberate approach to powering off the iPhone 4 before initiating the extraction process underscores your commitment to safety and precision. By carefully locating the SIM card tray and methodically inserting the SIM card eject tool into the designated pinhole, you have demonstrated a meticulous and attentive mindset, setting the stage for the seamless removal of the SIM card tray.
The pivotal phases of removing the SIM card tray and delicately extracting the SIM card from its housing within the tray highlight your dedication to safeguarding the integrity of the SIM card, ensuring that it remains free from damage or mishandling throughout the extraction process.
As you conclude this comprehensive guide, it's essential to acknowledge the significance of your meticulous approach to safely extracting the SIM card from your iPhone 4. Your commitment to precision, attentiveness, and care has culminated in the successful removal of the SIM card, underscoring your ability to navigate intricate device management processes with confidence and expertise.
In the future, as you encounter the need to manage SIM cards on your iPhone 4 or other devices, the knowledge and insights gained from this guide will serve as a valuable resource. Whether you are replacing the SIM card, transitioning to a new device, or troubleshooting connectivity issues, your proficiency in safely extracting the SIM card will ensure that you approach these tasks with clarity, confidence, and a steadfast dedication to device maintenance and management.
By embracing the principles of precision and care throughout the SIM card extraction process, you have exemplified a proactive and informed approach to device management, setting a standard for safe and effective SIM card removal that aligns with best practices and meticulous attention to detail.