Tools Needed for SIM Card Extraction
When it comes to safely extracting the SIM card from an iPhone 8, having the right tools at your disposal is crucial. The process requires precision and care, and having the appropriate tools can make all the difference. Here are the essential tools you'll need for a successful SIM card extraction:
-
SIM Card Eject Tool: This tiny, yet indispensable tool is specifically designed for ejecting the SIM card tray from your iPhone 8. It usually comes with the phone at the time of purchase, but if you've misplaced it, fret not! You can easily find a suitable replacement at your local mobile phone accessory store or online. The SIM card eject tool typically features a small, needle-like protrusion that perfectly fits into the tiny hole on the side of your iPhone 8, allowing you to effortlessly eject the SIM card tray.
-
Soft Cloth or Tissue: Before and after the extraction process, it's essential to ensure that the SIM card and the tray are clean and free from any dust or debris. A soft cloth or tissue can be used to gently wipe the SIM card and the tray, ensuring a smooth and secure fit when reinserting the SIM card.
-
Stable Surface: While this may not be a traditional "tool," having a stable and flat surface to work on is crucial for a successful SIM card extraction. Whether it's a table, desk, or any other flat surface, ensuring that your iPhone 8 rests securely during the extraction process minimizes the risk of accidental damage.
By having these tools ready, you'll be well-equipped to safely and effectively extract the SIM card from your iPhone 8. With the right tools and a careful approach, you can navigate the extraction process with confidence and ease.
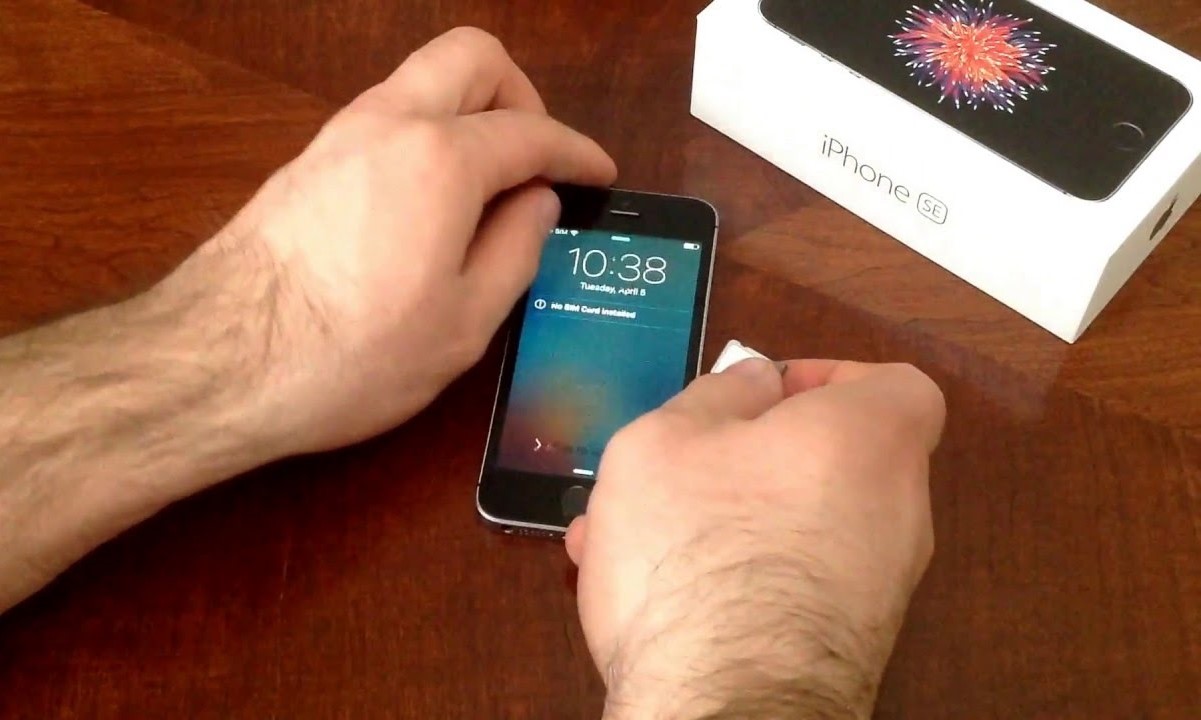
Step 1: Power Off the iPhone 8
Before embarking on the task of extracting the SIM card from your iPhone 8, it's crucial to begin by powering off the device. This initial step is essential to ensure the safety of both the device and the SIM card during the extraction process.
To power off your iPhone 8, start by locating the Side button, which is situated on the right-hand side of the device. Press and hold the Side button along with either the Volume Up or Volume Down button until the "slide to power off" prompt appears on the screen.
Once the "slide to power off" prompt is displayed, simply swipe the power icon from left to right to initiate the shutdown process. As the device powers down, it's important to wait for a few moments to ensure that it has completely turned off before proceeding to the next step.
Powering off your iPhone 8 is a critical preparatory step that minimizes the risk of damage to the SIM card and the device itself. By shutting down the device, you mitigate the potential for any electrical interference or disruption during the SIM card extraction process. This simple yet vital precaution sets the stage for a smooth and safe extraction experience.
Taking the time to power off your iPhone 8 demonstrates a mindful approach to handling your device and its components. It's a foundational step that paves the way for a successful SIM card extraction, allowing you to proceed with the confidence that you're safeguarding the integrity of both the device and the SIM card.
With the iPhone 8 now powered off, you're ready to move on to the next step in the SIM card extraction process, setting the stage for a careful and precise removal of the SIM card tray.
Step 2: Locate the SIM Card Tray
With your iPhone 8 now powered off, the next crucial step in the SIM card extraction process is to locate the SIM card tray. The SIM card tray on the iPhone 8 is strategically positioned on the right-hand side of the device, and it houses the SIM card securely within the phone.
To locate the SIM card tray, gently pick up your iPhone 8 and examine the right-hand side of the device. You'll notice a small, rectangular slot with a tiny pinhole adjacent to it. This slot is the housing for the SIM card tray, and the pinhole serves as the entry point for the SIM card eject tool.
The SIM card tray on the iPhone 8 is designed to be easily accessible while ensuring that the SIM card remains firmly in place during normal usage. Its location on the side of the device allows for convenient removal and reinsertion of the SIM card when necessary.
As you identify the SIM card tray, take a moment to familiarize yourself with its position and the surrounding features. This simple yet important visual inspection sets the stage for the subsequent steps in the extraction process and helps you understand the orientation of the tray within the device.
By locating the SIM card tray, you're gaining a clear understanding of its placement within the iPhone 8, setting the groundwork for a smooth and precise extraction. This deliberate and careful approach ensures that you're well-prepared to proceed with confidence, knowing exactly where the SIM card tray is situated and how to access it effectively.
With the SIM card tray now identified, you're ready to move on to the next step in the SIM card extraction process, where you'll utilize the SIM card eject tool to safely remove the tray and extract the SIM card from your iPhone 8.
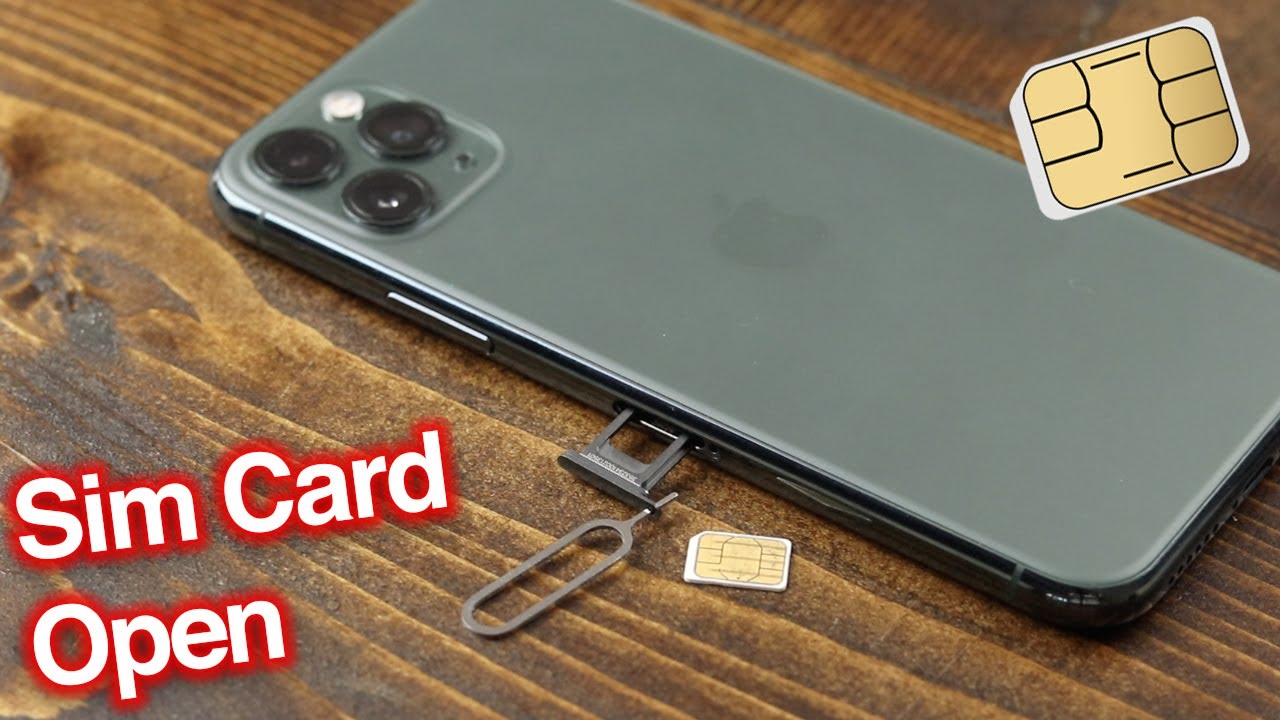
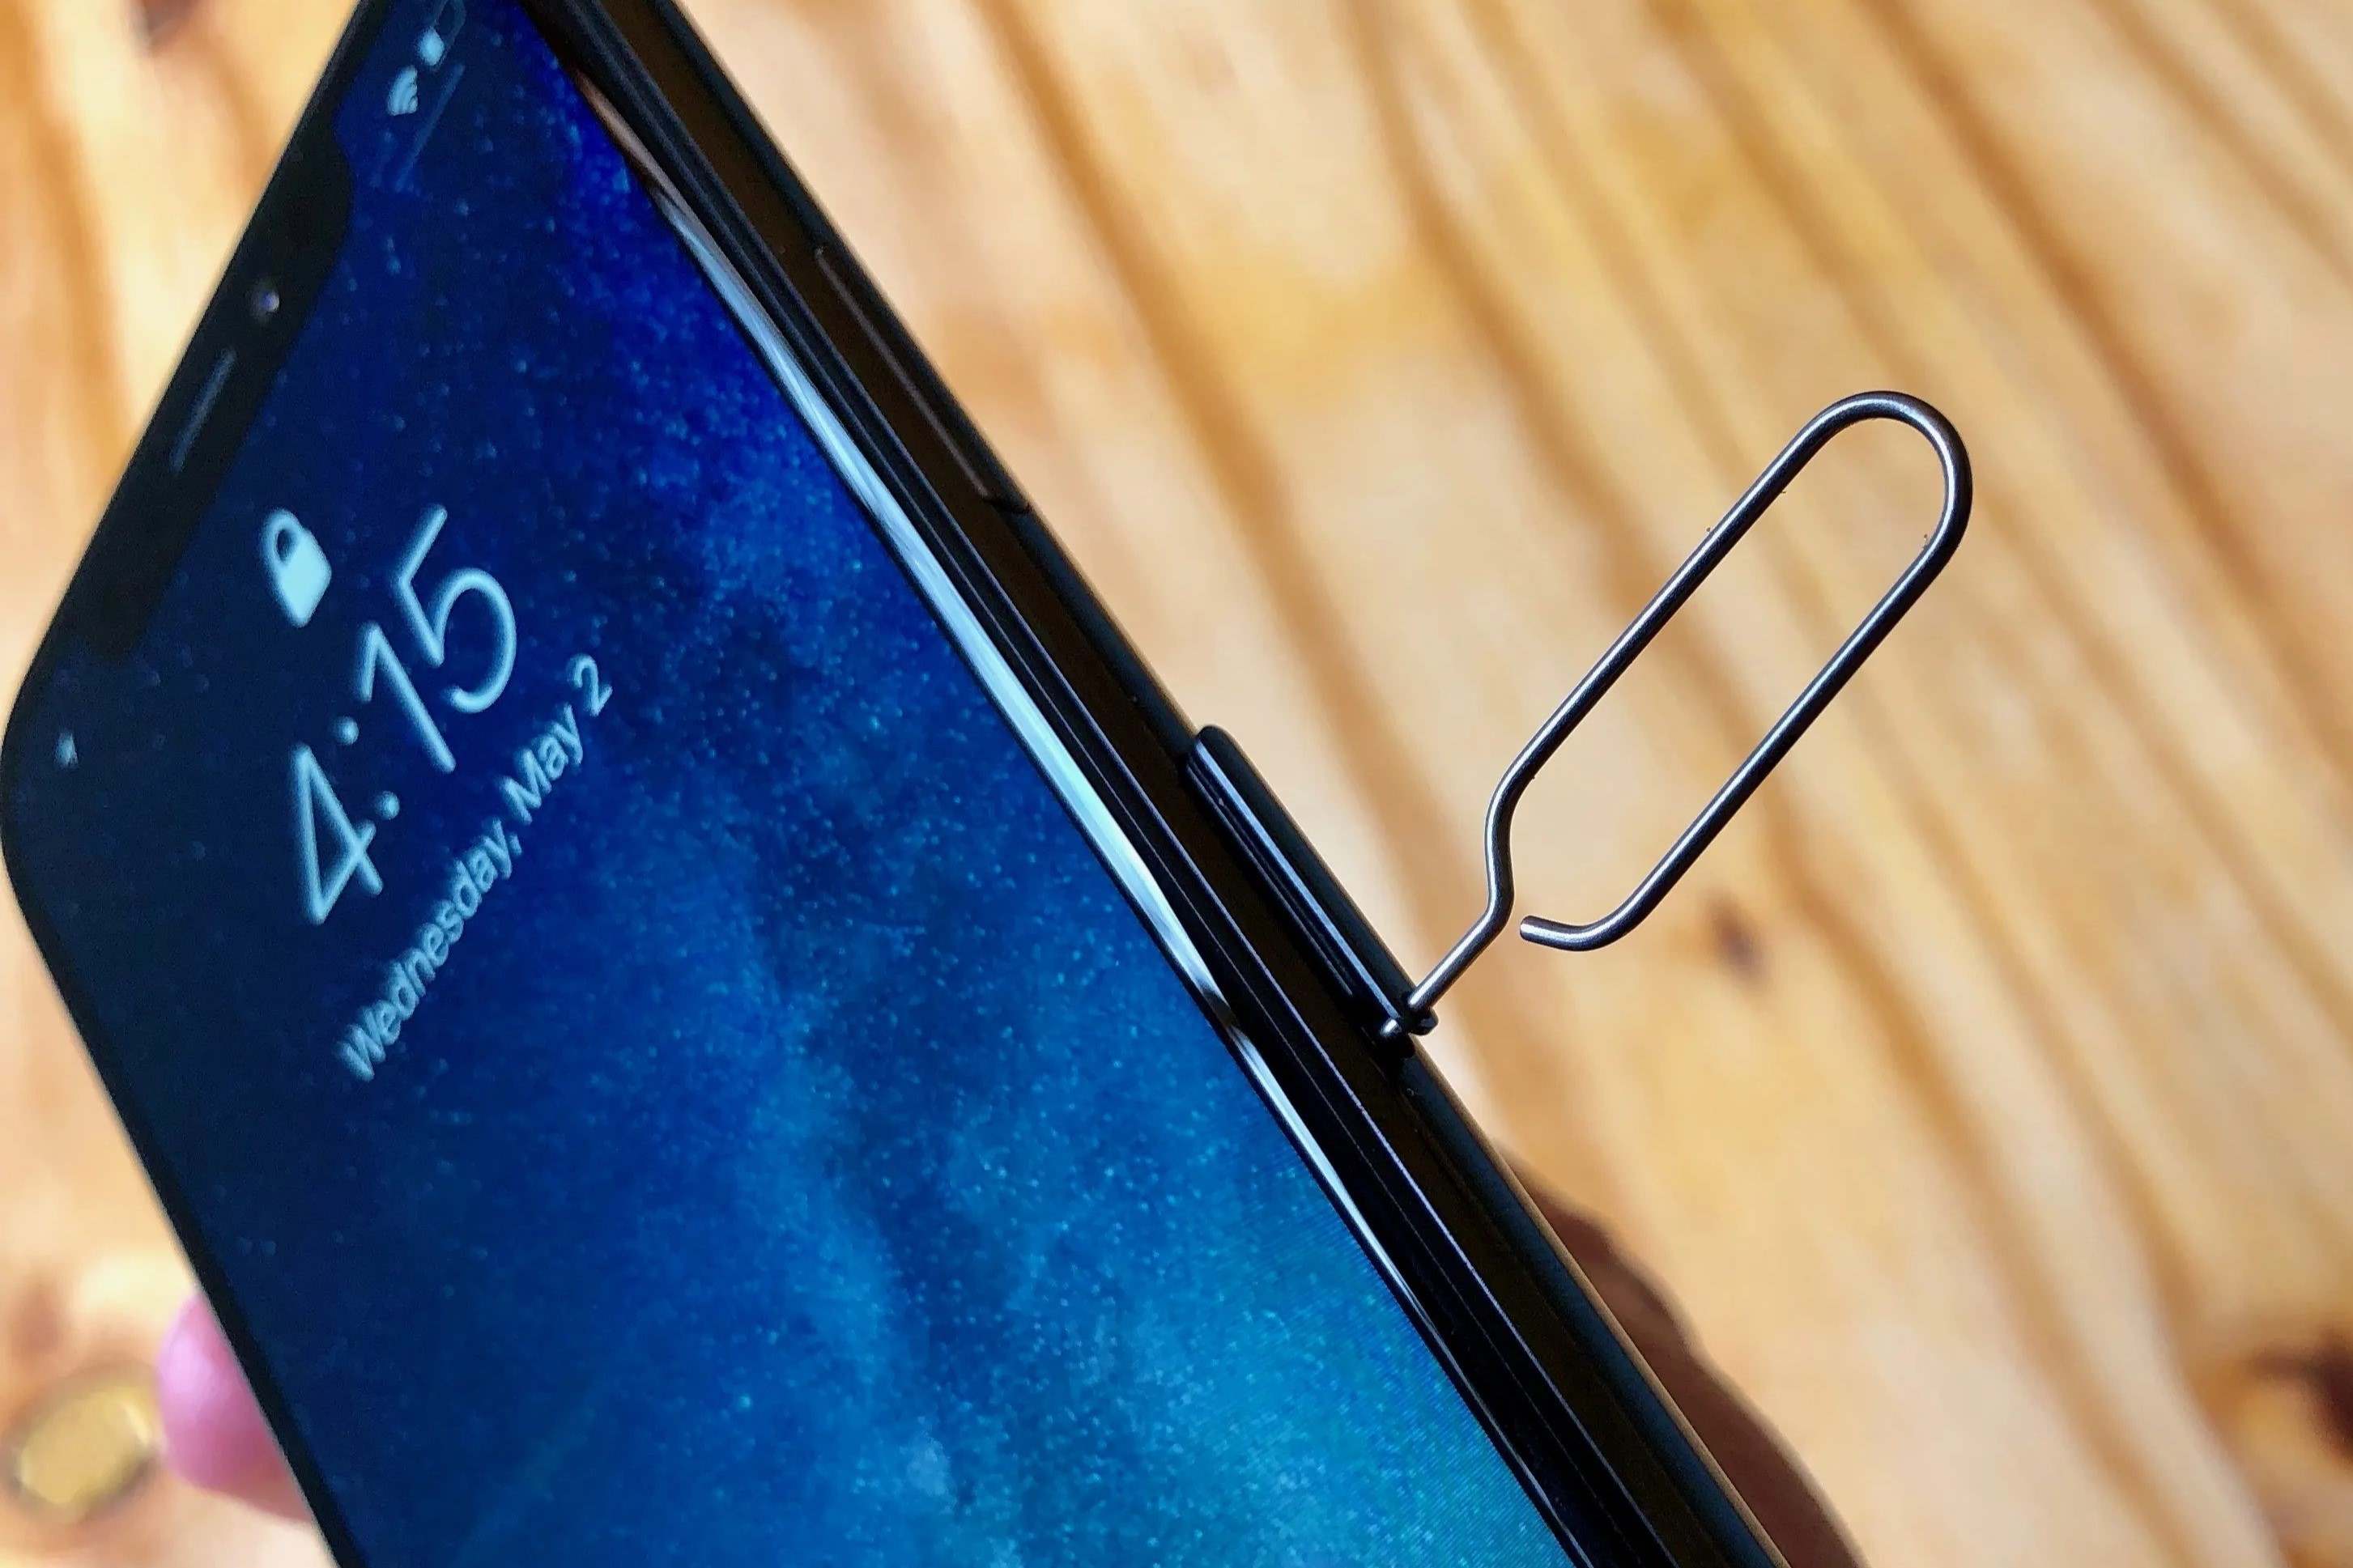
Step 3: Insert the SIM Card Eject Tool
As you proceed with the SIM card extraction process for your iPhone 8, the next pivotal step involves the precise insertion of the SIM card eject tool. This small yet indispensable tool is specifically designed to facilitate the safe removal of the SIM card tray from your device, allowing for the extraction of the SIM card itself.
To initiate this step, retrieve the SIM card eject tool from your toolkit, ensuring that you have a firm grip on the tool's slender yet sturdy body. With the iPhone 8 positioned securely on a stable surface, hold the device with one hand while firmly grasping the SIM card eject tool with the other.
Direct your attention to the right-hand side of the iPhone 8, where the SIM card tray is located. Positioned adjacent to the tray is a small pinhole, which serves as the entry point for the SIM card eject tool. With a steady hand, align the tip of the eject tool with the pinhole, ensuring that it is inserted straight and level to avoid any unnecessary pressure on the device.
As you gently insert the SIM card eject tool into the pinhole, you may encounter a slight resistance, indicating that the tool is engaging with the internal mechanism of the SIM card tray. It's important to proceed with a controlled and deliberate approach, applying gentle pressure to initiate the release of the SIM card tray.
Maintaining a steady hand and a focused mindset, continue to insert the SIM card eject tool until you feel a subtle click, signifying that the tool has successfully engaged with the internal mechanism. This click indicates that the SIM card tray is being released from its secured position within the iPhone 8, preparing it for safe removal.
By carefully and precisely inserting the SIM card eject tool into the pinhole, you're setting the stage for the subsequent steps in the extraction process, ensuring that the SIM card tray is released smoothly and without any undue force. This deliberate and meticulous approach demonstrates your commitment to handling the device with care and precision, laying the foundation for a successful SIM card extraction experience.
With the SIM card eject tool securely inserted into the pinhole, you're now ready to proceed to the subsequent step, where you'll safely remove the SIM card tray from your iPhone 8, paving the way for the extraction of the SIM card itself.
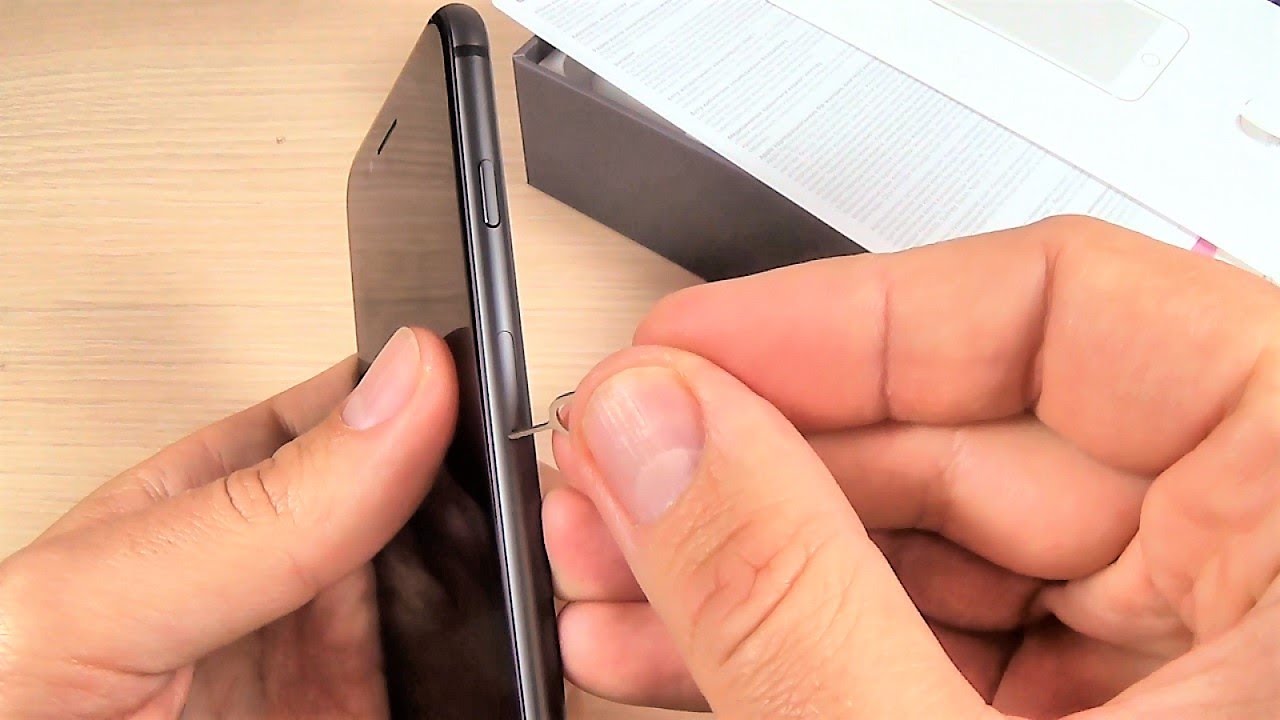
Step 4: Remove the SIM Card Tray
With the SIM card eject tool securely inserted into the pinhole of your iPhone 8, the next pivotal step in the SIM card extraction process is to carefully remove the SIM card tray from the device. This step requires a steady hand and a mindful approach to ensure the safe and smooth extraction of the tray, setting the stage for the subsequent retrieval of the SIM card itself.
Gently apply uniform pressure to the SIM card eject tool, maintaining a firm grip as you initiate the outward movement of the tool. As you do so, you'll notice the SIM card tray gradually easing out from its position within the device. It's essential to proceed with caution, ensuring that the movement is steady and controlled to prevent any abrupt or forceful actions that could potentially damage the tray or the device.
As the SIM card tray begins to emerge from the iPhone 8, continue to guide its movement with a gentle and even pressure on the eject tool. The tray should slide out smoothly, allowing for easy access to the SIM card housed within it. Throughout this process, it's important to maintain a focused and deliberate approach, keeping a watchful eye on the movement of the tray to ensure that it remains aligned and level as it exits the device.
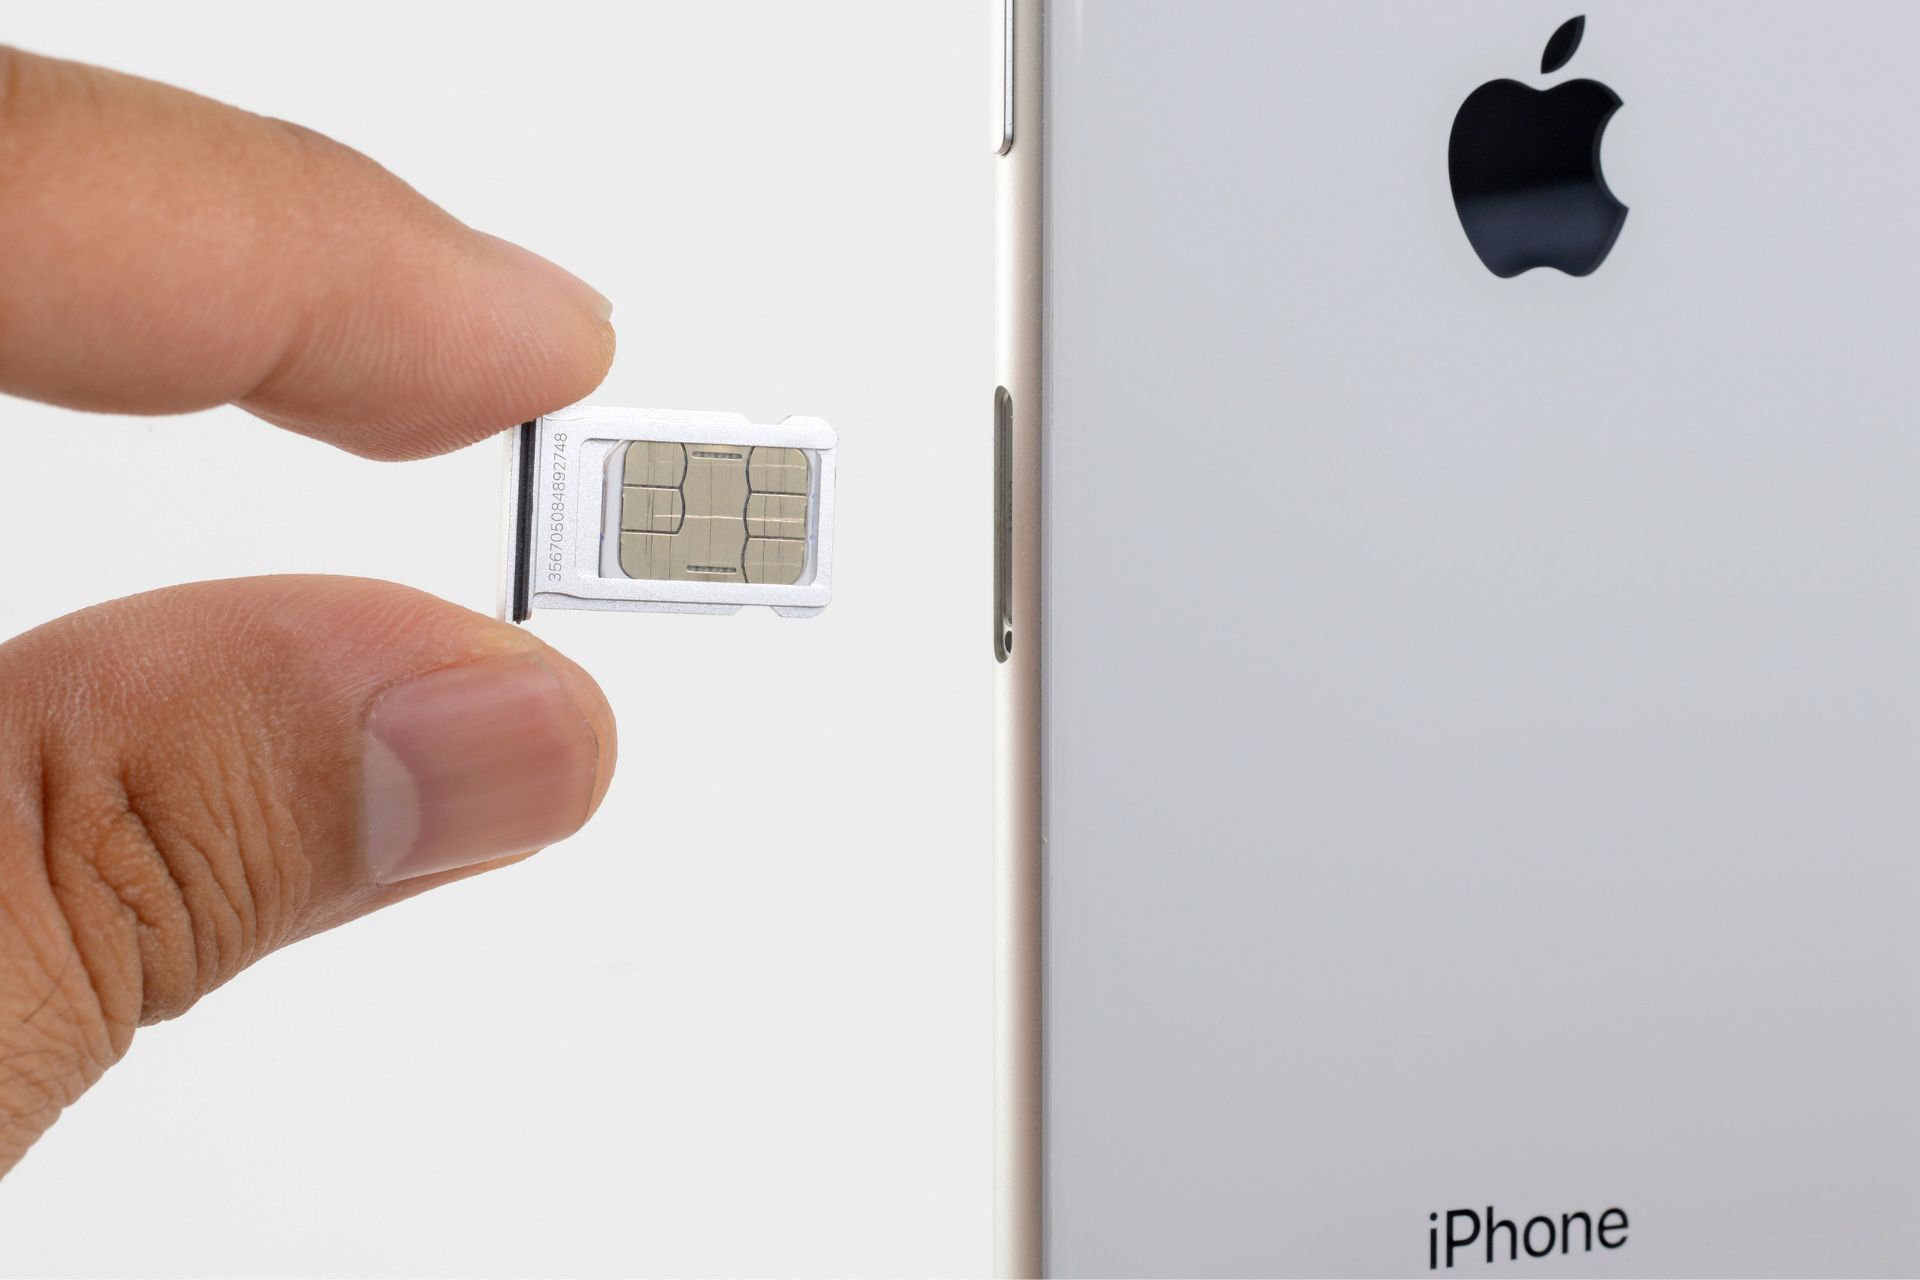
Once the SIM card tray is fully extended from the iPhone 8, carefully grasp it with your fingers, ensuring a secure yet gentle hold. As you remove the tray from the device, take note of the positioning of the SIM card within the tray, ensuring that it remains in place and free from any potential displacement or damage.
With the SIM card tray now safely removed from your iPhone 8, you've completed a crucial phase of the extraction process, setting the stage for the final step of safely extracting the SIM card itself. By approaching the removal of the SIM card tray with care and precision, you've demonstrated a mindful and attentive approach to handling your device, ensuring that both the tray and the SIM card remain intact and secure throughout the extraction process.
With the SIM card tray in hand, you're now ready to proceed to the subsequent step, where you'll safely extract the SIM card from the tray, culminating in a successful and seamless SIM card extraction experience for your iPhone 8.
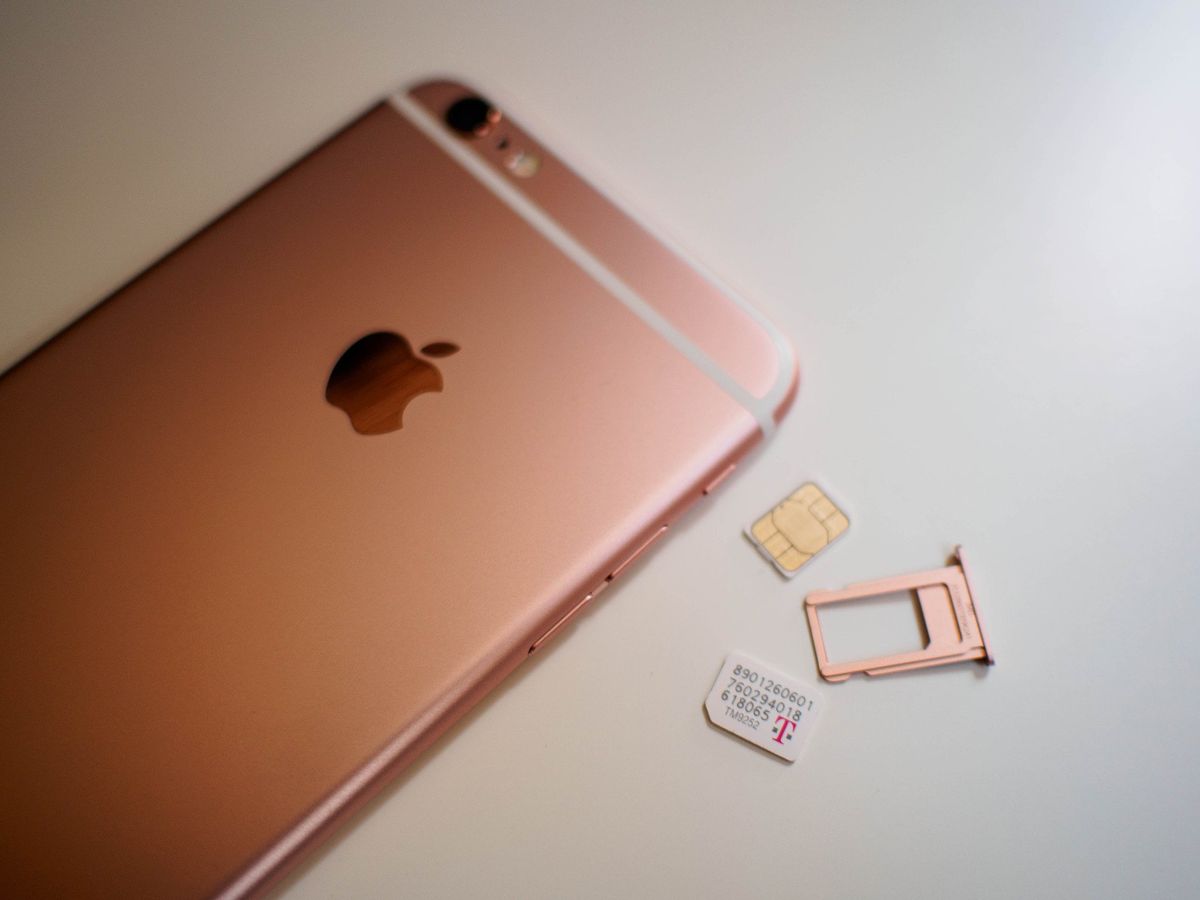
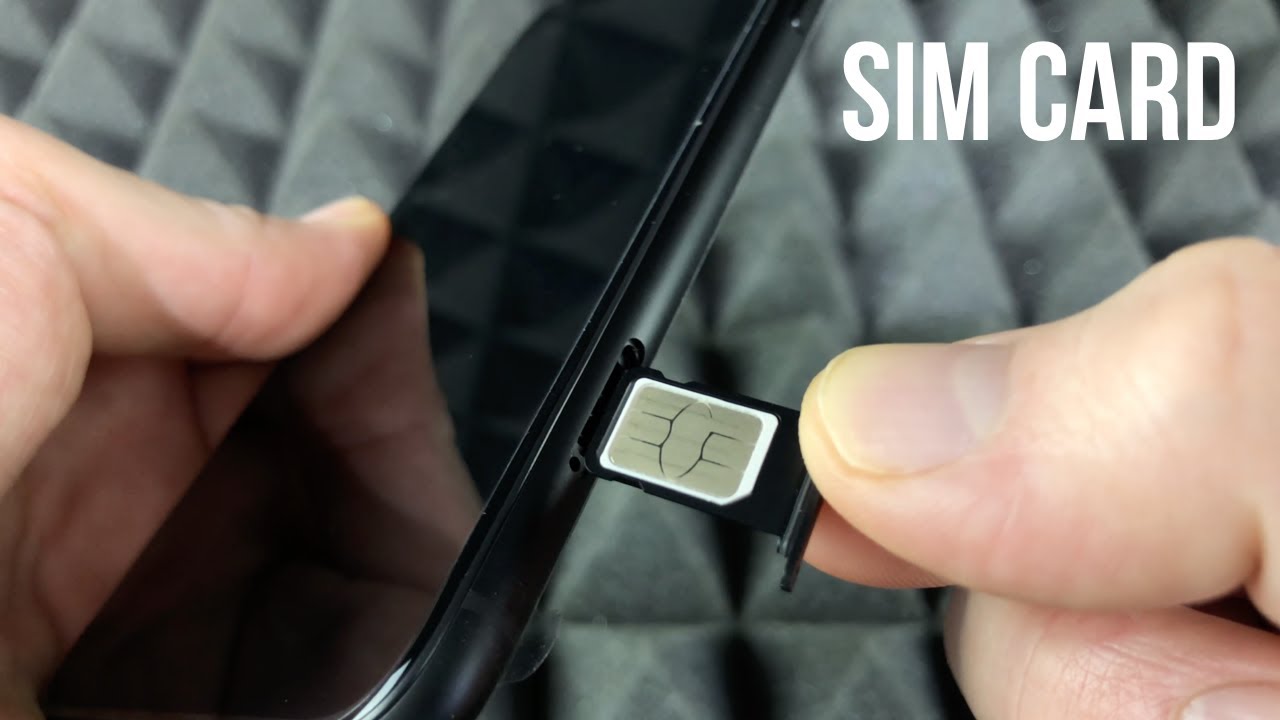
Step 5: Safely Extract the SIM Card
With the SIM card tray successfully removed from your iPhone 8, the next critical step in the extraction process is the careful and precise extraction of the SIM card itself. This step requires a gentle touch and focused attention to ensure that the SIM card is safely removed from the tray without any damage or displacement.
As you examine the SIM card tray, you'll notice the small compartment where the SIM card is securely housed. Gently inspect the position of the SIM card within the tray, taking note of its orientation to ensure that it remains aligned and undisturbed. It's essential to handle the SIM card tray with care, maintaining a steady grip to prevent any accidental movements that could potentially dislodge the SIM card.
Once you've identified the location of the SIM card within the tray, delicately maneuver your fingers to access the SIM card. Exercise caution and precision as you gently slide the SIM card out of its compartment within the tray, ensuring that it glides smoothly without encountering any resistance. It's crucial to approach this step with a gentle and controlled touch, minimizing any unnecessary pressure on the SIM card to prevent bending or damage.
As the SIM card is safely extracted from the tray, take a moment to inspect it for any signs of dust or debris. Using a soft cloth or tissue, gently wipe the SIM card to ensure that it is clean and free from any particles that could affect its functionality. This careful attention to cleanliness helps maintain the integrity of the SIM card and ensures a secure connection when it is reinserted into the device.
By safely extracting the SIM card from the tray with precision and care, you're demonstrating a meticulous and attentive approach to handling the delicate components of your iPhone 8. This deliberate and focused process ensures that the SIM card remains intact and undamaged, setting the stage for its seamless reinsertion into the device.
With the SIM card now safely extracted from the tray, you're ready to proceed to the final step in the extraction process, where you'll reinsert the SIM card tray into your iPhone 8, culminating in a successful and secure completion of the SIM card extraction process.
Step 6: Reinsert the SIM Card Tray and Power On the iPhone 8
With the SIM card safely extracted from the tray, the final step in the SIM card extraction process for your iPhone 8 involves the careful reinsertion of the SIM card tray into the device, followed by the powering on of the device. This pivotal step is crucial to ensure that the SIM card is securely placed back into its designated slot within the iPhone 8, allowing for seamless functionality and connectivity.
To begin, carefully align the SIM card tray with the corresponding slot on the right-hand side of your iPhone 8. Take note of the orientation of the tray to ensure that it is positioned correctly, allowing for a smooth and secure fit within the device. With a steady hand, gently guide the tray back into its slot, ensuring that it glides in smoothly without any resistance.
As the SIM card tray is reinserted into the device, take a moment to ensure that it is level and flush with the exterior of the iPhone 8. A secure and seamless fit is essential to prevent any potential disruptions to the SIM card's functionality and connectivity. Once the tray is in place, apply gentle pressure to ensure that it is securely seated within the device, ready to house the SIM card.
With the SIM card tray successfully reinserted, proceed to power on your iPhone 8 by pressing and holding the Side button until the Apple logo appears on the screen. As the device powers on, take a moment to ensure that the SIM card is recognized and connected to the network, indicating a successful reinsertion and activation.
By carefully reinserting the SIM card tray and powering on your iPhone 8, you've completed the final phase of the SIM card extraction process, ensuring that the SIM card is securely in place and ready for seamless operation. This deliberate and attentive approach demonstrates your commitment to maintaining the integrity of your device and its components, culminating in a successful reintegration of the SIM card into your iPhone 8.
With the SIM card tray securely reinserted and the device powered on, you can now enjoy the reassurance of a properly extracted and reinserted SIM card, ready to support your connectivity needs with your iPhone 8.