Introduction
Inserting a SIM card into your iPhone SE is a fundamental step in setting up your device for cellular connectivity. Whether you're upgrading to a new phone or switching carriers, properly inserting the SIM card ensures seamless communication and data access. This simple yet crucial process allows your iPhone SE to recognize your mobile network and enables you to make calls, send messages, and access the internet.
In this comprehensive guide, you'll learn the step-by-step process for inserting a SIM card into your iPhone SE. By following these instructions, you can effortlessly complete this essential task and begin enjoying the full functionality of your device. Whether you're a tech enthusiast or a novice user, this guide will provide clear and concise instructions to help you successfully insert your SIM card with confidence.
Now, let's embark on this journey to equip your iPhone SE with the necessary component to connect you to the digital world. Get ready to explore the ins and outs of this process, and soon you'll be well on your way to enjoying the convenience and connectivity that your iPhone SE has to offer.
Step 1: Locate the SIM card tray
The first step in inserting a SIM card into your iPhone SE is to locate the SIM card tray. This small yet essential component is where the SIM card will be placed to establish a connection with your mobile network. To begin, you'll need to identify the precise location of the SIM card tray on your device.
The SIM card tray on the iPhone SE is typically located on the right-hand side of the device. It is important to note that the exact placement may vary slightly depending on the specific model of the iPhone SE. However, a general rule of thumb is to look for a small, recessed slot along the edge of the device. This slot is designed to accommodate the SIM card tray and is often accompanied by a pinhole or a small indentation.
Upon locating the SIM card tray, take a moment to familiarize yourself with its appearance and positioning. This will ensure that you can confidently proceed with the subsequent steps of the SIM card insertion process. By identifying the SIM card tray at this stage, you are setting the stage for a smooth and successful SIM card installation process.
With the SIM card tray now located, you've completed the first crucial step in preparing to insert your SIM card into the iPhone SE. This foundational step sets the stage for the subsequent actions that will enable your device to establish a secure and reliable connection to your chosen mobile network.
Now that you've successfully located the SIM card tray, you're ready to move on to the next step in the process: ejecting the SIM card tray from your iPhone SE. This next step will bring you one step closer to completing the SIM card insertion process and unlocking the full potential of your device's connectivity capabilities.
Step 2: Eject the SIM card tray
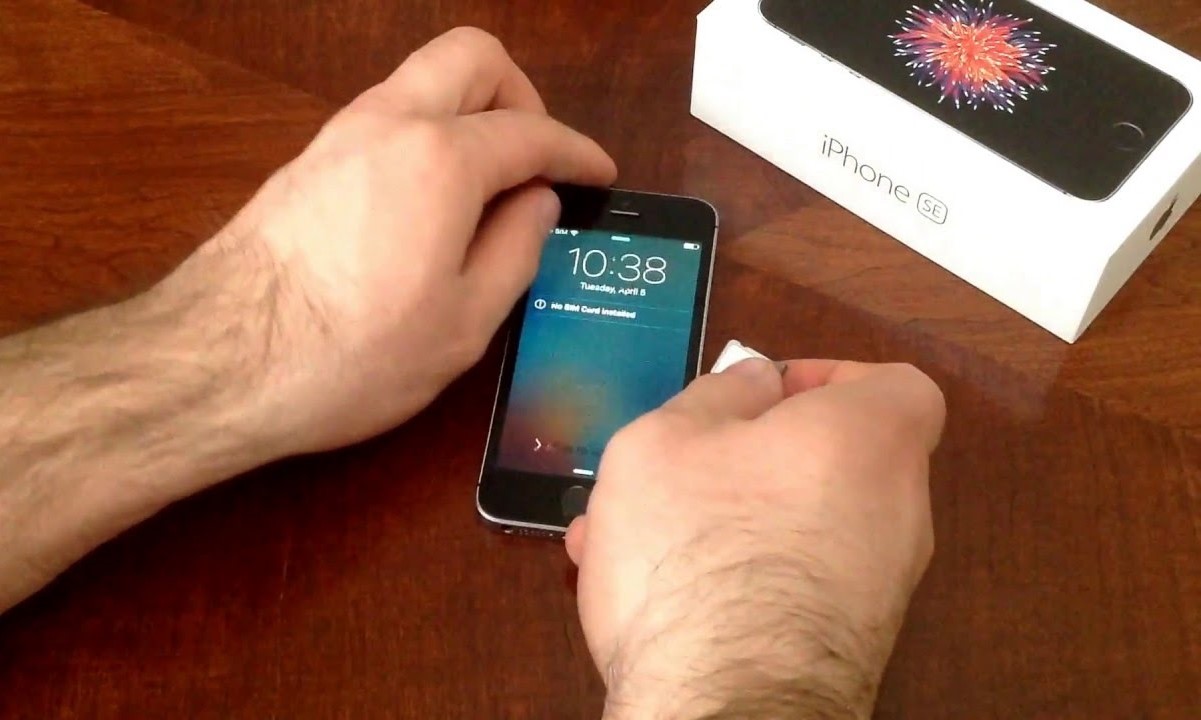
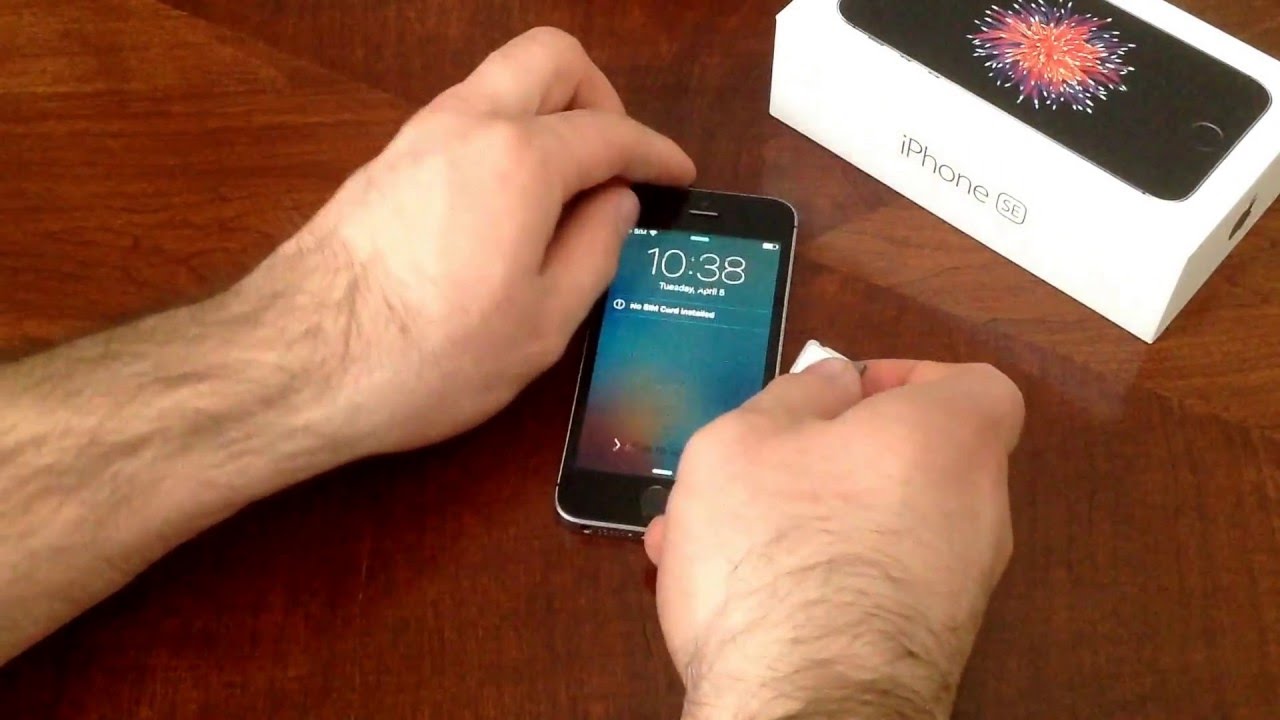
Ejecting the SIM card tray from your iPhone SE is a crucial step that allows you to access the slot where the SIM card will be inserted. This process requires precision and care to ensure that the SIM card tray is safely and securely removed from the device.
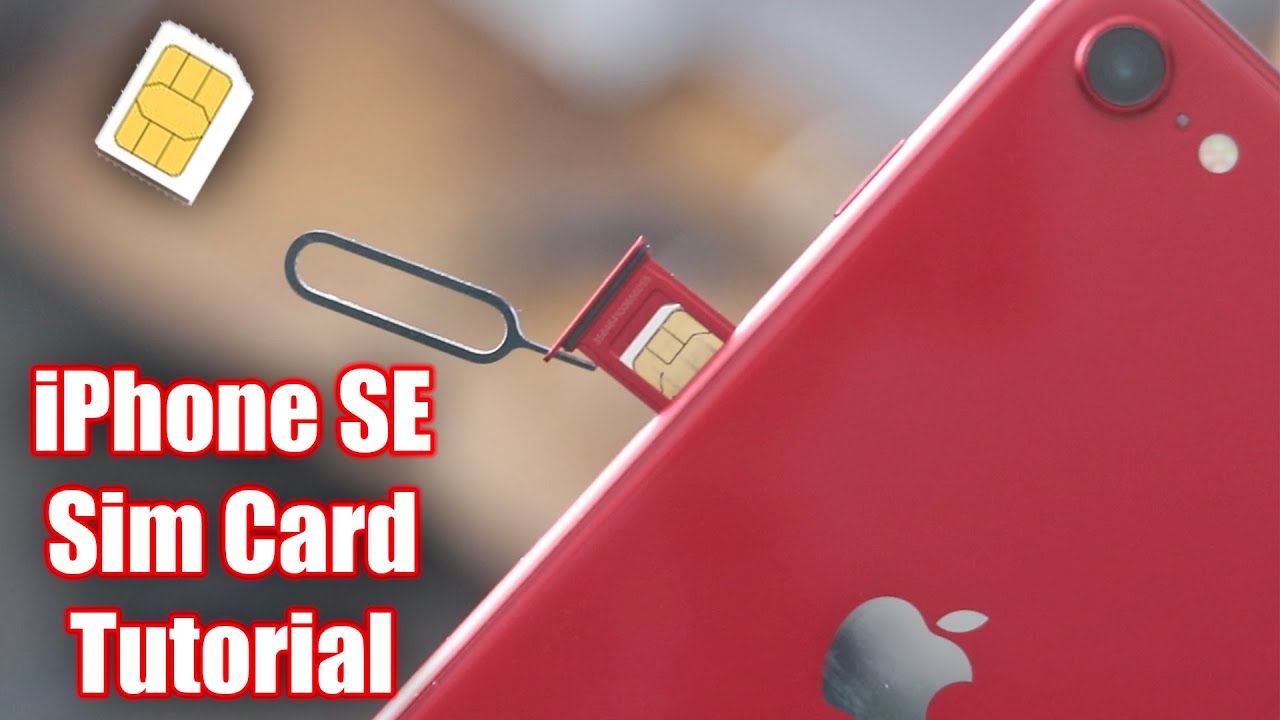
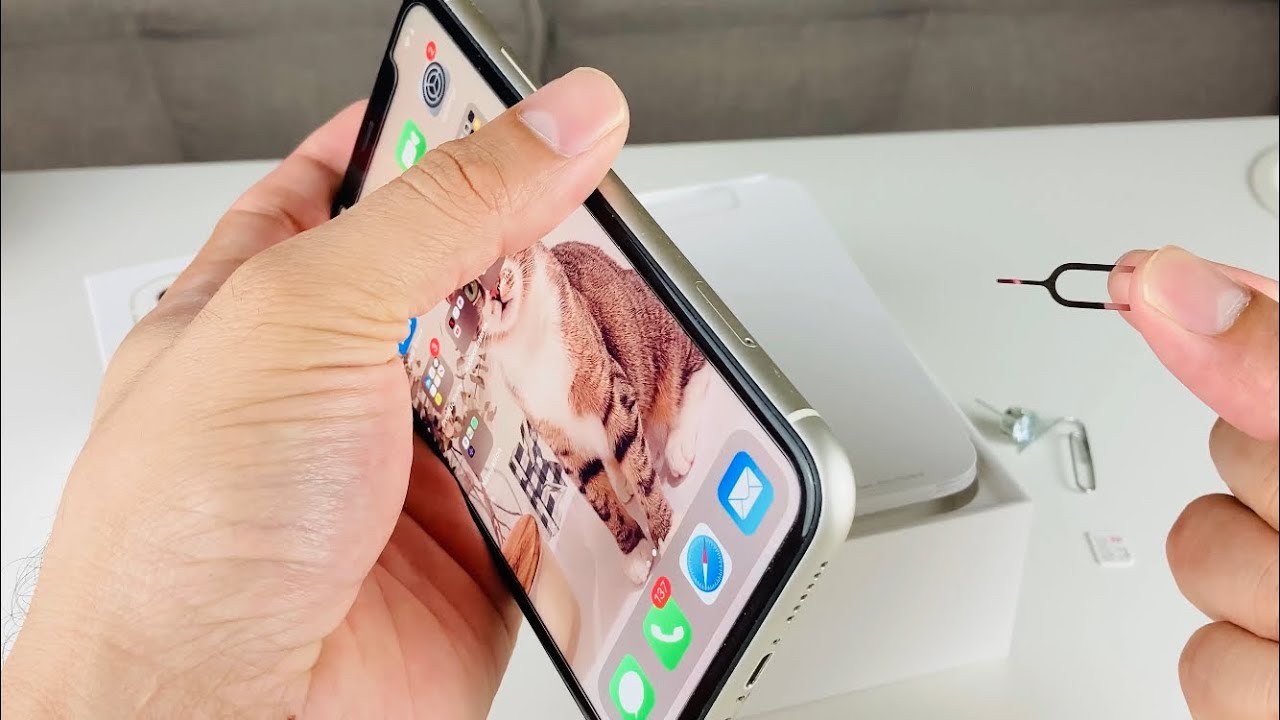
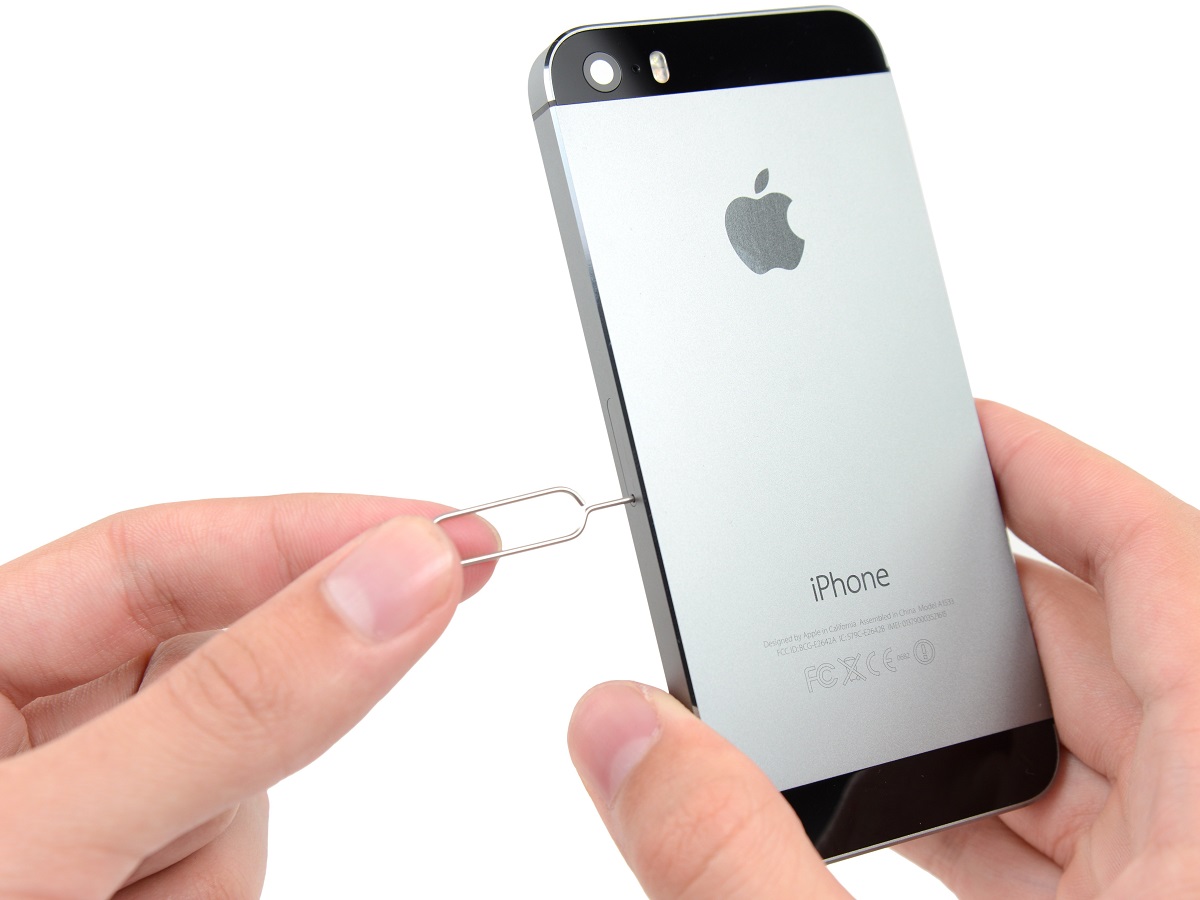
To eject the SIM card tray, you will need a SIM eject tool, which is typically provided by Apple and can also be obtained from various third-party retailers. This small, specialized tool is designed to fit into the pinhole or indentation located near the SIM card tray on your iPhone SE.
Once you have the SIM eject tool in hand, gently insert the tip of the tool into the pinhole or indentation. Apply a small amount of pressure while ensuring that the tool is inserted straight into the hole. With a steady hand, you should feel a slight resistance as the tool engages with the internal mechanism of the SIM card tray.
Upon encountering this resistance, continue to exert gentle pressure, and you will feel the SIM card tray begin to emerge from the side of the device. Slowly and carefully slide the SIM card tray out of the iPhone SE, taking care not to force or rush the process. It is important to handle the SIM card tray with care to avoid any damage to the device or the tray itself.
As the SIM card tray is fully ejected, carefully remove it from the device and set it aside in a safe place. Take a moment to inspect the tray and ensure that it is free from any debris or obstructions that could interfere with the insertion of the SIM card. This brief inspection will help to guarantee a smooth and seamless insertion process in the subsequent step.
With the SIM card tray successfully ejected from your iPhone SE, you have completed a critical phase in the SIM card insertion process. This careful and deliberate action sets the stage for the next step: inserting the SIM card into the tray and preparing to reinsert it into your device.
Now that the SIM card tray is in your hands, you're ready to proceed to the next step in the process, which will bring you closer to fully integrating your SIM card with your iPhone SE.
Step 3: Insert the SIM card
With the SIM card tray in hand and the iPhone SE prepared, it's time to proceed with the pivotal step of inserting the SIM card. This step requires precision and attention to detail to ensure that the SIM card is securely and properly placed within the designated slot on the tray.
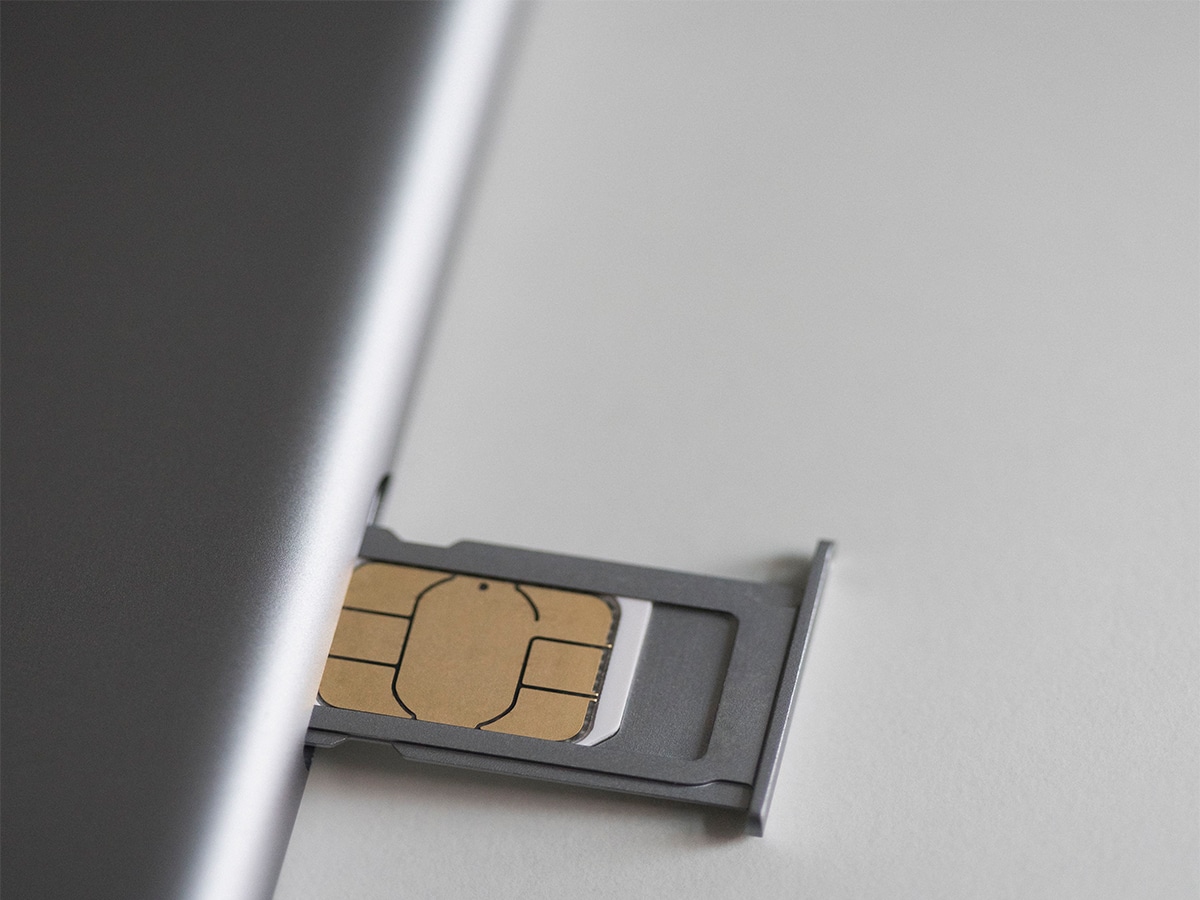
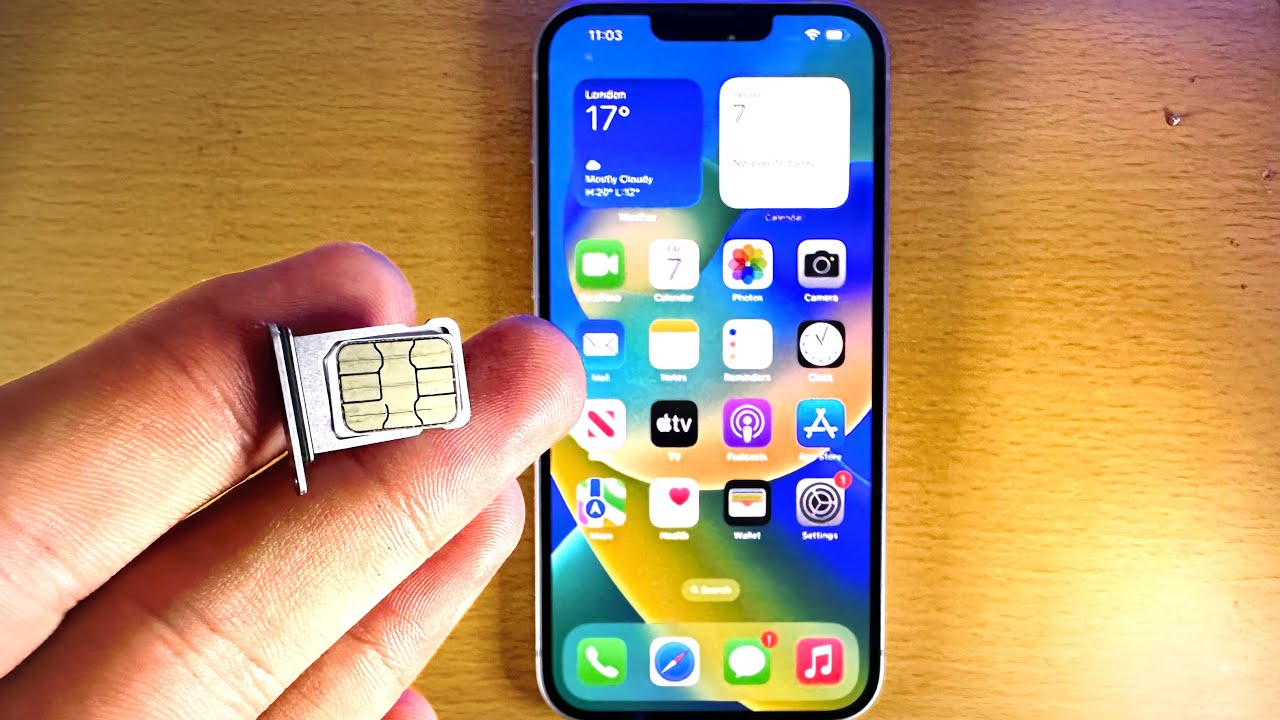
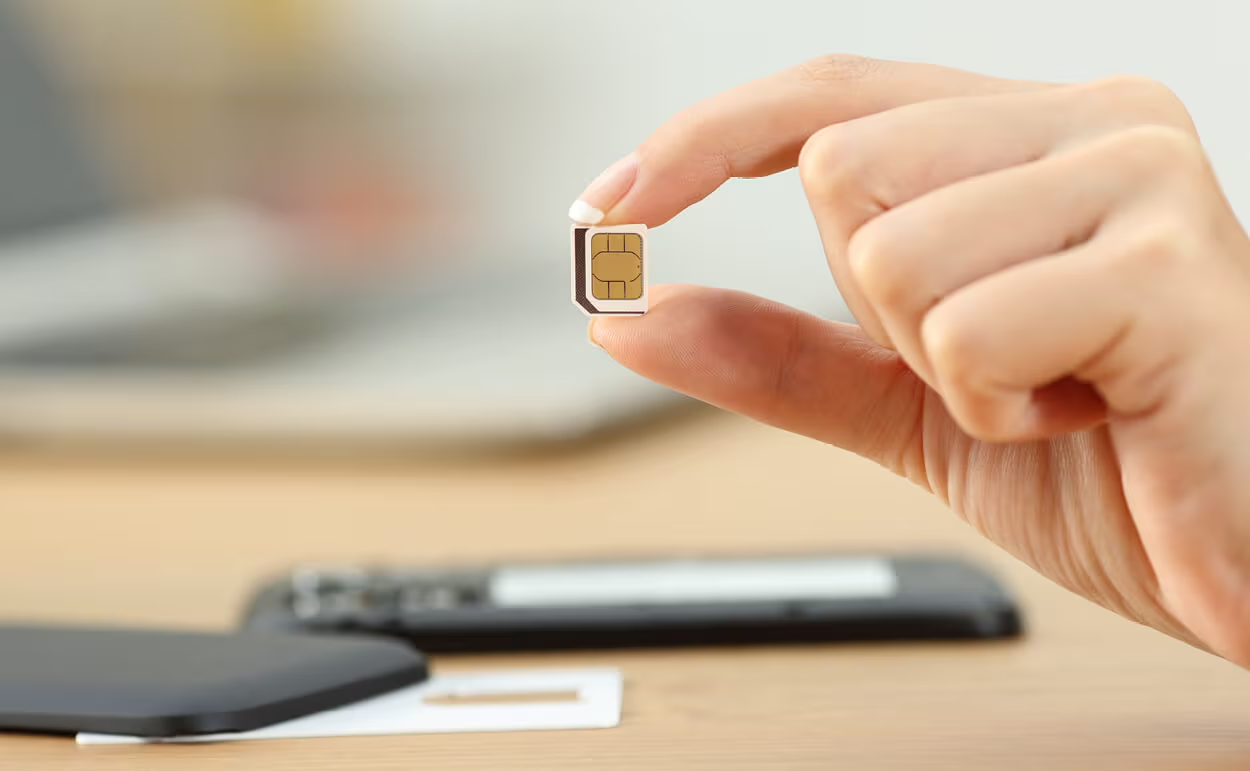
Begin by carefully removing the SIM card from its packaging or the previous device. The SIM card is a small, rectangular card with a metallic chip embedded in it. Take a moment to inspect the SIM card and identify the orientation of the chip, as this will dictate how the card is positioned within the tray.
Next, position the SIM card so that it aligns with the corresponding shape and size of the slot on the SIM card tray. The tray is designed to accommodate the SIM card in a specific configuration, ensuring a snug and secure fit. Gently place the SIM card onto the tray, taking care to align it properly and avoid any unnecessary bending or forceful manipulation.
Once the SIM card is positioned correctly on the tray, gently slide the tray back into the SIM card slot on the iPhone SE. Take care to ensure that the tray glides smoothly and evenly into the device, without any resistance or obstruction. As the tray is fully inserted, you should feel a subtle click, indicating that it is securely in place.
It is important to handle the SIM card and tray with care throughout this process to avoid any damage to the components. Additionally, maintaining a steady hand and a deliberate approach will help ensure that the SIM card is inserted correctly and functions seamlessly within the device.
With the SIM card now securely inserted into the iPhone SE, you have successfully completed a critical phase in the setup process. This essential step establishes the foundation for your device to recognize and connect to your chosen mobile network, enabling you to make calls, send messages, and access cellular data.
As you proceed to the final step of reinserting the SIM card tray into your iPhone SE, you can take pride in successfully completing the insertion of the SIM card. This accomplishment brings you one step closer to fully harnessing the communication and connectivity capabilities of your device.
Step 4: Reinsert the SIM card tray
With the SIM card securely inserted into your iPhone SE, the final step involves reinserting the SIM card tray back into the device. This seemingly straightforward action is essential to ensure that the SIM card remains firmly in place and that the device is fully prepared to establish a seamless connection with your chosen mobile network.
Begin by carefully aligning the SIM card tray with the slot on the side of the iPhone SE. Take note of the orientation and positioning of the tray to ensure that it aligns perfectly with the device. It is important to approach this step with precision, as any misalignment could hinder the tray from fully entering the slot.
Once the tray is properly aligned, gently and steadily slide it back into the designated slot on the iPhone SE. Ensure that the tray glides smoothly and uniformly, without encountering any resistance. As the tray is fully inserted, you should feel a subtle click, indicating that it is securely in place and flush with the device's exterior.
It is crucial to handle the SIM card tray with care and delicacy during this step, as any abrupt or forceful movements could potentially damage the tray or the device. By maintaining a steady and controlled approach, you can safeguard the integrity of the SIM card and tray while completing the reinsertion process.
As the SIM card tray is securely reinserted into your iPhone SE, you have successfully completed the final step in the SIM card insertion process. This action signifies the culmination of the setup process, ensuring that the SIM card is firmly positioned within the device and ready to facilitate seamless communication and data access.
With the SIM card tray securely in place, your iPhone SE is now fully equipped to recognize and connect to your chosen mobile network. This achievement marks the successful integration of the SIM card with your device, laying the groundwork for you to enjoy uninterrupted connectivity and the full range of cellular capabilities offered by your iPhone SE.
By following these step-by-step instructions, you have effectively completed the process of inserting a SIM card into your iPhone SE. With the SIM card securely in place, you can now revel in the convenience and connectivity that your device has to offer, knowing that you have successfully navigated this essential setup process.
Conclusion
Congratulations on successfully completing the process of inserting a SIM card into your iPhone SE! By following the step-by-step instructions outlined in this comprehensive guide, you have equipped your device with the essential component necessary to establish seamless communication and connectivity with your chosen mobile network.
The journey to insert a SIM card into your iPhone SE began with the fundamental step of locating the SIM card tray. By identifying the precise location of the tray on the right-hand side of the device, you set the stage for a smooth and successful insertion process. This initial step laid the groundwork for the subsequent actions that would enable your device to recognize and connect to your mobile network.
Ejecting the SIM card tray from your iPhone SE was the next critical phase in the process. With precision and care, you successfully removed the tray from the device using a SIM eject tool, ensuring that it was safely and securely extracted. This deliberate action paved the way for the pivotal step of inserting the SIM card into the tray, bringing you one step closer to fully integrating your SIM card with your iPhone SE.
The careful insertion of the SIM card into the tray was a crucial step that required attention to detail and precision. By positioning the SIM card correctly and gently sliding the tray back into the designated slot on the device, you ensured that the SIM card was securely in place and ready to facilitate seamless communication and data access.
The final step of reinserting the SIM card tray back into your iPhone SE marked the culmination of the setup process. By aligning and sliding the tray back into the device with care and precision, you completed the insertion process, firmly positioning the SIM card within the device and preparing it to recognize and connect to your chosen mobile network.
With the SIM card securely in place, your iPhone SE is now fully equipped to recognize and connect to your chosen mobile network, enabling you to make calls, send messages, and access cellular data with ease. By successfully navigating this essential setup process, you have unlocked the full potential of your device's communication and connectivity capabilities.
As you embark on your journey with your newly inserted SIM card, you can revel in the convenience and connectivity that your iPhone SE has to offer, knowing that you have completed this fundamental setup process with confidence and precision. Whether you're upgrading to a new phone or switching carriers, the proper insertion of the SIM card ensures that your device is ready to keep you seamlessly connected to the digital world.