Introduction
Inserting a SIM card into an iPhone SE is a fundamental step in setting up your device for mobile connectivity. Whether you're upgrading to a new iPhone or simply need to replace your SIM card, this process is essential for enabling communication, accessing mobile data, and enjoying the full range of features your iPhone SE has to offer. This article will guide you through the straightforward and hassle-free process of inserting a SIM card into your iPhone SE, ensuring that you can seamlessly use your device for calls, messages, and internet connectivity.
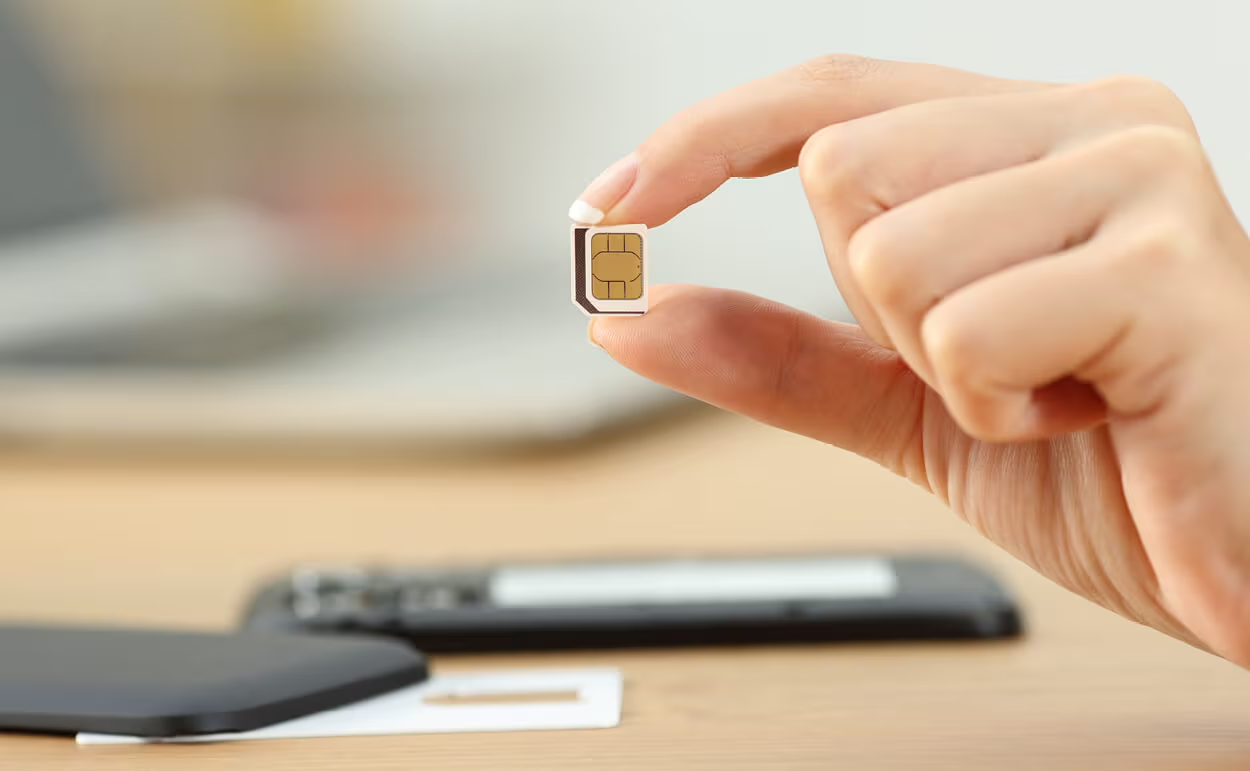
The iPhone SE, known for its compact design and powerful performance, supports a nano-SIM card, which is the smallest SIM card size available. This diminutive yet essential component is what enables your iPhone to connect to your mobile network, allowing you to make calls, send messages, and access the internet while on the go. Whether you're a seasoned iPhone user or a newcomer to the iOS ecosystem, understanding how to insert a SIM card into your iPhone SE is crucial for unlocking the device's full potential.
By following the simple steps outlined in this guide, you'll be able to complete the process with ease and confidence. Whether you're setting up your iPhone SE for the first time or replacing an existing SIM card, this article will provide you with clear and concise instructions to ensure a smooth and successful SIM card installation. Get ready to empower your iPhone SE with mobile connectivity as we walk you through the process of inserting a SIM card into your device.
Step 1: Locate the SIM Card Tray
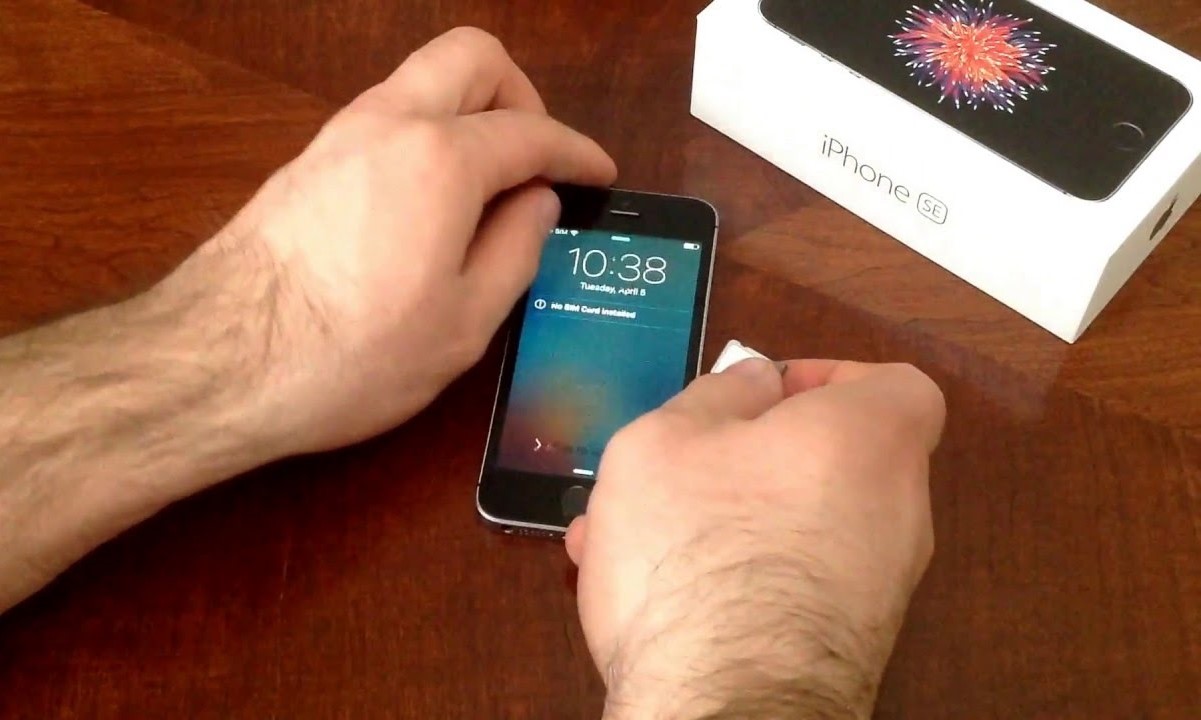
The first step in inserting a SIM card into your iPhone SE is to locate the SIM card tray. This small yet crucial component is where the nano-SIM card will be placed to enable your device's mobile connectivity. To begin, you'll need to identify the location of the SIM card tray on your iPhone SE.
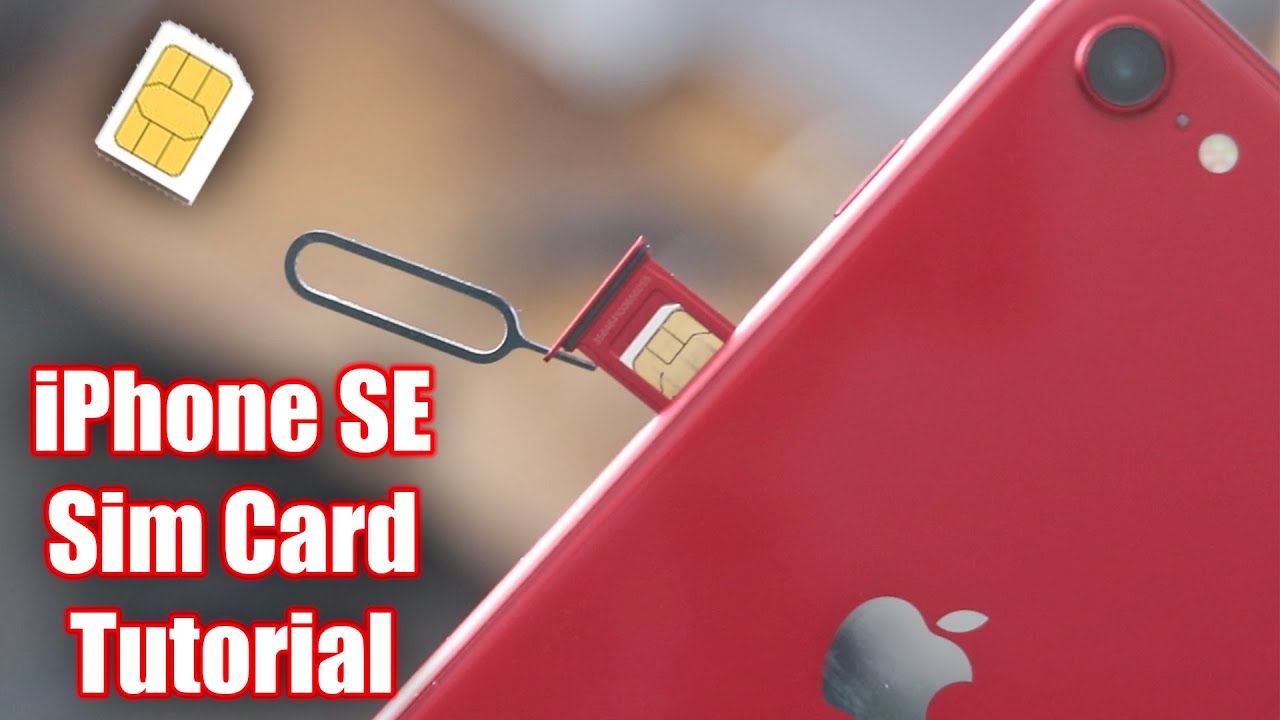
The SIM card tray is typically located on the right side of the iPhone SE. It is important to note that the exact placement may vary slightly depending on the specific model of the iPhone SE. However, in most cases, you can find the SIM card tray by looking for a small pinhole or slot on the right-hand side of the device.
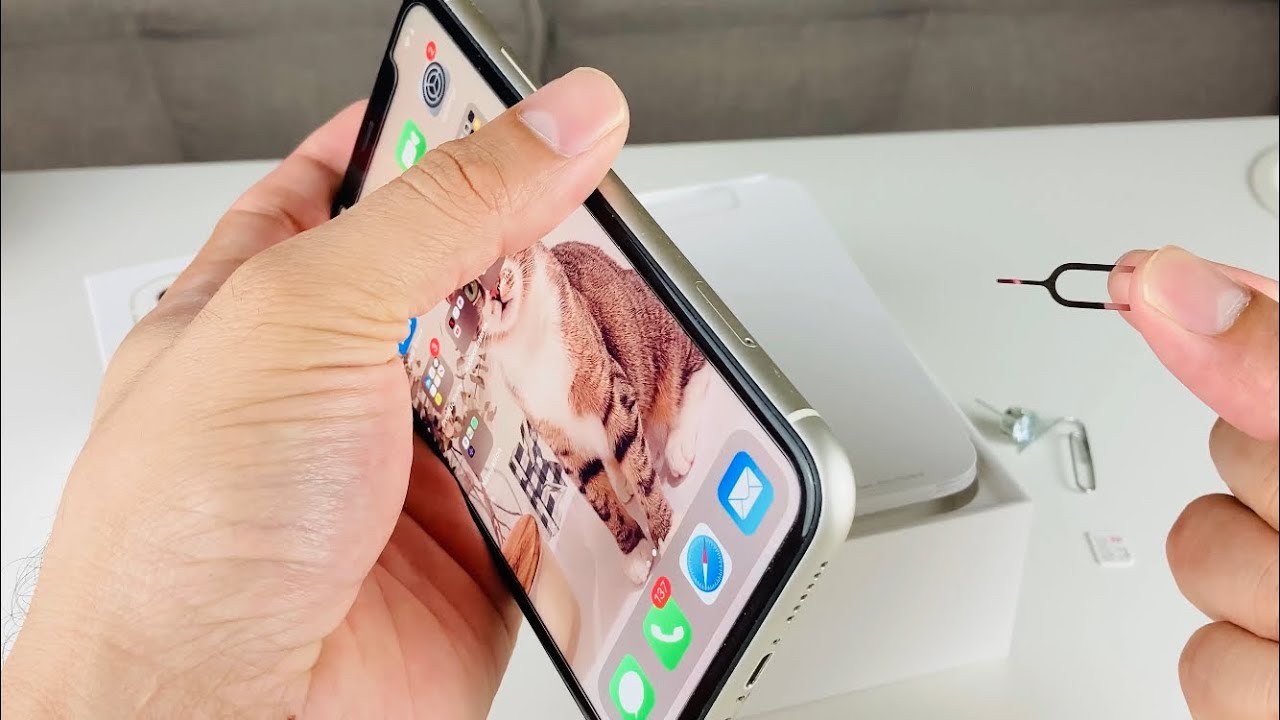
Once you have located the SIM card tray, you will need to prepare the SIM eject tool, which is provided by Apple and is specifically designed for this purpose. The SIM eject tool is a small, metallic pin that allows you to safely and easily access the SIM card tray without causing any damage to your device. If you don't have the SIM eject tool that came with your iPhone SE, you can use a paperclip as an alternative, ensuring that it is straightened out to effectively fit into the pinhole.
By successfully locating the SIM card tray, you have completed the first step in the process of inserting a SIM card into your iPhone SE. This initial step sets the stage for the subsequent actions, allowing you to seamlessly progress through the process of preparing your device for mobile connectivity. With the SIM card tray now identified, you are ready to move on to the next step, which involves using the SIM eject tool to access the tray and begin the SIM card installation process.
Step 2: Insert the SIM Eject Tool
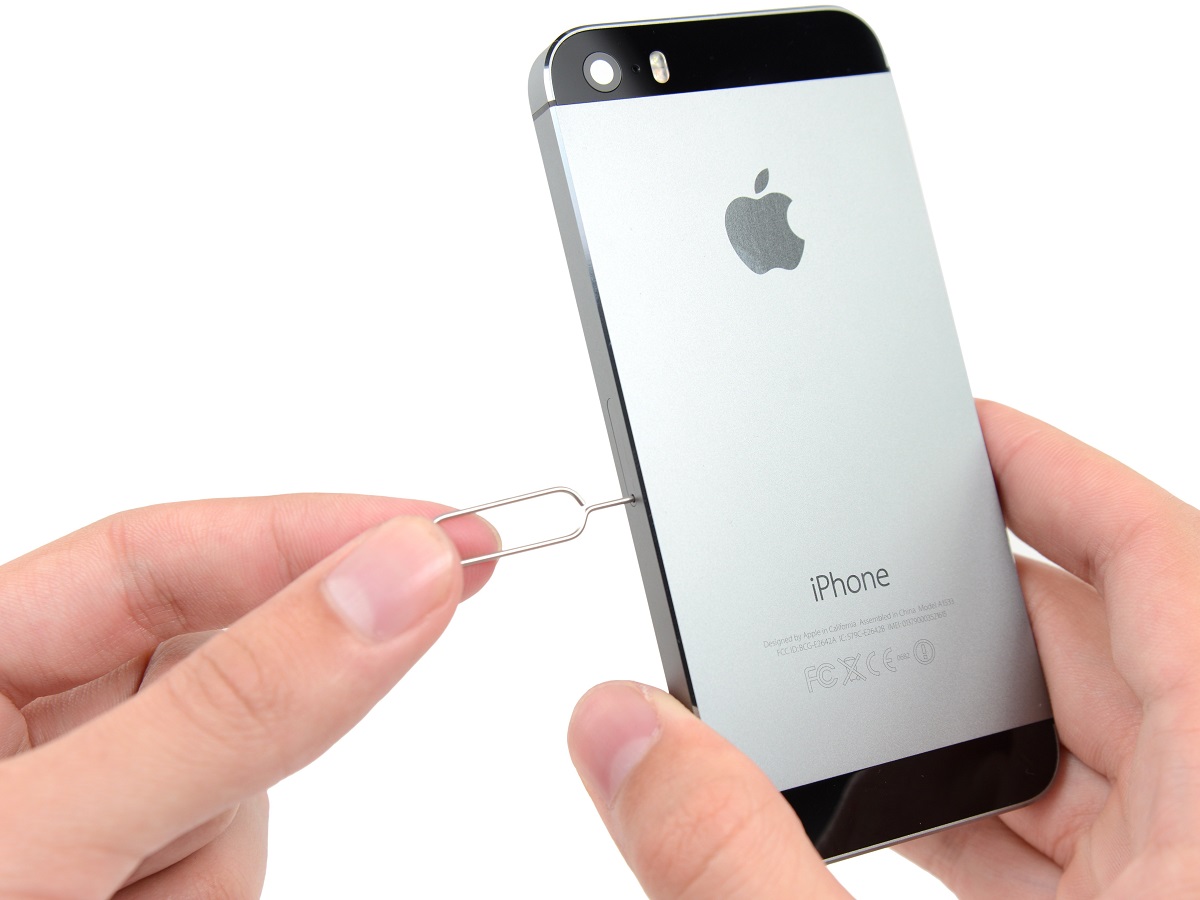
With the SIM card tray located, the next step is to insert the SIM eject tool into the small pinhole on the side of your iPhone SE. This action will allow you to access the SIM card tray and proceed with the installation of the nano-SIM card. The SIM eject tool, a small metallic pin provided by Apple, is designed to safely and precisely open the SIM card tray without causing any damage to your device.
To begin, take the SIM eject tool and hold it between your thumb and forefinger. Position the pointed end of the tool into the pinhole on the SIM card tray, ensuring that it fits securely into the opening. Apply gentle pressure to push the tool into the pinhole, and you will feel a slight resistance as the tool engages with the internal mechanism of the SIM card tray.
Upon successfully inserting the SIM eject tool into the pinhole, you will notice that the SIM card tray starts to protrude slightly from the side of your iPhone SE. Gently pull the tray out using the SIM eject tool, taking care not to apply excessive force. The tray should slide out smoothly, revealing the space where the nano-SIM card will be placed.
As the SIM card tray emerges, it is important to handle it with care to avoid any damage. Hold the tray firmly with one hand while continuing to gently pull it out until it is fully accessible. Once the tray is fully extended, remove the SIM eject tool from the pinhole and set it aside, as it has served its purpose in facilitating the safe removal of the SIM card tray.
By successfully inserting the SIM eject tool and accessing the SIM card tray, you have completed the second step in the process of inserting a SIM card into your iPhone SE. This step sets the stage for the subsequent actions, allowing you to seamlessly progress through the process of preparing your device for mobile connectivity. With the SIM card tray now accessible, you are ready to move on to the next step, which involves removing the SIM card tray from your iPhone SE in preparation for the installation of the nano-SIM card.
Step 3: Remove the SIM Card Tray
After successfully accessing the SIM card tray using the SIM eject tool, the next crucial step is to carefully remove the tray from your iPhone SE. This process sets the stage for the seamless installation of the nano-SIM card, enabling your device to establish a connection with your mobile network.
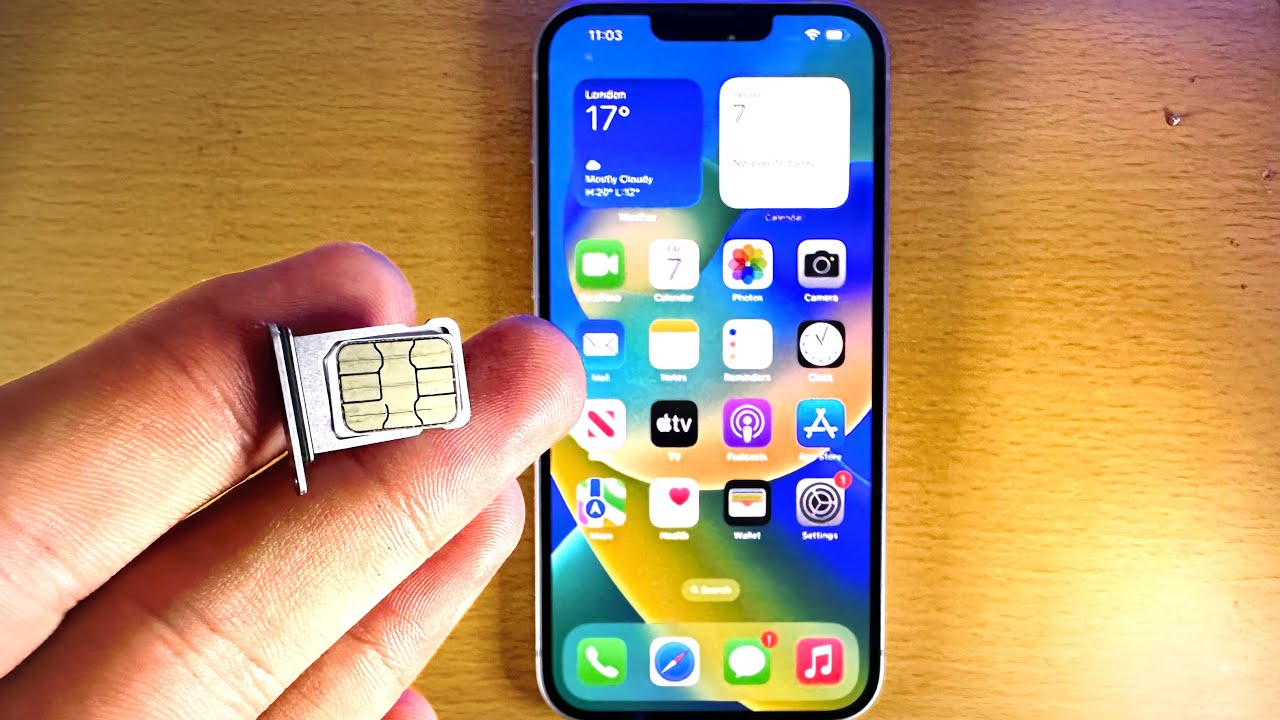
To remove the SIM card tray, gently grasp the exposed edge of the tray with your thumb and forefinger, ensuring a secure grip to prevent any accidental slippage. Slowly and steadily slide the tray out of the iPhone SE, taking care to maintain a level position to prevent the SIM card from dislodging or falling out.
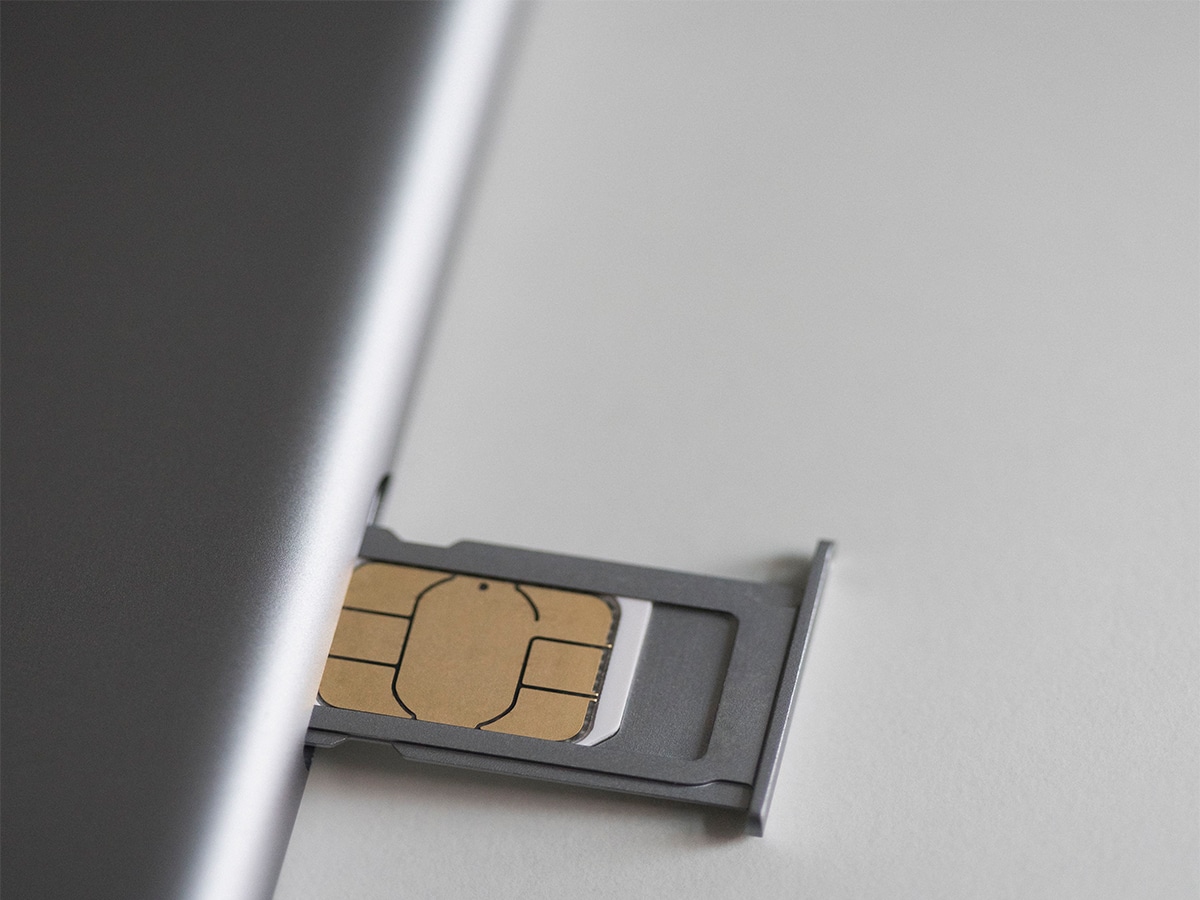
As the SIM card tray slides out, observe the space within the tray where the nano-SIM card will be placed. Take note of the orientation of the SIM card within the tray, as it will guide you in properly aligning the card during the installation process. With the tray now fully removed, set it down on a flat and stable surface, ensuring that it remains free from any debris or potential damage.
When handling the SIM card tray, it is important to exercise caution and precision to avoid any mishaps. The tray is a delicate component that requires gentle handling to prevent bending or misalignment, which could impact the proper functioning of the SIM card within your iPhone SE.
By successfully removing the SIM card tray, you have completed a crucial step in the process of inserting a SIM card into your iPhone SE. This step prepares the tray for the installation of the nano-SIM card, ensuring that the subsequent actions proceed smoothly and without any complications. With the SIM card tray now removed and ready for the next phase, you are well-positioned to proceed to the following step, which involves the precise insertion of the nano-SIM card into the designated space within the tray.
Step 4: Insert the SIM Card
With the SIM card tray successfully removed from your iPhone SE, the next pivotal step is to insert the nano-SIM card into the designated space within the tray. This process is essential for establishing a secure and functional connection between your device and the mobile network, enabling you to make calls, send messages, and access mobile data with ease.
Before proceeding with the insertion of the SIM card, take a moment to examine the card and identify the correct orientation for placement within the tray. The nano-SIM card features a specific shape and size, ensuring that it fits seamlessly into the designated space without any force or resistance. Additionally, the SIM card will have a notched corner, which aligns with the corresponding notch within the SIM card tray, guiding you in properly positioning the card.
Carefully pick up the nano-SIM card, holding it between your thumb and forefinger. Align the notched corner of the SIM card with the corresponding notch within the SIM card tray, ensuring a precise fit that matches the designated orientation. With gentle and steady movements, lower the SIM card into the space within the tray, taking care to maintain a level position to prevent any accidental slippage or misalignment.
As the nano-SIM card settles into place within the tray, ensure that it sits flush and level, with no protrusions or misalignments. The card should fit smoothly into the designated space, allowing the SIM card tray to accommodate it without any obstructions. Take a moment to verify that the SIM card is securely positioned within the tray, as this is crucial for ensuring a reliable connection between your iPhone SE and the mobile network.
Once the nano-SIM card is securely placed within the SIM card tray, you have completed a pivotal step in the process of inserting a SIM card into your iPhone SE. This step sets the stage for the subsequent actions, allowing you to seamlessly progress through the process of preparing your device for mobile connectivity. With the SIM card now inserted into the tray, you are ready to move on to the final step, which involves reinserting the SIM card tray into your iPhone SE to complete the installation process.
By successfully following these steps, you can confidently insert a SIM card into your iPhone SE, enabling your device to establish a secure and reliable connection with your mobile network.
Step 5: Reinsert the SIM Card Tray
After securely placing the nano-SIM card within the SIM card tray, the final step in the process of inserting a SIM card into your iPhone SE is to reinsert the tray back into the device. This crucial action completes the installation process, ensuring that the SIM card is securely housed within your iPhone SE, ready to facilitate seamless communication and mobile connectivity.
Begin by carefully positioning the SIM card tray, ensuring that it aligns with the slot within your iPhone SE. Hold the tray steady and level, taking care to prevent any accidental slippage or misalignment as you guide it back into the designated slot on the side of your device. The tray should fit smoothly and seamlessly, with no resistance or obstructions as it reenters the iPhone SE.
As the SIM card tray is reinserted into your iPhone SE, apply gentle and steady pressure to ensure that it slots back into place securely. Take a moment to verify that the tray sits flush with the side of your device, indicating that it has been successfully reinserted and is ready to facilitate the functionality of the nano-SIM card.
Once the SIM card tray is securely back in place, you have completed the final step in the process of inserting a SIM card into your iPhone SE. This action signifies the successful installation of the nano-SIM card, enabling your device to establish a reliable connection with your mobile network.
With the SIM card tray securely reinserted, you have effectively prepared your iPhone SE for seamless communication, mobile data access, and a full range of connectivity features. Your device is now equipped to support your communication needs, ensuring that you can make calls, send messages, and access the internet with ease and reliability.
By following these simple yet essential steps, you have successfully inserted a SIM card into your iPhone SE, empowering your device with the essential capability to connect to your mobile network and unlock its full potential for communication and connectivity.
Conclusion
Congratulations! By following the comprehensive steps outlined in this guide, you have successfully inserted a SIM card into your iPhone SE, enabling your device to establish a secure and reliable connection with your mobile network. The process of preparing your iPhone SE for mobile connectivity is now complete, and your device is ready to facilitate seamless communication, messaging, and internet access.
The installation of the nano-SIM card is a pivotal step in unlocking the full potential of your iPhone SE, allowing you to harness its powerful features and capabilities. With the SIM card securely housed within your device, you can now enjoy the convenience of making calls, sending messages, and accessing mobile data with ease and reliability.
It's important to note that the process of inserting a SIM card into your iPhone SE is not only a practical endeavor but also a symbolic one. By completing this installation, you are taking a proactive step in empowering your device to serve as a gateway to seamless communication and connectivity. Whether you're a seasoned iPhone user or a newcomer to the iOS ecosystem, mastering this fundamental process ensures that you can maximize the utility of your iPhone SE.
As you embark on your journey with a fully equipped iPhone SE, take a moment to appreciate the significance of this simple yet essential task. The successful installation of the SIM card signifies your device's readiness to keep you connected, informed, and engaged in the digital world. With your iPhone SE now equipped with mobile connectivity, you are poised to explore its myriad features, stay in touch with loved ones, and access a wealth of information and entertainment at your fingertips.
In conclusion, the process of inserting a SIM card into your iPhone SE is not merely a technical procedure but a gateway to a world of seamless communication and connectivity. By following the steps outlined in this guide, you have taken a significant step in optimizing the functionality of your device, ensuring that it is primed to support your communication needs with reliability and efficiency. As you embark on your iPhone SE journey, may your device serve as a steadfast companion, keeping you connected and empowered in the digital realm.