Introduction
The iPhone SE is a powerful and versatile device that seamlessly integrates into our daily lives. Whether you're upgrading to a new iPhone model, switching carriers, or troubleshooting network issues, removing the SIM card from your iPhone SE may become necessary. The SIM card, which stands for Subscriber Identity Module, contains vital information that connects your device to your mobile network. It holds your unique account details, such as your phone number, network authorization, and contact information, making it an indispensable component of your iPhone SE.
Understanding how to safely remove the SIM card from your iPhone SE is essential for maintaining the functionality of your device and ensuring a smooth transition when making changes to your mobile service. In this comprehensive guide, we will walk you through the step-by-step process of removing the SIM card from your iPhone SE, providing you with the confidence and knowledge to perform this task with ease.
Whether you're a seasoned iPhone user or new to the world of mobile devices, this guide is designed to be accessible and straightforward, ensuring that anyone can follow along and successfully remove the SIM card from their iPhone SE. So, without further ado, let's delve into the essential steps to safely remove the SIM card from your iPhone SE.
Step 1: Power off the iPhone SE
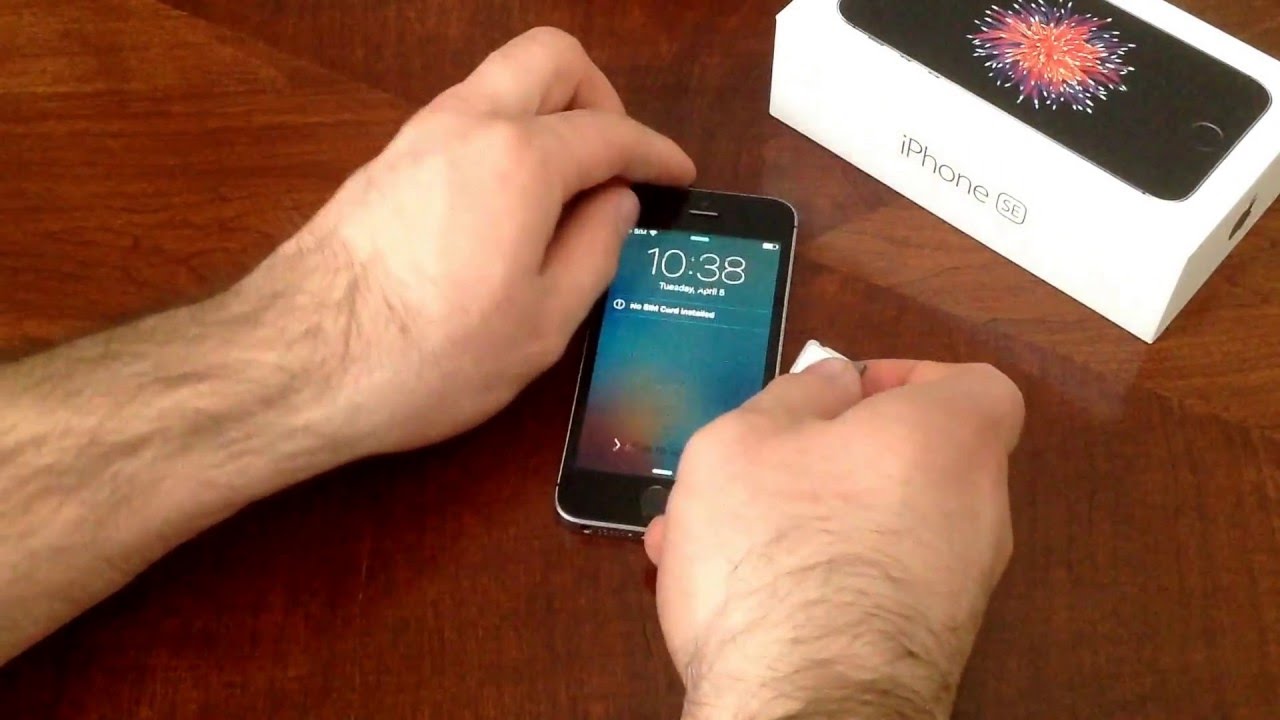
Before embarking on the process of removing the SIM card from your iPhone SE, it is crucial to power off the device. This step is essential to ensure the safety of both the device and the SIM card during the removal process.
To power off your iPhone SE, simply press and hold the side button located on the right side of the device. As you press and hold the button, a slider will appear on the screen, prompting you to power off the device. Slide the on-screen prompt from left to right to initiate the power-off sequence.
By powering off the iPhone SE, you are effectively minimizing the risk of causing any damage to the device or the SIM card. This precautionary measure prevents any potential disruptions or data corruption that may occur if the device were to remain powered on during the SIM card removal process.
Additionally, powering off the iPhone SE provides a stable and controlled environment for handling the delicate components within the device. This ensures that the SIM card can be safely removed without any risk of interference from the device's operational functions.
Once the iPhone SE is powered off, you can proceed with confidence to the next step in the process of removing the SIM card. With the device safely powered down, you are now ready to move on to the subsequent steps, bringing you one step closer to successfully removing the SIM card from your iPhone SE.
Powering off your iPhone SE sets the stage for a smooth and secure SIM card removal process, laying the foundation for a seamless transition as you navigate through the remaining steps. With the device powered off, you can proceed with peace of mind, knowing that you are taking the necessary precautions to ensure the safety and integrity of your iPhone SE and its components.
Step 2: Locate the SIM card tray
Locating the SIM card tray is a pivotal step in the process of removing the SIM card from your iPhone SE. The SIM card tray houses the SIM card and is designed to securely hold it within the device. To begin this step, you will need to identify the precise location of the SIM card tray on your iPhone SE.
The SIM card tray on the iPhone SE is typically located on the right side of the device. It is important to note that the exact placement may vary slightly depending on the specific model of the iPhone SE. However, the general location remains consistent, ensuring ease of access for users seeking to remove or replace the SIM card.
To locate the SIM card tray, gently examine the right side of your iPhone SE. You will notice a small, recessed slot that is designed to accommodate the SIM card tray. This slot is strategically positioned to provide convenient access to the SIM card tray while maintaining the sleek and seamless design of the device.
Once you have identified the slot on the right side of your iPhone SE, you are on the right track to successfully locating the SIM card tray. The next step will involve preparing the SIM card removal tool, which is essential for safely ejecting the SIM card tray from the device.
The process of locating the SIM card tray sets the stage for the subsequent steps in the SIM card removal process. By taking the time to identify the precise location of the SIM card tray, you are positioning yourself for a smooth and efficient removal process. This foundational step ensures that you are well-prepared to proceed with confidence as you advance through the remaining stages of removing the SIM card from your iPhone SE.
With the SIM card tray located, you are now ready to move on to the next step, which involves preparing the SIM card removal tool and initiating the process of ejecting the SIM card tray from your iPhone SE. This brings you one step closer to successfully removing the SIM card and achieving your desired mobile service adjustments with ease.
Step 3: Insert the SIM card removal tool
With the SIM card tray located, the next crucial step in removing the SIM card from your iPhone SE involves the careful insertion of the SIM card removal tool. This tool, often provided by the device manufacturer or available as part of a SIM card removal kit, is specifically designed to facilitate the safe ejection of the SIM card tray from the device.
The SIM card removal tool is a small, pointed instrument, typically featuring a narrow, elongated shape with a rounded tip. Its purpose is to engage with the SIM card tray's ejection mechanism, allowing for the smooth and controlled removal of the tray from the iPhone SE.
To begin this step, retrieve the SIM card removal tool and hold it securely in your hand. Take a moment to familiarize yourself with the tool's shape and design, ensuring that you have a firm grasp and full control over its movements.
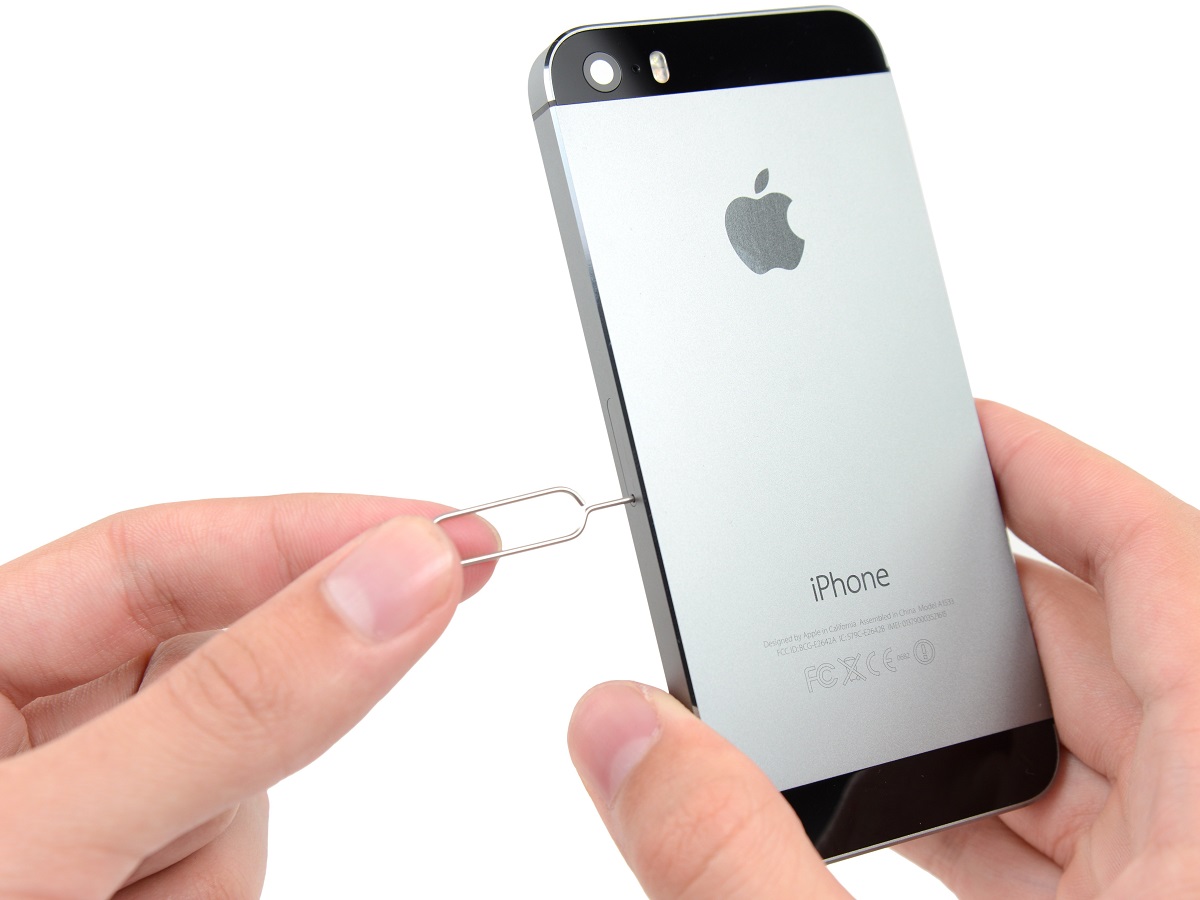
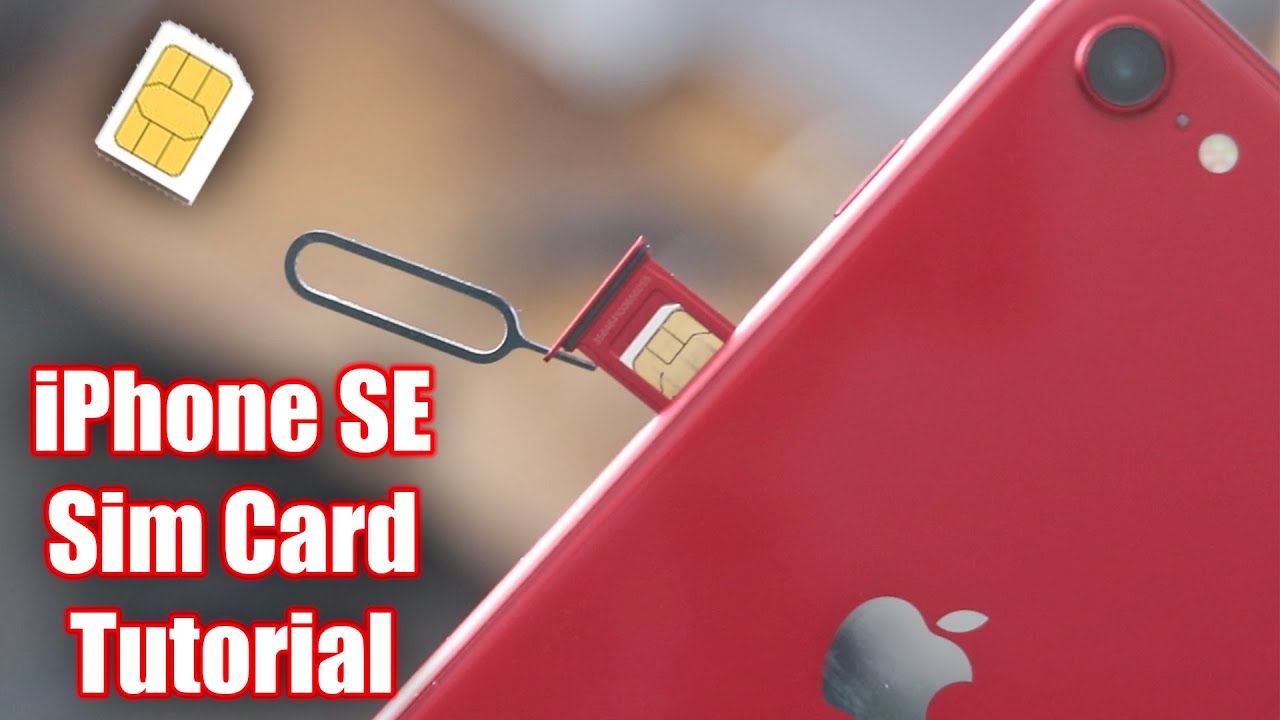
With the SIM card removal tool in hand, locate the tiny pinhole positioned adjacent to the SIM card tray on the right side of your iPhone SE. This pinhole serves as the access point for inserting the SIM card removal tool and initiating the ejection process.
Gently align the pointed tip of the SIM card removal tool with the pinhole, ensuring that it is positioned directly above the designated area. Apply light, steady pressure as you insert the tool into the pinhole, maintaining a delicate touch to avoid any unnecessary force or damage to the device.
As the SIM card removal tool is carefully inserted into the pinhole, you will feel a subtle resistance, indicating that the tool has engaged with the ejection mechanism. Continue to apply gentle pressure, allowing the tool to navigate the internal components and activate the release mechanism within the device.
The careful insertion of the SIM card removal tool is a pivotal stage in the SIM card removal process, marking the transition from preparation to action. By methodically inserting the tool into the designated pinhole, you are setting the stage for the subsequent step, which involves ejecting the SIM card tray from your iPhone SE.
With the SIM card removal tool successfully inserted, you are now poised to proceed to the next step, bringing you closer to the successful removal of the SIM card from your iPhone SE. This deliberate and precise action sets the tone for the remaining stages of the SIM card removal process, ensuring that you can navigate the procedure with confidence and precision.
Step 4: Eject the SIM card tray
With the SIM card removal tool securely inserted into the pinhole adjacent to the SIM card tray, the next crucial step is to initiate the ejection process. This step requires a steady hand and a gentle touch to ensure the smooth and controlled removal of the SIM card tray from your iPhone SE.
As you apply gentle pressure to the SIM card removal tool, you will feel a subtle release within the device, indicating that the ejection mechanism has been activated. This pivotal moment signals that the SIM card tray is disengaging from its secured position within the iPhone SE, preparing to emerge from the device.
Continue to maintain a steady hand as you exert slight pressure on the SIM card removal tool, allowing the ejection mechanism to complete its sequence. With a delicate touch, the SIM card tray will begin to emerge from the device, facilitated by the precise engagement of the removal tool with the internal mechanism.
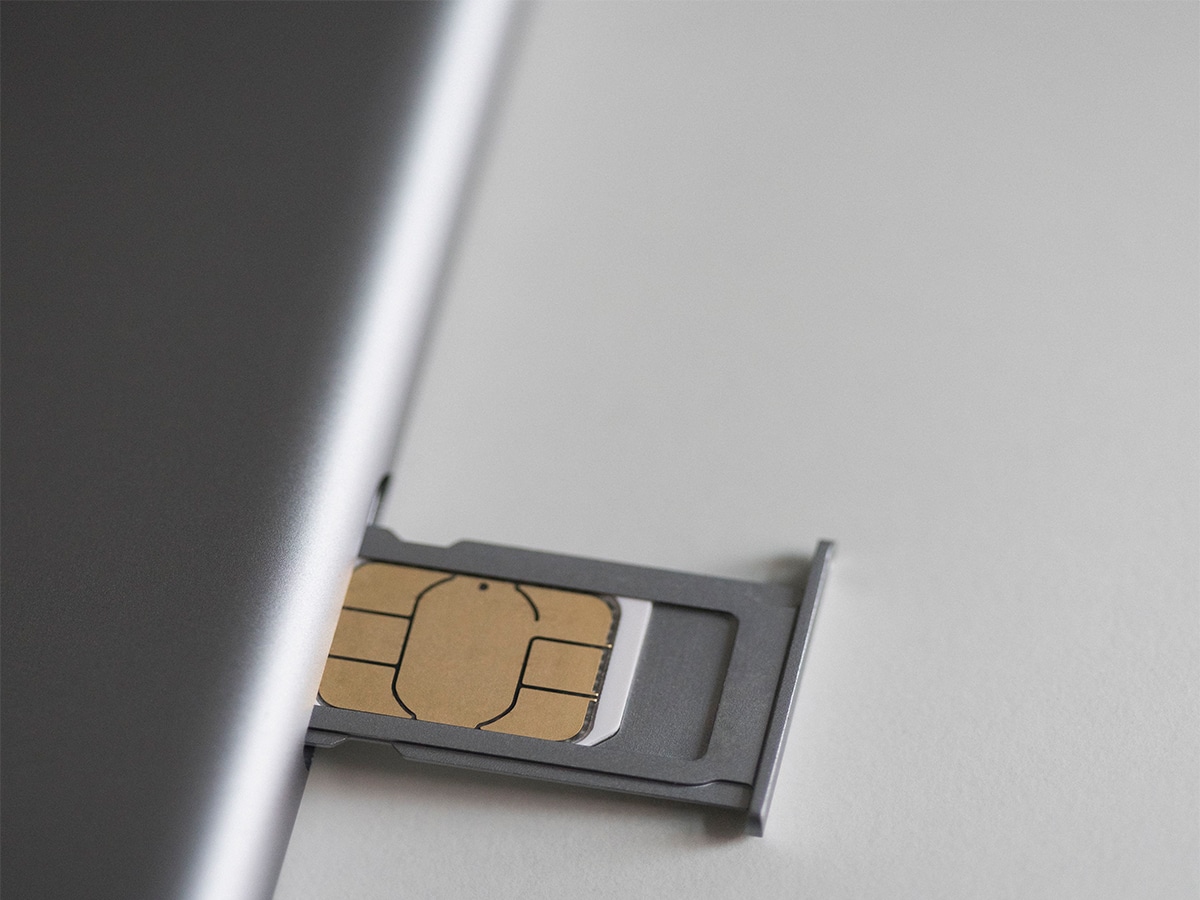
As the SIM card tray emerges, it is essential to exercise caution and handle the device with care. The tray will protrude slightly from the device, presenting itself for safe removal. Once the tray is partially ejected, carefully grasp it with your fingers, ensuring that you have a secure hold on the tray as you proceed to remove it entirely from the iPhone SE.
Gently pull the SIM card tray out of the device, maintaining a controlled and deliberate movement to prevent any abrupt actions that may cause damage to the tray or the device itself. As the tray is fully removed, set it aside in a secure location, taking care to keep it in a stable and upright position to prevent any displacement of the SIM card housed within.
The successful ejection of the SIM card tray marks a significant milestone in the process of removing the SIM card from your iPhone SE. With the tray safely removed, you are now ready to proceed to the next step, which involves carefully extracting the SIM card from the tray, bringing you one step closer to completing the SIM card removal process with confidence and precision.
Step 5: Remove the SIM card
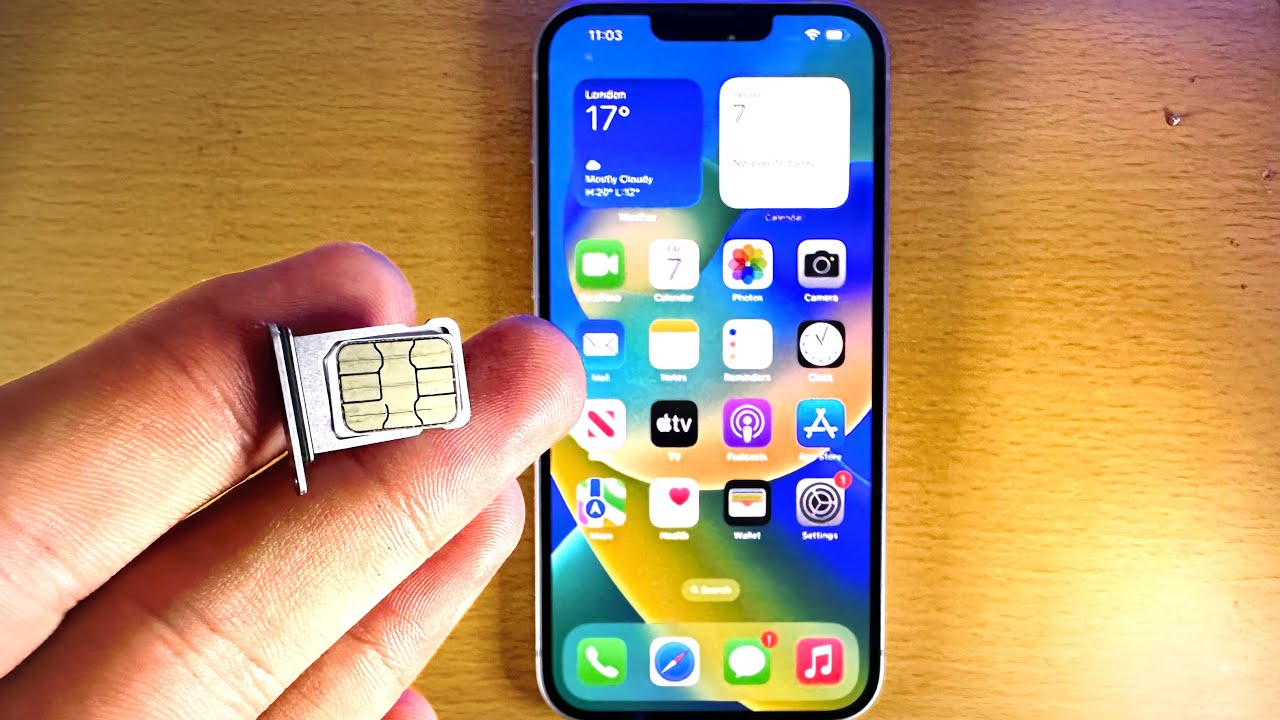
With the SIM card tray successfully ejected from your iPhone SE, the next crucial step is to carefully remove the SIM card from the tray. The SIM card is a small, rectangular chip that contains vital information linking your device to your mobile network. As you proceed with this step, it is essential to handle the SIM card with care and precision to avoid any damage to its delicate components.
Begin by gently inspecting the SIM card tray to locate the position of the SIM card. The SIM card is typically nestled within a designated slot or holder within the tray, ensuring a secure and stable placement. Take a moment to identify the SIM card, noting its rectangular shape and the metallic contacts on its surface.
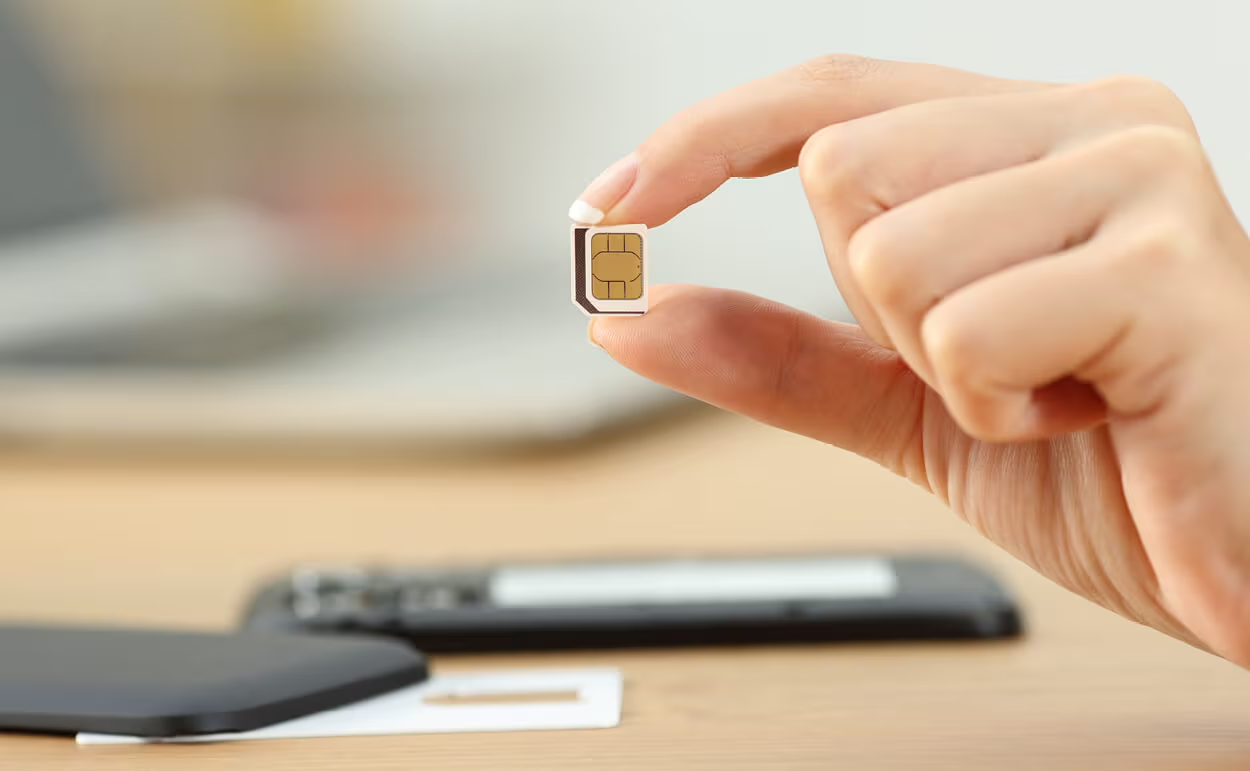
Once you have located the SIM card within the tray, delicately maneuver it out of its housing using your fingertips. Exercise caution to avoid applying excessive force or bending the SIM card, as this may lead to damage and potential connectivity issues.
As you carefully lift the SIM card from the tray, take note of its orientation and the position of the metallic contacts. It is essential to preserve the integrity of these contacts, as they facilitate the communication between your device and the mobile network. Avoid touching the metallic contacts to prevent any potential interference with the SIM card's functionality.
Upon successfully removing the SIM card from the tray, place it in a secure location, such as a SIM card holder or a protective sleeve, to prevent any damage or misplacement. Handling the SIM card with care and storing it in a safe location ensures that it remains in optimal condition for future use.
The meticulous removal of the SIM card from the tray represents a critical phase in the SIM card removal process, highlighting the importance of precision and attention to detail. With the SIM card safely extracted from the tray, you have accomplished a significant milestone in the overall process, positioning yourself for the final steps of reinserting the tray and powering on your iPhone SE.
By successfully removing the SIM card from the tray, you are now prepared to proceed to the subsequent step, which involves reinserting the SIM card tray into your iPhone SE. This brings you one step closer to completing the SIM card removal process with finesse and expertise, ensuring a seamless transition as you navigate through the final stages.
Step 6: Reinsert the SIM card tray
Once the SIM card has been safely removed from the tray, the next crucial step is to reinsert the tray back into your iPhone SE. This step is essential for restoring the connectivity and functionality of your device, ensuring that it is ready to seamlessly reestablish its connection to the mobile network.
To begin the reinsertion process, carefully align the SIM card tray with the designated slot on the right side of your iPhone SE. Take note of the orientation of the tray to ensure that it is positioned correctly for insertion. The tray should fit snugly into the slot, aligning seamlessly with the device's exterior.
With precision and a steady hand, gently guide the SIM card tray back into the slot, ensuring that it glides smoothly into place. Exercise caution to avoid any abrupt movements that may cause damage to the tray or the device. As the tray reenters the device, you will feel a subtle click, indicating that it has securely reengaged with the internal components.
Once the SIM card tray is firmly reinserted into your iPhone SE, take a moment to ensure that it sits flush with the device's exterior, maintaining a seamless and uniform appearance. This step is crucial for guaranteeing that the tray is securely positioned within the device, ready to facilitate the connection between your iPhone SE and the mobile network.
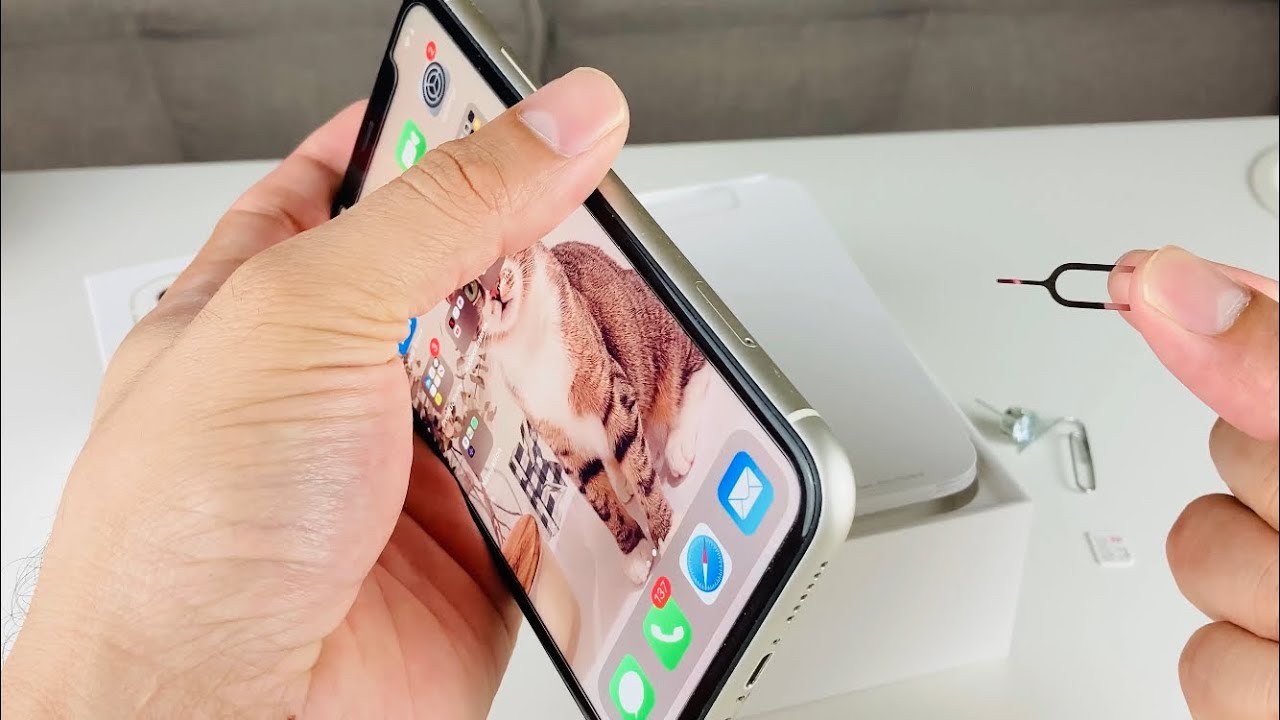
After reinserting the SIM card tray, power on your iPhone SE by pressing and holding the side button until the Apple logo appears on the screen. As the device powers on, it will initiate the process of reconnecting to the mobile network, leveraging the restored connectivity provided by the reinserted SIM card.
With the SIM card tray securely reinserted and the device powered on, your iPhone SE is now poised to resume its essential functions, including making calls, sending messages, and accessing mobile data. This seamless transition underscores the successful completion of the SIM card removal process, ensuring that your device is ready to serve your communication and connectivity needs with reliability and efficiency.
By reinserting the SIM card tray and powering on your iPhone SE, you have effectively navigated through the comprehensive process of removing and reestablishing the connectivity of your device. This achievement reflects your adeptness in managing essential device maintenance tasks, positioning you to confidently address future mobile service adjustments and device upgrades with ease and expertise.
Conclusion
In conclusion, the process of removing the SIM card from your iPhone SE encompasses a series of essential steps that culminate in a seamless and controlled transition. By following this comprehensive guide, you have gained valuable insights into the intricacies of managing your device's connectivity and ensuring a smooth transition during mobile service adjustments.
Throughout the step-by-step journey, you have learned the importance of powering off your iPhone SE to create a stable environment for SIM card removal. Locating the SIM card tray and skillfully inserting the SIM card removal tool have equipped you with the knowledge to navigate the intricate components of your device with precision and confidence.
Ejecting the SIM card tray and carefully removing the SIM card from its housing underscore the significance of delicacy and attention to detail in handling the device's vital components. These actions have allowed you to safeguard the integrity of the SIM card, ensuring its readiness for future use.
Reinserting the SIM card tray and powering on your iPhone SE mark the culmination of this process, signifying the successful restoration of connectivity and functionality. With these final steps, you have demonstrated your adeptness in managing essential device maintenance tasks, positioning yourself to confidently address future mobile service adjustments and device upgrades.
As you reflect on your journey through the SIM card removal process, it becomes evident that your understanding of your iPhone SE's internal mechanisms has expanded, empowering you to navigate device-related tasks with finesse and expertise. The knowledge and skills acquired through this guide serve as valuable assets, enabling you to approach device maintenance and mobile service adjustments with confidence and proficiency.
In essence, the process of removing the SIM card from your iPhone SE transcends the physical act of extraction; it embodies a journey of empowerment and mastery over essential device maintenance tasks. By embracing this knowledge and applying it to your device management endeavors, you are poised to navigate the dynamic landscape of mobile connectivity with ease and expertise, ensuring that your iPhone SE remains a reliable and indispensable companion in your daily endeavors.