Checking the iPhone model
Before diving into the process of inserting a SIM card into your iPhone, it's crucial to identify the specific model of your device. Apple has released numerous iPhone models over the years, and each may have a slightly different SIM card tray design and location. By knowing your iPhone model, you can ensure that you follow the correct steps for inserting the SIM card.
To check your iPhone model, you can follow these simple steps:
-
Software Method:
- Open the "Settings" app on your iPhone.
- Tap on "General."
- Select "About."
- Look for the "Model" or "Model Number" field.
- You'll find a model number that starts with the letter "A" followed by four digits (e.g., A1234). This model number uniquely identifies your iPhone model.
-
Physical Method:
- If you have the original packaging for your iPhone, you can find the model number on the back of the box.
- Alternatively, you can flip your iPhone over and look for the model number on the back of the device. It's usually printed in small text near the bottom.
Once you have identified your iPhone model using one of these methods, you can confidently proceed to the next step of locating the SIM card tray specific to your device.
Locating the SIM card tray
Locating the SIM card tray on your iPhone is a crucial step in the process of inserting or replacing a SIM card. The SIM card tray houses the SIM card and is designed to ensure a secure and stable connection with the iPhone's cellular network. The location of the SIM card tray varies depending on the specific iPhone model, and it's essential to pinpoint its exact placement before proceeding with the insertion process.
For most iPhone models, the SIM card tray is situated on the right-hand side of the device. However, there are exceptions to this general placement, particularly in older iPhone models. To accurately locate the SIM card tray on your iPhone, follow these model-specific guidelines:
iPhone X and later models
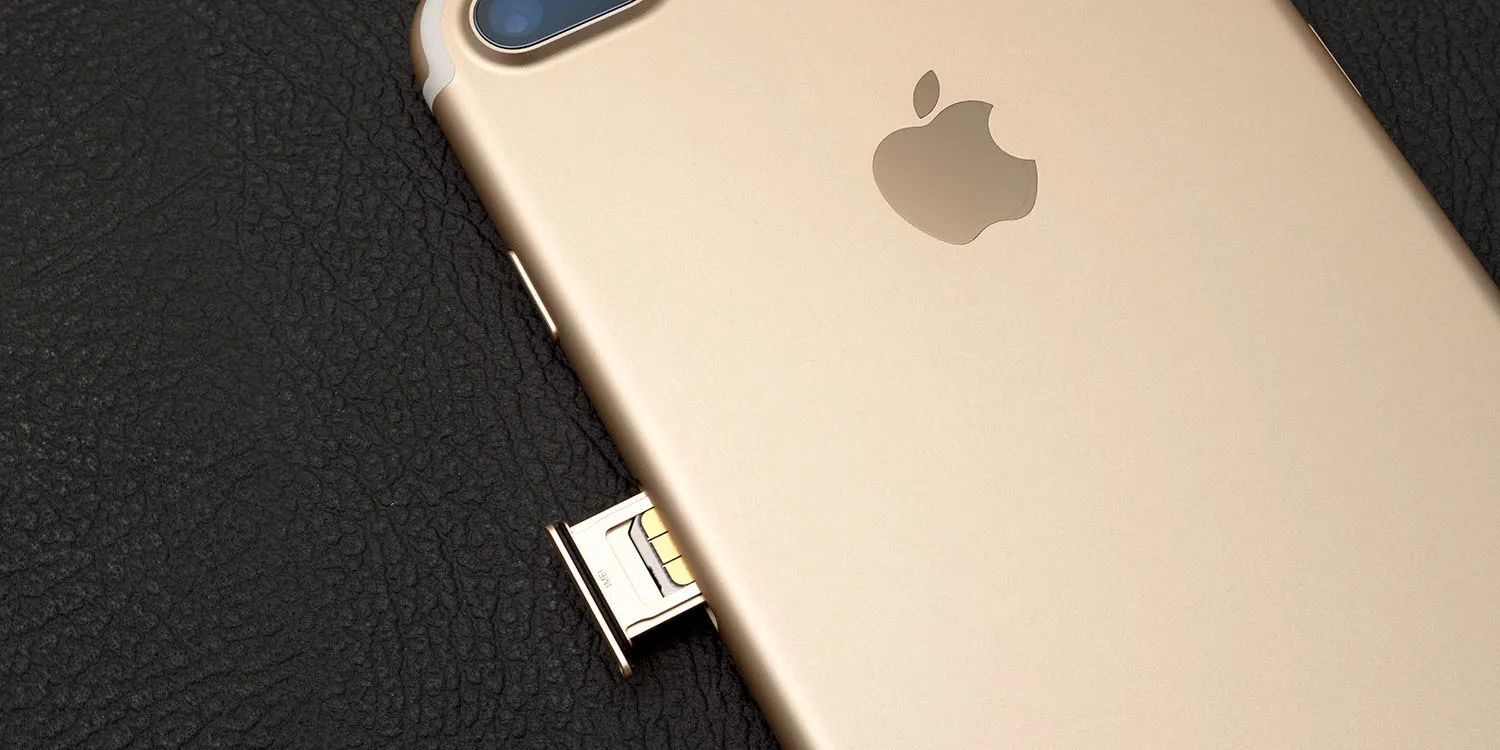
If you own an iPhone X or a later model, you'll find the SIM card tray on the right side of the device. Look for the small, recessed pinhole on the right-hand edge. This pinhole indicates the presence of the SIM card tray and serves as the entry point for the SIM card removal tool.
iPhone 8 and earlier models
For iPhone models 8 and earlier, including the SE (1st generation), the SIM card tray is also positioned on the right side of the device. Similar to the newer models, a small pinhole can be found on the right edge, denoting the location of the SIM card tray.
iPhone SE (2nd generation)
The iPhone SE (2nd generation) features a SIM card tray placement akin to that of the iPhone 8 and earlier models, situated on the right side of the device.
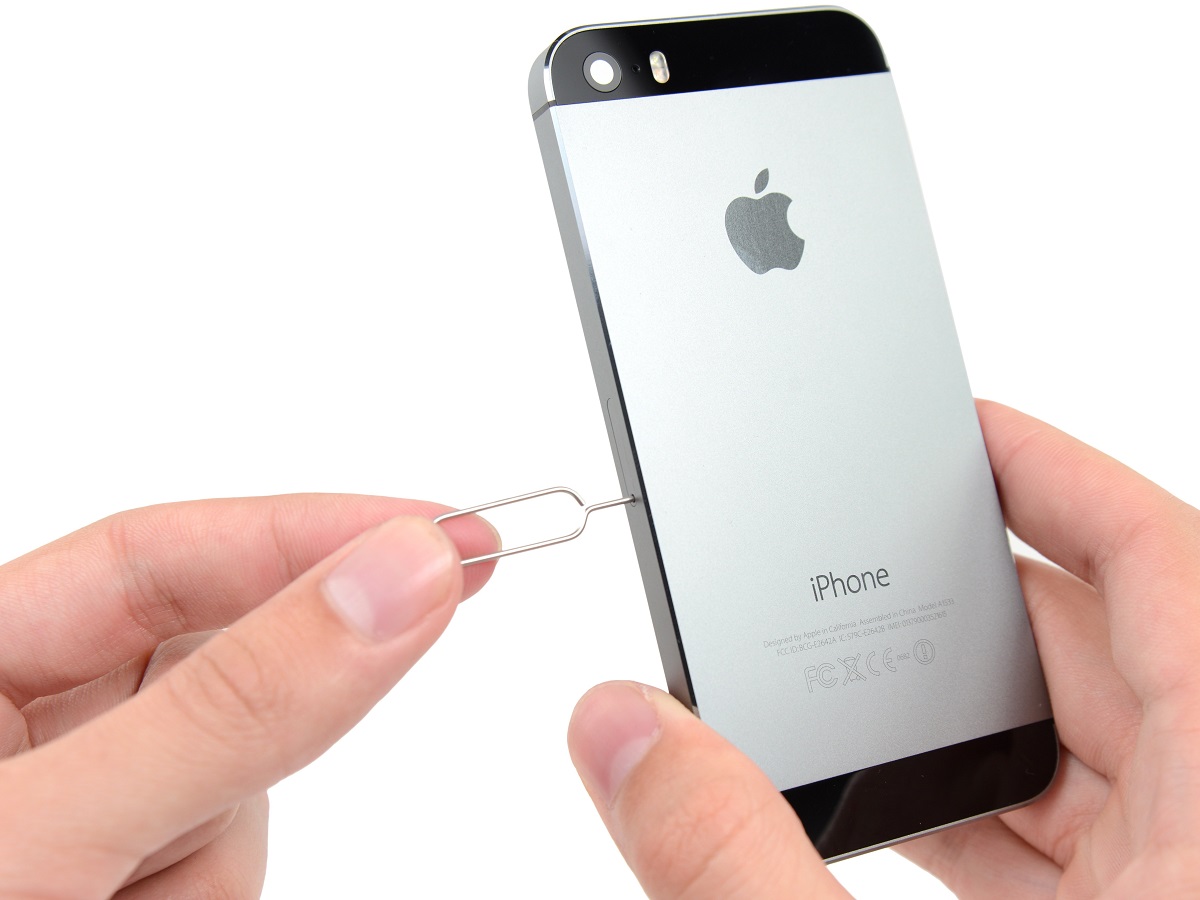
Original iPhone SE and iPhone 5
In contrast to the right-side placement in later models, the original iPhone SE and iPhone 5 have their SIM card trays located on the top edge of the device. The SIM card tray can be accessed by inserting the SIM card removal tool into the small pinhole on the top edge.
By identifying the specific location of the SIM card tray on your iPhone model, you can proceed with confidence to the next step of inserting the SIM card. This knowledge ensures a smooth and successful SIM card installation process, allowing you to seamlessly connect to your cellular network and enjoy the full functionality of your iPhone.
Inserting the SIM card
Inserting a SIM card into your iPhone is a straightforward process that allows you to establish a connection with your cellular network and enjoy the full range of mobile services. Once you have identified your iPhone model and located the SIM card tray, you can proceed with the following steps to insert the SIM card securely:
-
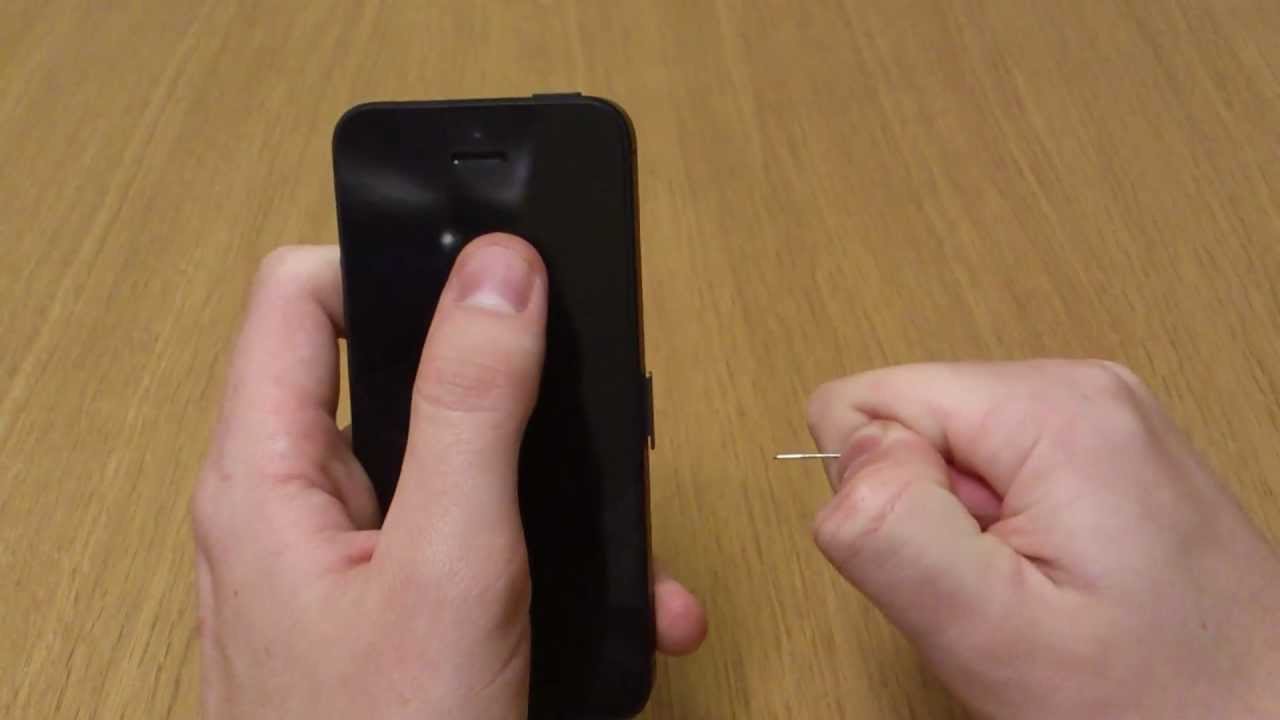
Gather the Necessary Tools: Before beginning the insertion process, ensure that you have the SIM card removal tool or a small, pointed object such as a paperclip. This tool is essential for accessing the SIM card tray and safely removing or inserting the SIM card.
-
Locate the SIM Card Tray: Using the guidelines provided earlier, pinpoint the precise location of the SIM card tray on your specific iPhone model. Once you have identified the location, proceed to prepare the iPhone for the SIM card insertion.
-
Power Off Your iPhone: To prevent any potential disruption during the SIM card insertion, it's advisable to power off your iPhone. This step ensures a stable and secure environment for handling the SIM card and the SIM card tray.
-
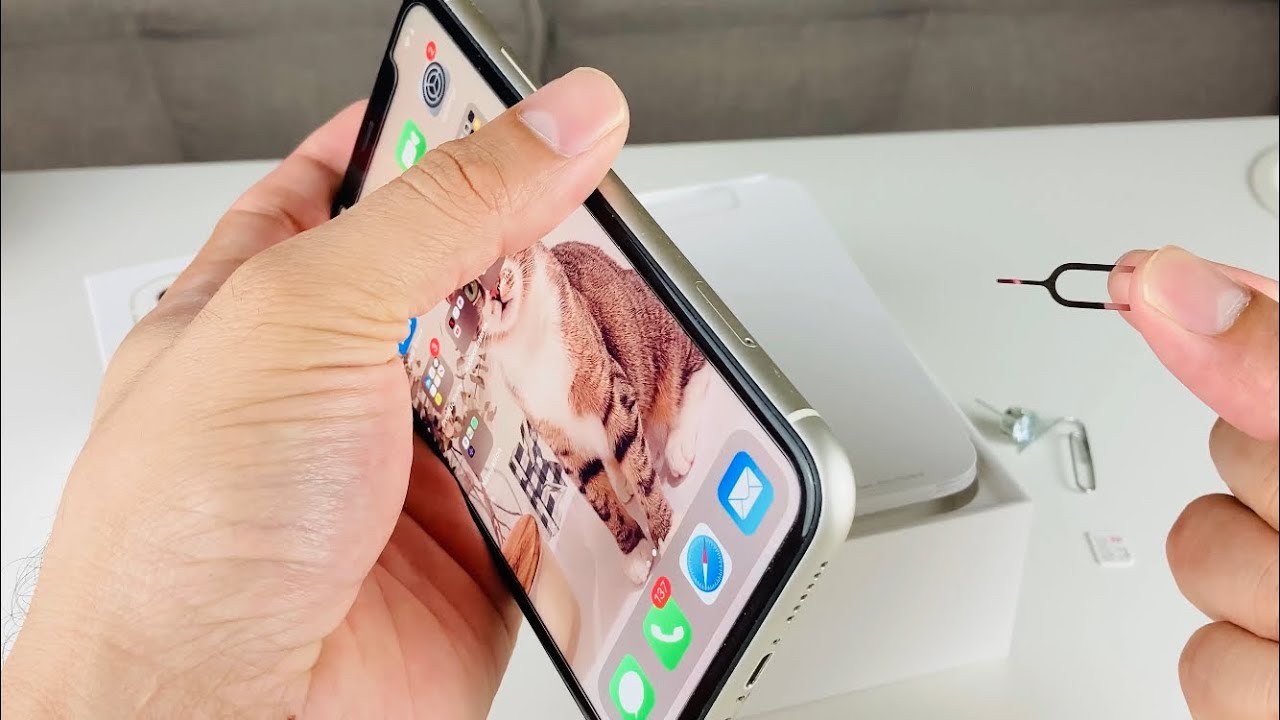
Access the SIM Card Tray: Insert the SIM card removal tool or the pointed object into the small pinhole located near the SIM card tray. Apply gentle pressure to release the SIM card tray from its housing. Once the tray is partially ejected, carefully pull it out from the iPhone.
-
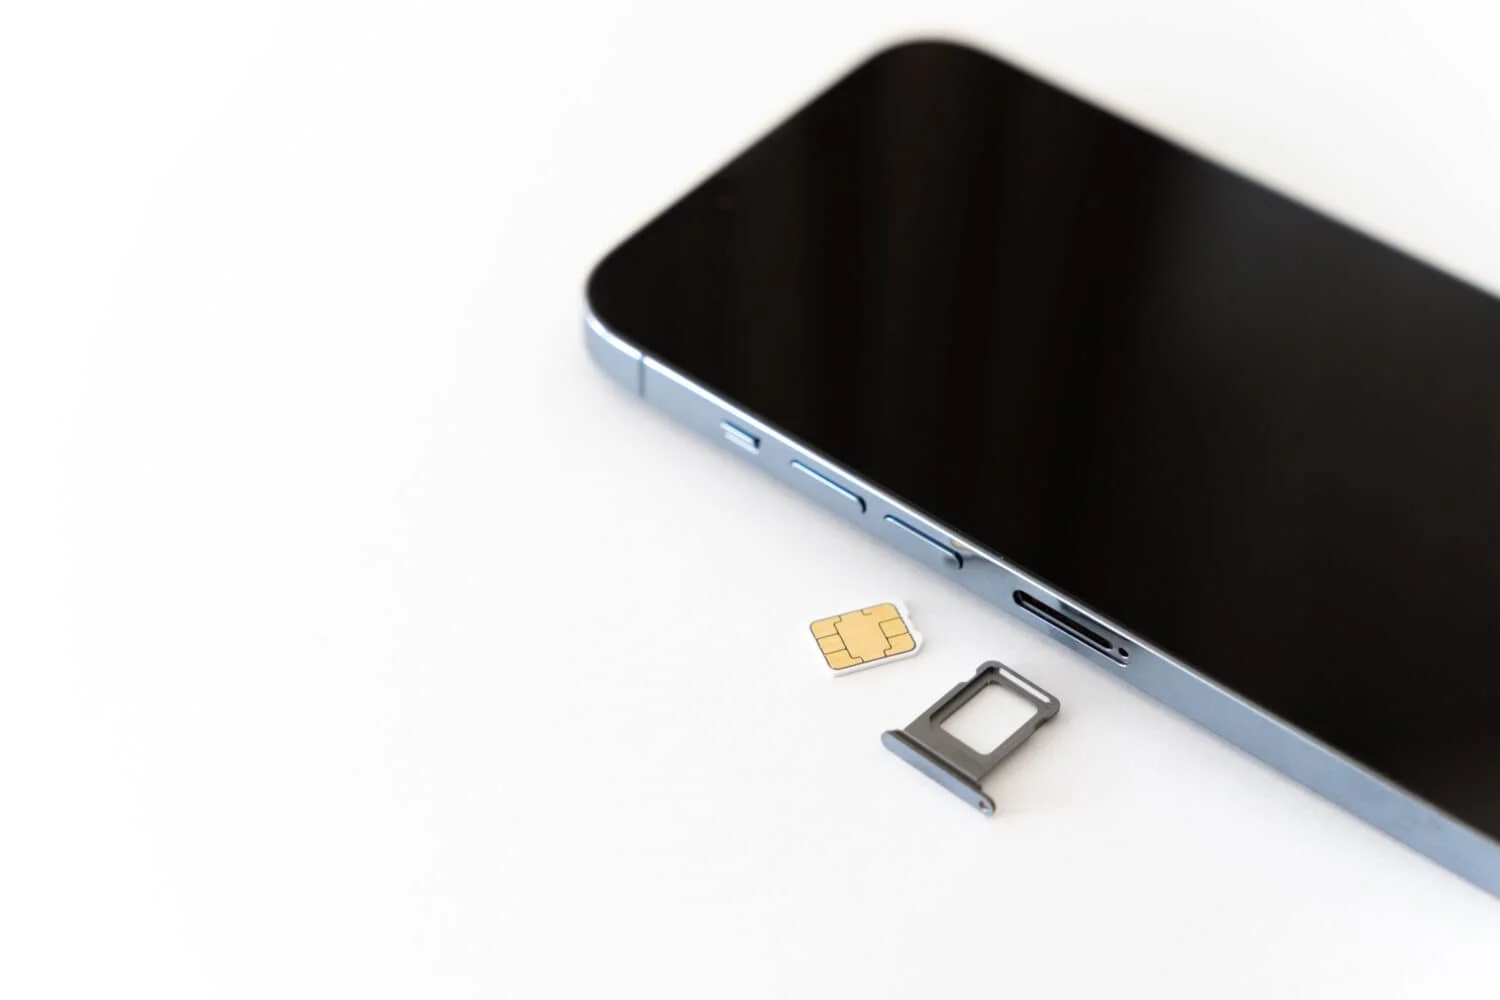
Position the SIM Card: Place the SIM card on the SIM card tray, ensuring that it aligns with the designated area and fits securely without any forceful manipulation. The SIM card has a specific orientation, and it's essential to align it correctly to facilitate a proper connection with the iPhone's SIM card reader.
-
Reinsert the SIM Card Tray: Once the SIM card is positioned on the tray, carefully slide the tray back into the iPhone, ensuring that it slots back into place smoothly and securely. Avoid applying excessive force during this step, as it may damage the SIM card or the iPhone's SIM card tray slot.
-
Power On Your iPhone: After successfully inserting the SIM card, power on your iPhone to initiate the device's recognition of the new SIM card. Once the iPhone completes the startup process, it should establish a connection with the cellular network associated with the inserted SIM card.
By following these steps, you can confidently insert a SIM card into your iPhone, enabling you to harness the full functionality of your device and stay connected to your mobile network. Whether you're upgrading to a new iPhone or replacing an existing SIM card, mastering the art of SIM card insertion empowers you to seamlessly integrate your iPhone with your preferred cellular service provider.
Powering on the iPhone
Powering on your iPhone after inserting a new SIM card is the final step in the process of establishing a seamless connection with your chosen cellular network. This pivotal step ensures that your iPhone recognizes the new SIM card and initiates the necessary configurations to enable cellular services and network connectivity. By following the simple yet essential guidelines for powering on your iPhone, you can swiftly transition from the SIM card insertion phase to the full utilization of your device's mobile capabilities.
After successfully inserting the SIM card and reinserting the SIM card tray into your iPhone, it's time to power on the device. The process of powering on your iPhone typically involves a few straightforward steps, allowing you to initiate the device's startup sequence and ensure that the new SIM card is recognized and integrated seamlessly.
To power on your iPhone, follow these simple steps:
-
Press and Hold the Power Button: Located on the right-hand side of the iPhone, the power button serves as the key to initiating the device's startup process. Press and hold this button until the familiar Apple logo appears on the screen, indicating that the iPhone is powering on.
-
Wait for the Startup Sequence: As the Apple logo illuminates the screen, the iPhone undergoes a brief startup sequence, during which it recognizes the newly inserted SIM card and configures the necessary settings to establish a connection with the cellular network. This process typically takes a few moments, after which the iPhone will display the lock screen or prompt you to enter your passcode or use Face ID or Touch ID to unlock the device.
-
Confirm Cellular Network Connectivity: Once the iPhone has completed the startup sequence, check the status bar or the cellular settings to confirm that the device has successfully connected to the cellular network associated with the inserted SIM card. You should see the network carrier's name or logo displayed in the status bar, indicating that your iPhone is now fully integrated with the chosen cellular service provider.
By following these steps, you can effectively power on your iPhone after inserting a new SIM card, allowing you to seamlessly transition to the utilization of cellular services, voice calls, messaging, and mobile data. With the successful completion of the power-on process, your iPhone is now fully equipped to keep you connected and empowered to leverage its full range of mobile capabilities.