Introduction
Inserting a SIM card into your iPhone 5S is a straightforward process that allows you to connect to your mobile network and access various communication services. Whether you're setting up your new device or switching to a different carrier, understanding how to insert a SIM card is essential for seamless connectivity. In this comprehensive guide, we will walk you through the step-by-step process of inserting a SIM card into your iPhone 5S. By following these instructions, you'll be able to quickly and efficiently set up your device and enjoy uninterrupted access to voice, text, and data services.
The iPhone 5S, known for its sleek design and advanced features, has a dedicated slot for the SIM card tray. This small yet vital component plays a crucial role in enabling your device to communicate with the cellular network, allowing you to make calls, send messages, and access the internet. Whether you're a seasoned iPhone user or a newcomer to the iOS ecosystem, understanding how to properly insert a SIM card will ensure that you can harness the full capabilities of your device.
By the end of this guide, you'll have the confidence and knowledge to effortlessly insert a SIM card into your iPhone 5S, empowering you to stay connected wherever you go. Let's dive into the step-by-step process and ensure that you're equipped with the necessary skills to complete this essential task with ease.
Step 1: Locate the SIM card tray
Locating the SIM card tray is the first crucial step in the process of inserting a SIM card into your iPhone 5S. The SIM card tray on the iPhone 5S is strategically positioned to ensure easy access while maintaining the device's sleek and minimalistic design. To begin, you'll need to identify the precise location of the SIM card tray on your device.
-
Examine the Right Side: Start by holding your iPhone 5S in a comfortable position, ensuring that the screen is facing you. Direct your attention to the right-hand side of the device, where you'll notice a small, recessed slot. This slot is the designated location of the SIM card tray.
-
Identify the Tray: The SIM card tray on the iPhone 5S is distinguishable by a tiny pinhole adjacent to the slot. This pinhole serves as the access point for ejecting the tray and is an essential feature that facilitates the seamless insertion and removal of the SIM card.
-
Gently Inspect the Device: Take a moment to visually inspect the edges of your iPhone 5S, paying close attention to the right side to ensure that you've accurately located the SIM card tray. The precise positioning of the tray may vary slightly depending on the specific model and manufacturing variations, so it's essential to familiarize yourself with the physical characteristics of your device.
By successfully locating the SIM card tray, you've completed the initial step in the process of inserting a SIM card into your iPhone 5S. This foundational step sets the stage for the subsequent actions, enabling you to proceed with confidence as you prepare to insert the SIM card and activate essential communication services on your device.
Now that you've successfully located the SIM card tray, it's time to delve into the next step: ejecting the tray to prepare for the insertion of the SIM card. This pivotal action will pave the way for seamless connectivity and empower you to harness the full potential of your iPhone 5S.
Step 2: Eject the SIM card tray
Ejecting the SIM card tray is a crucial step that prepares the iPhone 5S for the seamless insertion of the SIM card, enabling you to establish a connection with your mobile network. This process is designed to be user-friendly and requires minimal effort, ensuring that you can swiftly access the SIM card tray and proceed with the setup process.
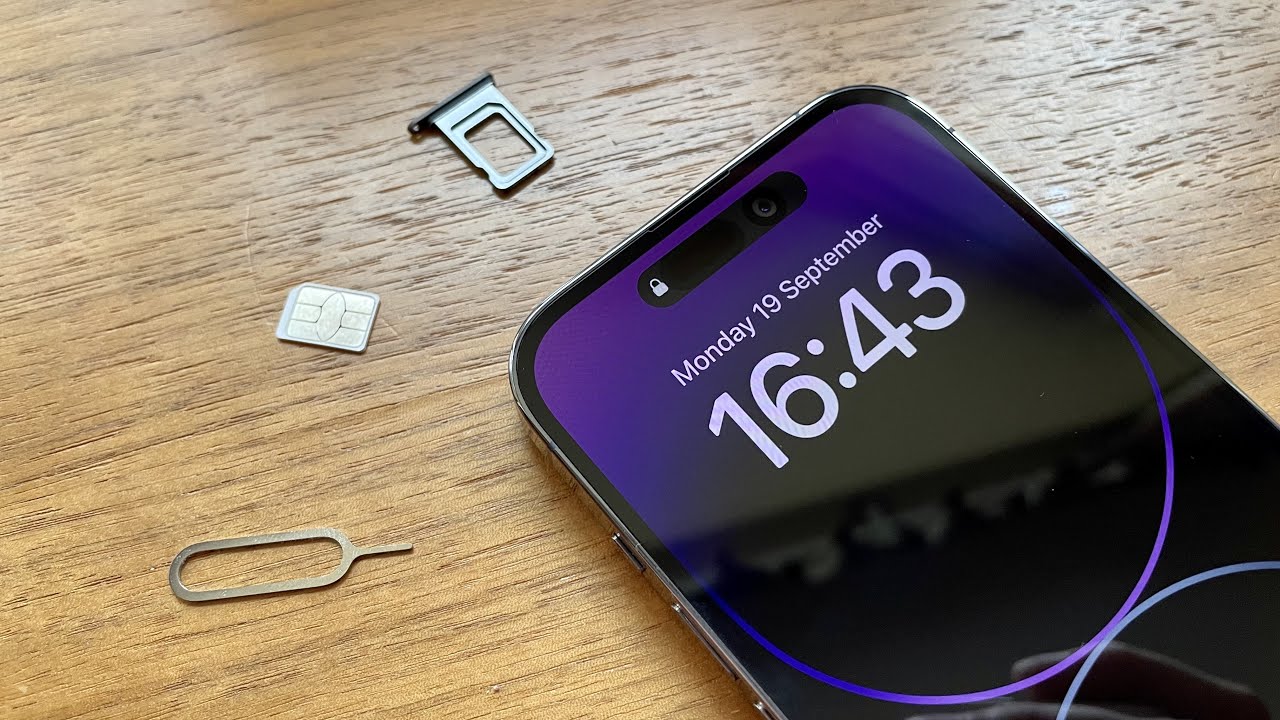
To eject the SIM card tray from your iPhone 5S, you'll need to utilize the specialized tool provided by Apple, known as the SIM eject tool. This small, metal tool is specifically designed to facilitate the safe and effortless removal of the SIM card tray, allowing you to proceed with confidence.
Here's a detailed guide on how to eject the SIM card tray from your iPhone 5S:
-
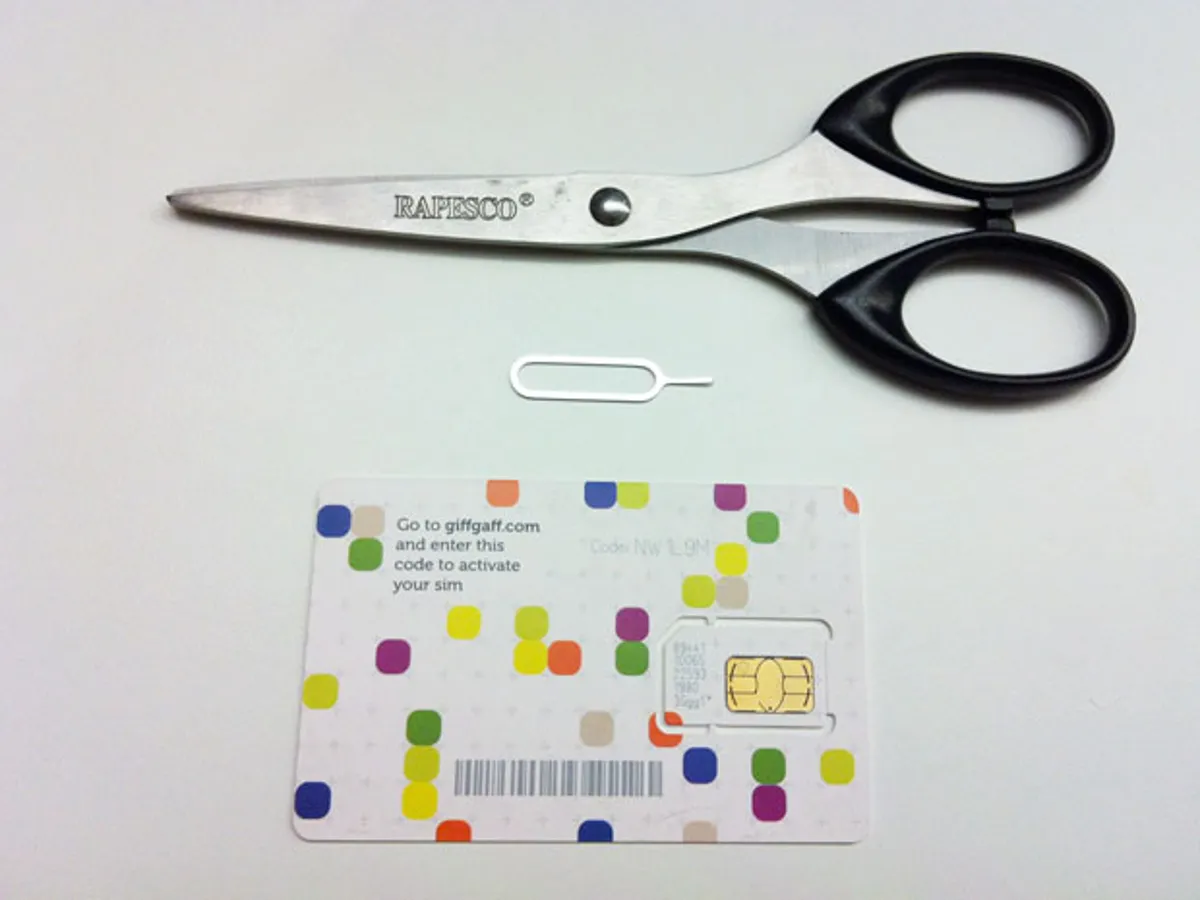
Retrieve the SIM eject tool: Begin by locating the SIM eject tool, which is typically included in the original packaging of your iPhone 5S. If you can't locate the tool, a small paperclip can serve as an alternative for ejecting the SIM card tray.
-
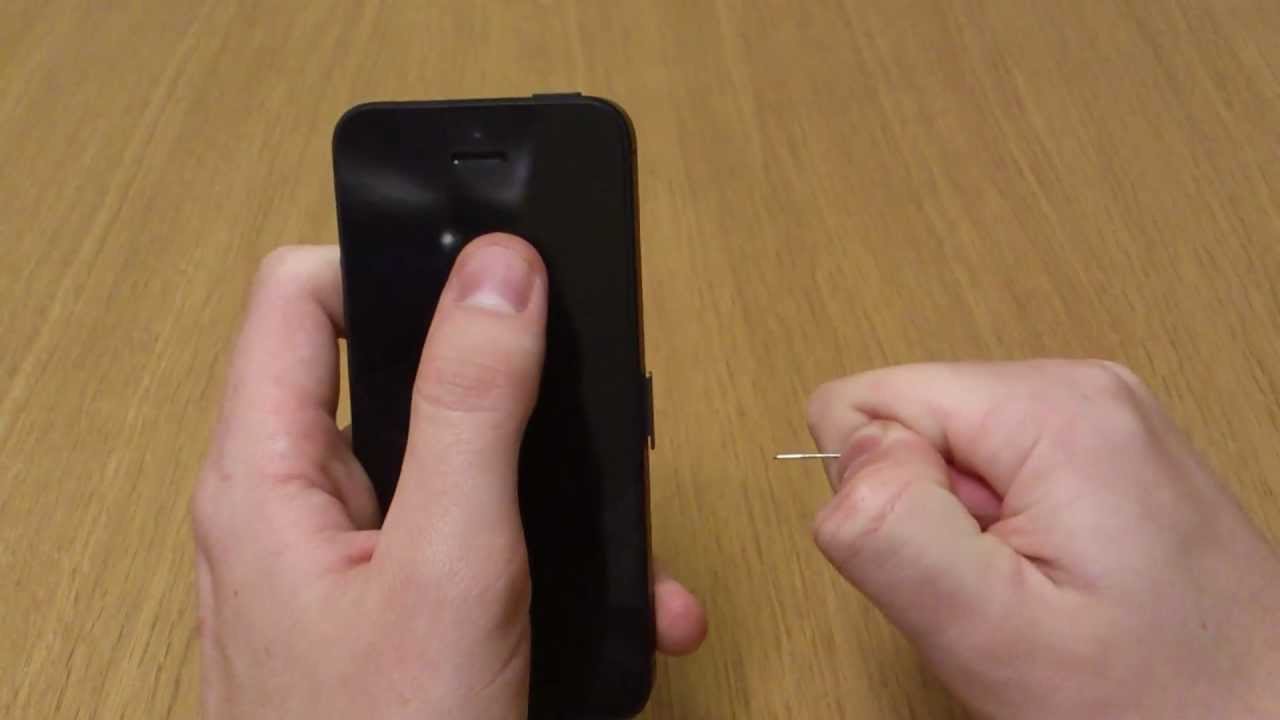
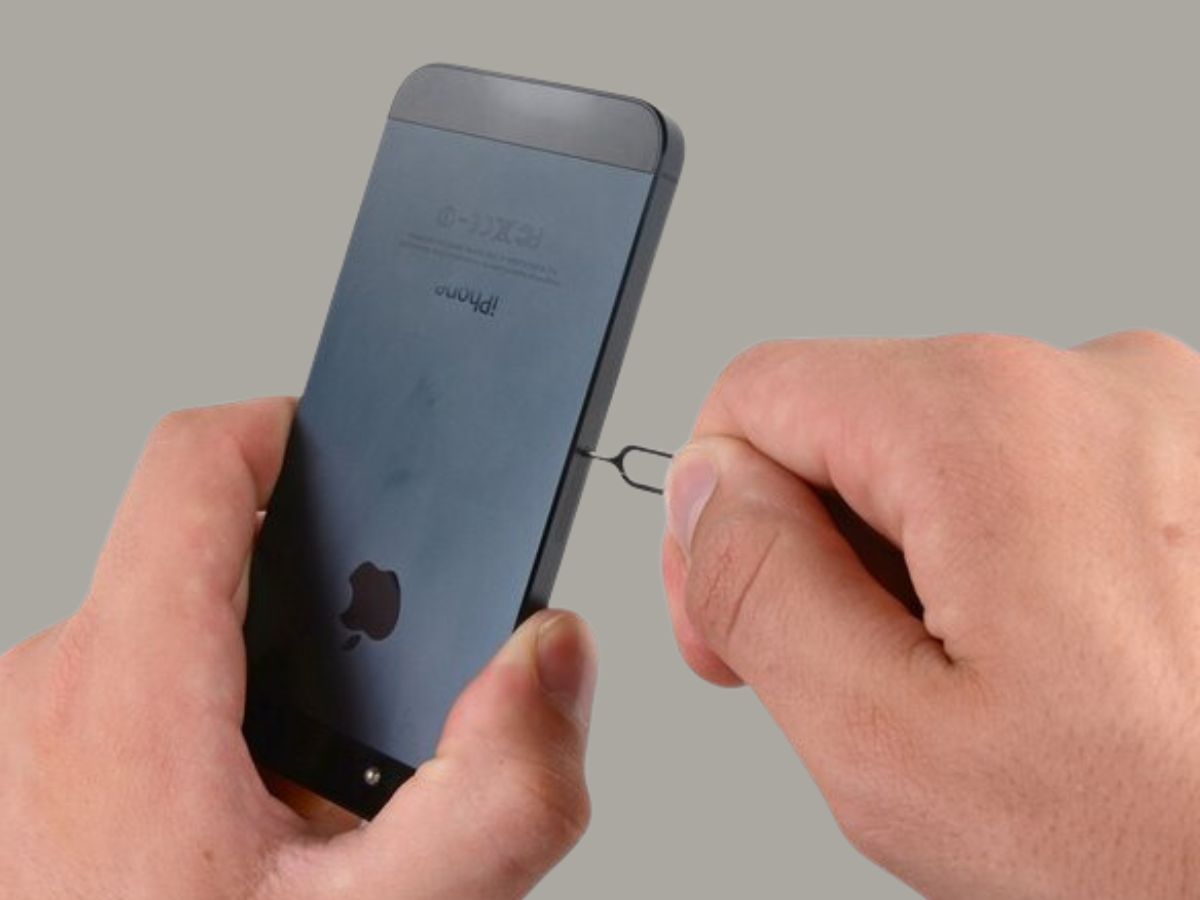
Insert the SIM eject tool: With the SIM eject tool in hand, carefully insert the pointed end of the tool into the tiny pinhole located adjacent to the SIM card tray. Apply gentle pressure to ensure that the tool is securely inserted into the pinhole.
-
Apply consistent pressure: Once the SIM eject tool is positioned within the pinhole, exert consistent pressure in a straight line. This action will trigger the release mechanism within the device, causing the SIM card tray to protrude slightly from the iPhone 5S.
-
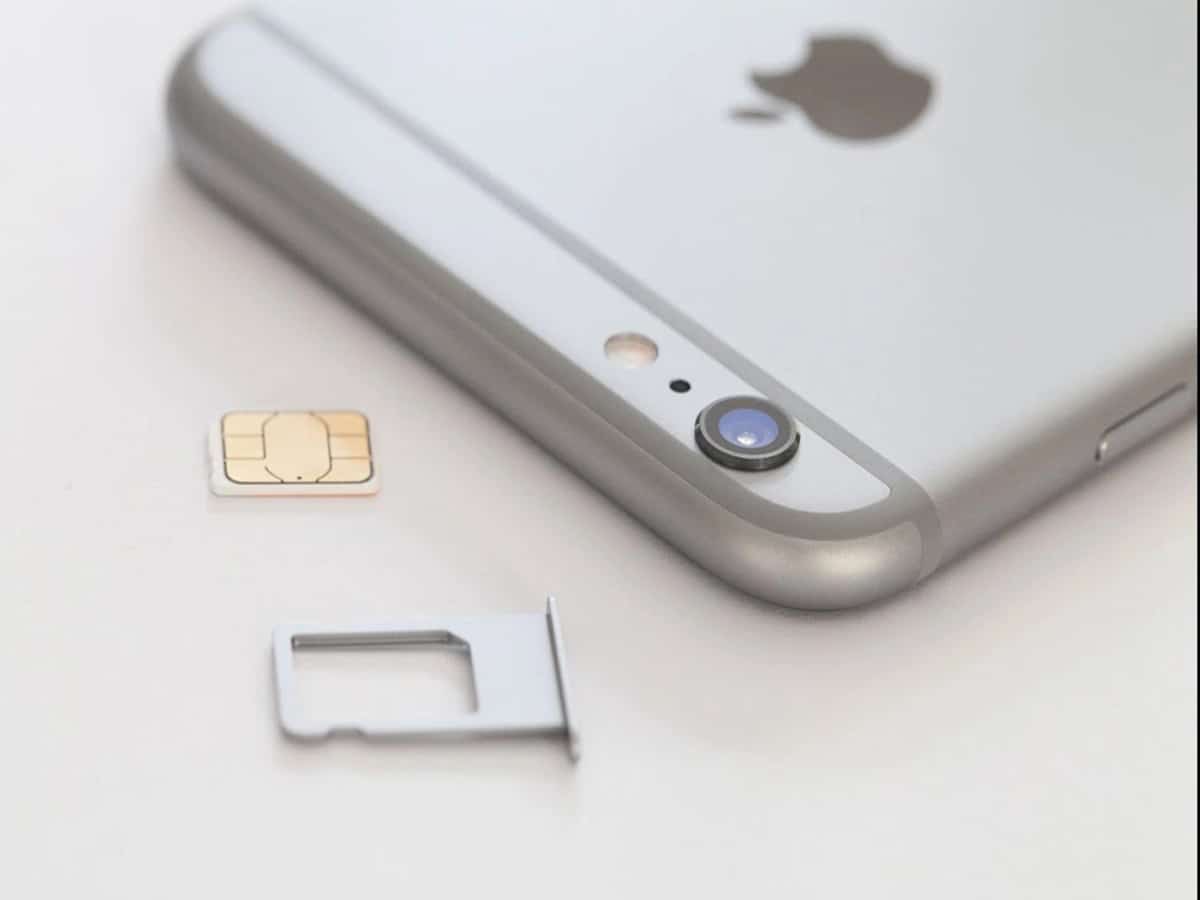
Remove the SIM card tray: With the SIM card tray partially ejected, carefully grasp the exposed edge of the tray and gently pull it out of the device. Exercise caution to avoid applying excessive force, ensuring that the tray slides out smoothly without any resistance.
By following these steps, you'll successfully eject the SIM card tray from your iPhone 5S, setting the stage for the next phase of the setup process. This straightforward procedure is designed to streamline the insertion of the SIM card, empowering you to establish a secure connection with your mobile network and unlock the full functionality of your device.
Step 3: Insert the SIM card
With the SIM card tray successfully ejected from your iPhone 5S, you're now ready to proceed with the pivotal step of inserting the SIM card. This essential component serves as the gateway to your mobile network, enabling your device to communicate with the cellular infrastructure and access a wide array of communication services. The process of inserting the SIM card is designed to be straightforward and user-friendly, allowing you to complete this vital task with ease.
To insert the SIM card into your iPhone 5S, follow these detailed steps:
-
Prepare the SIM card: Before proceeding, ensure that your SIM card is compatible with the iPhone 5S and has been activated by your mobile carrier. The SIM card should be free from any physical damage and should align with the specific size requirements designated for the iPhone 5S.
-
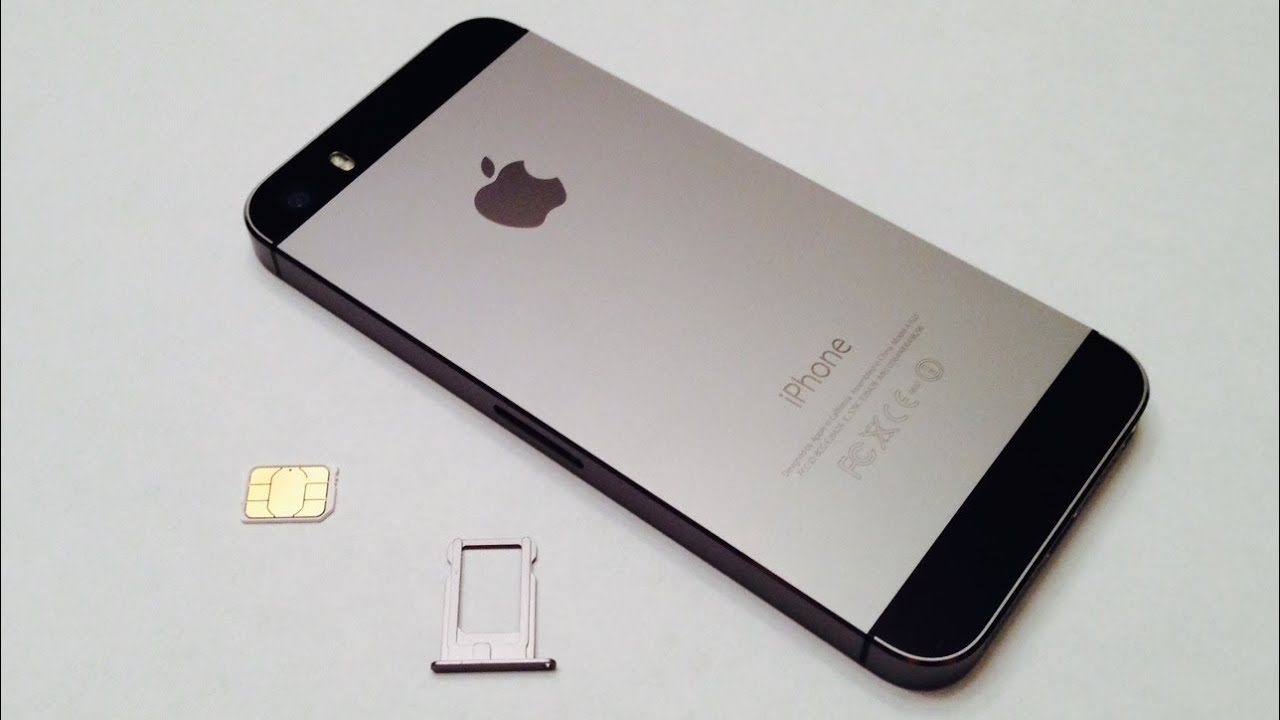
Position the SIM card: Hold the SIM card with the metal contacts facing downwards and the notched corner oriented as per the alignment guide within the SIM card tray. This precise positioning ensures that the SIM card fits seamlessly into the designated slot within the tray.
-
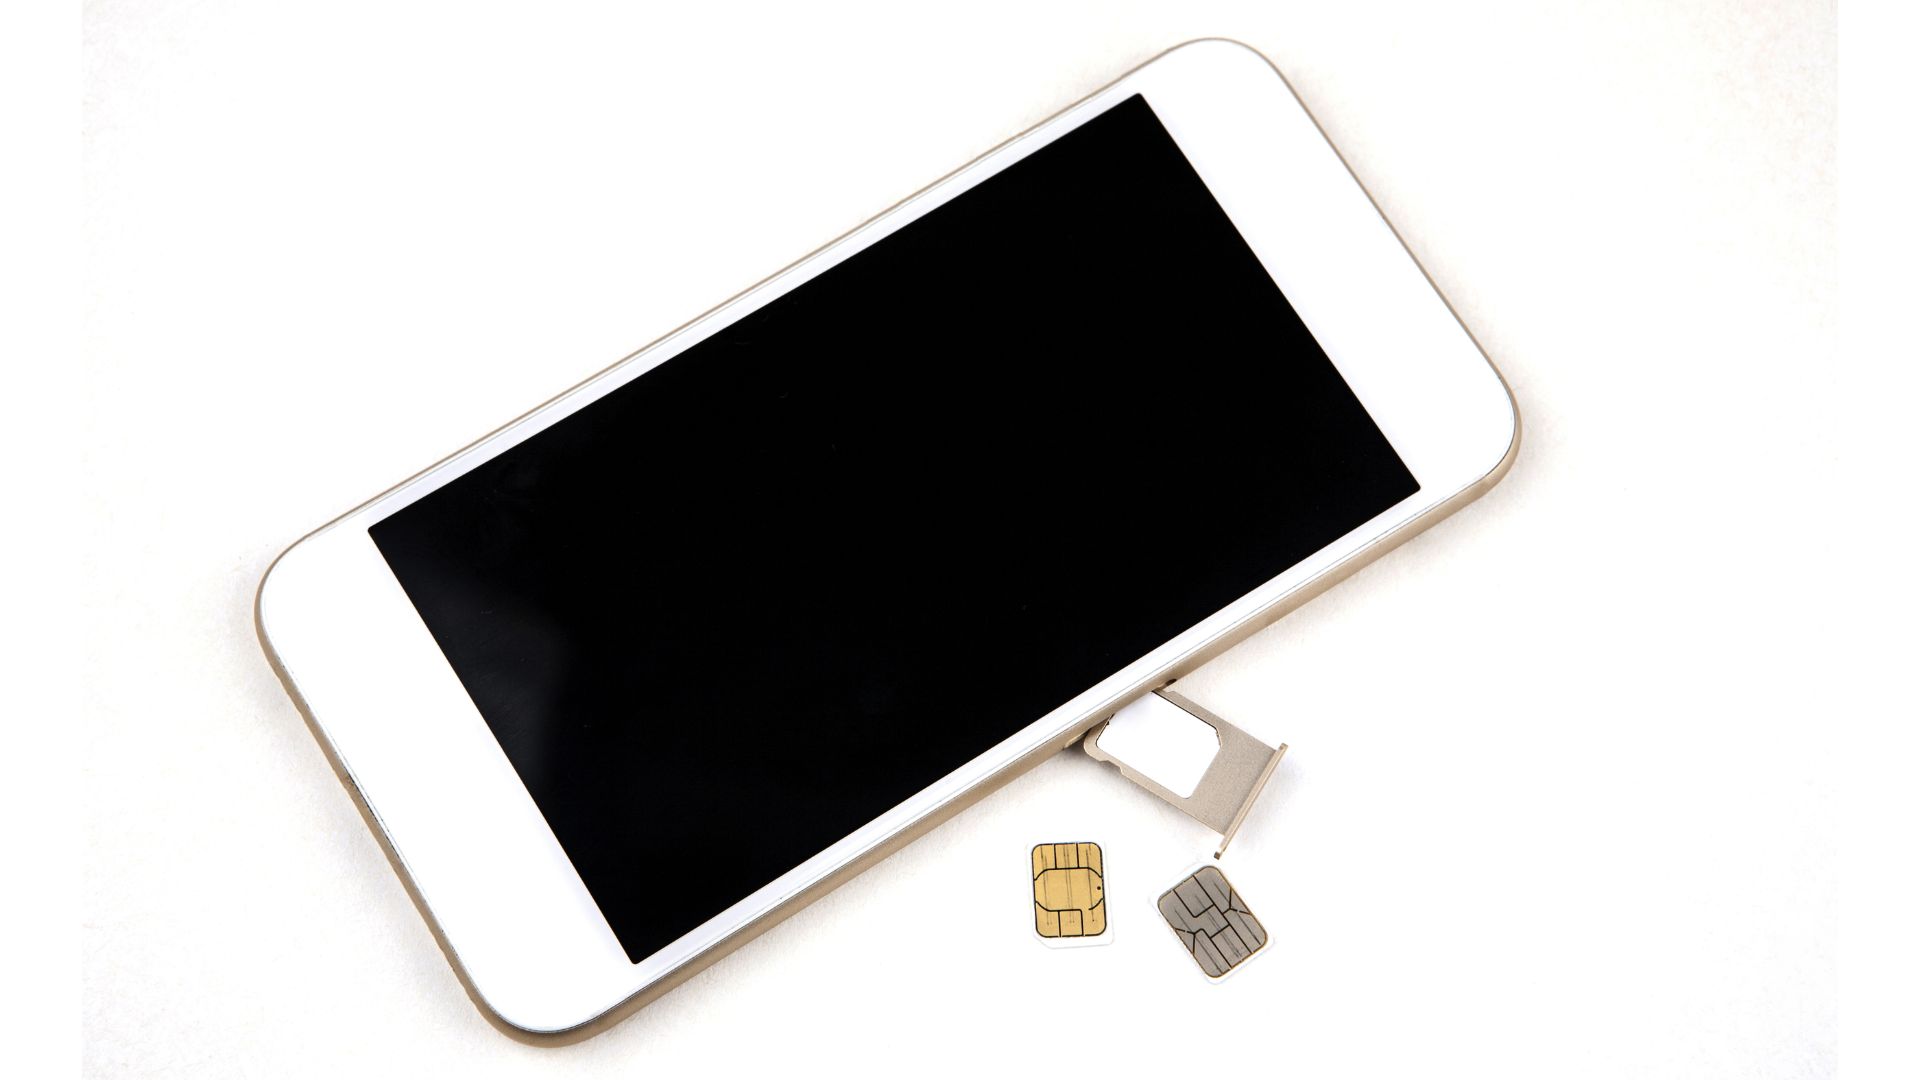
Place the SIM card into the tray: With careful precision, gently place the SIM card into the allocated slot within the SIM card tray. Ensure that the card rests securely within the tray, aligning it with the contours to guarantee a proper fit without any protrusions.
-
Insert the SIM card tray: Once the SIM card is securely positioned within the tray, carefully align the tray with the corresponding slot on the side of your iPhone 5S. Gently slide the tray back into the device, ensuring a smooth and seamless insertion.
By following these steps, you've successfully inserted the SIM card into your iPhone 5S, setting the stage for the final phase of the setup process. This fundamental action paves the way for establishing a secure connection with your mobile network, enabling you to harness the full capabilities of your device and stay connected wherever you go.
Now that the SIM card is securely inserted into your iPhone 5S, it's time to proceed with the concluding step of re-inserting the SIM card tray, ensuring that the setup process is completed with precision and efficiency.
Step 4: Re-insert the SIM card tray
With the SIM card securely inserted into your iPhone 5S, the final step involves re-inserting the SIM card tray back into the device. This critical action ensures that the SIM card remains firmly in place, allowing you to establish a seamless connection with your mobile network and access essential communication services without interruption.
To re-insert the SIM card tray into your iPhone 5S, follow these detailed steps:
-
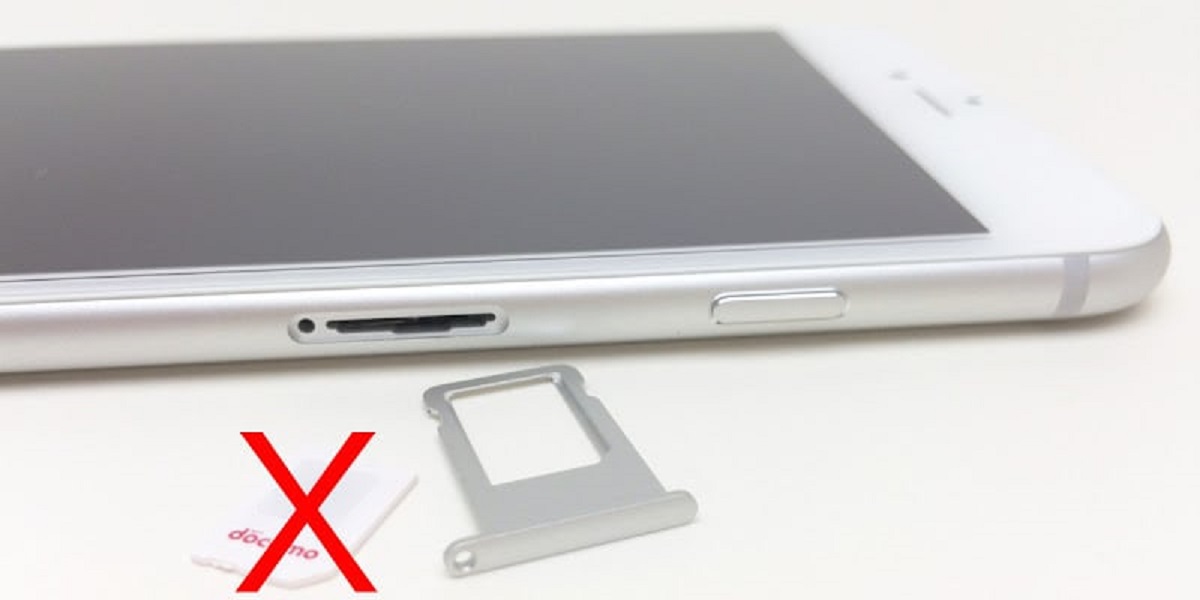
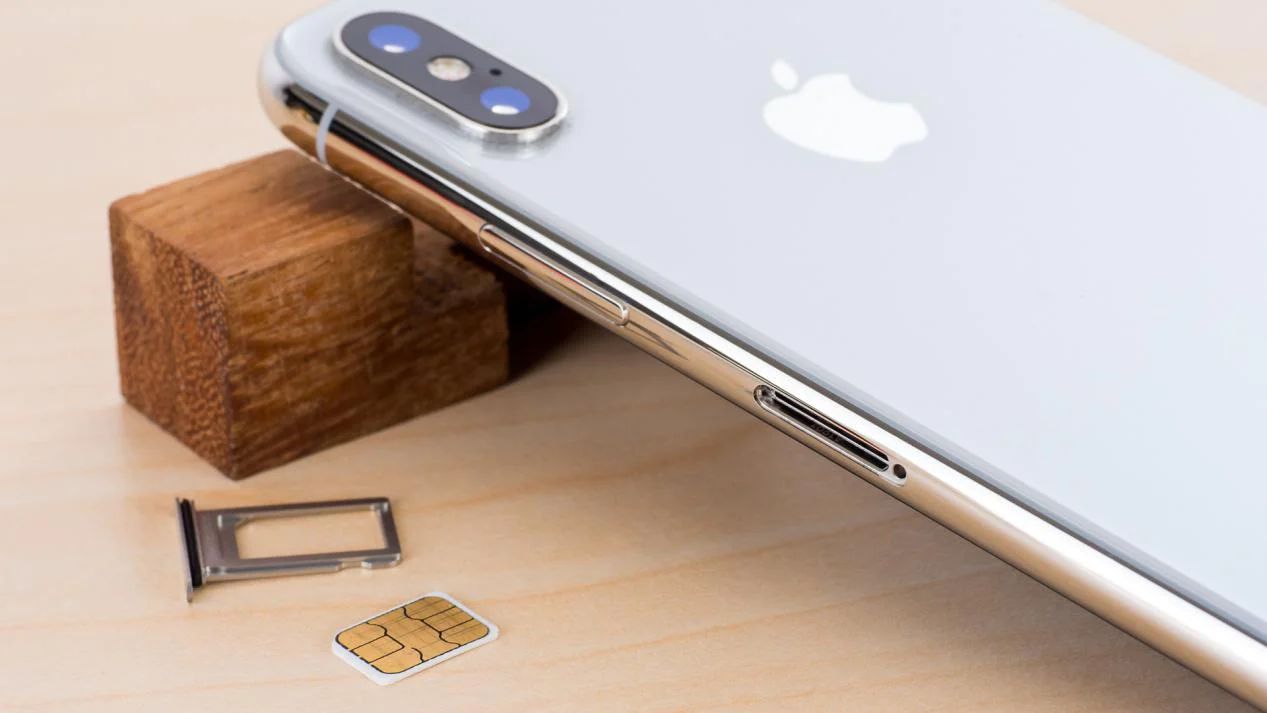
Align the SIM card tray: Hold the SIM card tray in a position that aligns with the corresponding slot on the side of your iPhone 5S. Ensure that the tray is oriented correctly, with the exposed edges fitting seamlessly into the designated slot.
-
Gently insert the tray: With precision and care, gently slide the SIM card tray back into the device, maintaining a steady and even pressure. Ensure that the tray glides smoothly into place, aligning with the contours of the device without encountering any resistance.
-
Verify secure placement: Once the SIM card tray is fully inserted, take a moment to verify that it sits flush with the device's exterior. The tray should be securely positioned, with no protrusions or misalignments that could impede its proper functioning.
By re-inserting the SIM card tray into your iPhone 5S, you've completed the final step in the process of setting up your device for seamless connectivity. This essential action ensures that the SIM card remains securely in place, allowing you to harness the full capabilities of your iPhone 5S and stay connected with ease.
With the SIM card tray securely re-inserted, you've successfully completed the process of inserting a SIM card into your iPhone 5S. This foundational task empowers you to establish a secure connection with your mobile network, enabling you to make calls, send messages, and access the internet with confidence.
As you navigate the world of mobile connectivity, having a clear understanding of how to insert and manage your SIM card is essential for optimizing your device's functionality. By following these step-by-step instructions, you've gained the knowledge and skills to effortlessly handle this crucial aspect of iPhone 5S setup, ensuring that you can stay connected and engaged with the digital world.
Conclusion
In conclusion, mastering the art of inserting a SIM card into your iPhone 5S is a fundamental skill that empowers you to seamlessly connect with your mobile network and unlock the full potential of your device. By following the step-by-step guide outlined in this comprehensive tutorial, you've gained valuable insights into the precise process of locating the SIM card tray, ejecting the tray, inserting the SIM card, and re-inserting the tray with precision and confidence.
As you reflect on the journey of setting up your iPhone 5S, it's evident that the seamless insertion of a SIM card is a pivotal milestone that paves the way for uninterrupted communication and connectivity. The meticulous attention to detail and the user-friendly design of the iPhone 5S SIM card tray ensures that you can complete this essential task with ease, regardless of your level of technical expertise.
By successfully navigating each step of the process, you've not only equipped your device for seamless connectivity but also gained a deeper understanding of the intricate mechanisms that underpin the functionality of your iPhone 5S. This newfound knowledge empowers you to take full advantage of the device's communication capabilities, enabling you to make calls, send messages, and access the internet with unparalleled ease and efficiency.
Furthermore, the proficiency you've developed in handling the SIM card tray and inserting the SIM card underscores your ability to adapt to new technological advancements and embrace the evolving landscape of mobile connectivity. This foundational skill set positions you to confidently manage and optimize the communication features of your iPhone 5S, ensuring that you can stay connected and engaged with the digital world on your terms.
As you embark on your journey with your iPhone 5S, armed with the expertise gained from this guide, you're well-prepared to harness the full capabilities of your device and immerse yourself in a seamless and enriching mobile experience. Whether you're a seasoned iPhone user or a newcomer to the iOS ecosystem, the knowledge and skills acquired through this tutorial serve as a valuable asset in your ongoing exploration of the vast possibilities offered by your iPhone 5S.
With the SIM card securely in place and your device primed for connectivity, you're now poised to embark on a journey filled with communication, exploration, and boundless opportunities, all made possible by your adeptness in handling the essential components of your iPhone 5S.
Remember, the journey of mobile connectivity is an ever-evolving adventure, and your proficiency in managing the intricacies of your device positions you to navigate this landscape with confidence and ease. Embrace the seamless connectivity that your iPhone 5S offers, and embark on a journey filled with limitless possibilities and enriching experiences.